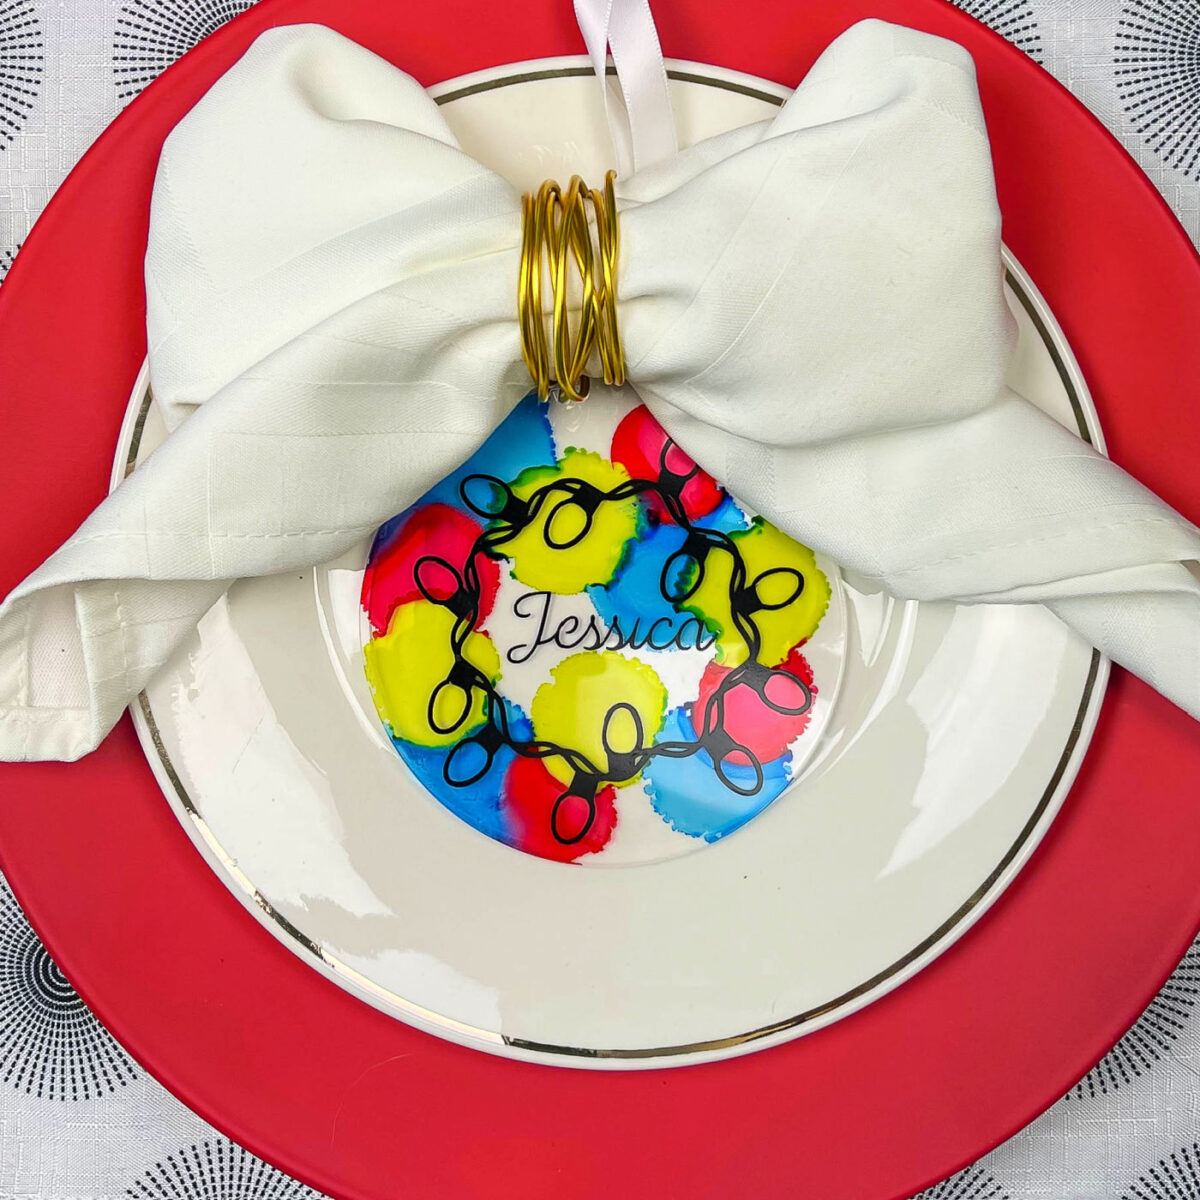
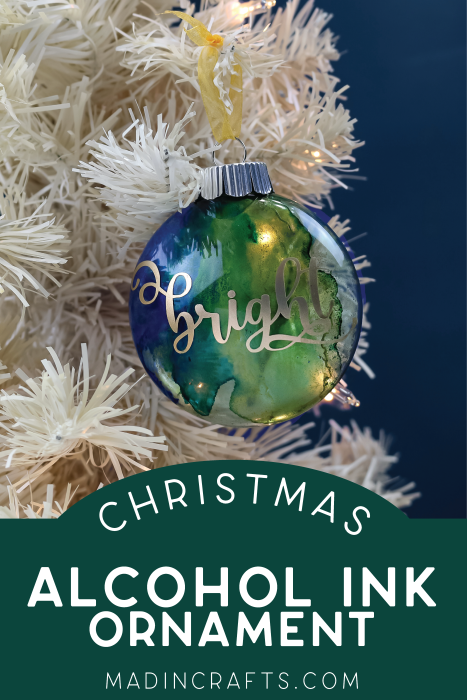
If you want to impress your guests with memorable place settings, these personalized ornament place cards are a great option. By using clear acrylic ornaments, adhesive vinyl, and alcohol ink, you can create beautiful decorations that also serve as cherished keepsakes. Follow this step-by-step guide to design your colorful Christmas lights place cards!
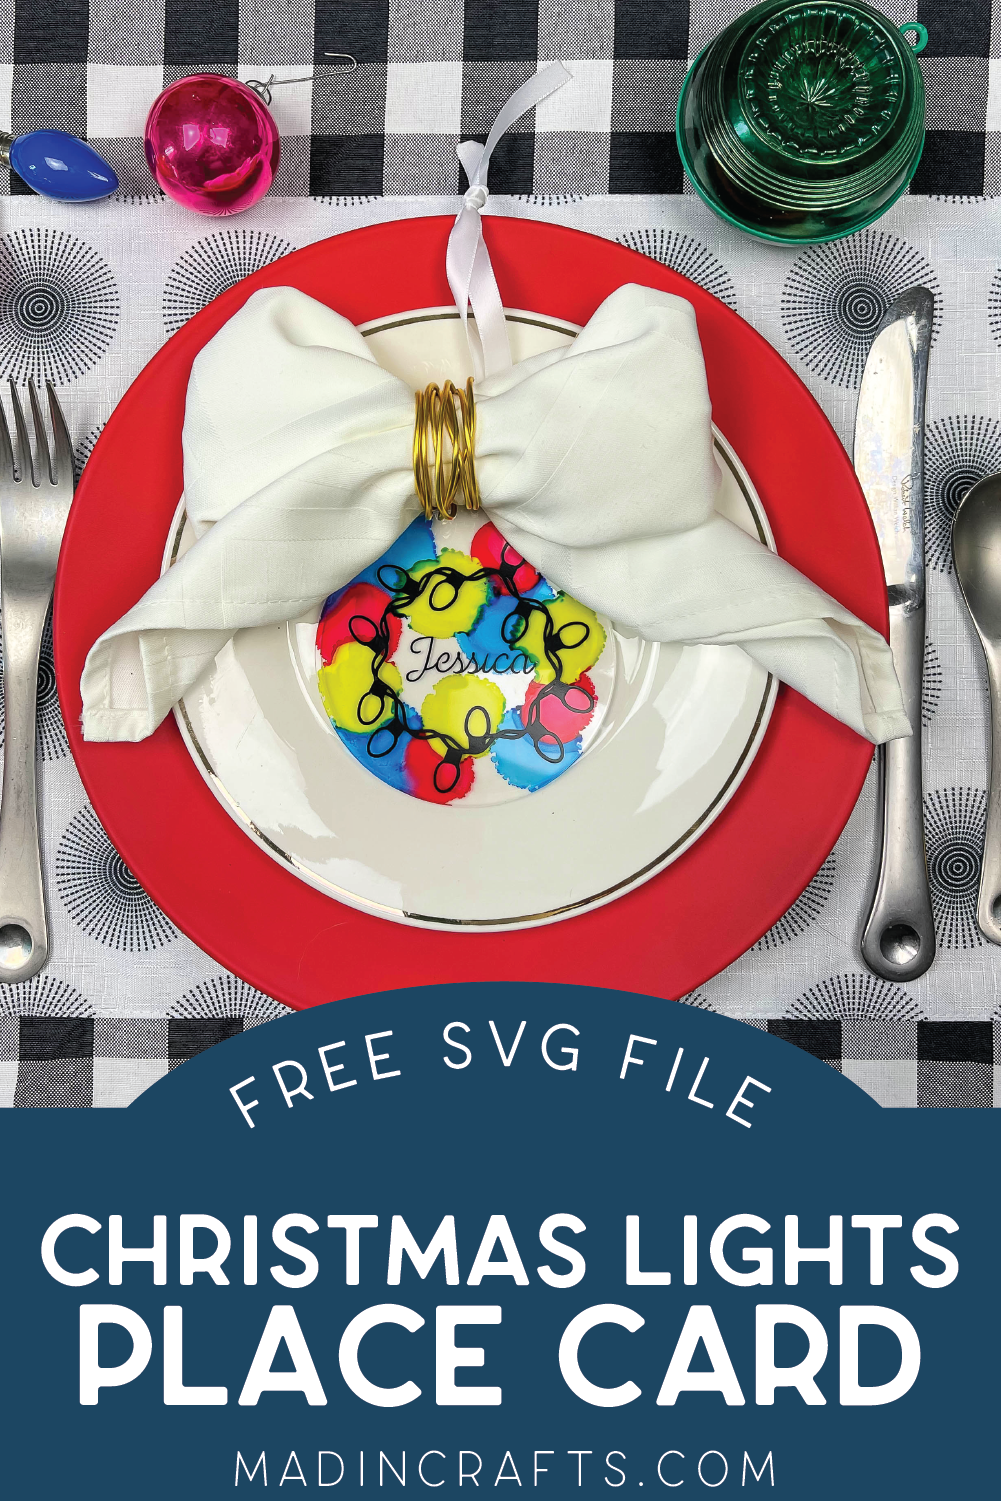
COLORFUL CHRISTMAS LIGHT PLACE CARDS
WHAT DO YOU NEED TO MAKE THE CHRISTMAS LIGHTS PLACE CARDS?
I have included links for all the supplies you will need for this project. When you work with alcohol ink, a little goes a long way, so you will have plenty left over after this DIY to use on future crafts. Just search “alcohol ink” in my search bar for more craft inspiration.
These are all affiliate links, if you make a purchase (of anything from the site, not just these items) after clicking through, I will earn a small commission. Ads and affiliate links are the way I am able to keep this website running and to offer you free tutorials all year long. Thank you so much for supporting me and Mad in Crafts!
- Acrylic Christmas ornament blanks
- Alcohol inks
- Adhesive vinyl
- Weeding tool and scraper
- Cricut machine
- Transfer tape
- Protective gloves

Want to know which craft supplies I always keep in my craft room?
Visit the Mad in Crafts Amazon Storefront to learn more and to buy your own supplies!
DOWNLOAD THE FREE SVG FILE

Sign up for my SVG Club below for these free SVG files! As a member of the club, you will receive one new SVG file each month. These SVG files are ready to upload directly into your favorite cutting machine’s design software. Insert the file into a new project, then resize it to fit the project you will be making.
HOW DO MAKE CHRISTMAS LIGHT PLACE CARS
Creating personalized place cards is not only a fun and rewarding holiday craft, but it also adds a unique flair to your festive table setting. These delightful decorations double as memorable keepsakes for your guests.
How to Make Personalized Christmas Lights Place Cards
- Upload the SVG into Cricut Design Space.
- Resize the SVG to fit on your acrylic blank.
- Duplicate the SVG multiple times until there is one for every guest.
- Add text boxes with each guest’s name into the SVGs.
- Select the SVGs and the text boxes and click Unite so that all the elements will be cut in the correct position.
- Cut the designs out of adhesive vinyl.
- Weed and separate the individual place card designs.
- Add transfer tape to each design.
- Remove the protective film from the acrylic blanks.
- Position the vinyl on the blanks and peel away the transfer tape.
- Clean the back of the blank with rubbing alcohol.
- Add drops of ink onto the ornament to look like light shining from the bulbs.
You can gently blow through a straw to encourage the alcohol ink to spread out.
- Add a length of ribbon to the ornament so it can be hung from a tree.
- Use the ornaments as pretty place cards at your holiday table.



Leave a Reply