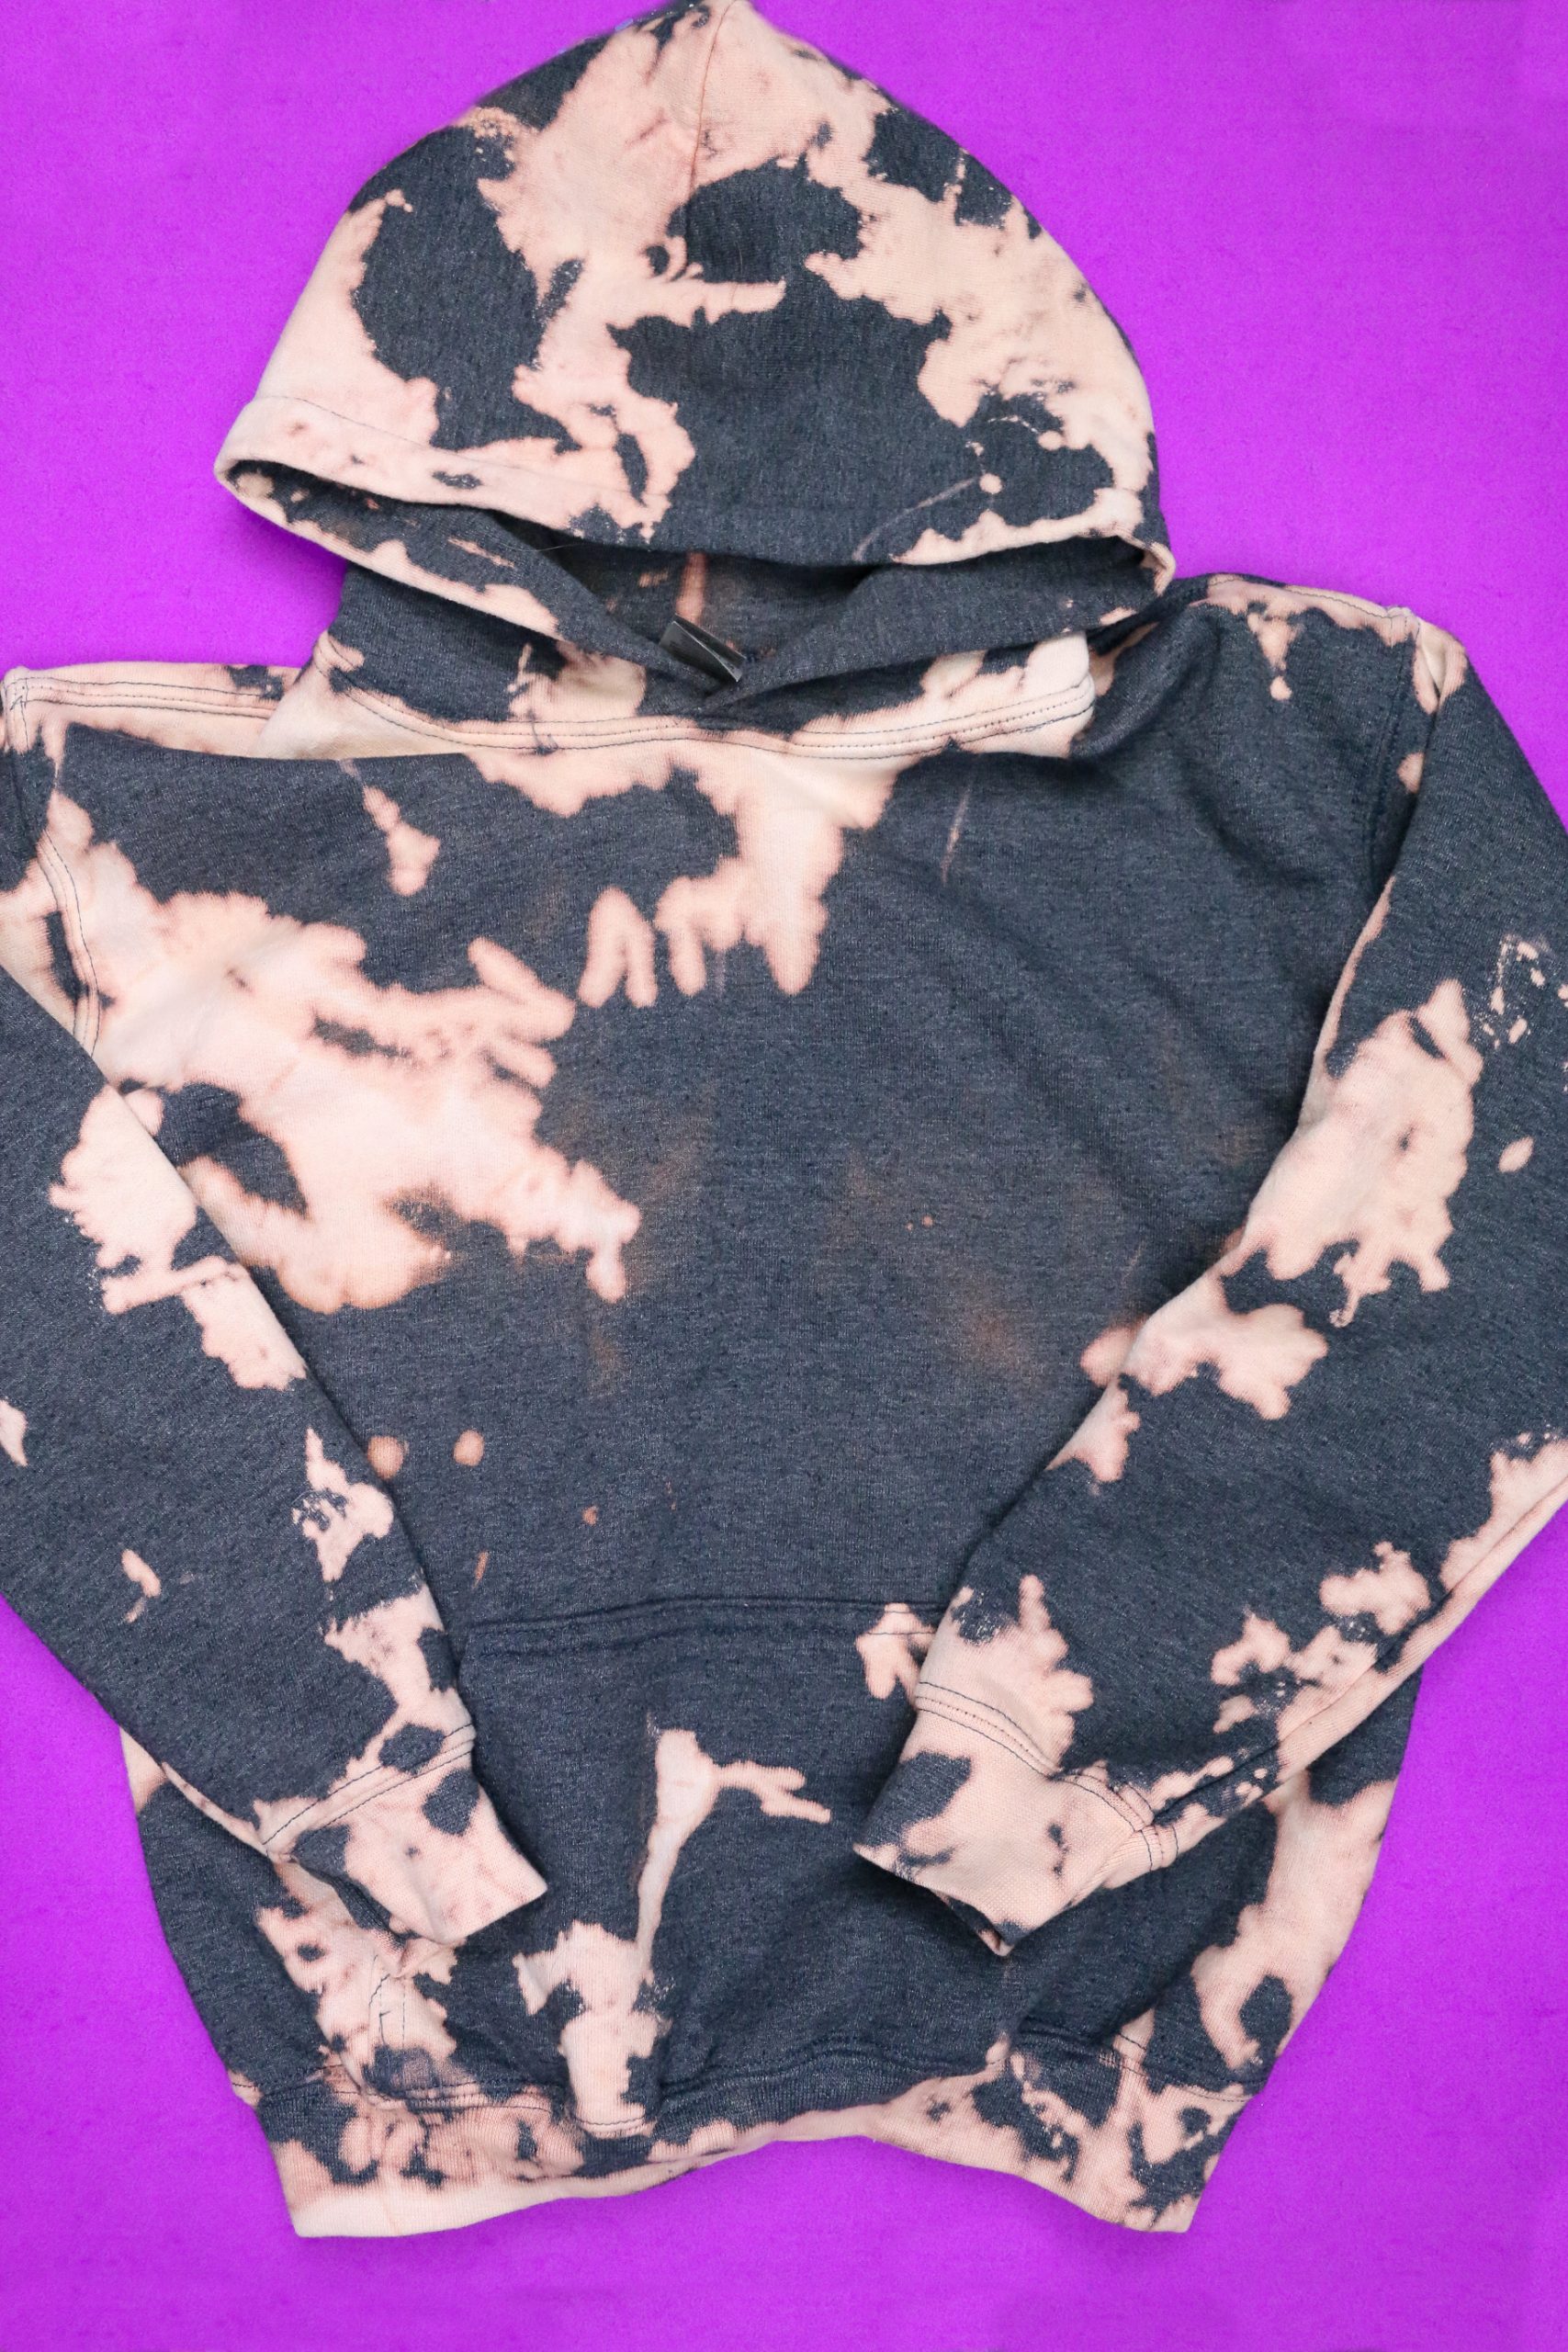
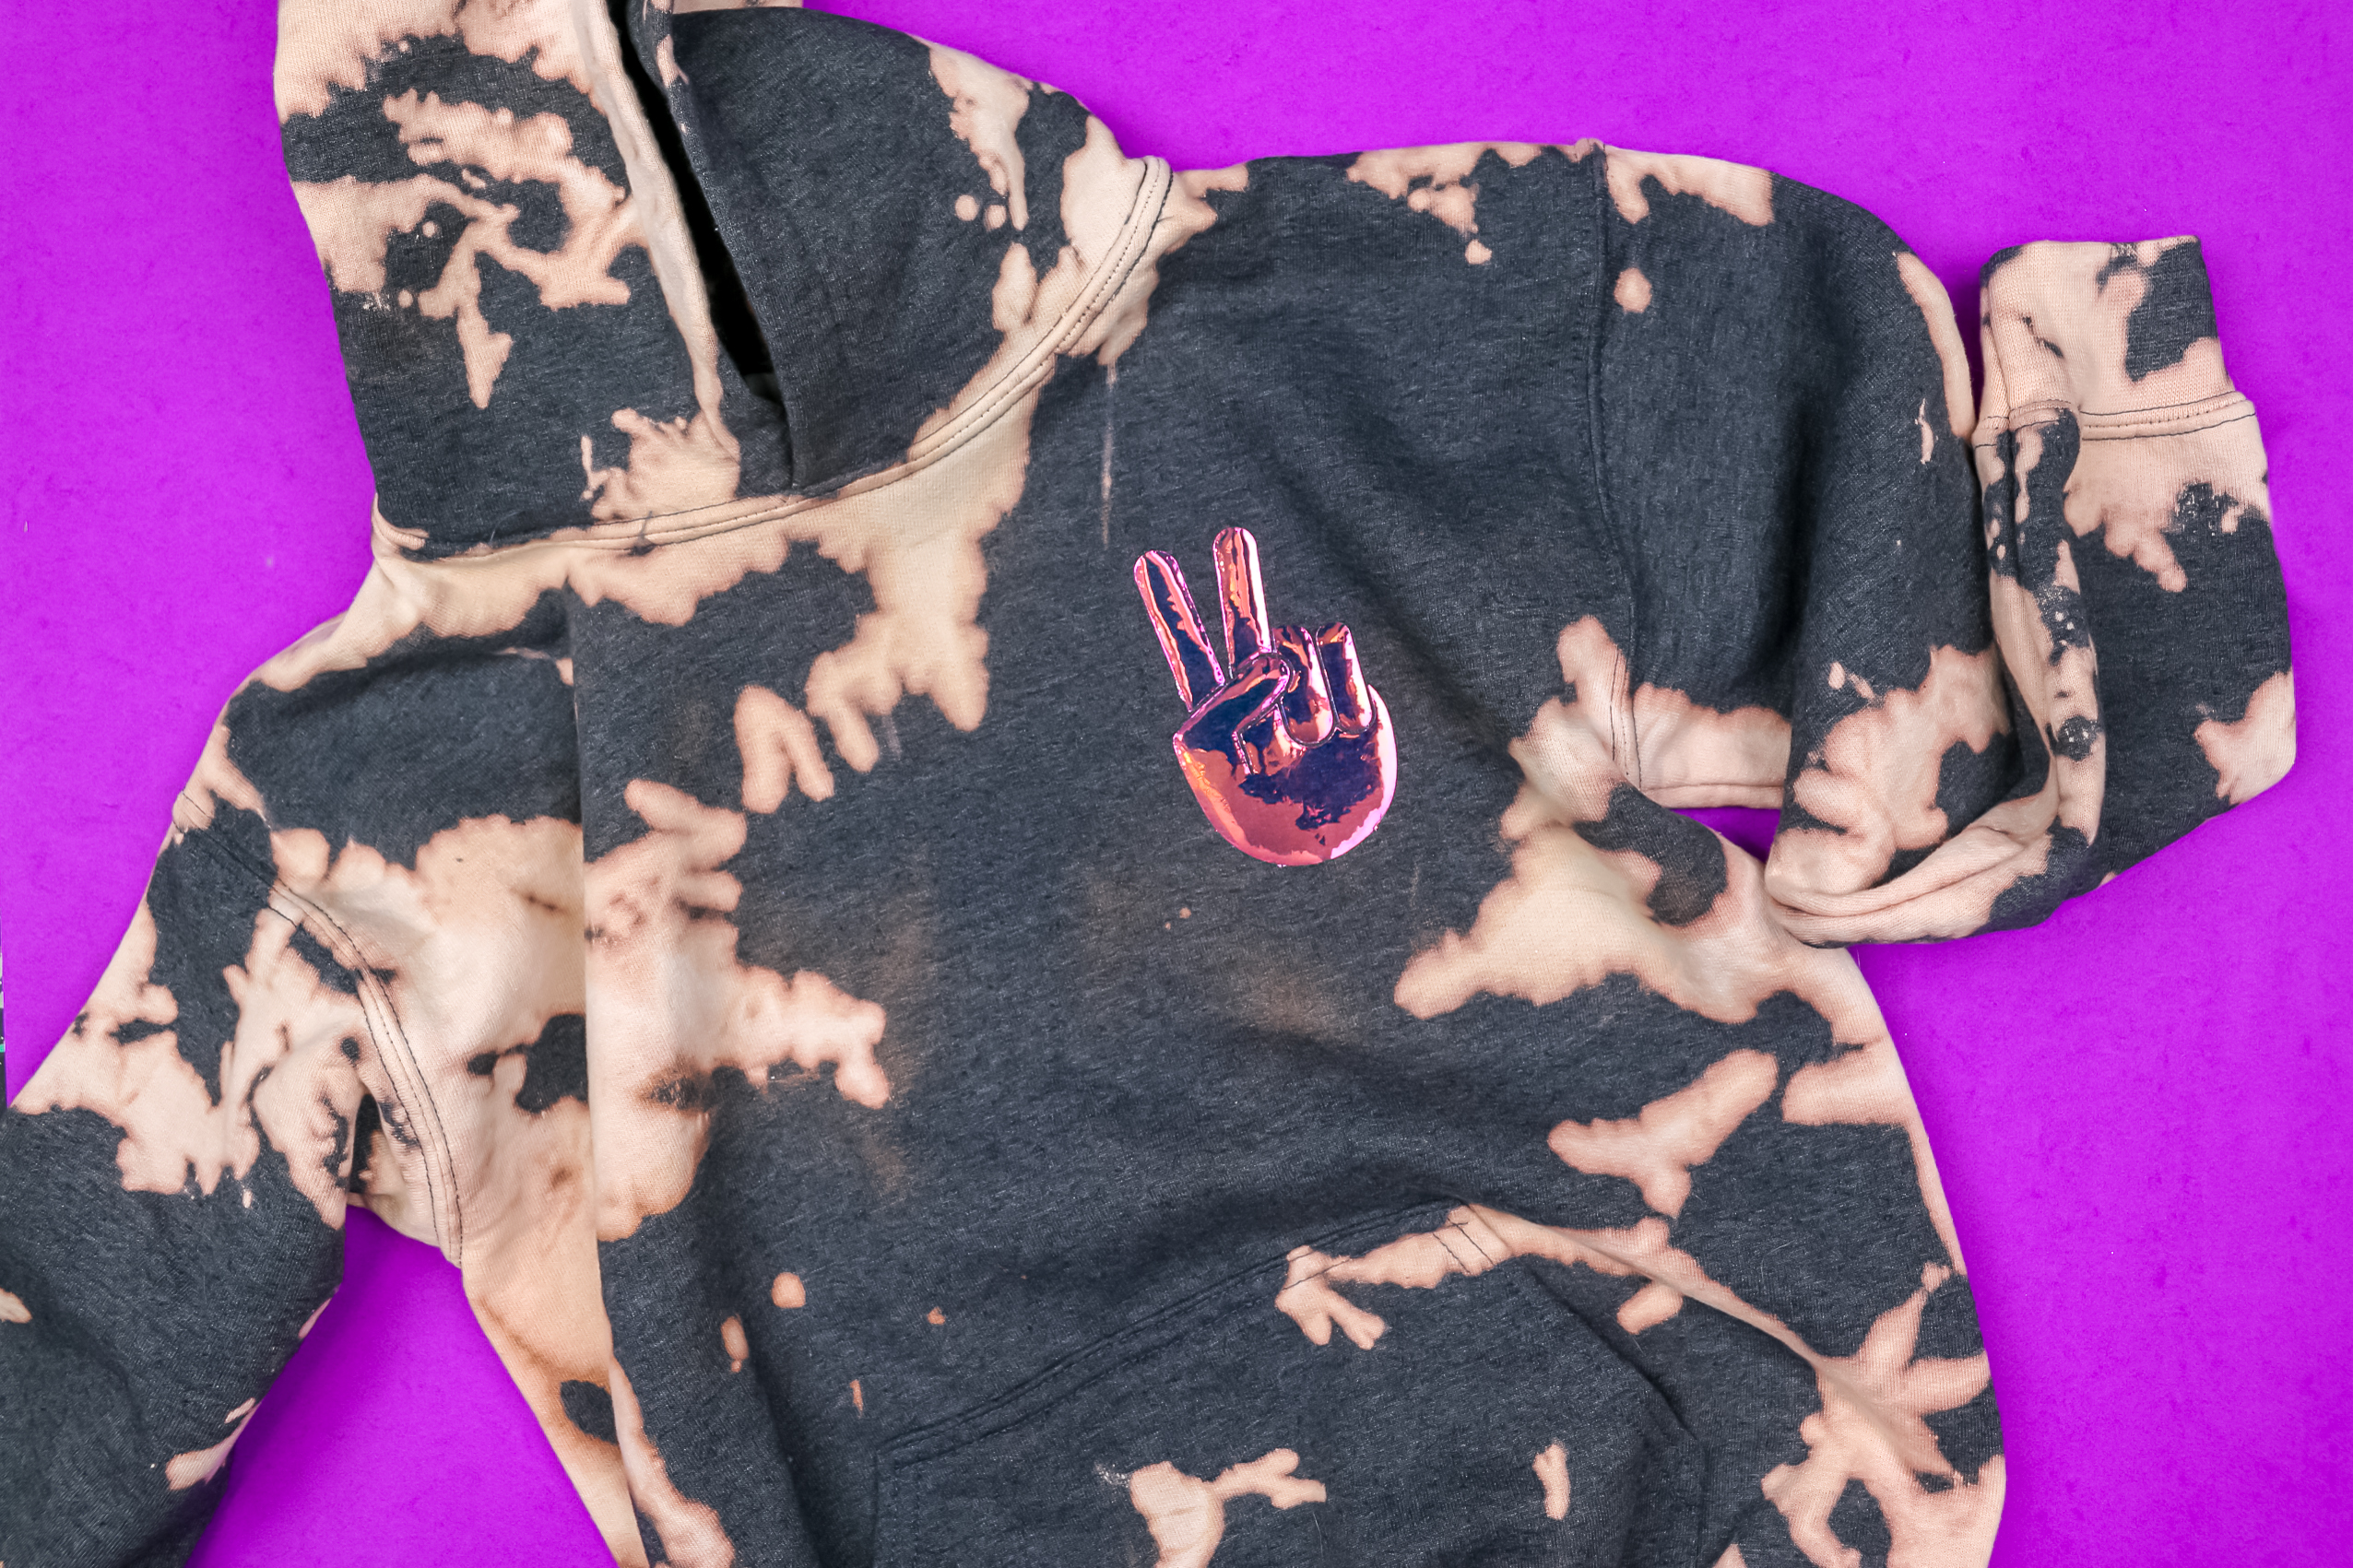
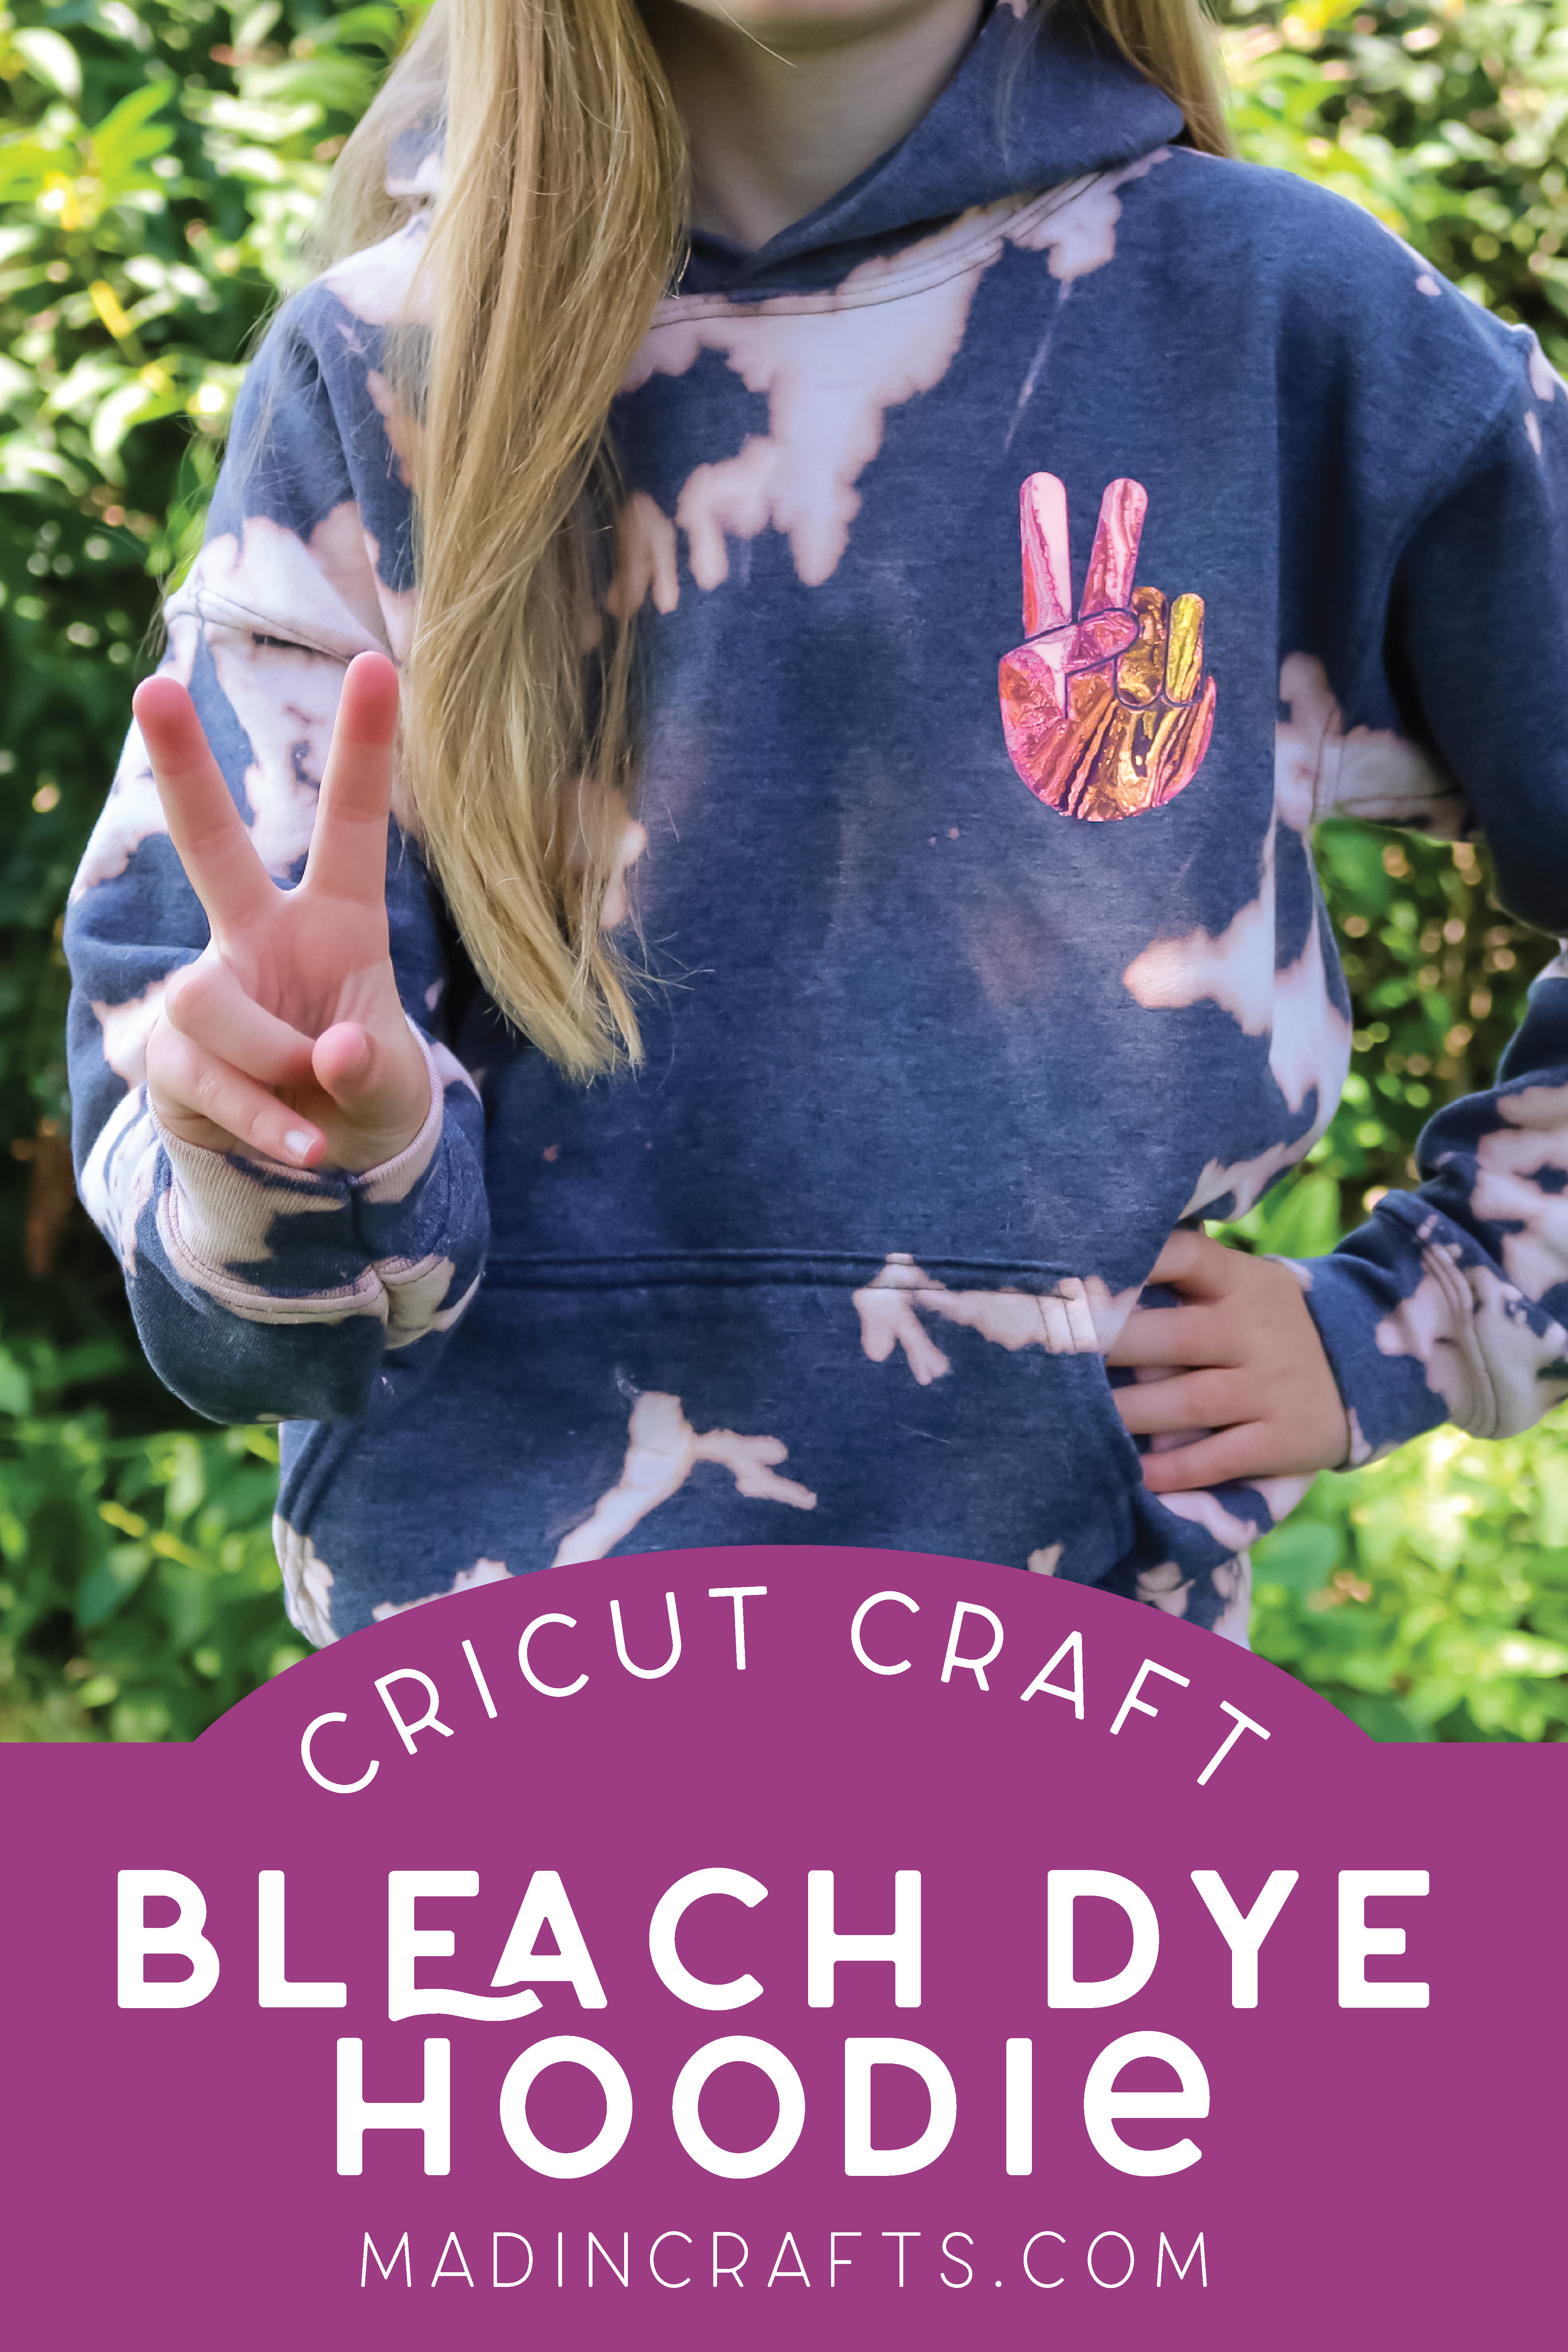
I have wanted to try reverse dyeing a sweatshirt for well over a year. I went to high school in the 90s, so I had plenty of traditional tie dye shirts in my wardrobe. Bleach dyed, or reverse dyed, shirts are a very cool, modern take on that trend. I finally purchased an inexpensive hoodie for my daughter so I could do some experimentation. I created this bleach tie dye hoodie for her and added a groovy peace sign in holo vinyl with my Cricut machine.
I am thankful to Cricut for sponsoring this post. I was compensated for my work, but the opinions are 100% my own!
BLEACH TIE DYE HOODIE WITH HOLO VINYL
WHAT YOU NEED TO MAKE A BLEACH DYED HOODIE
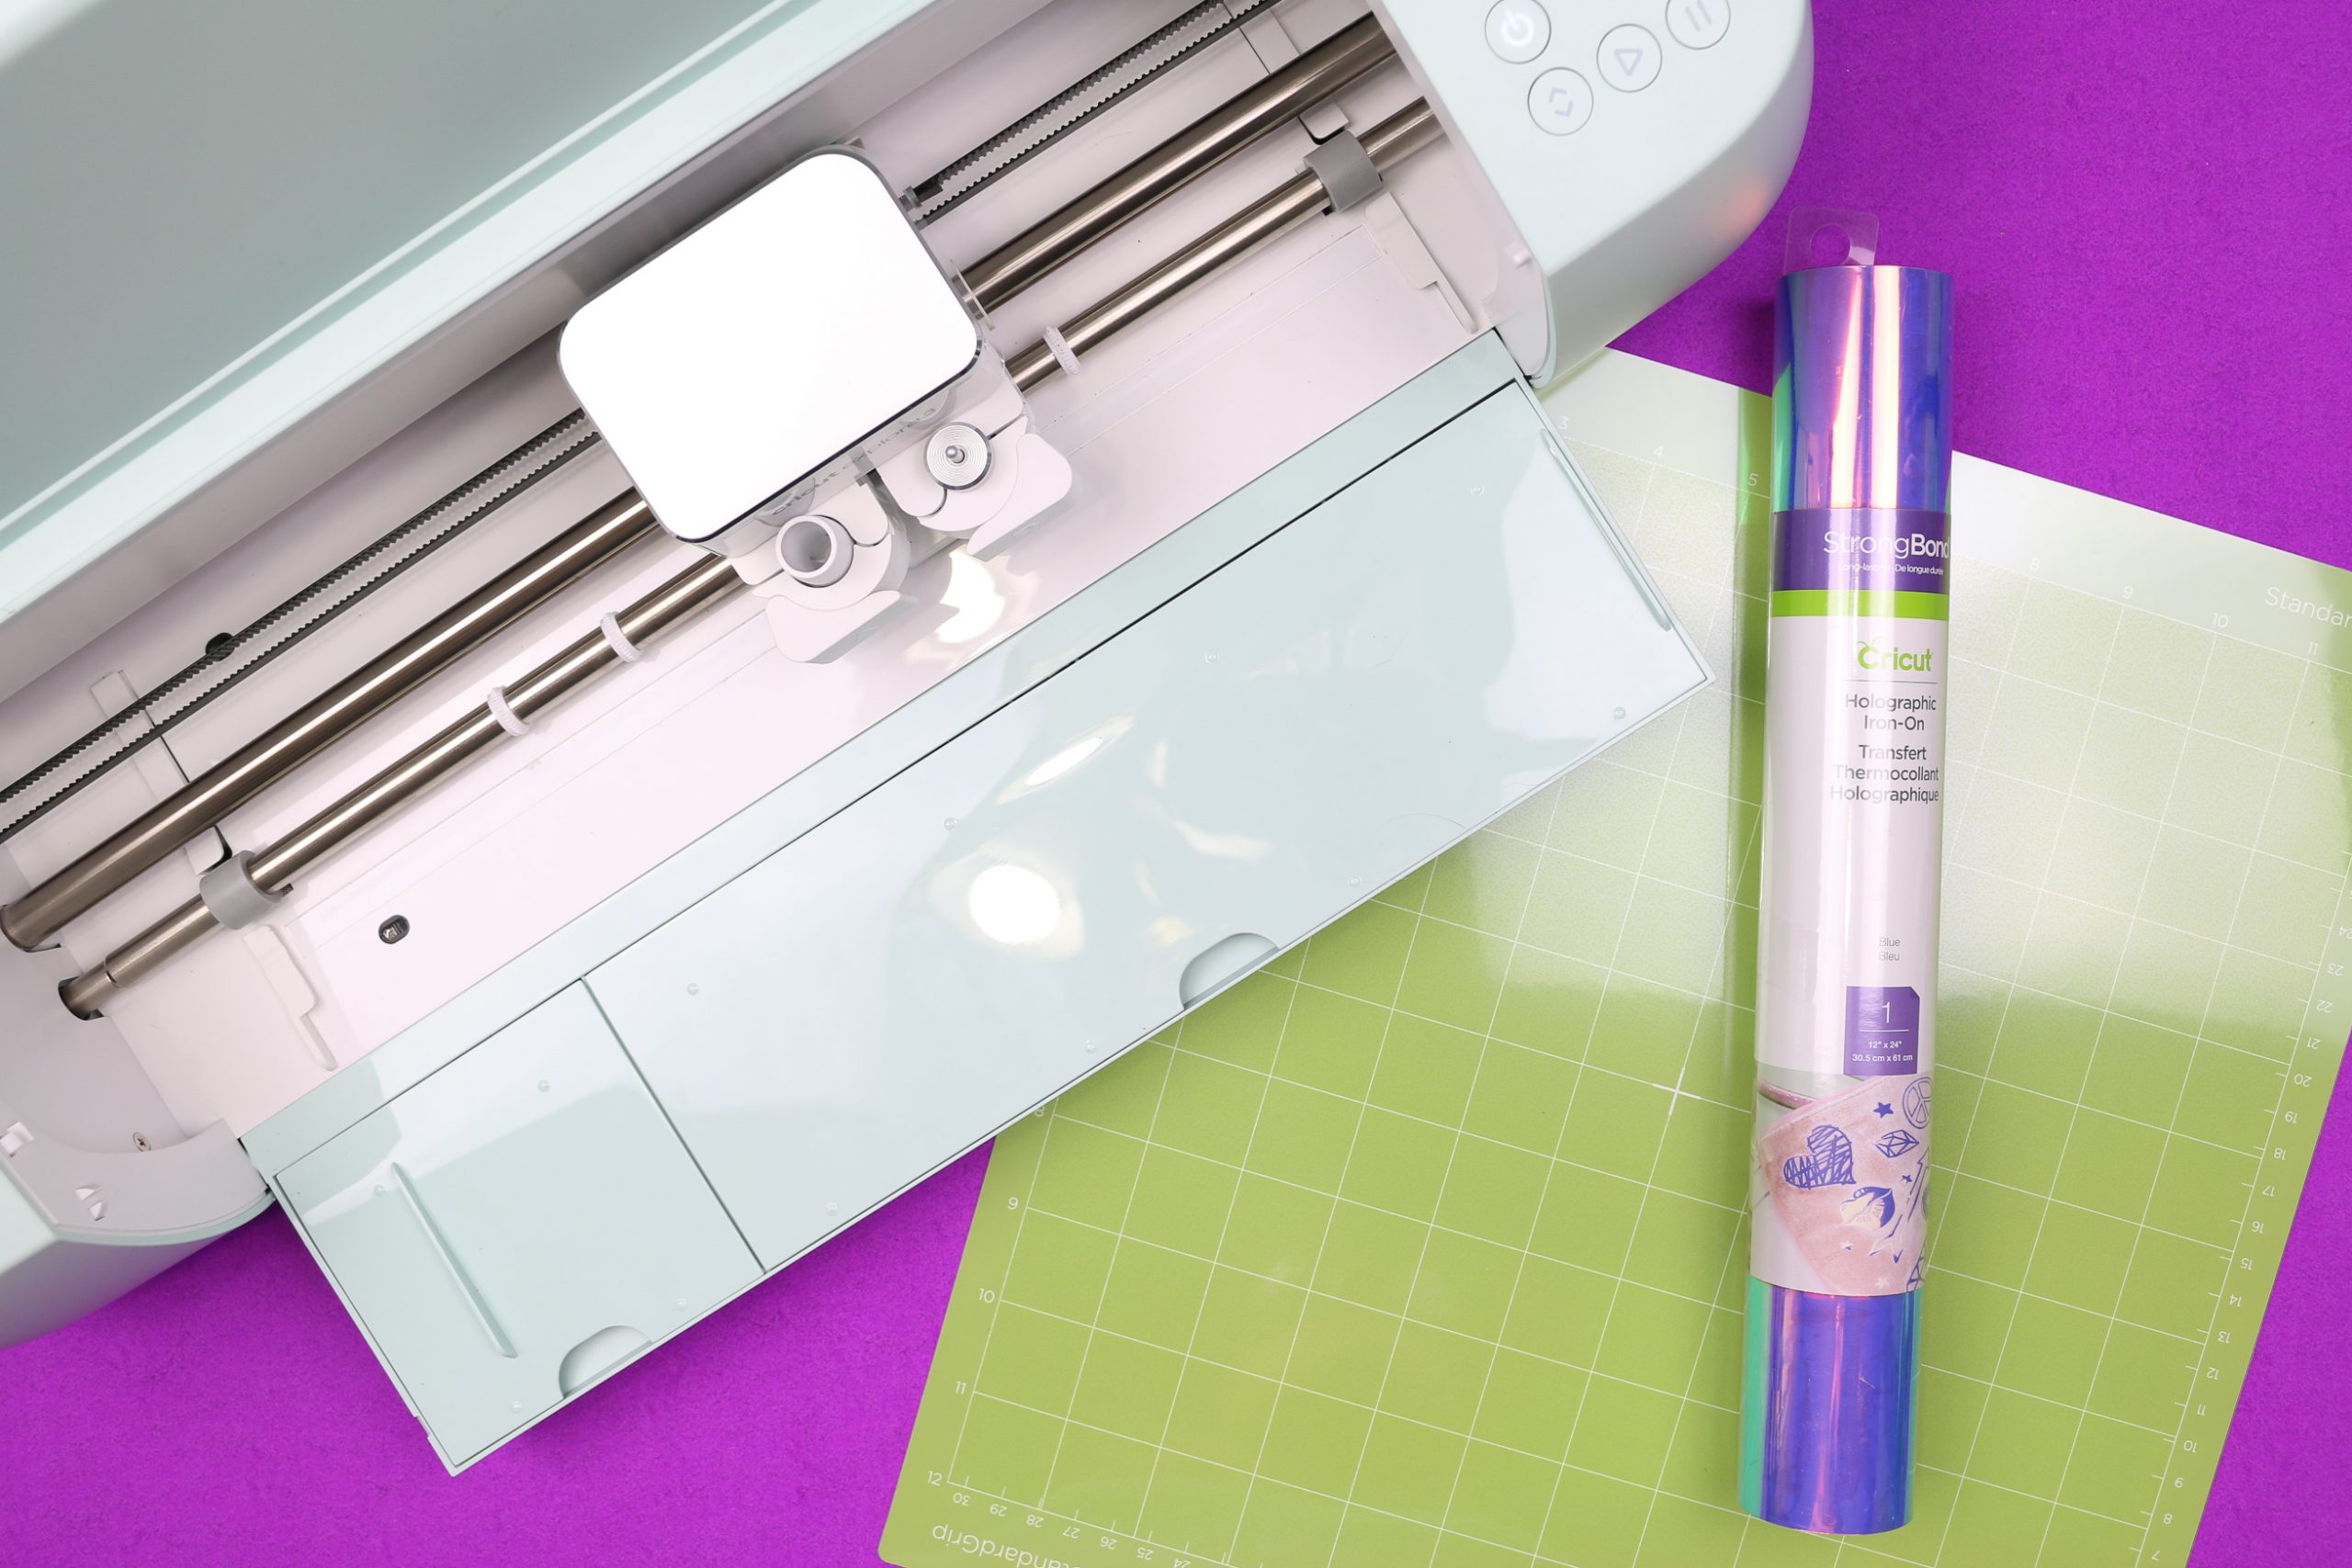
You can use any kind of iron-on vinyl to embellish your bleach tie dye hoodie, but I am kind of smitten with Cricut’s holographic vinyl. It’s slightly trickier to work with than Everyday Iron-On, but the finished results are so pretty.
These are all affiliate links, if you make a purchase (of anything from the site, not just these items) after clicking through, I will earn a small commission. Ads and affiliate links are the way I am able to keep this website running and to offer you free tutorials all year long. Thank you so much for supporting me and Mad in Crafts!
- hooded sweatshirt
- bleach
- squeeze bottle
- plastic sheet or garbage bag
- rubber bands
- washer and dryer
- Cricut
- cutting mat
- holographic iron-on
- weeding tools
- EasyPress
- Cricut Access

Want to know which craft supplies I always keep in my craft room?
Visit the Mad in Crafts Amazon Storefront to learn more and to buy your own supplies!
HOW TO BLEACH DYE A SWEATSHIRT
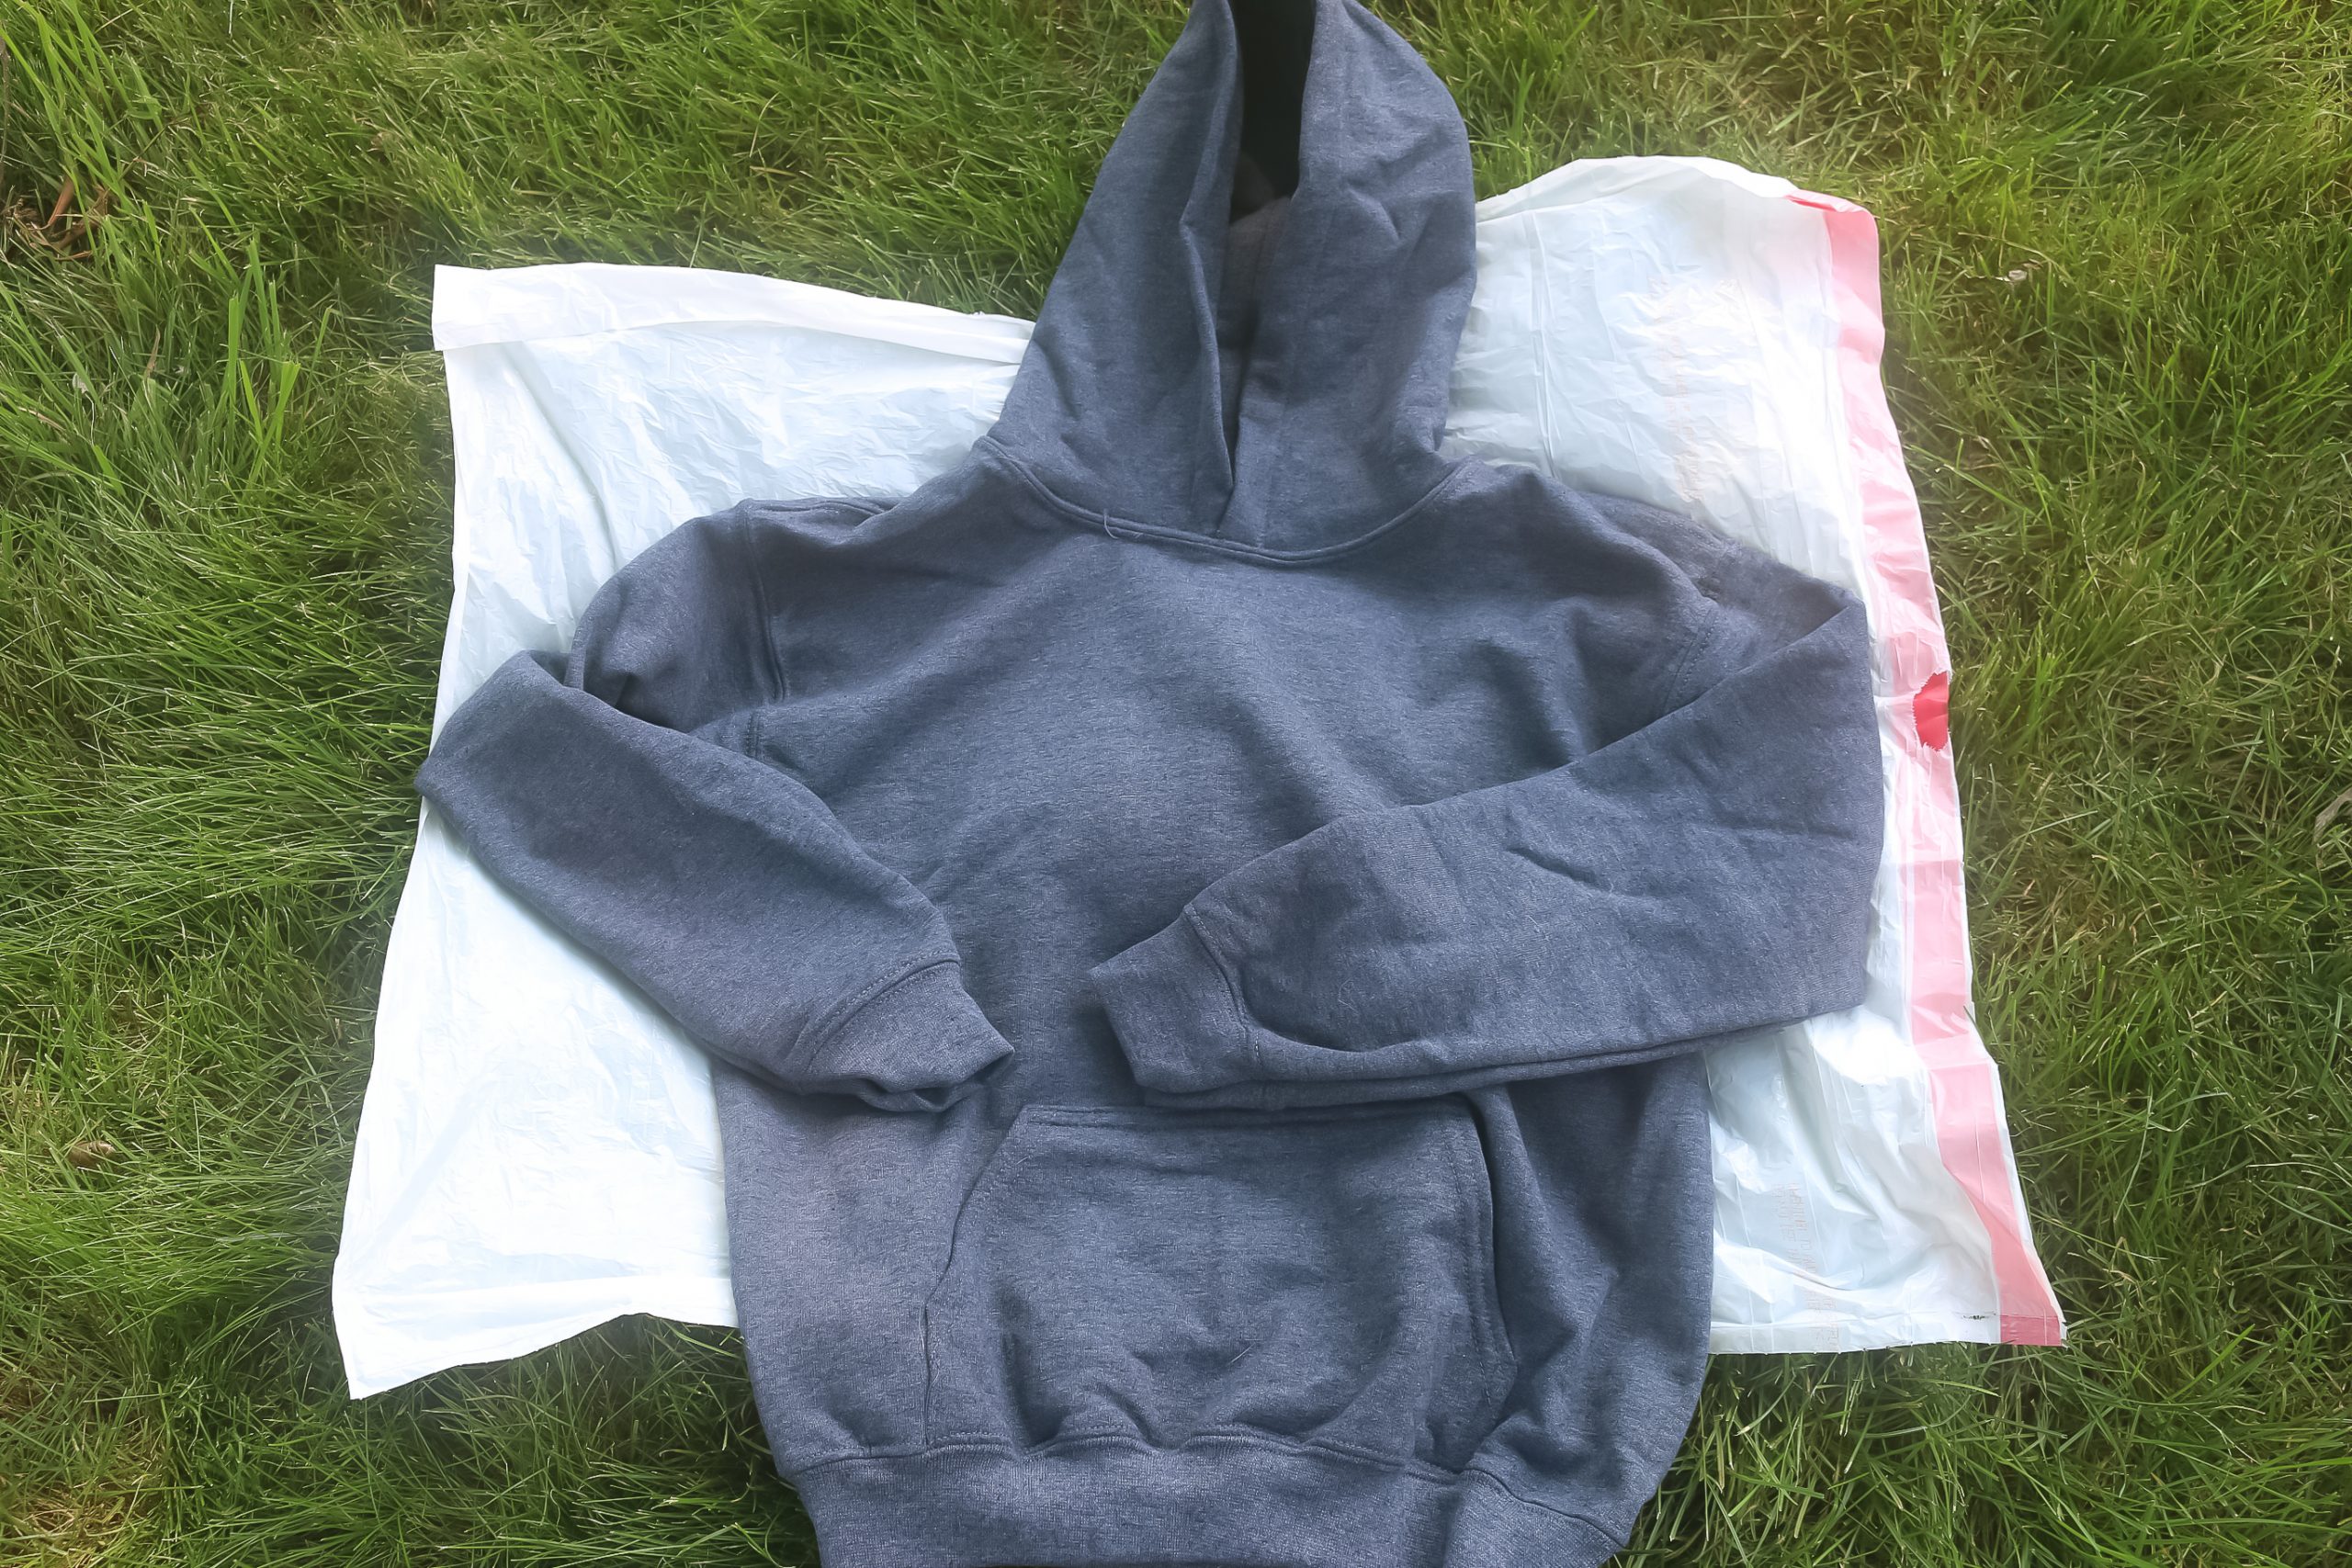
It’s best to do this project outside and while wearing old clothes since you are going to get bleach other places than just on the sweatshirt! To prepare for bleaching, I laid a garbage bag down outside, and I filled a small tub up with water so I could rinse the shirt when it was done bleaching.
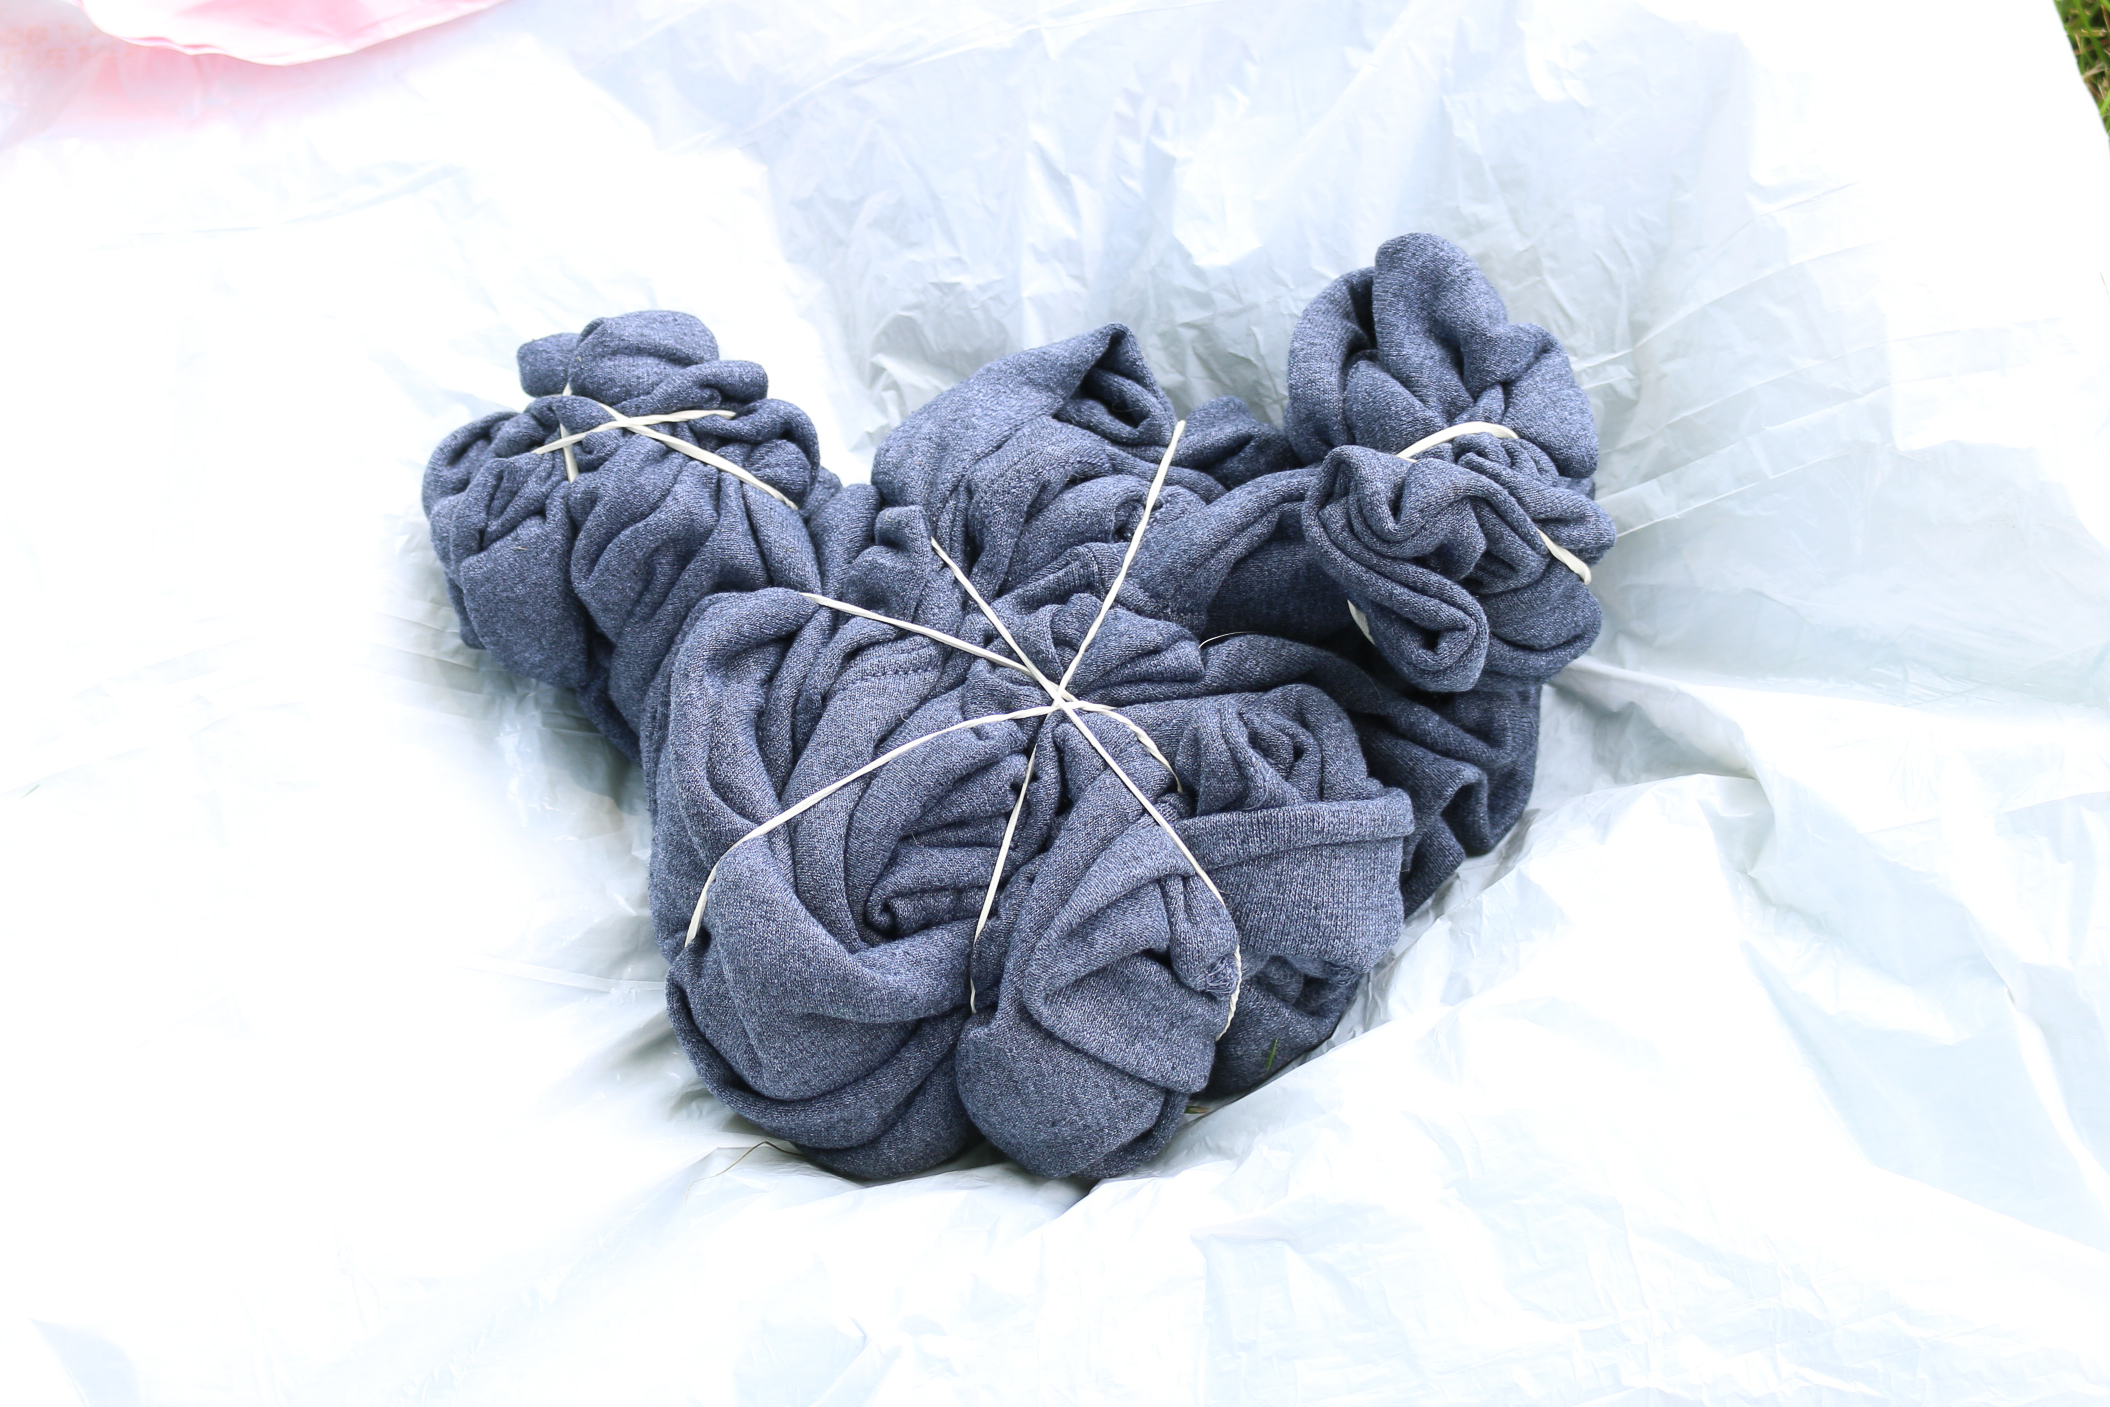
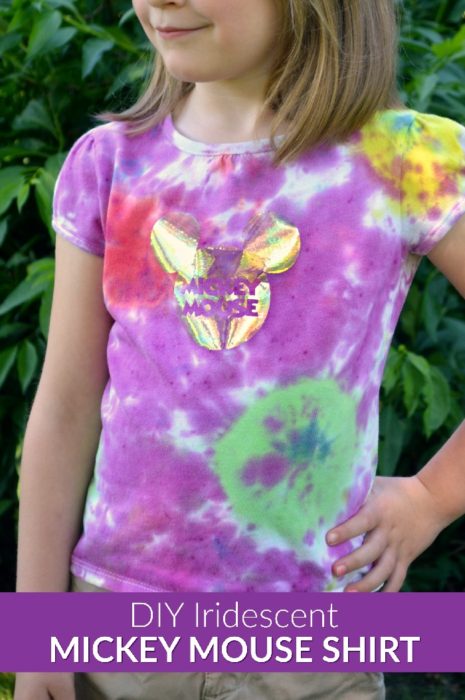
Next, you will need to break out your tie dye banding skills. I tried to do a traditional tie dye swirl but it is pretty hard to do with a bulky hoodie. I ended up swirling the torso and hood of the shirt and bunching the sleeves. That gave me this sort of hidden Mickey that you see above.
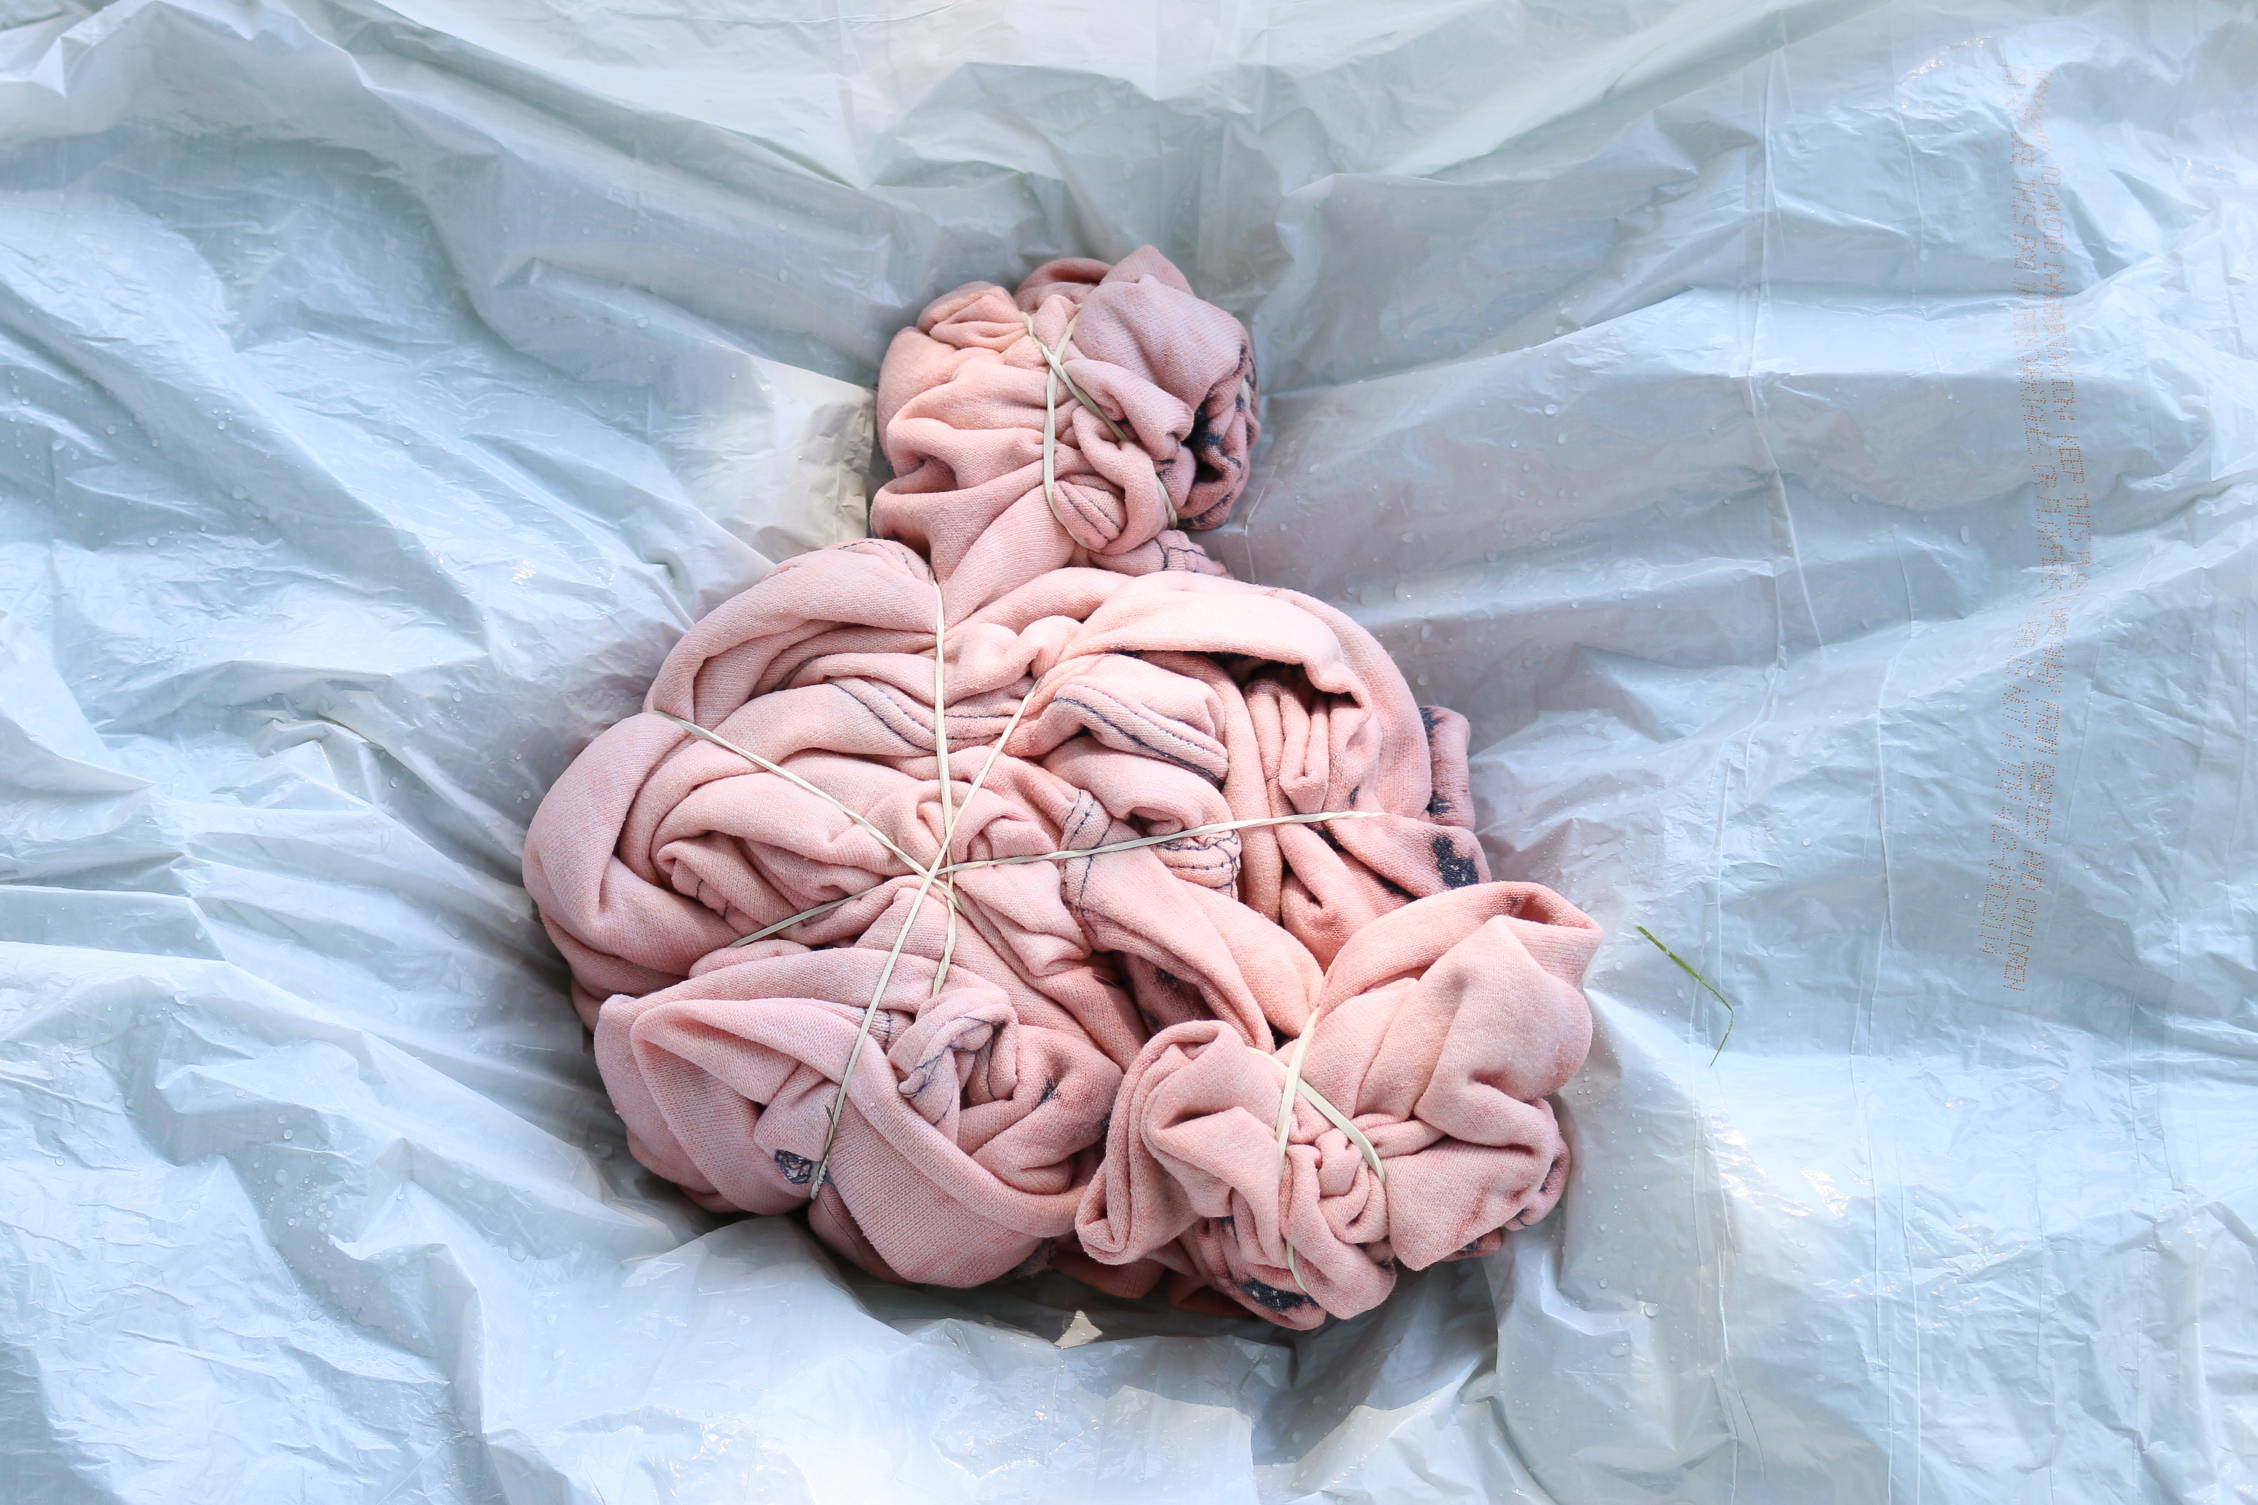
Mix together equal parts water and bleach in a squeeze bottle. You can also use a spray bottle, but my wimpy hands get tired squirting the bottle for so long. Fully saturate the exposed areas of the shirt, then flip the shirt bundle over and saturate the back as well. Let the shirt sit in the sunshine for about 10 minutes.
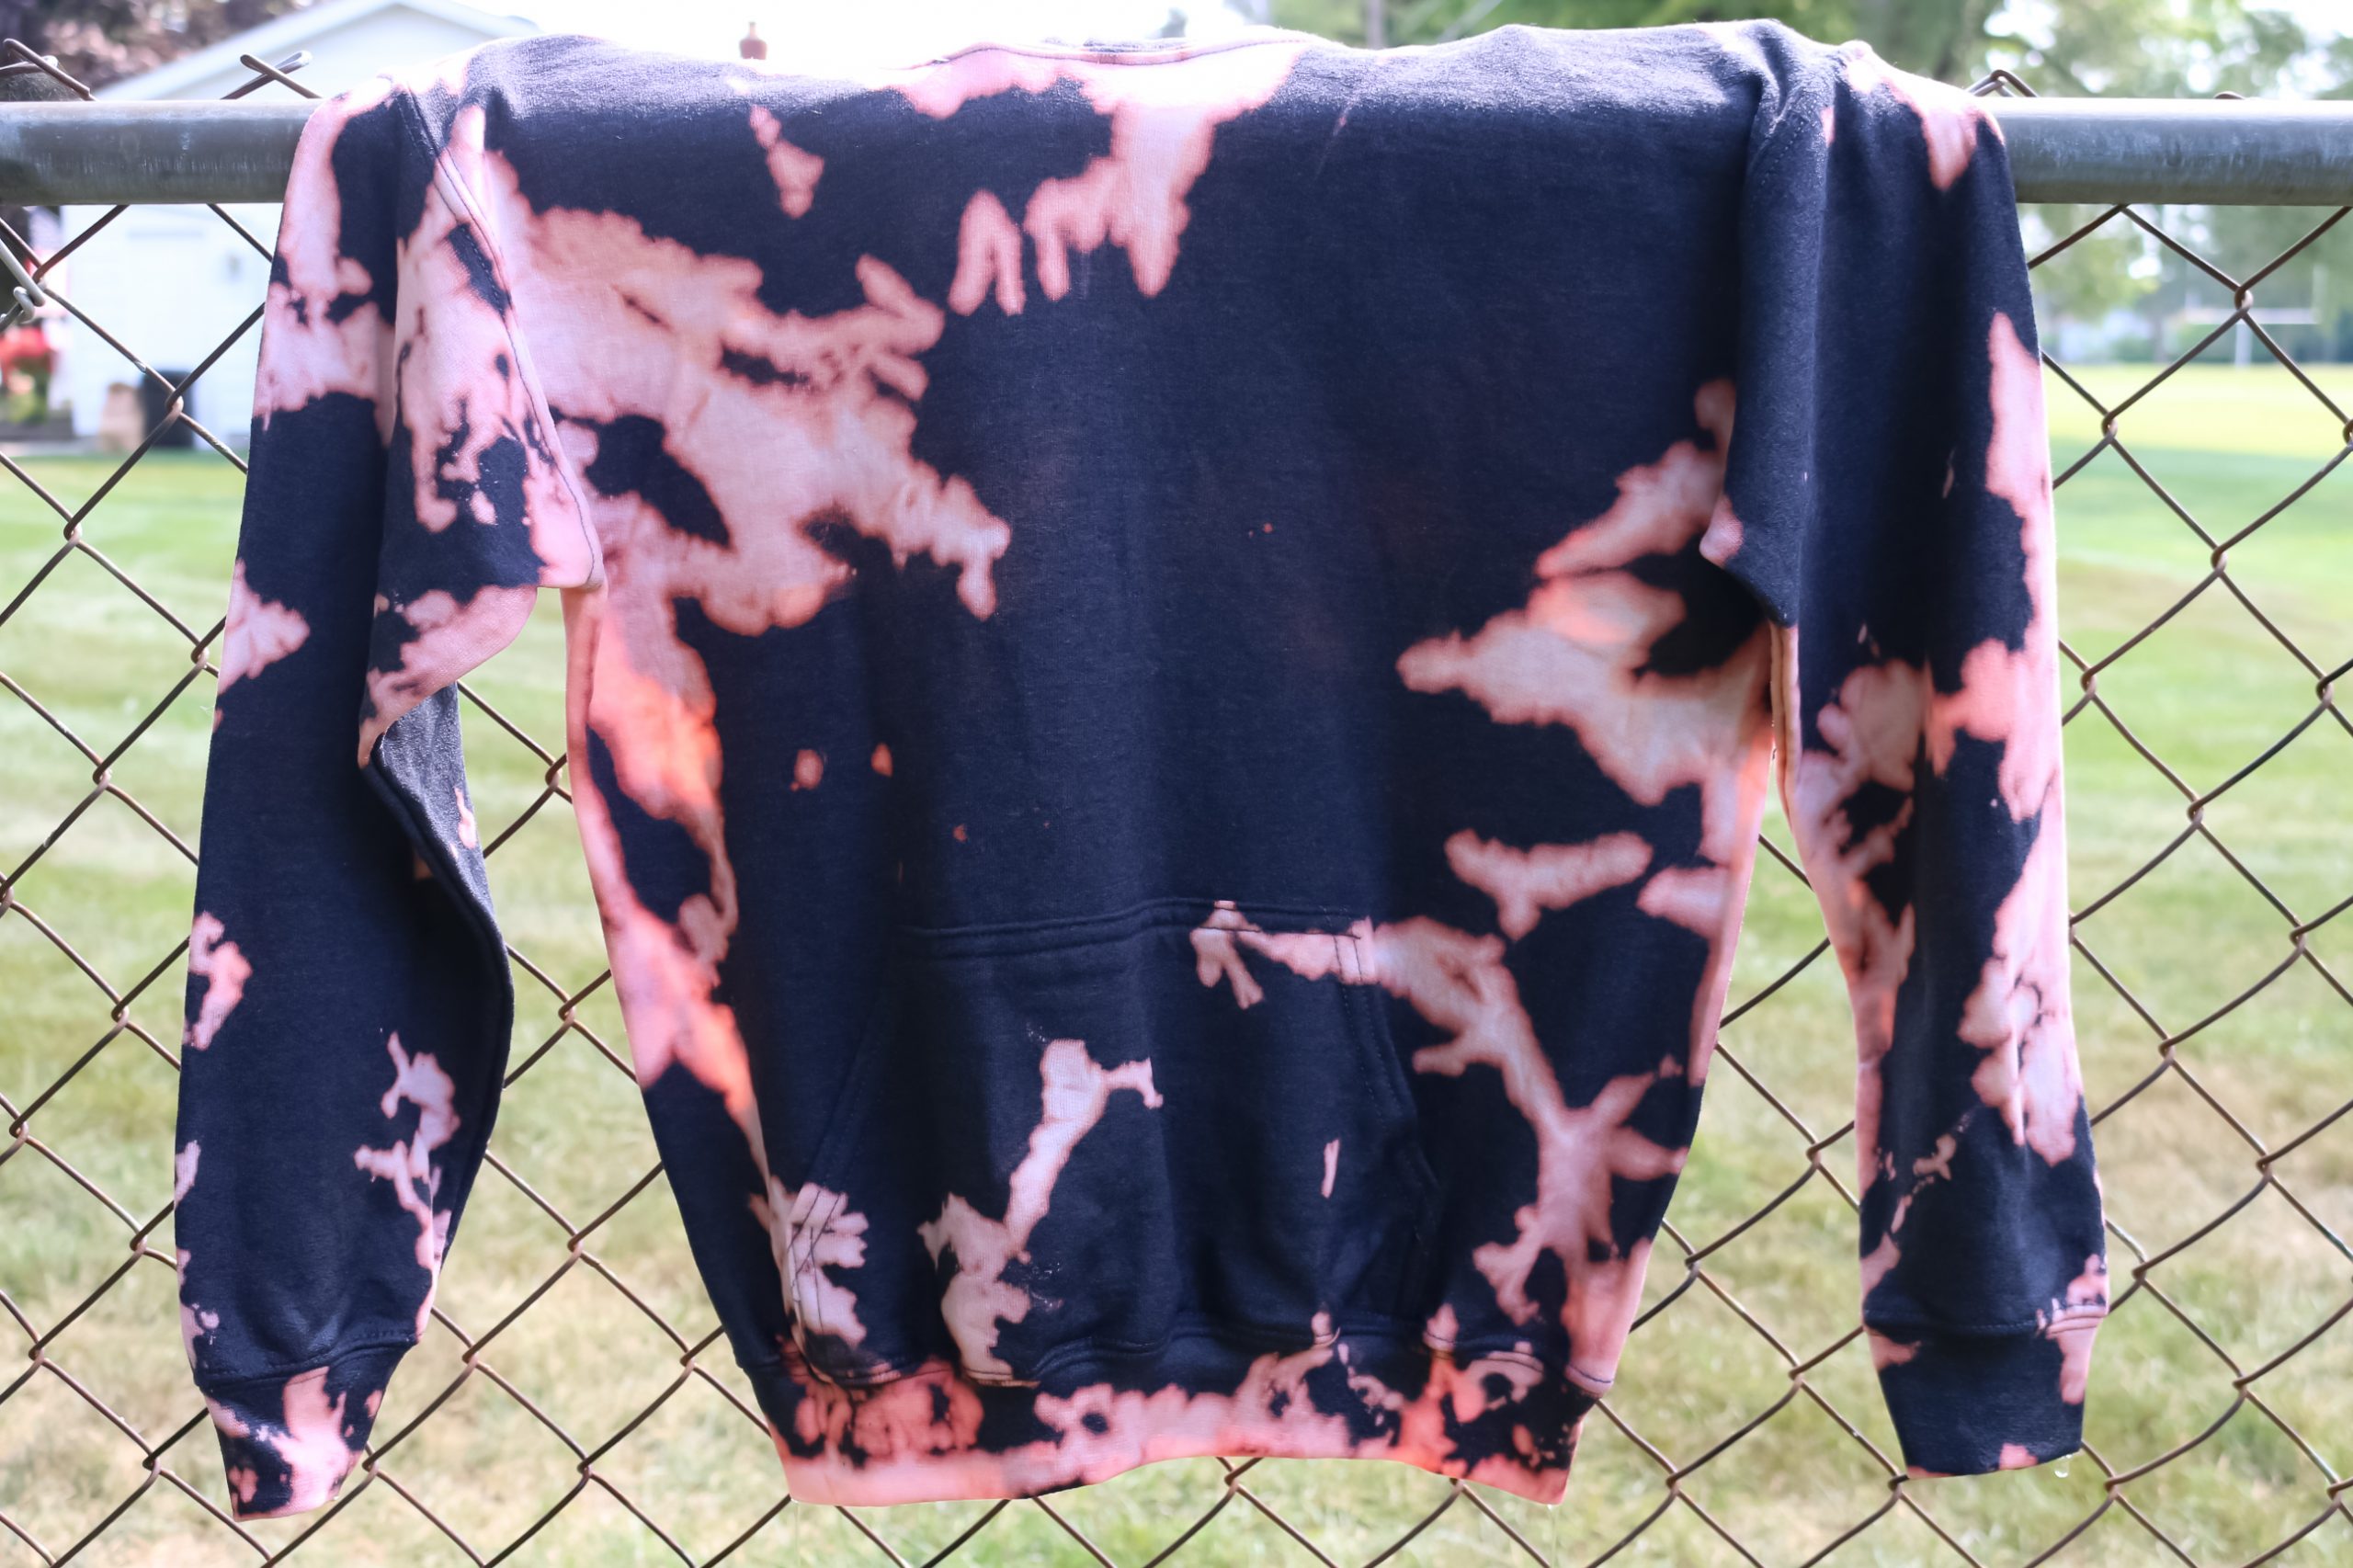
Remove the rubber bands from the shirt and rinse the shirt well in a tub of water. I wanted to make sure I wasn’t tracking any bleach water back into our house, so I fully rinsed the sweatshirt with the hose and let the shirt dry on the fence before bringing it indoors.
After rinsing the shirt, put it in washer BY ITSELF and wash it as you normally would. You can also dry the sweatshirt as you normally would. Now the hoodie is ready for vinyl!
ADDING HOLOGRAPHIC IRON-ON TO A SWEATSHIRT
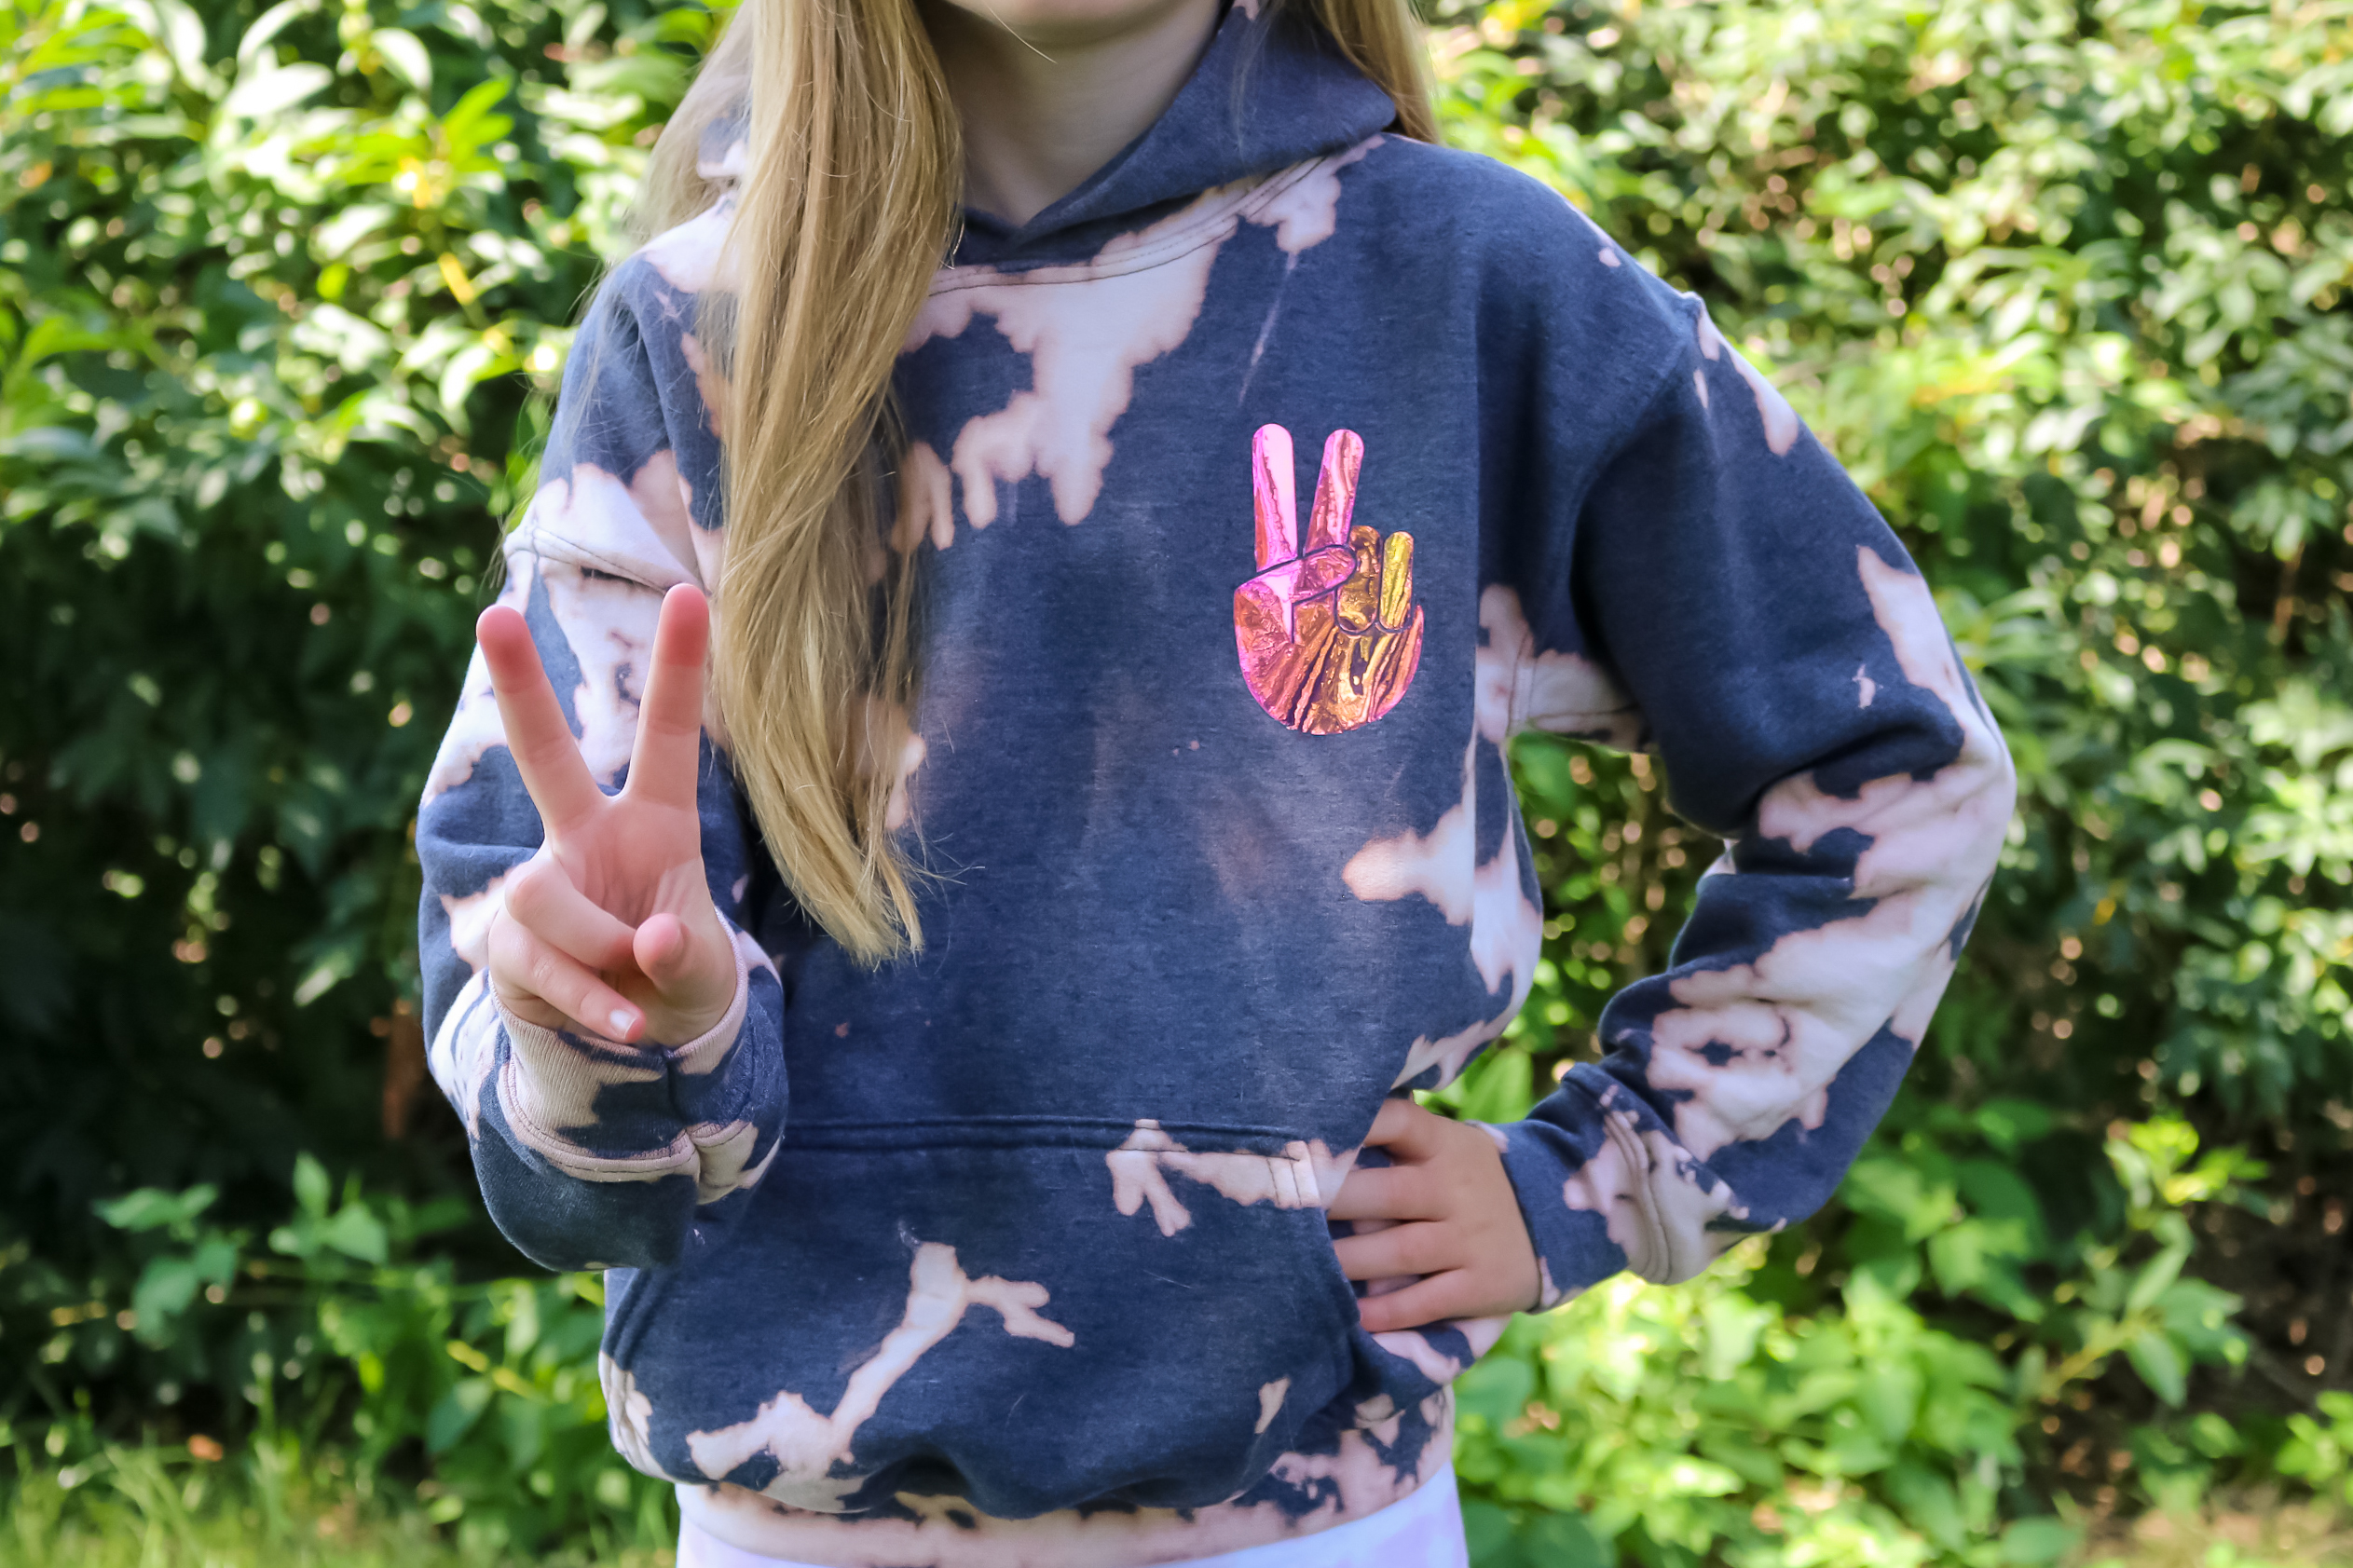
Once you have finished the whole bleach dyeing process, you can personalize the hoodie even farther by adding designs with iron-on vinyl. I used holographic vinyl to make the design really stand out.
Adding Holographic Iron-On to a Hoodie
- Determine where you will place the vinyl and measure the area.
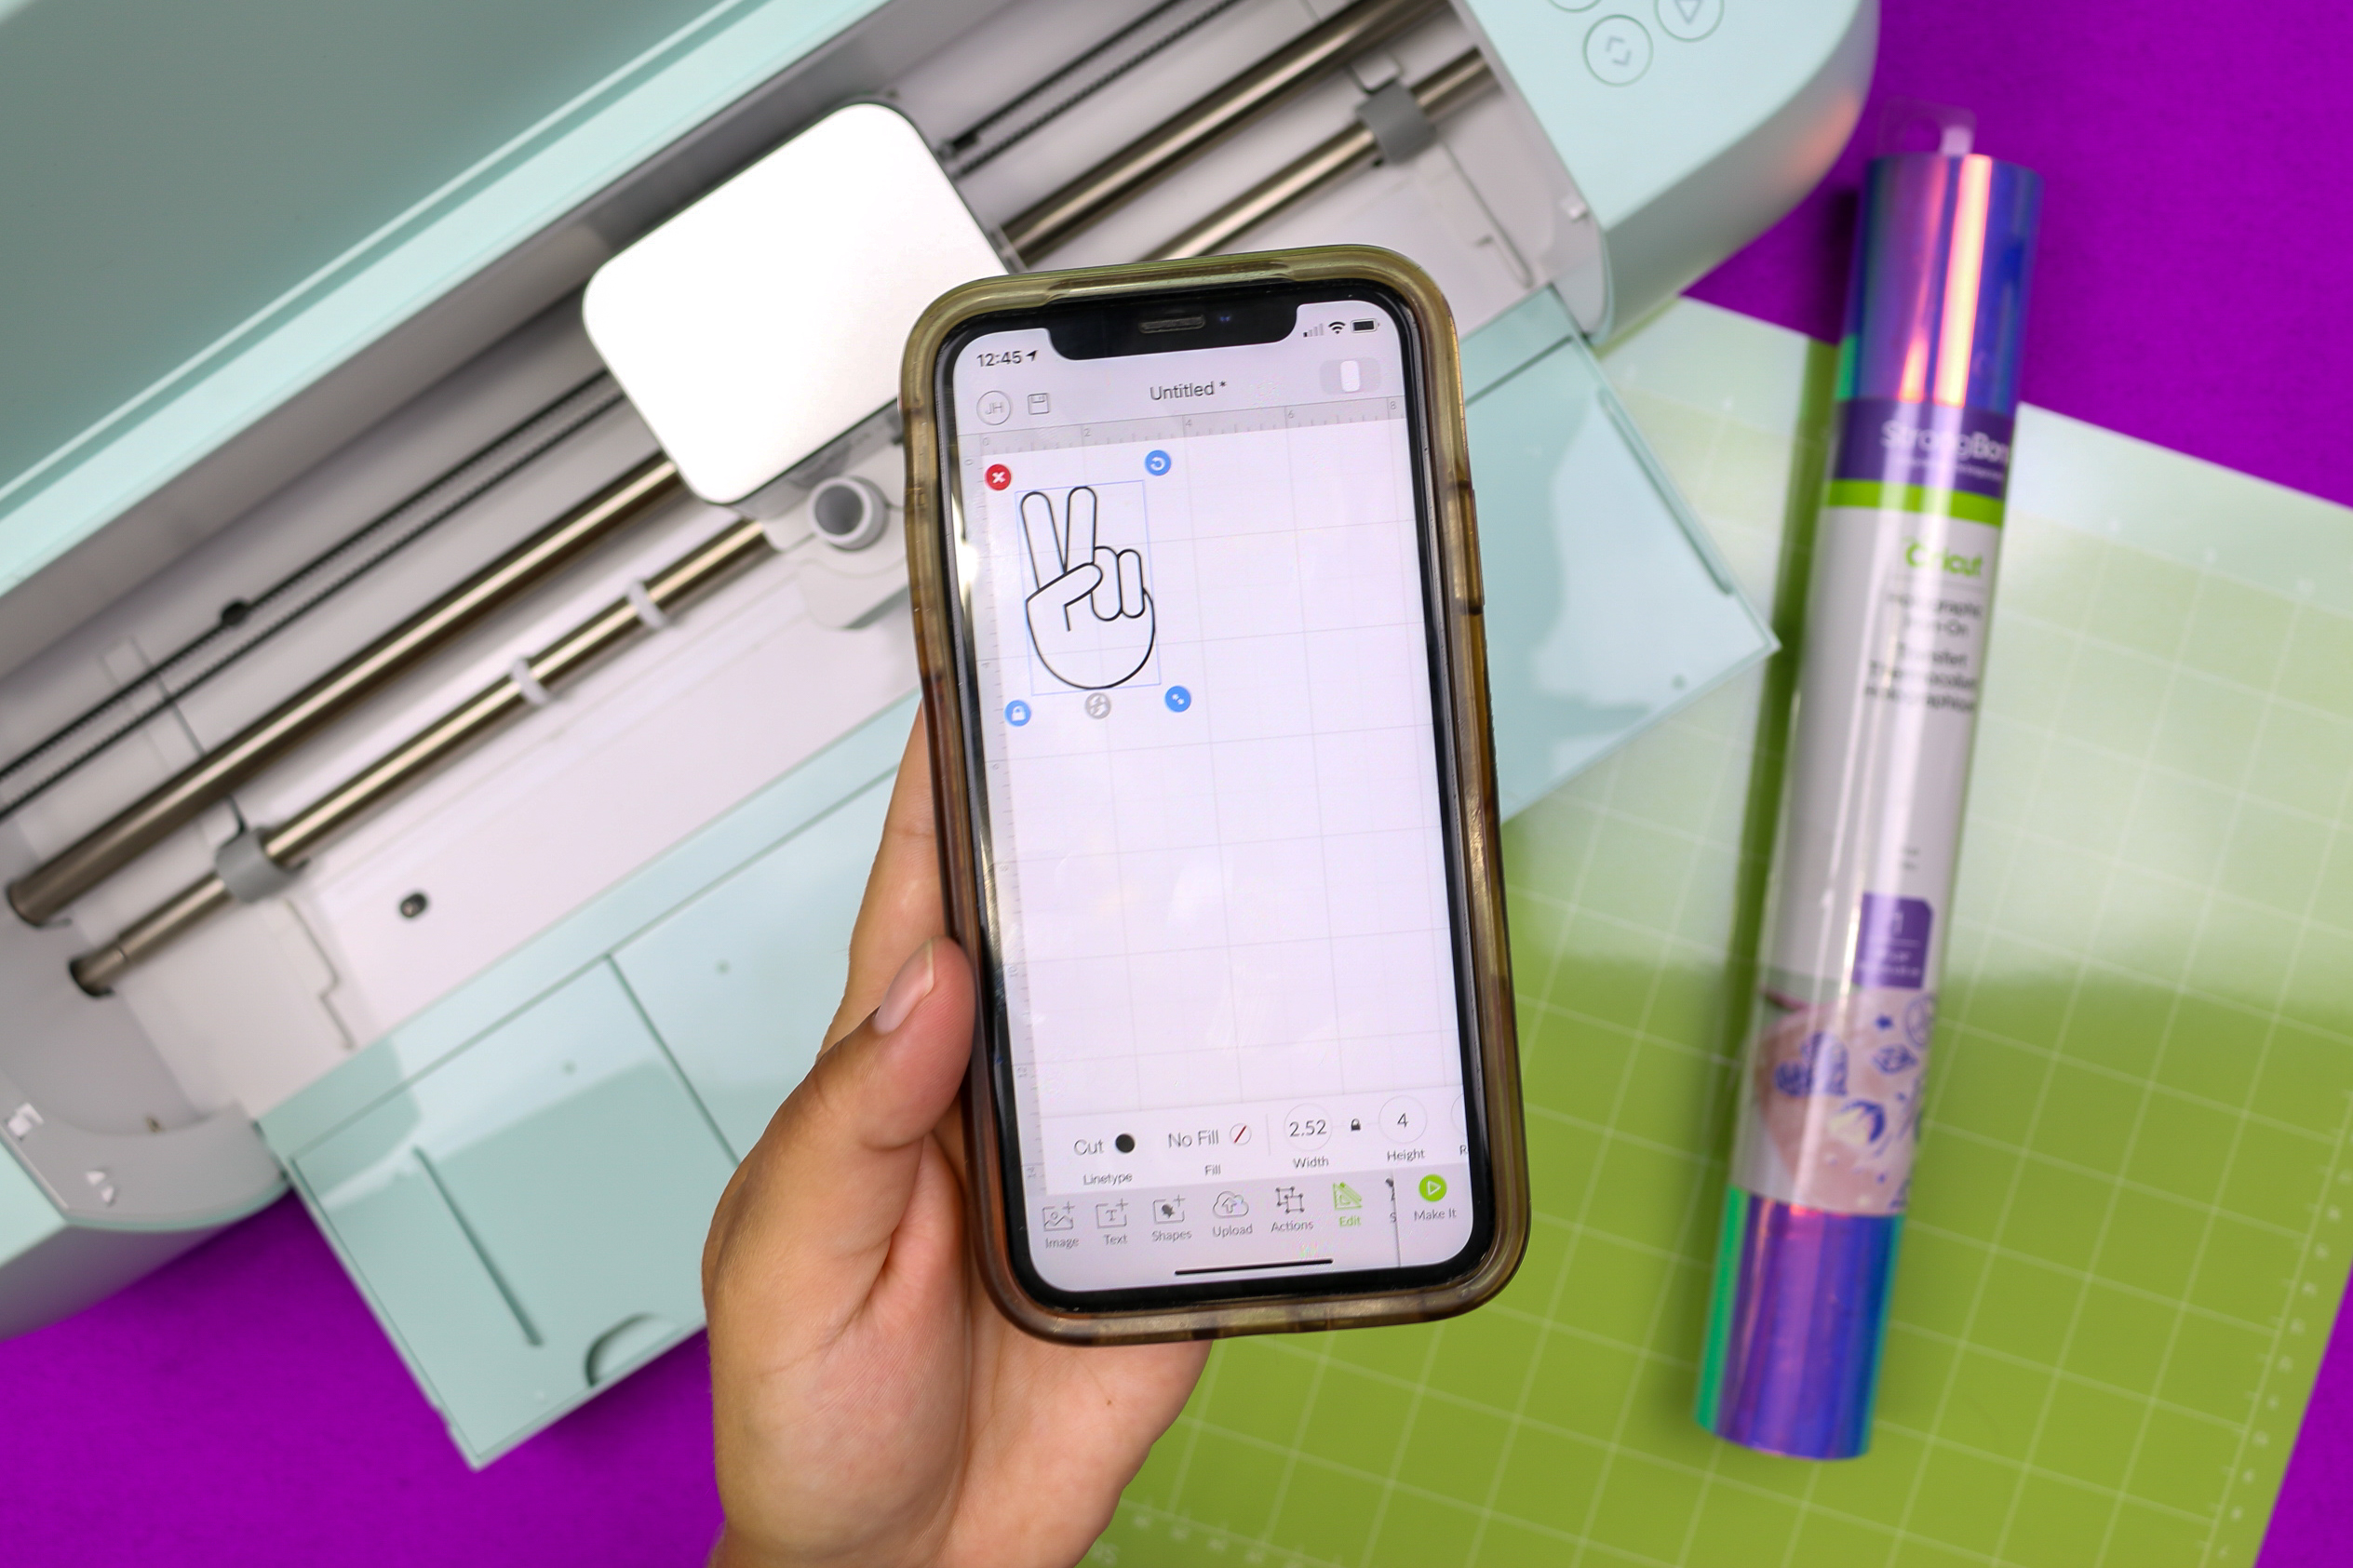
Since the “pocket” area of the sweatshirt wasn’t bleached, I chose that location for the vinyl design.

- Choose an image from Cricut Access, insert it into a canvas, and resize to fit the measurement you just found.

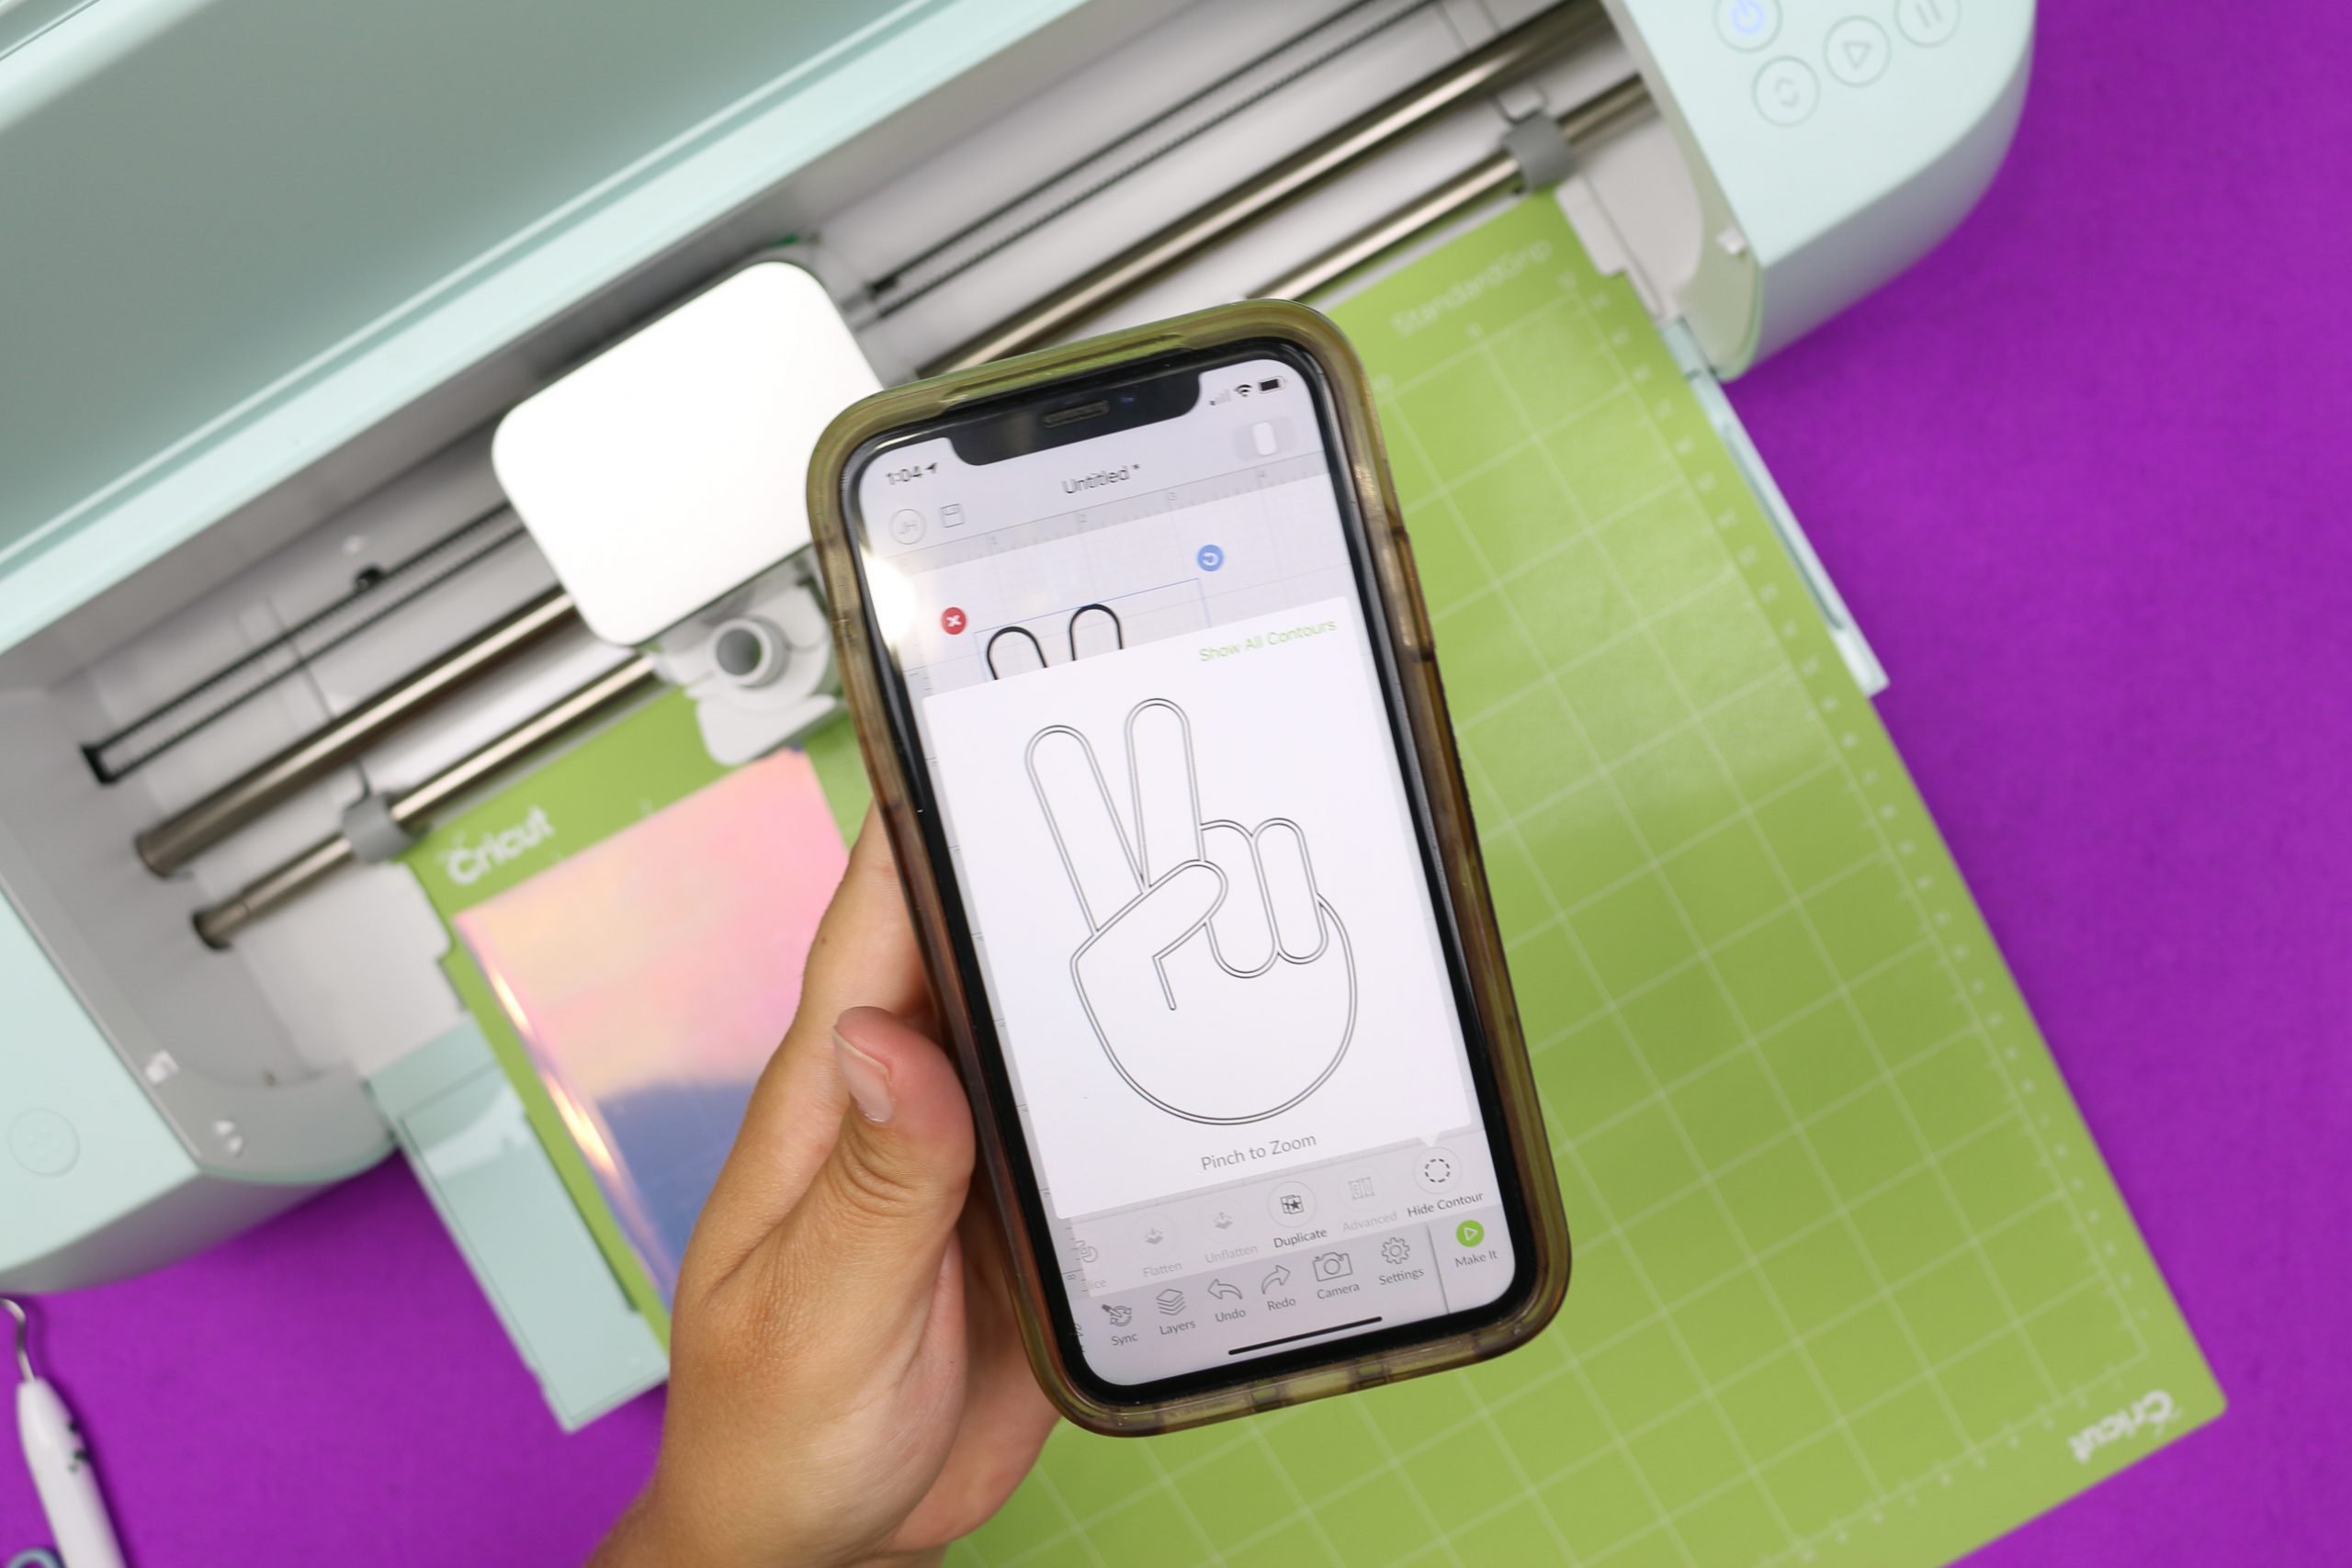
- Optional: Hide contours to customize the design.
I just wanted to cut out the interior parts of this peace sign design, so I removed the outer lines of the Access design.

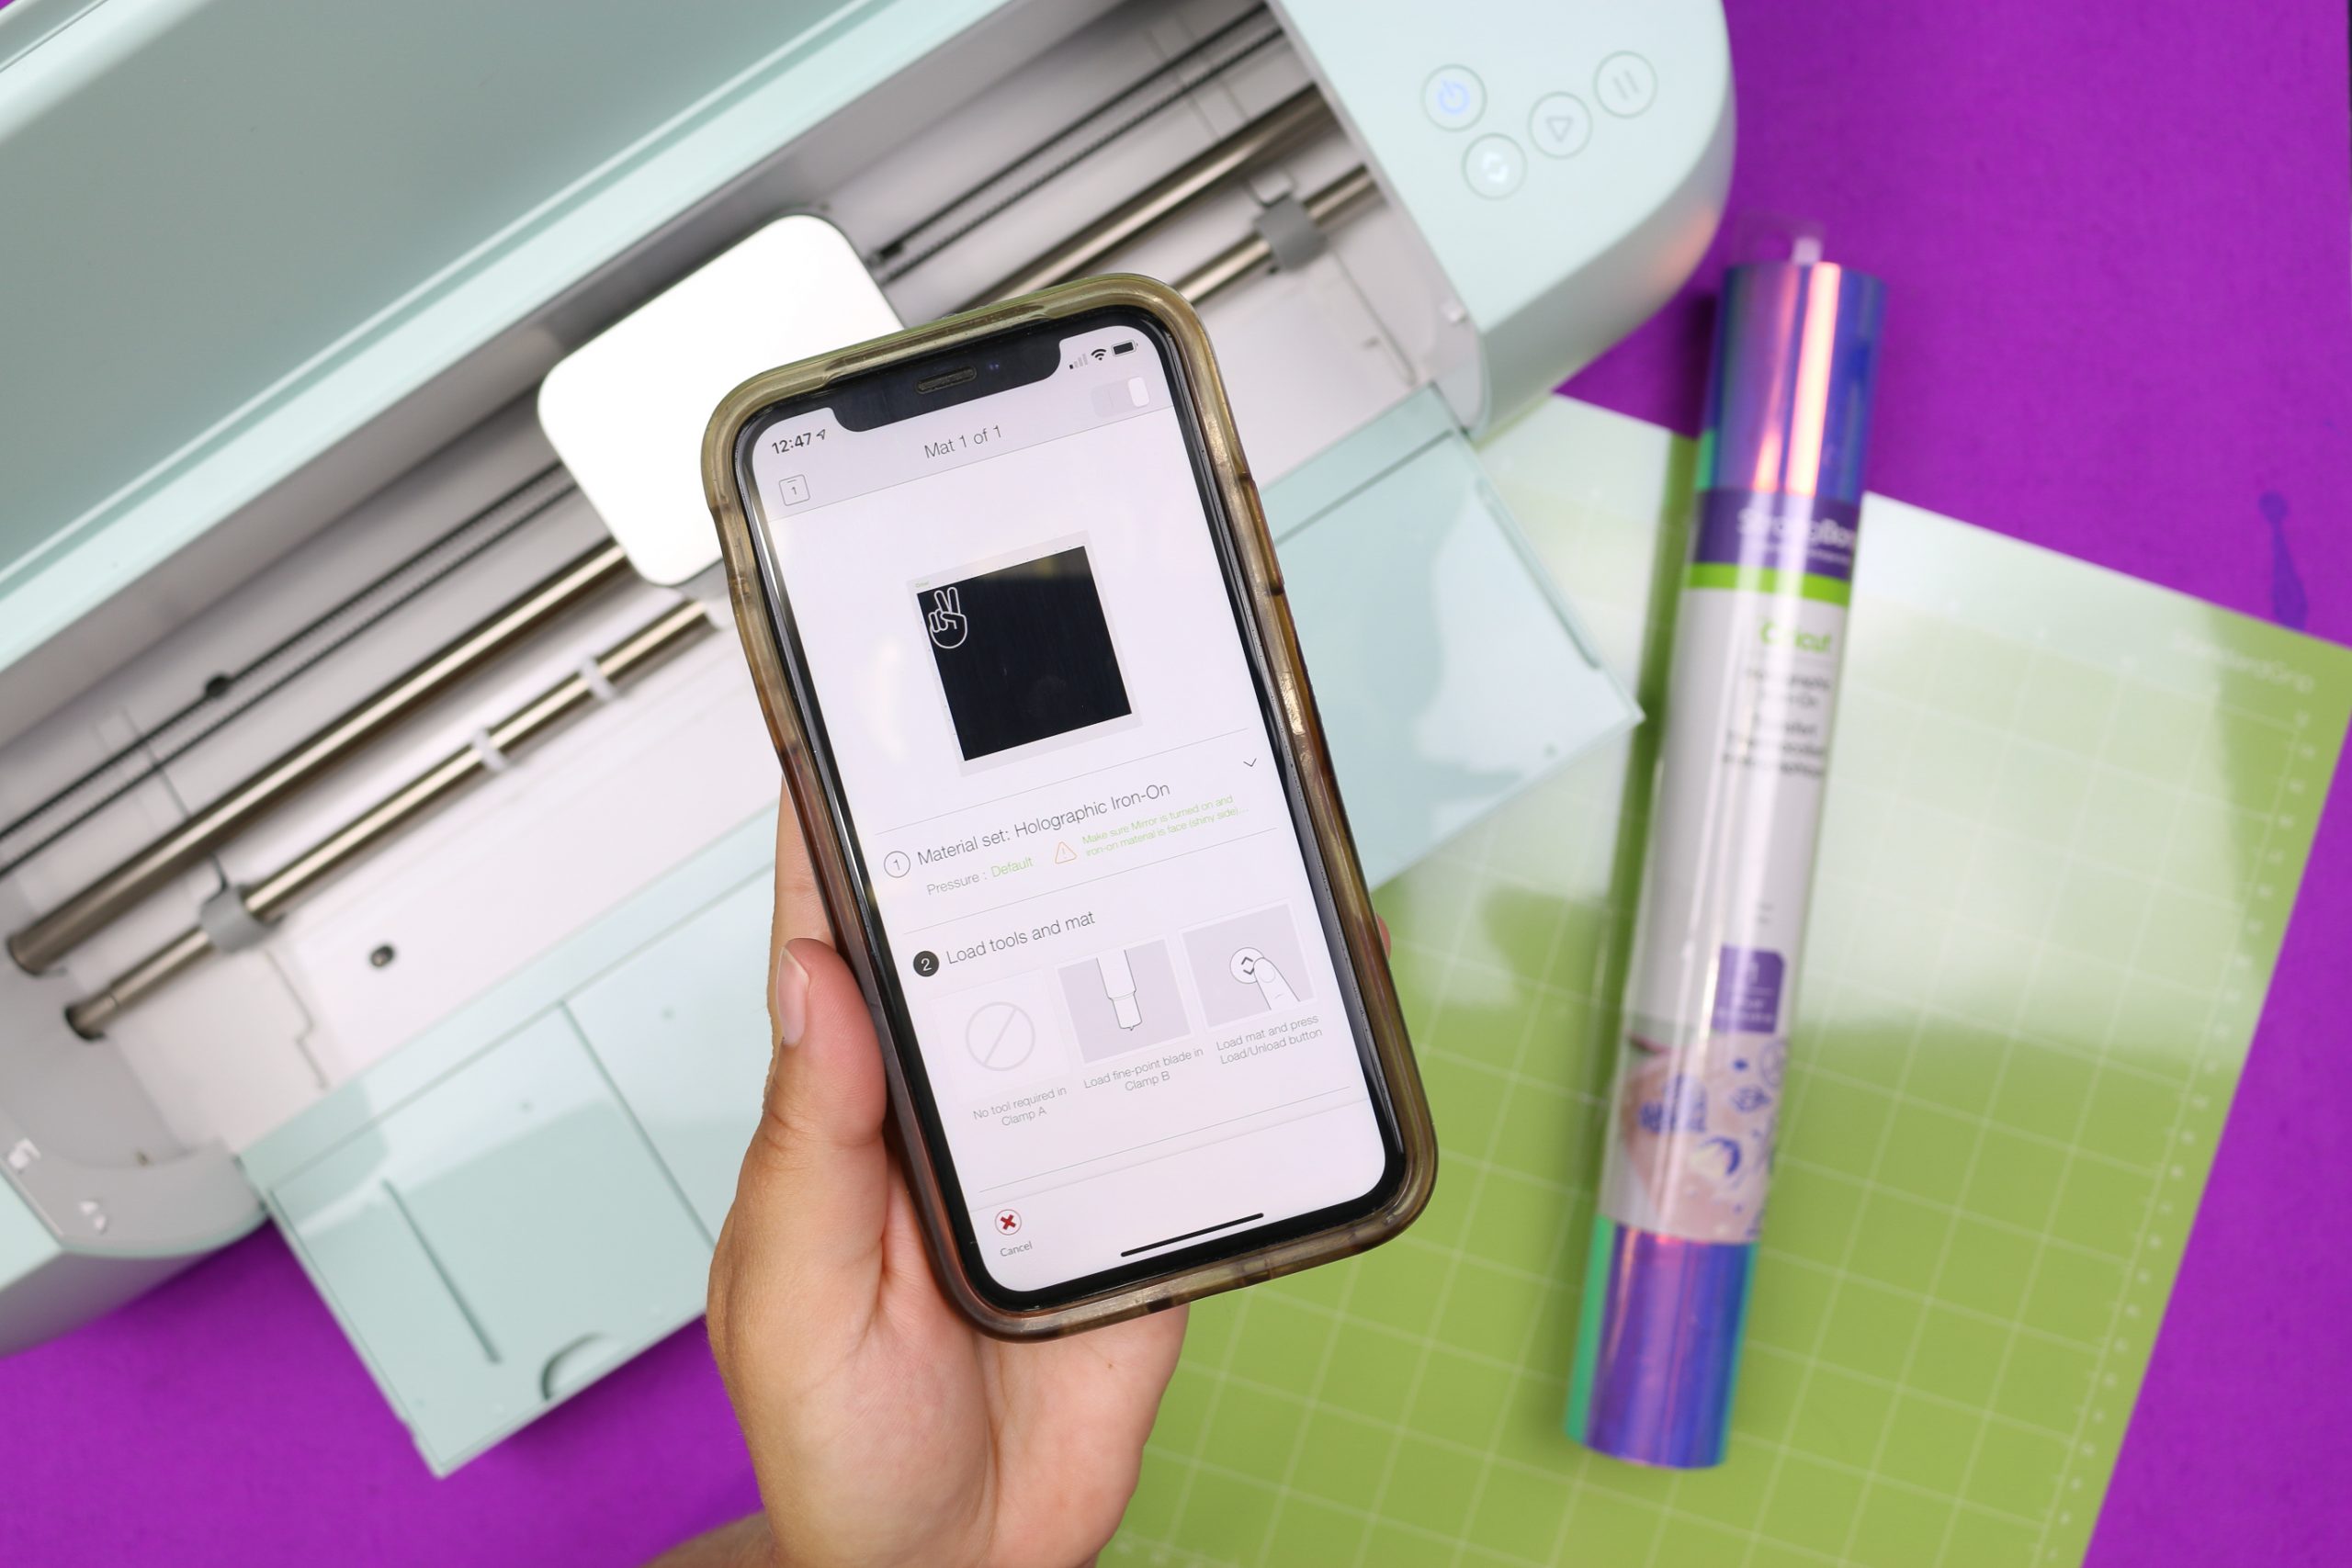
- Send the design to cut. Be sure to choose Holographic Iron-on from the list of materials and to mirror the design!

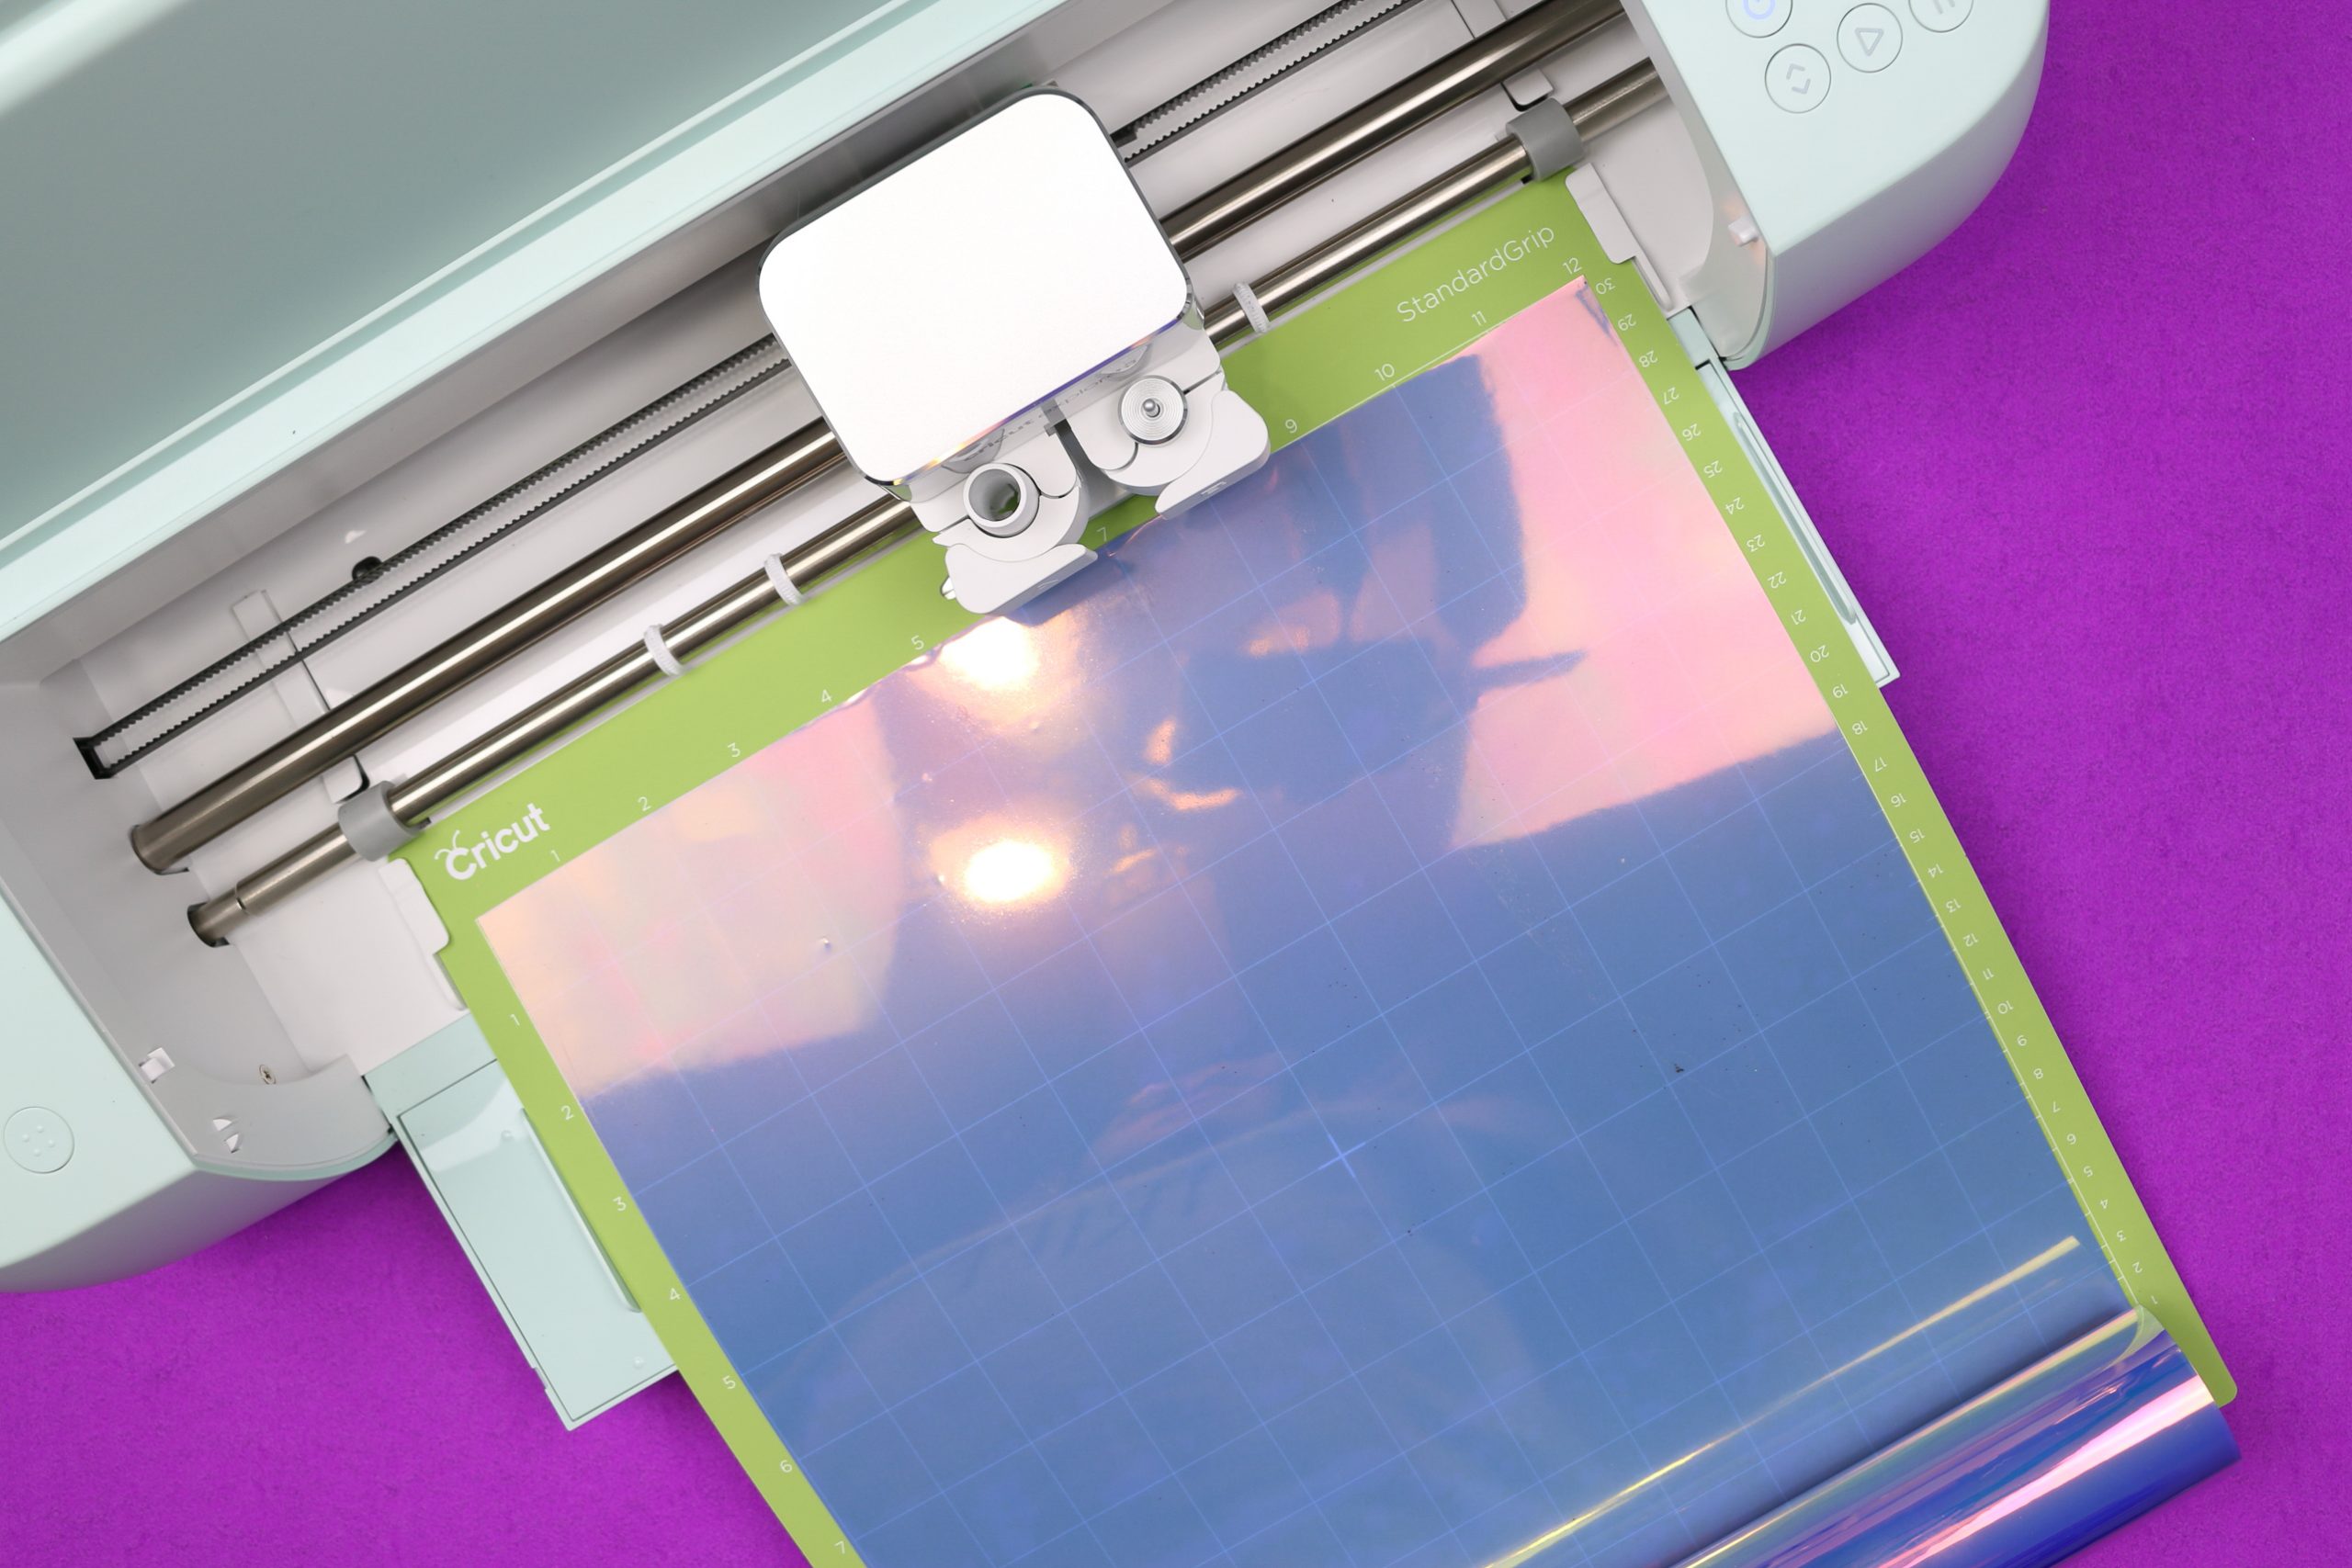
- Load your machine with Holographic Iron-On, making sure the shinier side is stuck down to the cutting mat.

- Cut and weed the design. Holographic vinyl is a bit trickier to weed than Everyday Iron-On, so take your time!

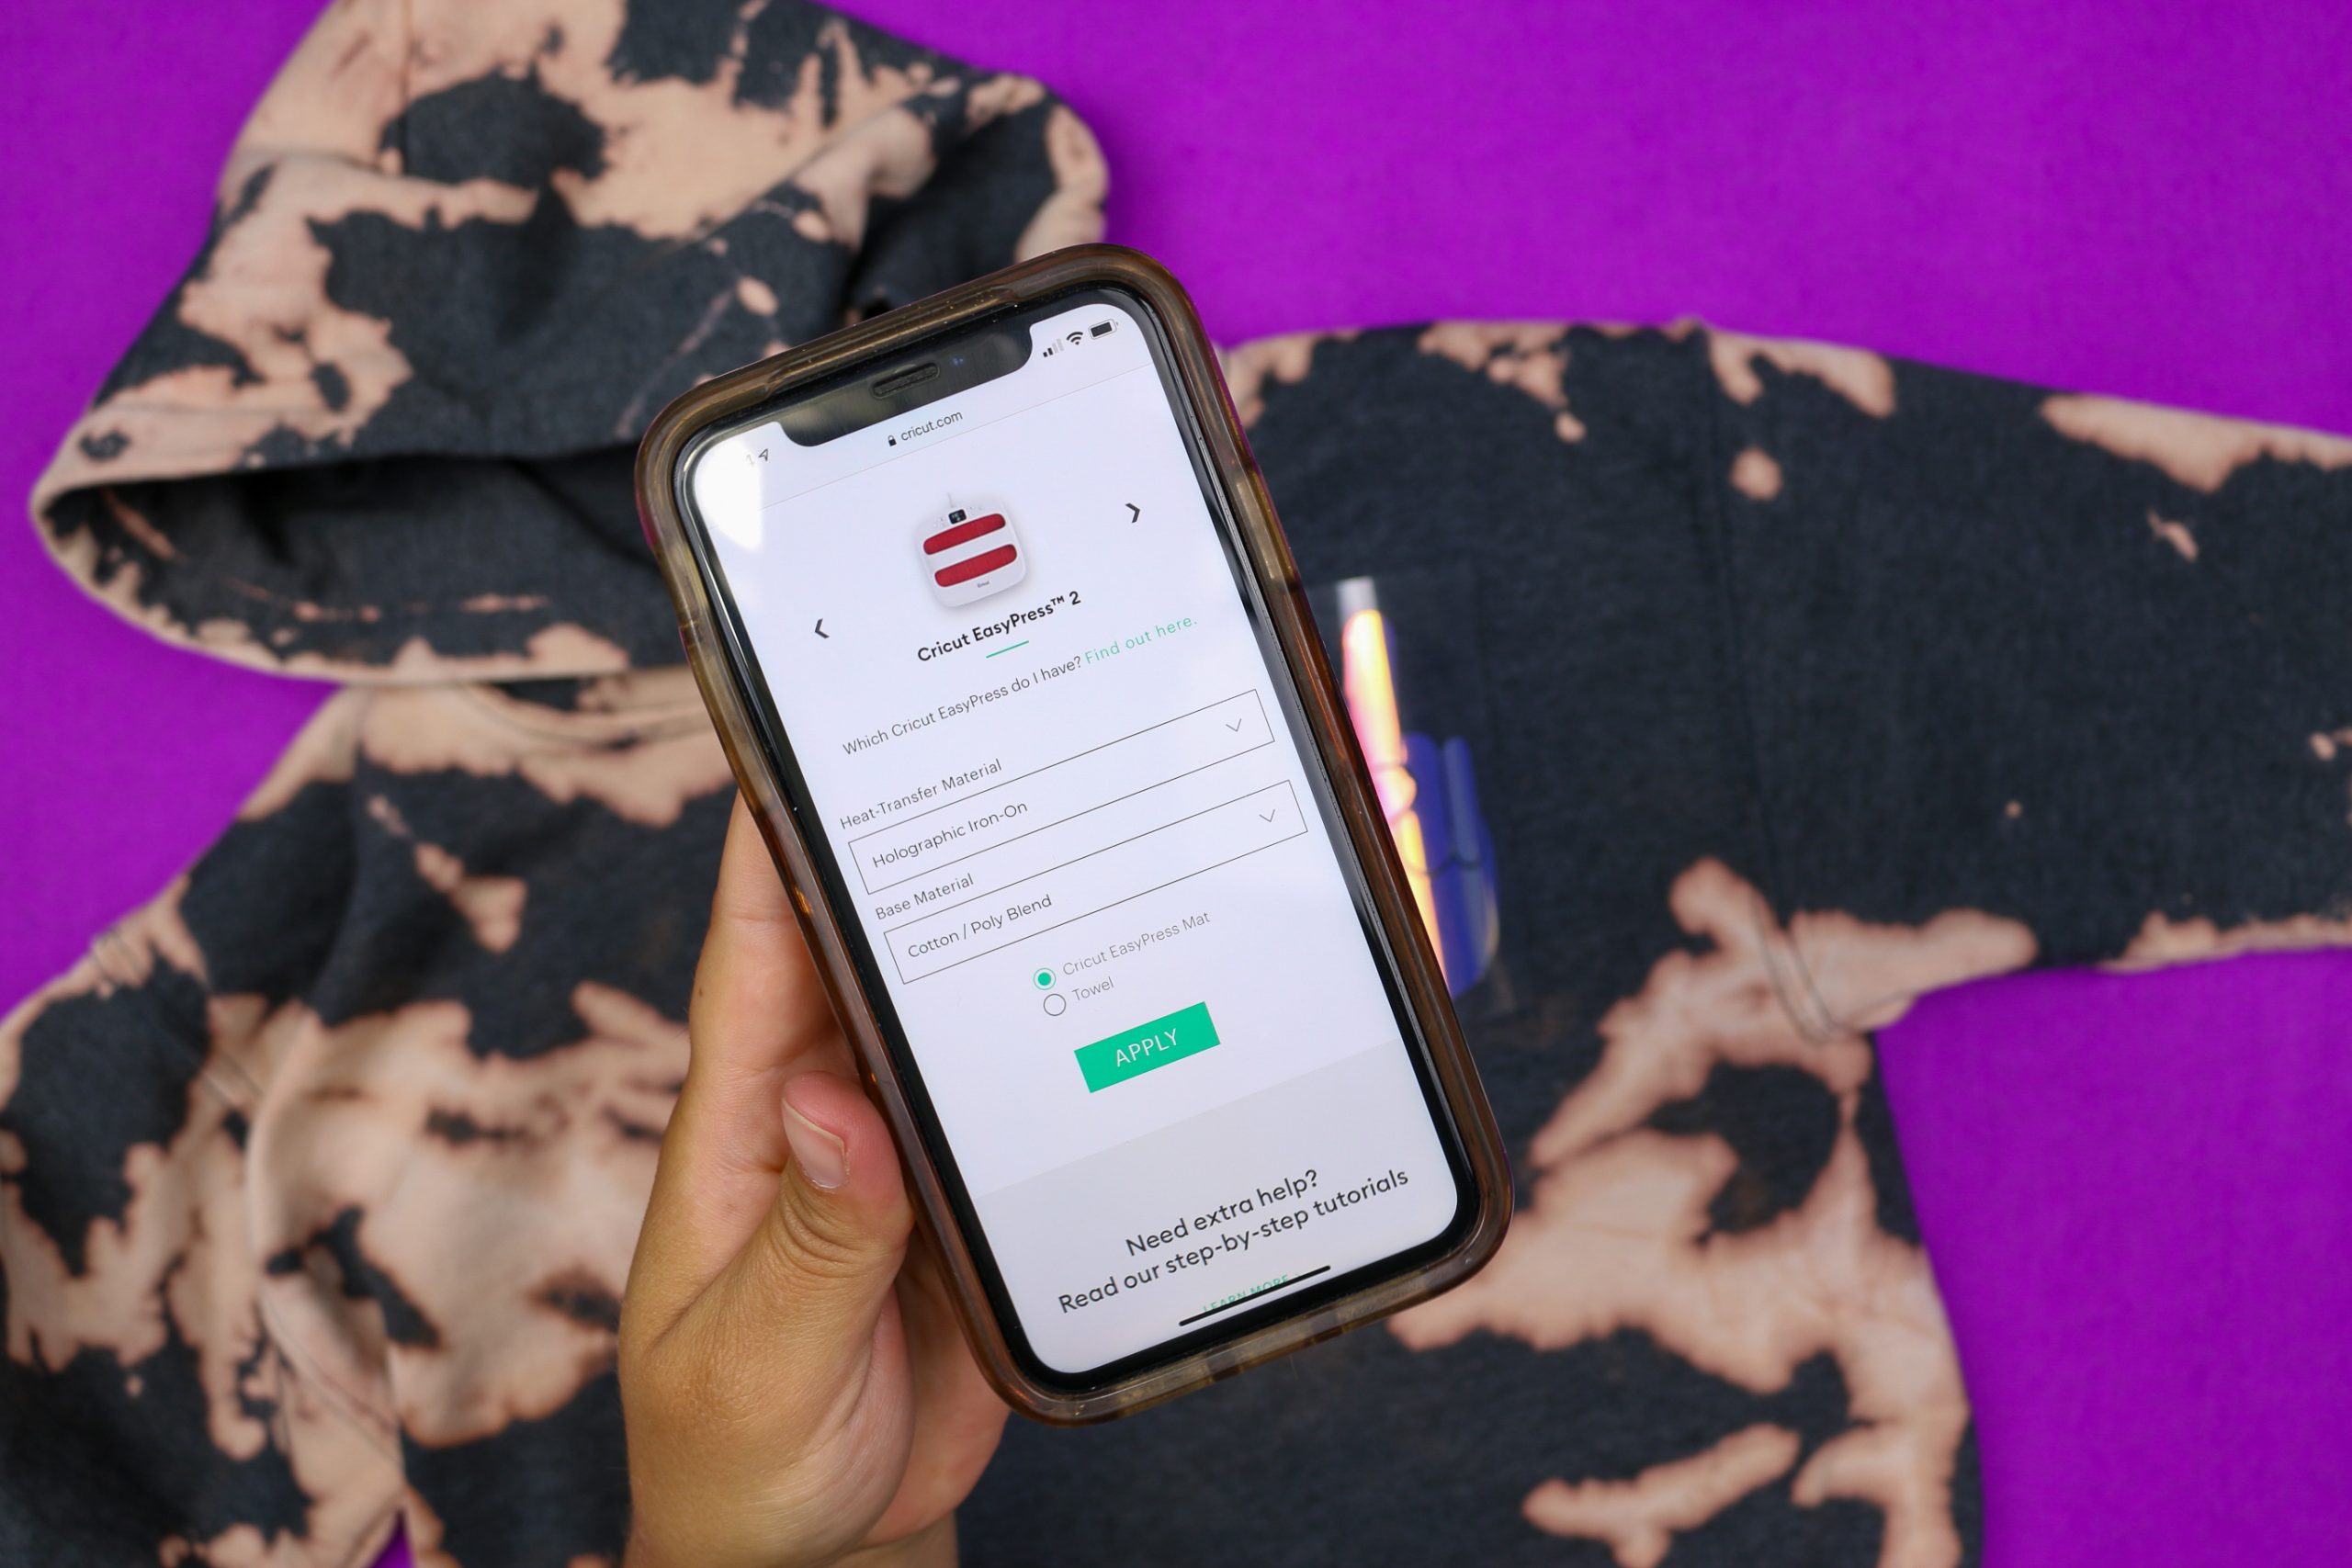
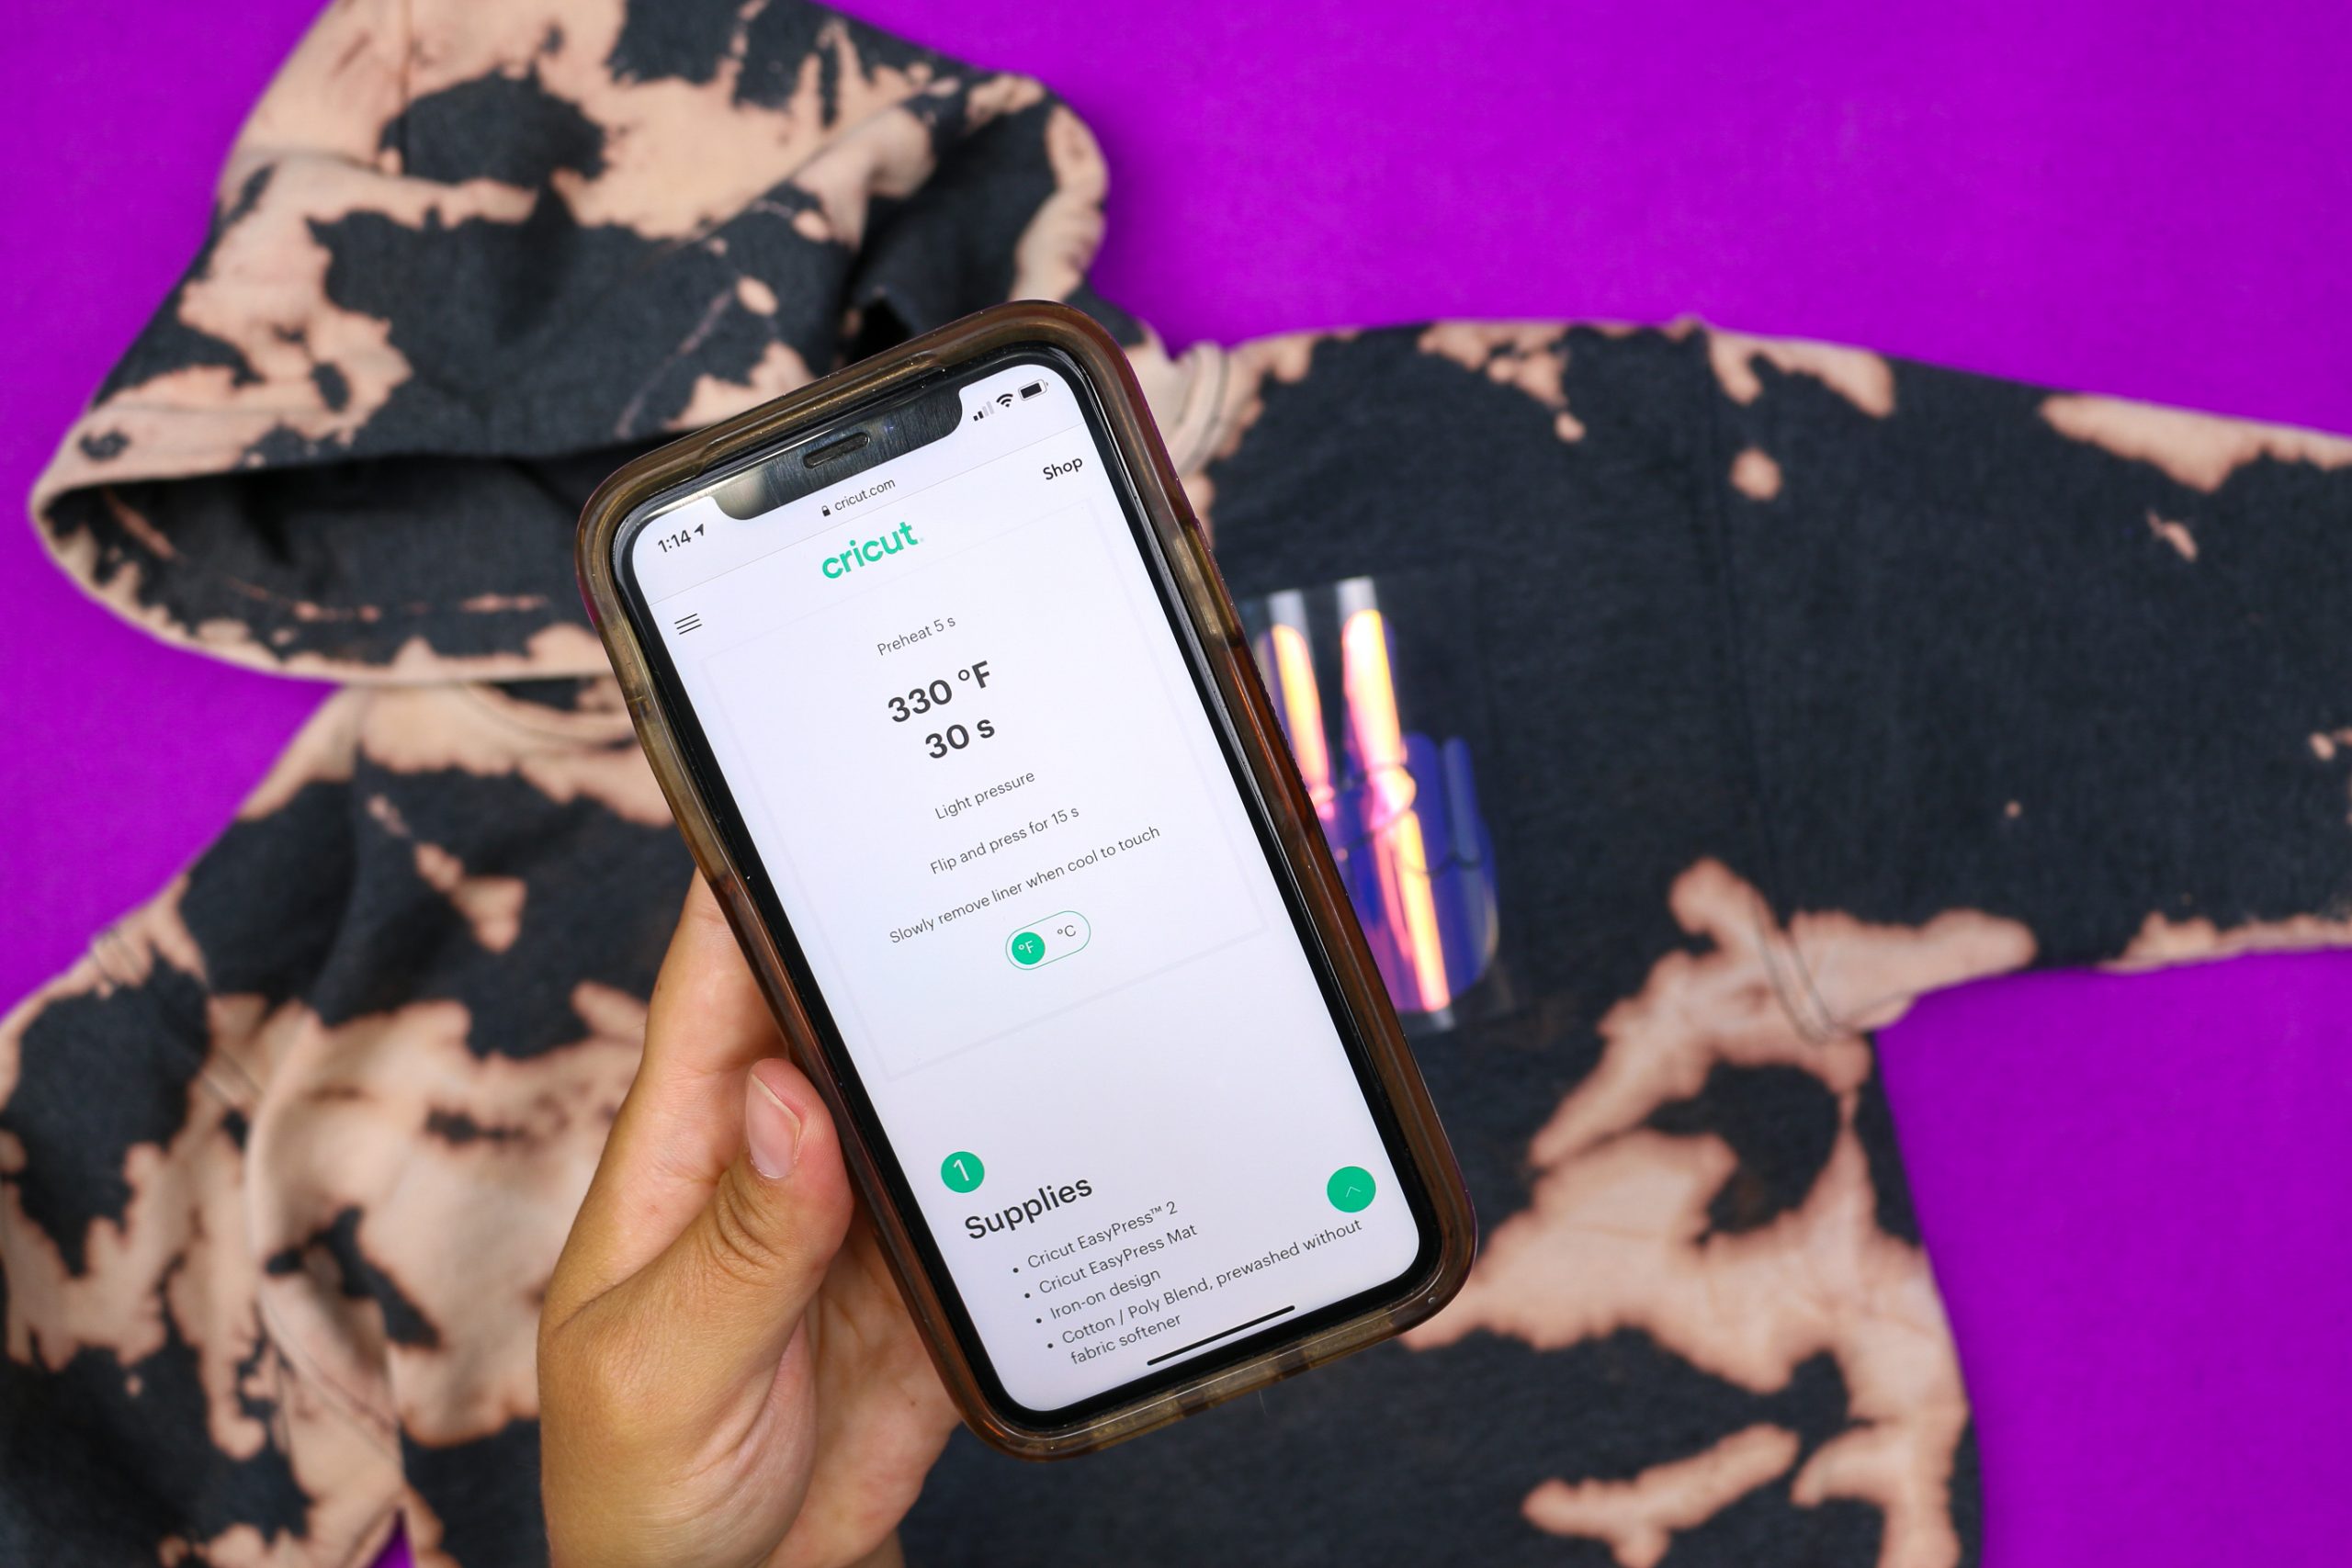
- Enter the appropriate information for your materials into the Cricut Heat Guide.

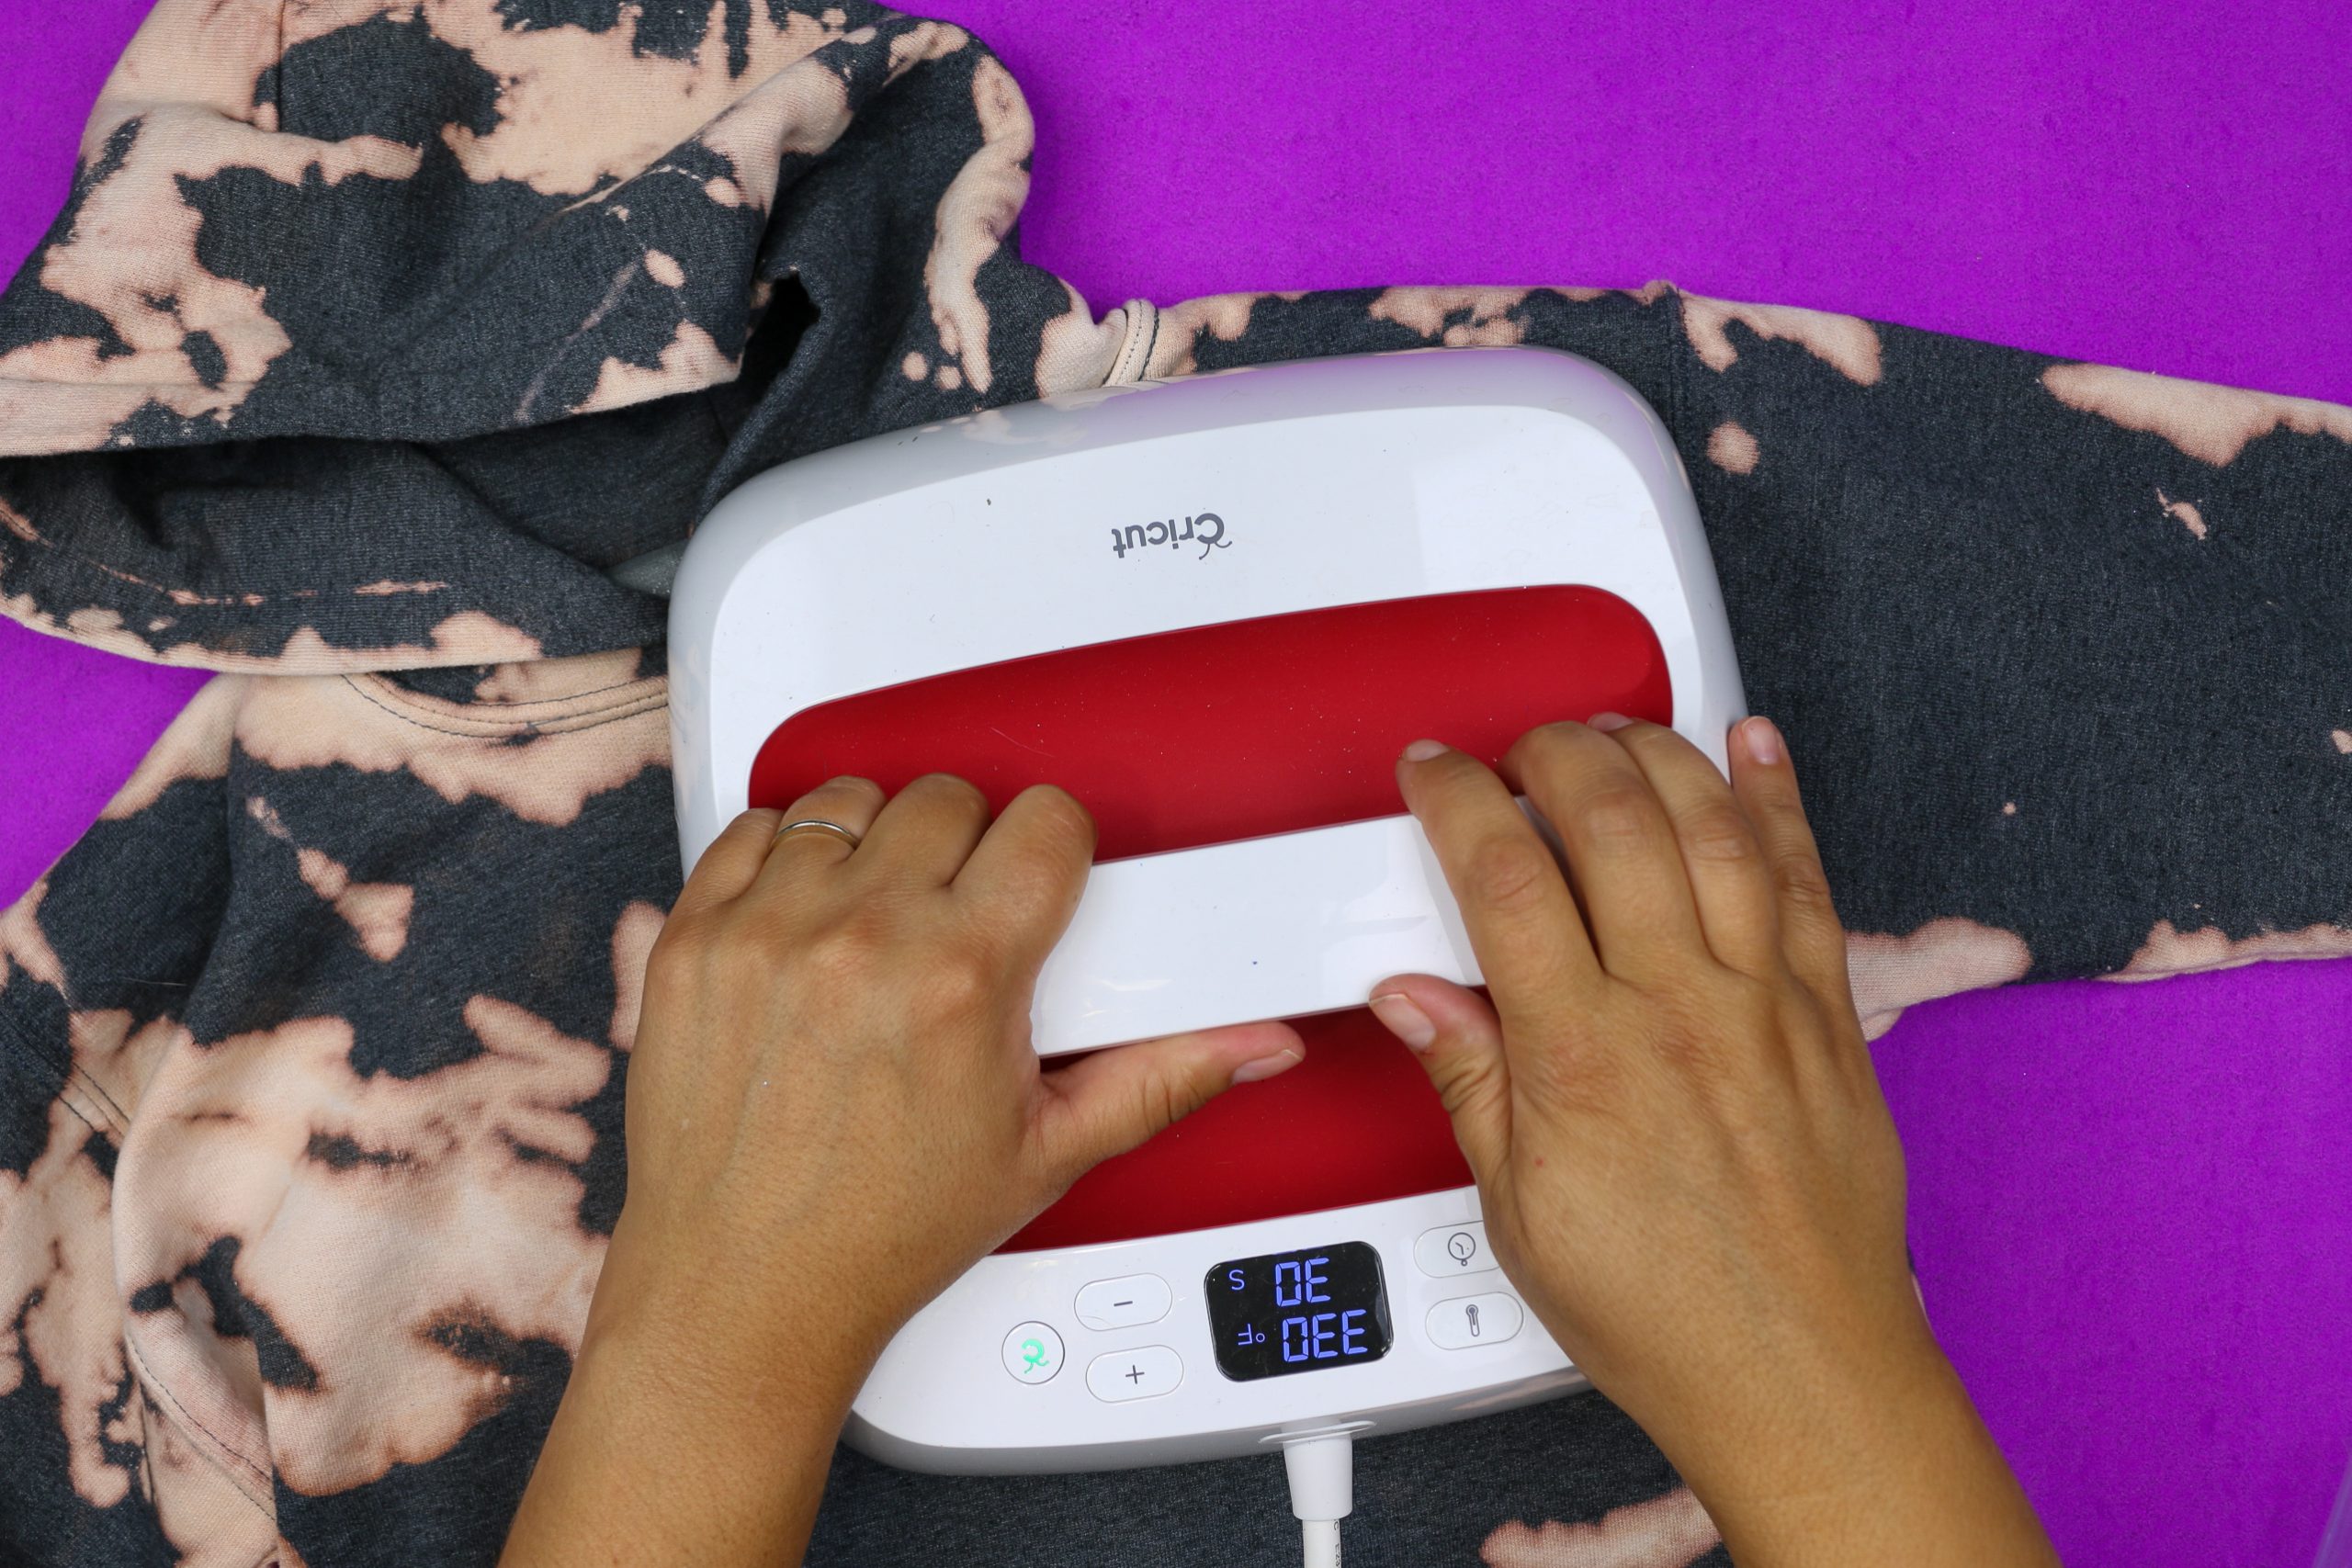
- Use the guide to determine the correct settings to program into your EasyPress.

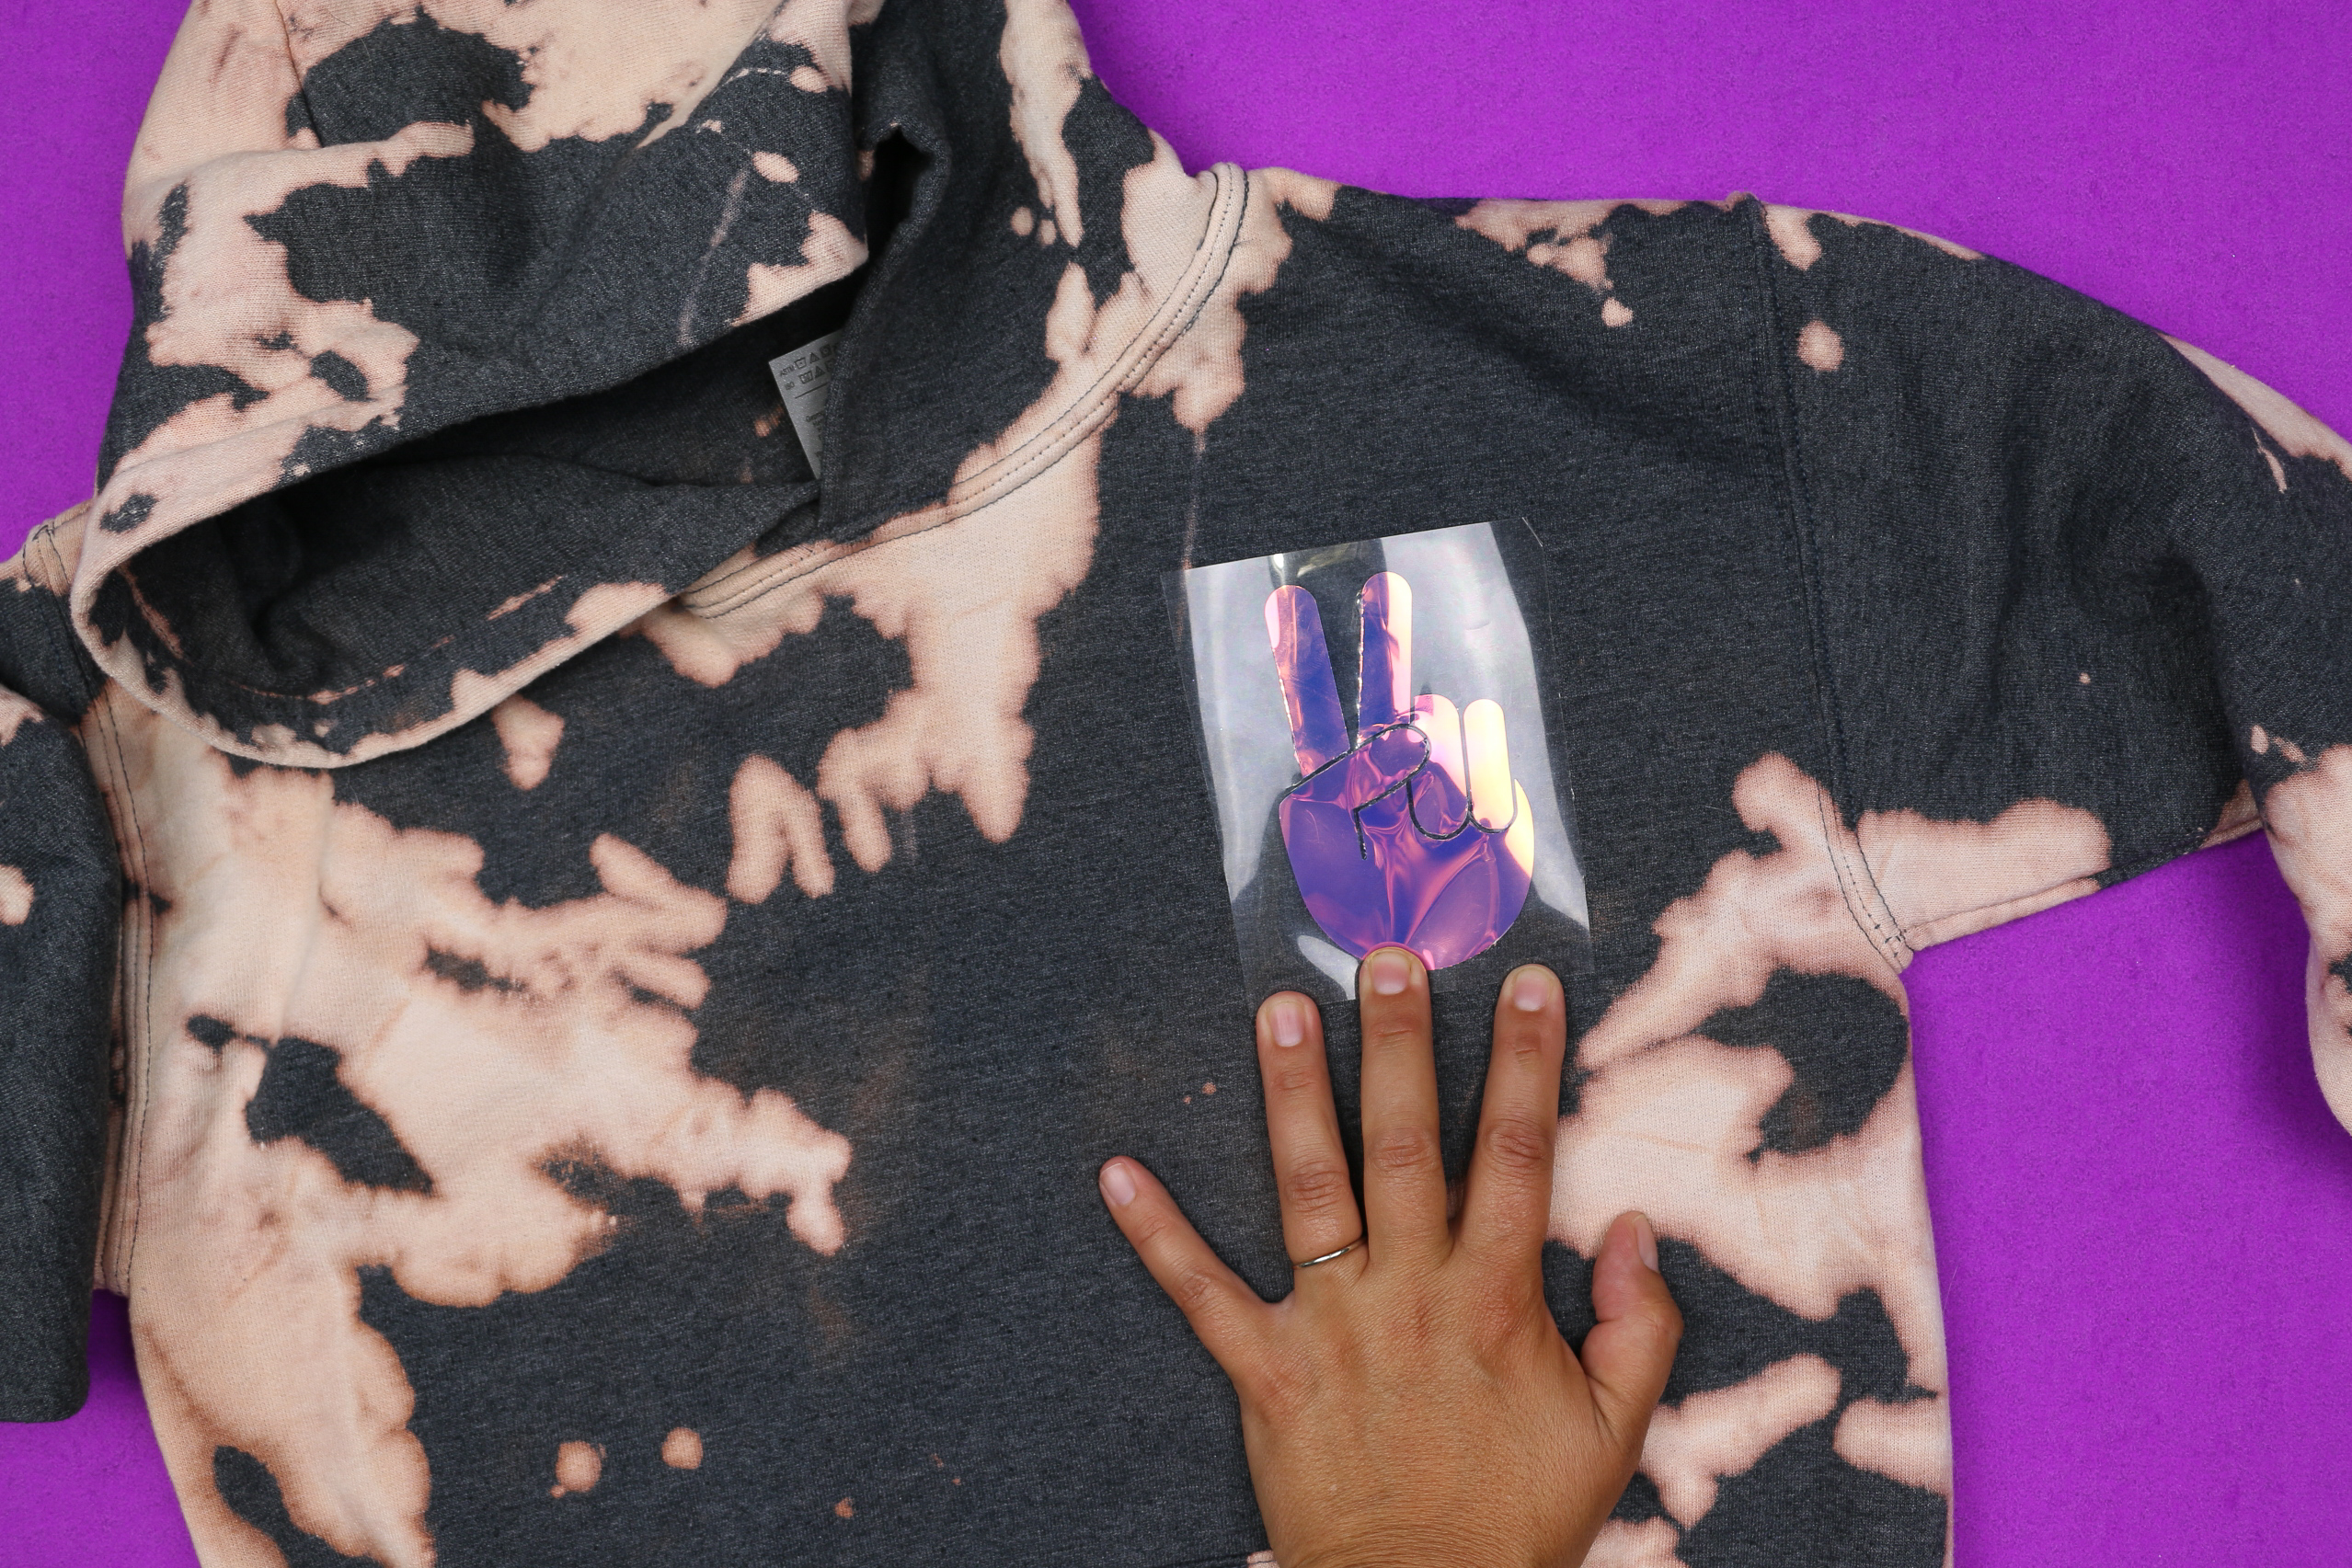
- Position the vinyl on the sweatshirt and heat it according to the instructions found in the Heat Guide. This may include heating both the front and the back of the sweatshirt.

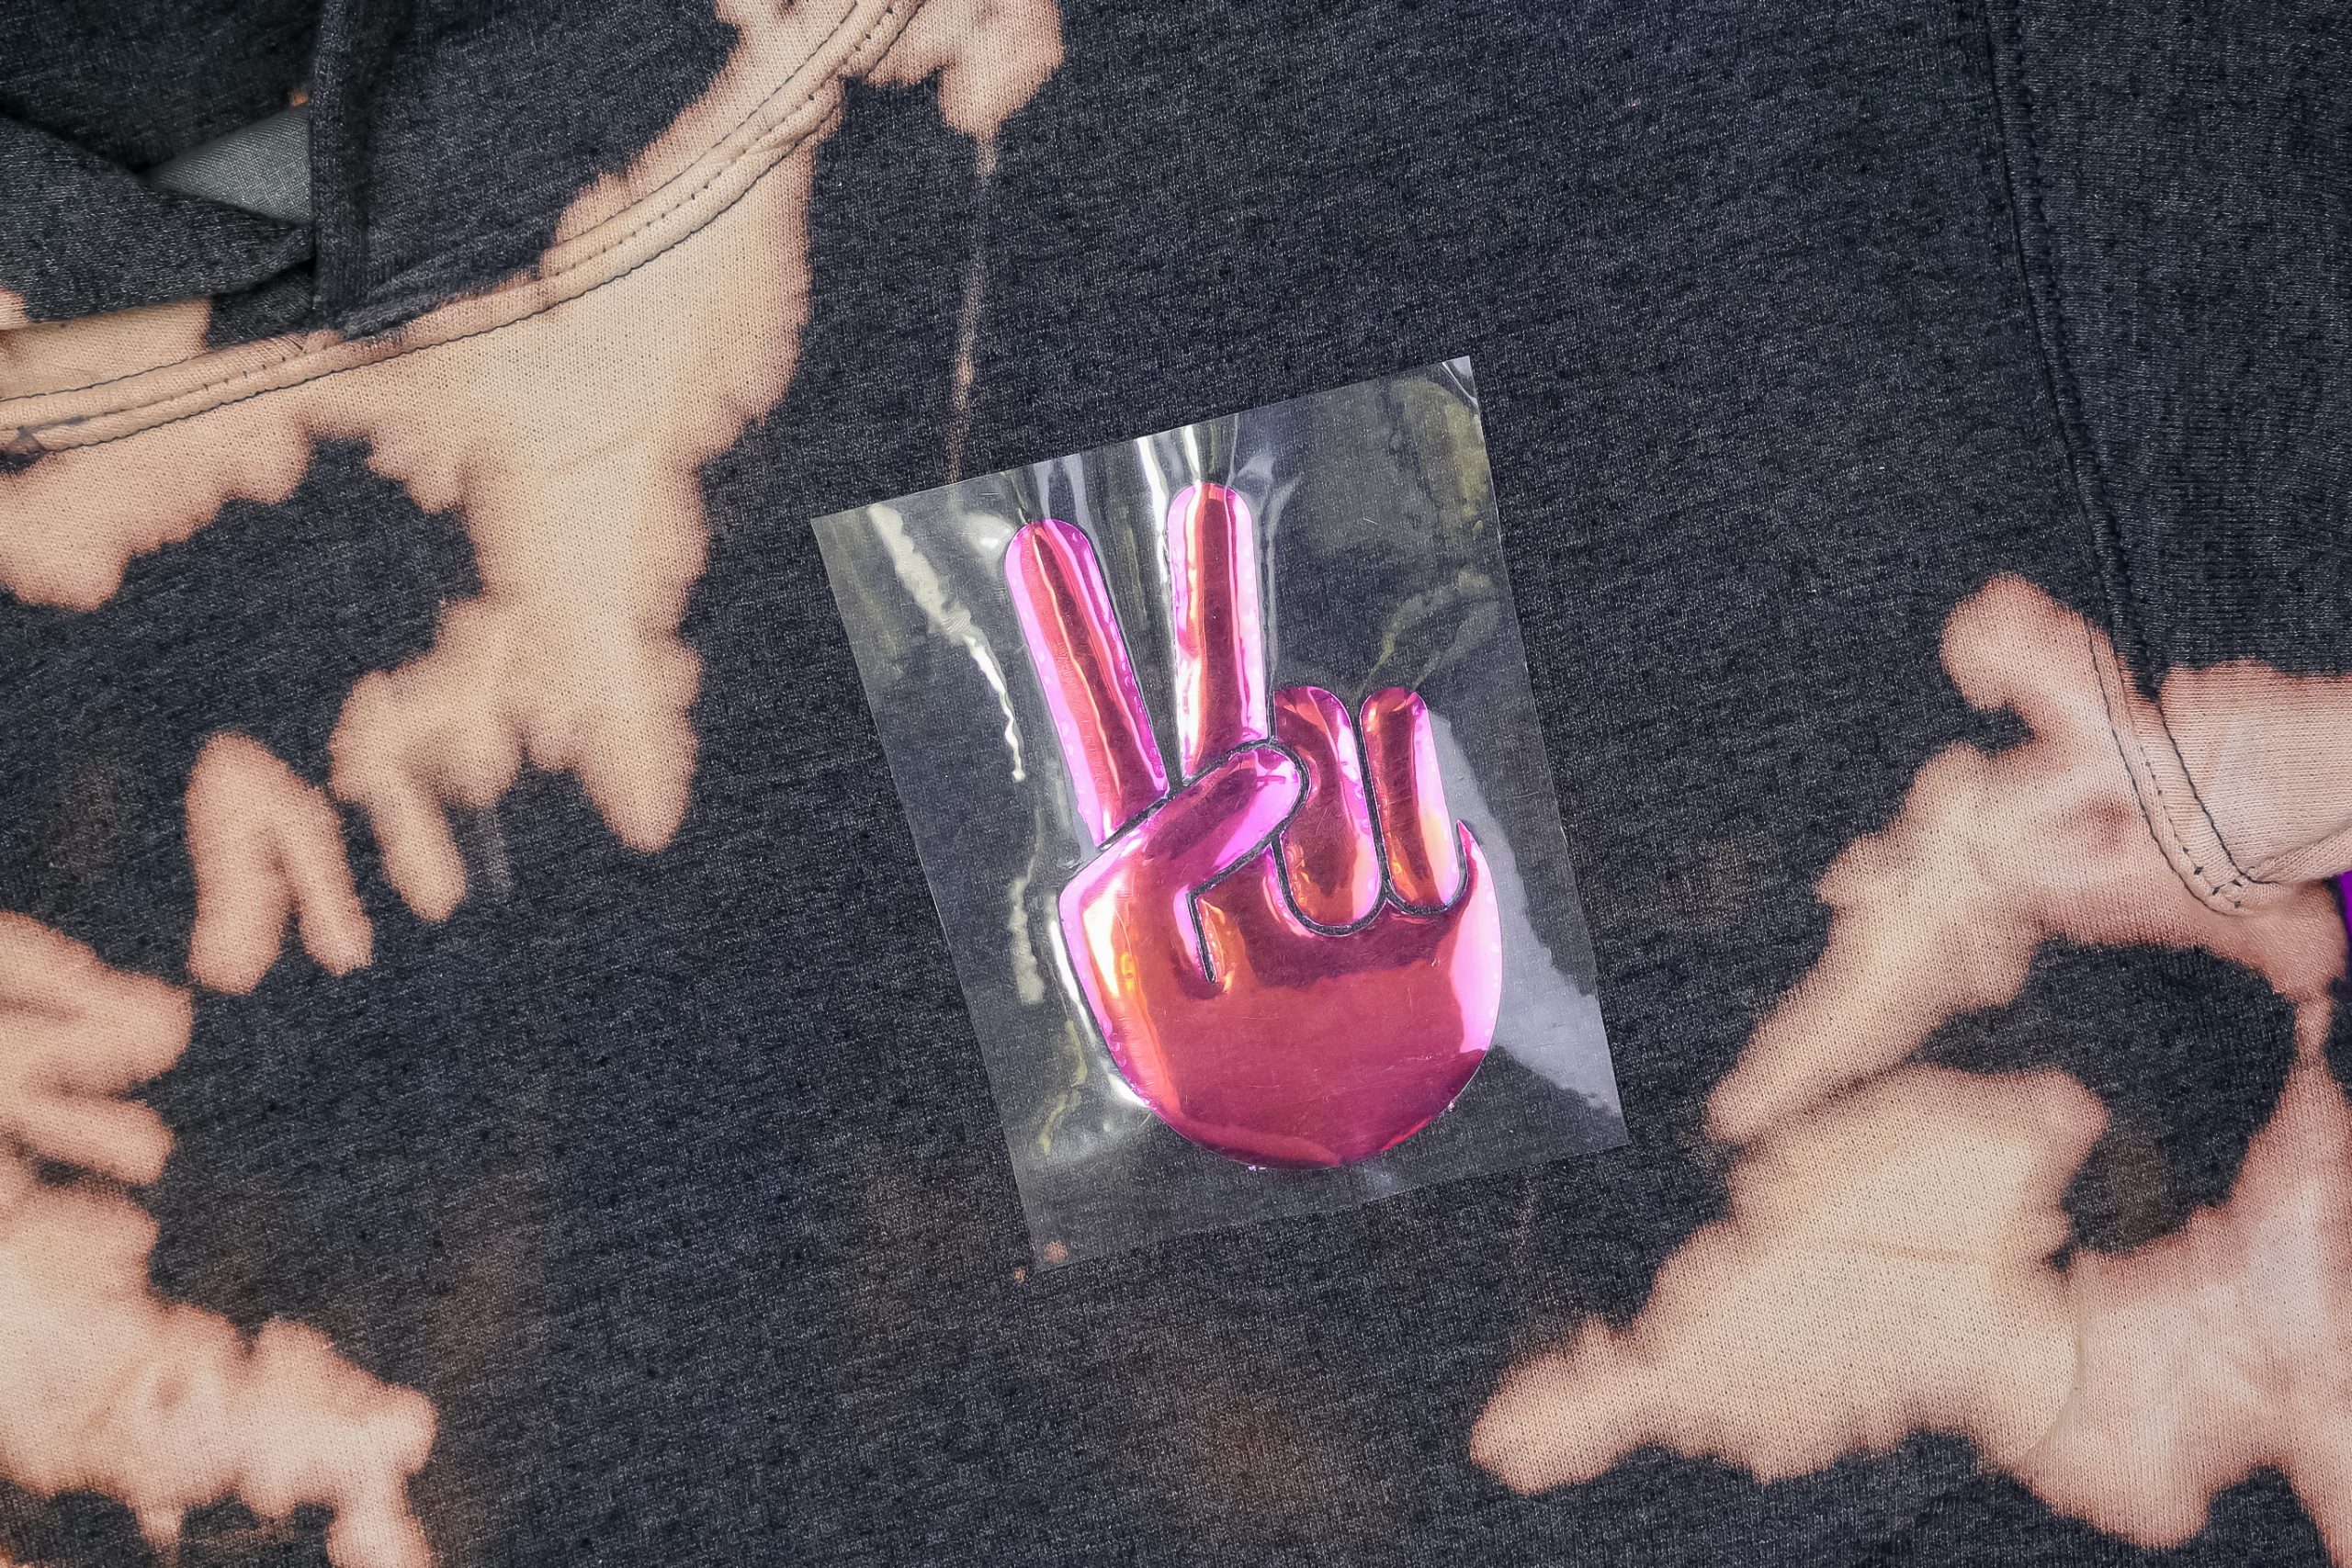
- Allow the vinyl to cool before removing the carrier sheet.

- Peel back the carrier sheet to reveal your design!

HOW TO CARE FOR YOUR BLEACH DYED HOODIE
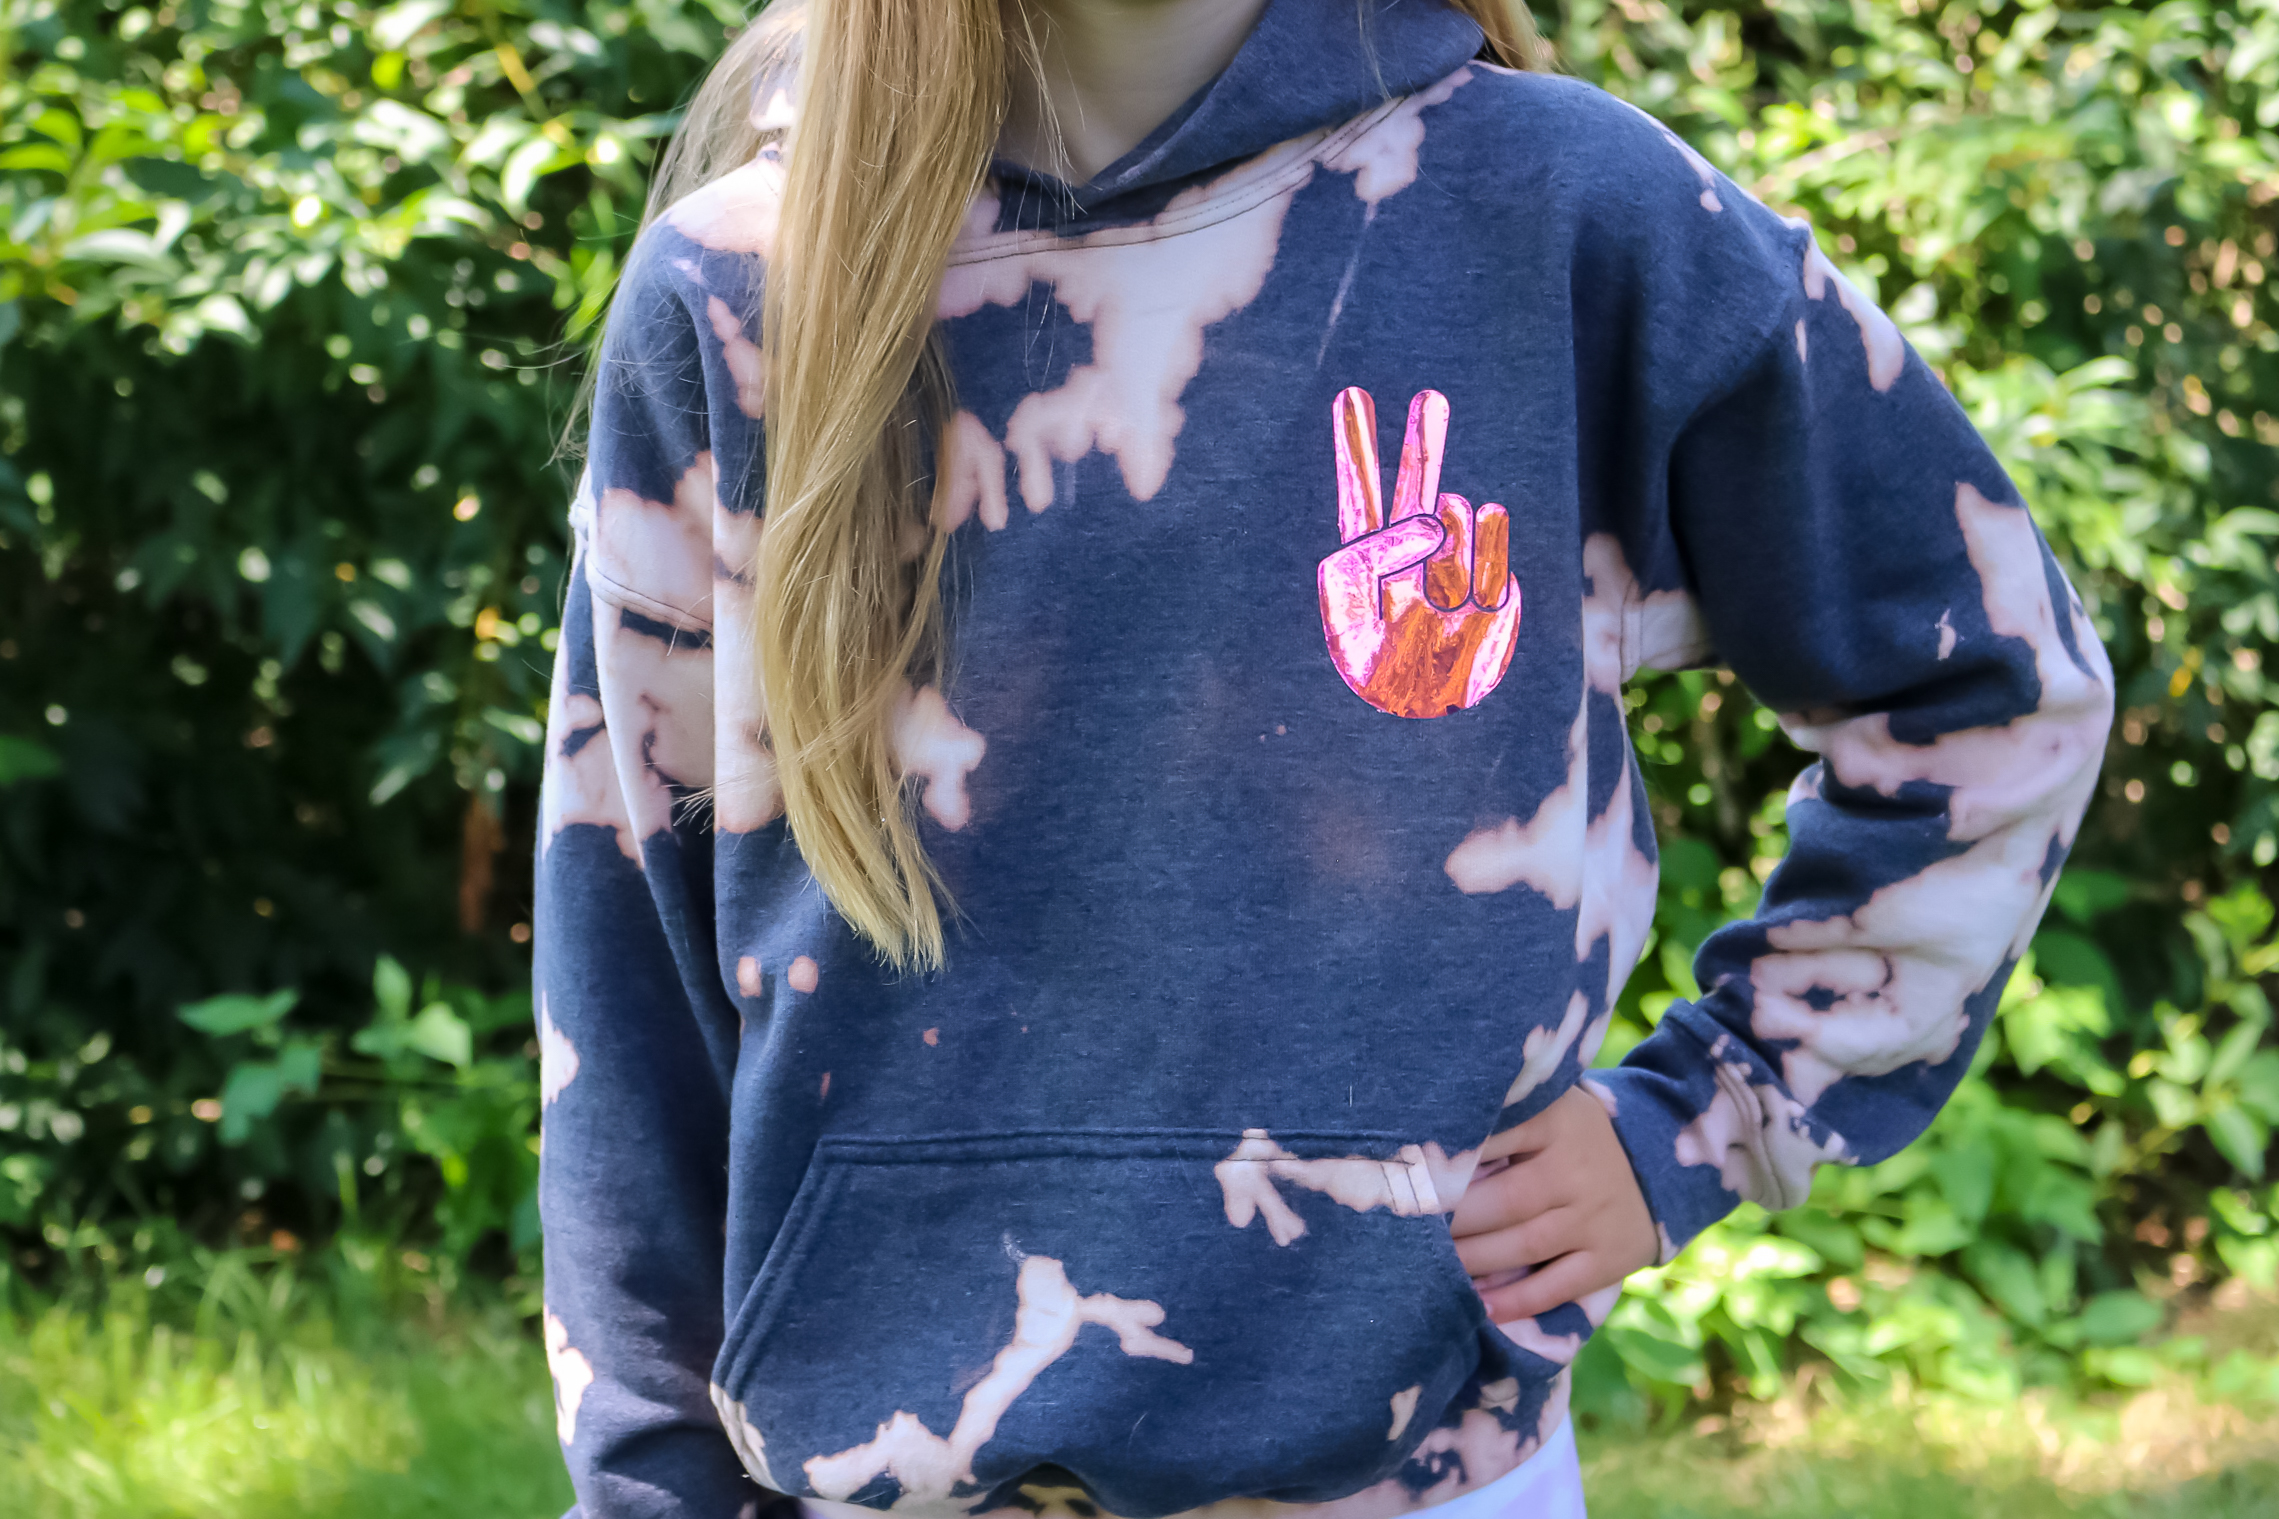
Cricut recommends that you wait at least 24 hours after applying holographic iron-on before washing the shirt. Since you washed the shirt immediately before ading the vinyl, that shouldn’t be a problem. To ensure that the iron-on lasts as long as possible, wash the sweatshirt on the gentle cycle and avoid drying it on high heat.
To be on the safe side, you may want to wash the hoodie separately from other laundry the first time you wash it. You likely will have gotten all of the bleach out of the shirt in the post-bleach wash, but it’s always better to be safe than sorry.
Once you have made one bleach tie dye hoodie, you will be itching to make another. What color sweatshirt would you bleach dye?

