Hi everyone! (You can’t see me, but I am giving you all a super enthusiastic wave “Hello” right now!) I’m Jennifer, and I blog over at Always In Wonder. I am a wife, and a mom to two toddlers, and I love sharing about all of my creative outlets (like painting, crafts, cooking, and more).
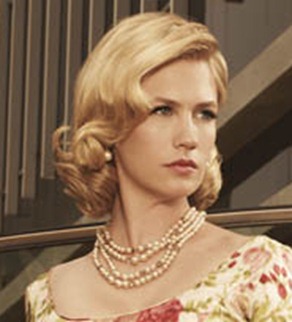
I am so excited that I get to be a part of Jessica’s Mad for Mad Men series. The show is addicting, isn’t it? I love seeing all of the designs for the sets, and the clothes they wear, and more importantly, the ladies on Mad Men have some killer taste in jewelry. You’d never catch Betty Draper at a party without some pearls or pretty gems, right?
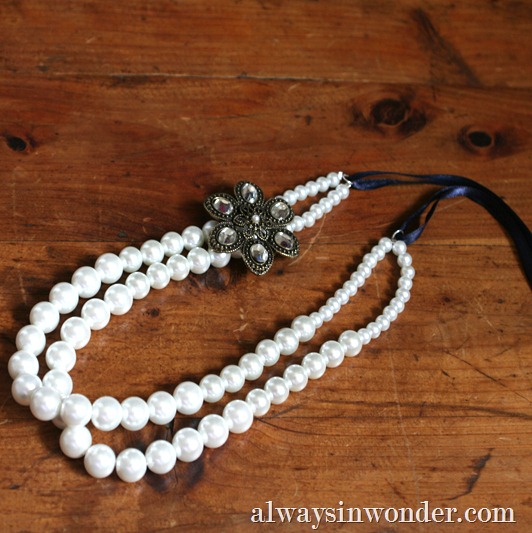
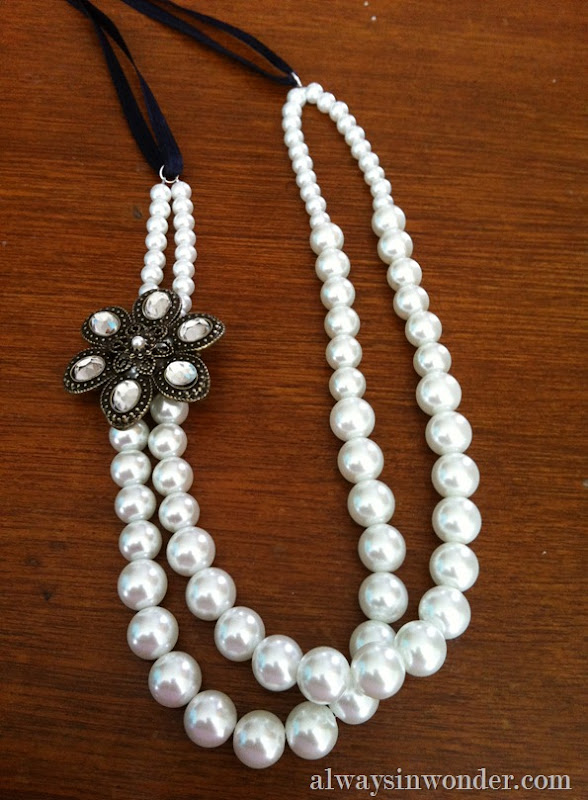
I was inspired to create my own version of a pearl necklace, that I think would look charming on Betty Draper. And you too!
Here’s a list of things you’ll need:
pearl beads
a few jump rings
a few crimp beads
jewelry pliers
clear stringing cord
and a vintage looking broach (I bought the one on my necklace from Michaels, but you can always use one you have or look for one at a thrift store)
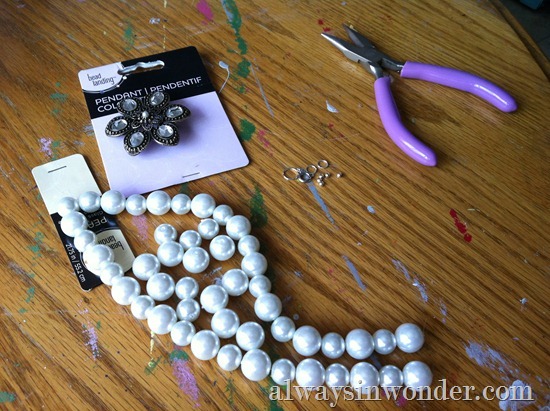
*And no judging my crafty table! It’s going to get a paint job soon!)
Thread a crimp bead onto the cord and loop the end around a jump ring, then thread the cord back through the crimp bead. Make sure that the cord is even in length on both sides. Then clamp the crimp bead in place using your jewelry pliers.

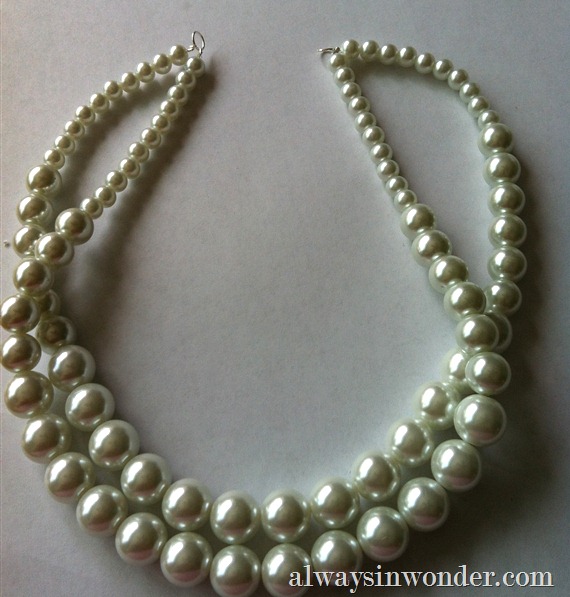
Thread beads onto both pieces of cording. Start with your smallest pearl beads, then add the middle size pearls, and then the larger ones.
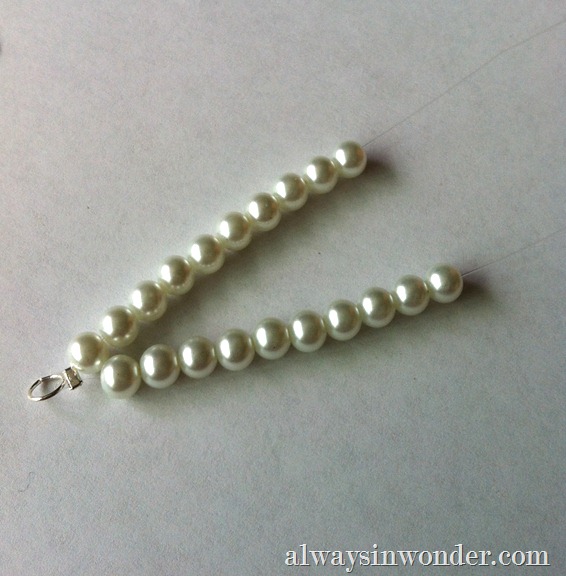
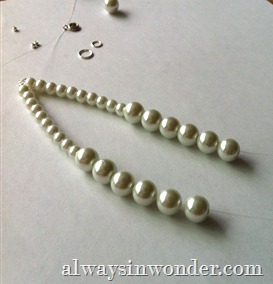
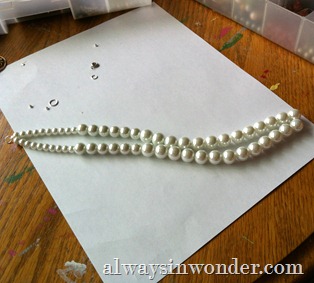
On both cords, I did 10 of the smallest pearls, 6 of the middle sized pearl, then 13 of the largest pearls.After threading on the largest pearls, I added 6 more middle sized pearls, and 10 small pearls.
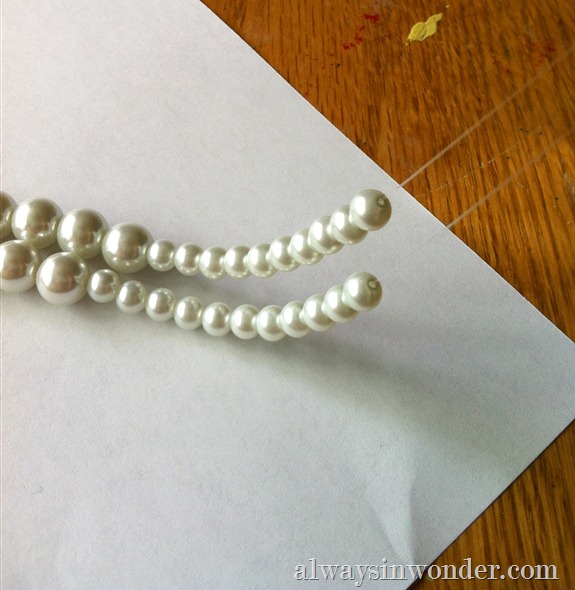
I secured each cord with a crimp bead and one jump ring.
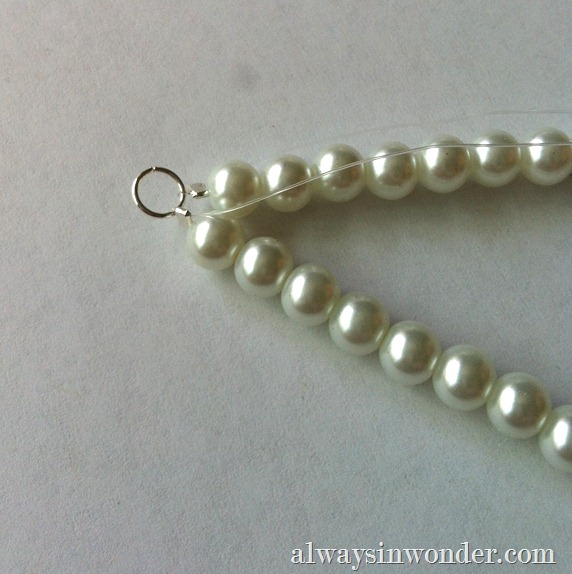
I threaded the cording back threw a few pearl beads before cutting it off.
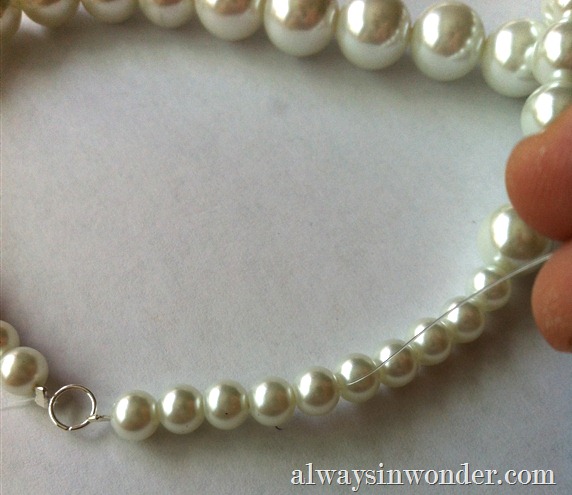
I wanted to make this necklace a little longer, so I decided to loop some dark navy ribbon through my jump rings.
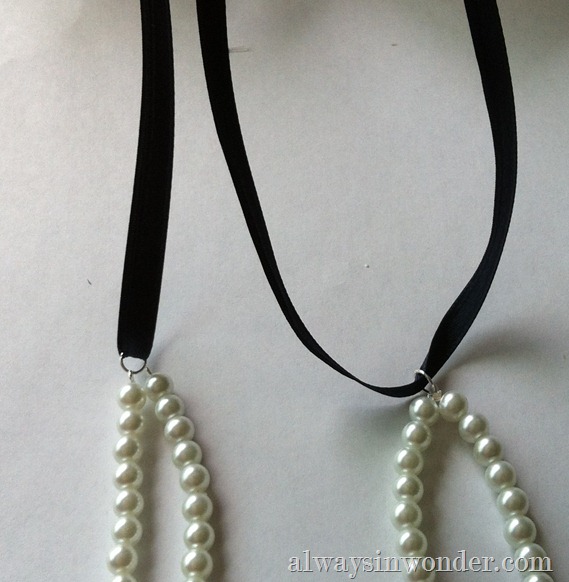
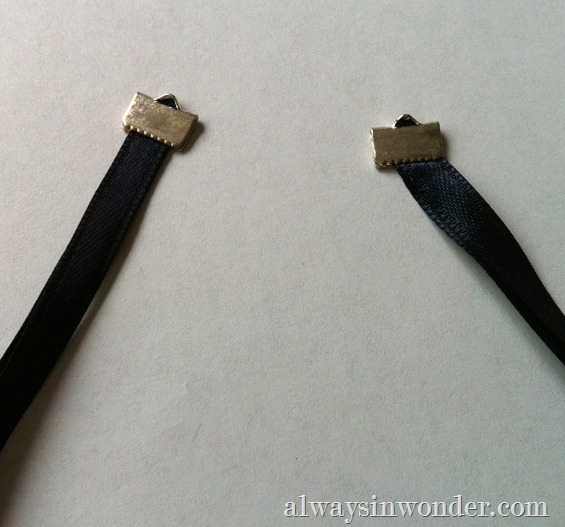
I added clamps at the end of my ribbon, so that I could easily add a clasp to it. These are great for holding a few pieces of ribbon together and to prevent fraying at the ends.
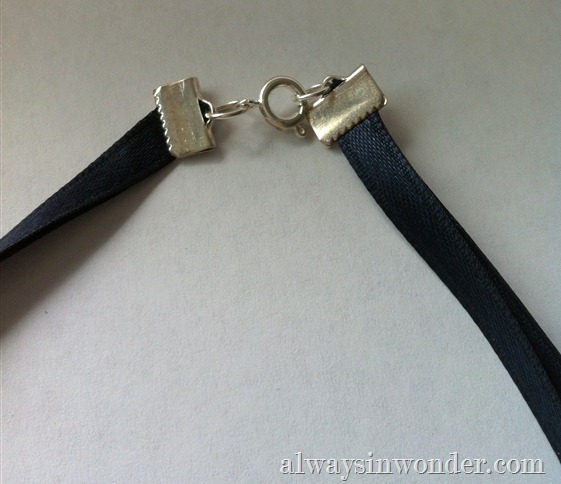
You can add a jump ring to one side, and a clasp to the other side.
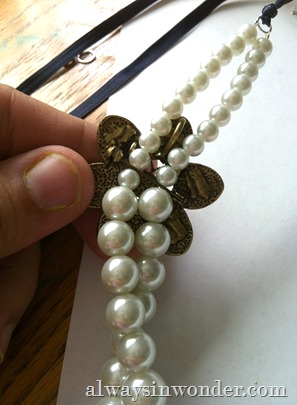
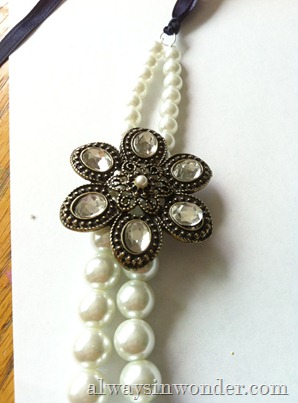
Add your vintage, or vintage inspired broach onto the strands of pearls… and voila! You have a pearl necklace that is ready to be worn to your next cocktail party, cooking in the kitchen, or your Mad Men Season 5 premiere party!
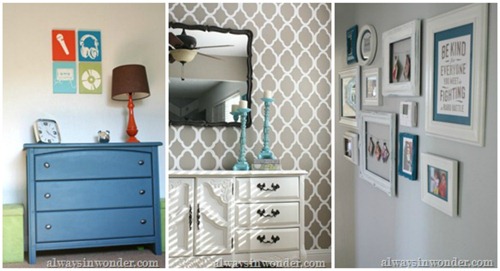
I hope you guys enjoyed my little tutorial, and I would love it if you wanted to come be my friends to0! You’ll get to see projects like the room make over I did for my son, how I stenciled our dining room, and how I created a gallery wall that is personal and so fun.
I promise I will share all my painting/room makeovers with you, and recipes that you will love, and I will keep you up to date on all of our crazy chaos with my Facebook and Twitter ramblings. Hope to see you guys soon!
Jennifer has great ideas on Always in Wonder and has a fantastic sense of humor to boot. Take some time to peruse her blog, you won’t regret it!




Leave a Reply