I love using my Cricut machines to make greeting cards. Today I am going to walk you through the process of creating a layered paper card with a 3D effect using various layers of paper. You can repeat this process with any layered design, but I will be using my new free layered lighthouse cut files.
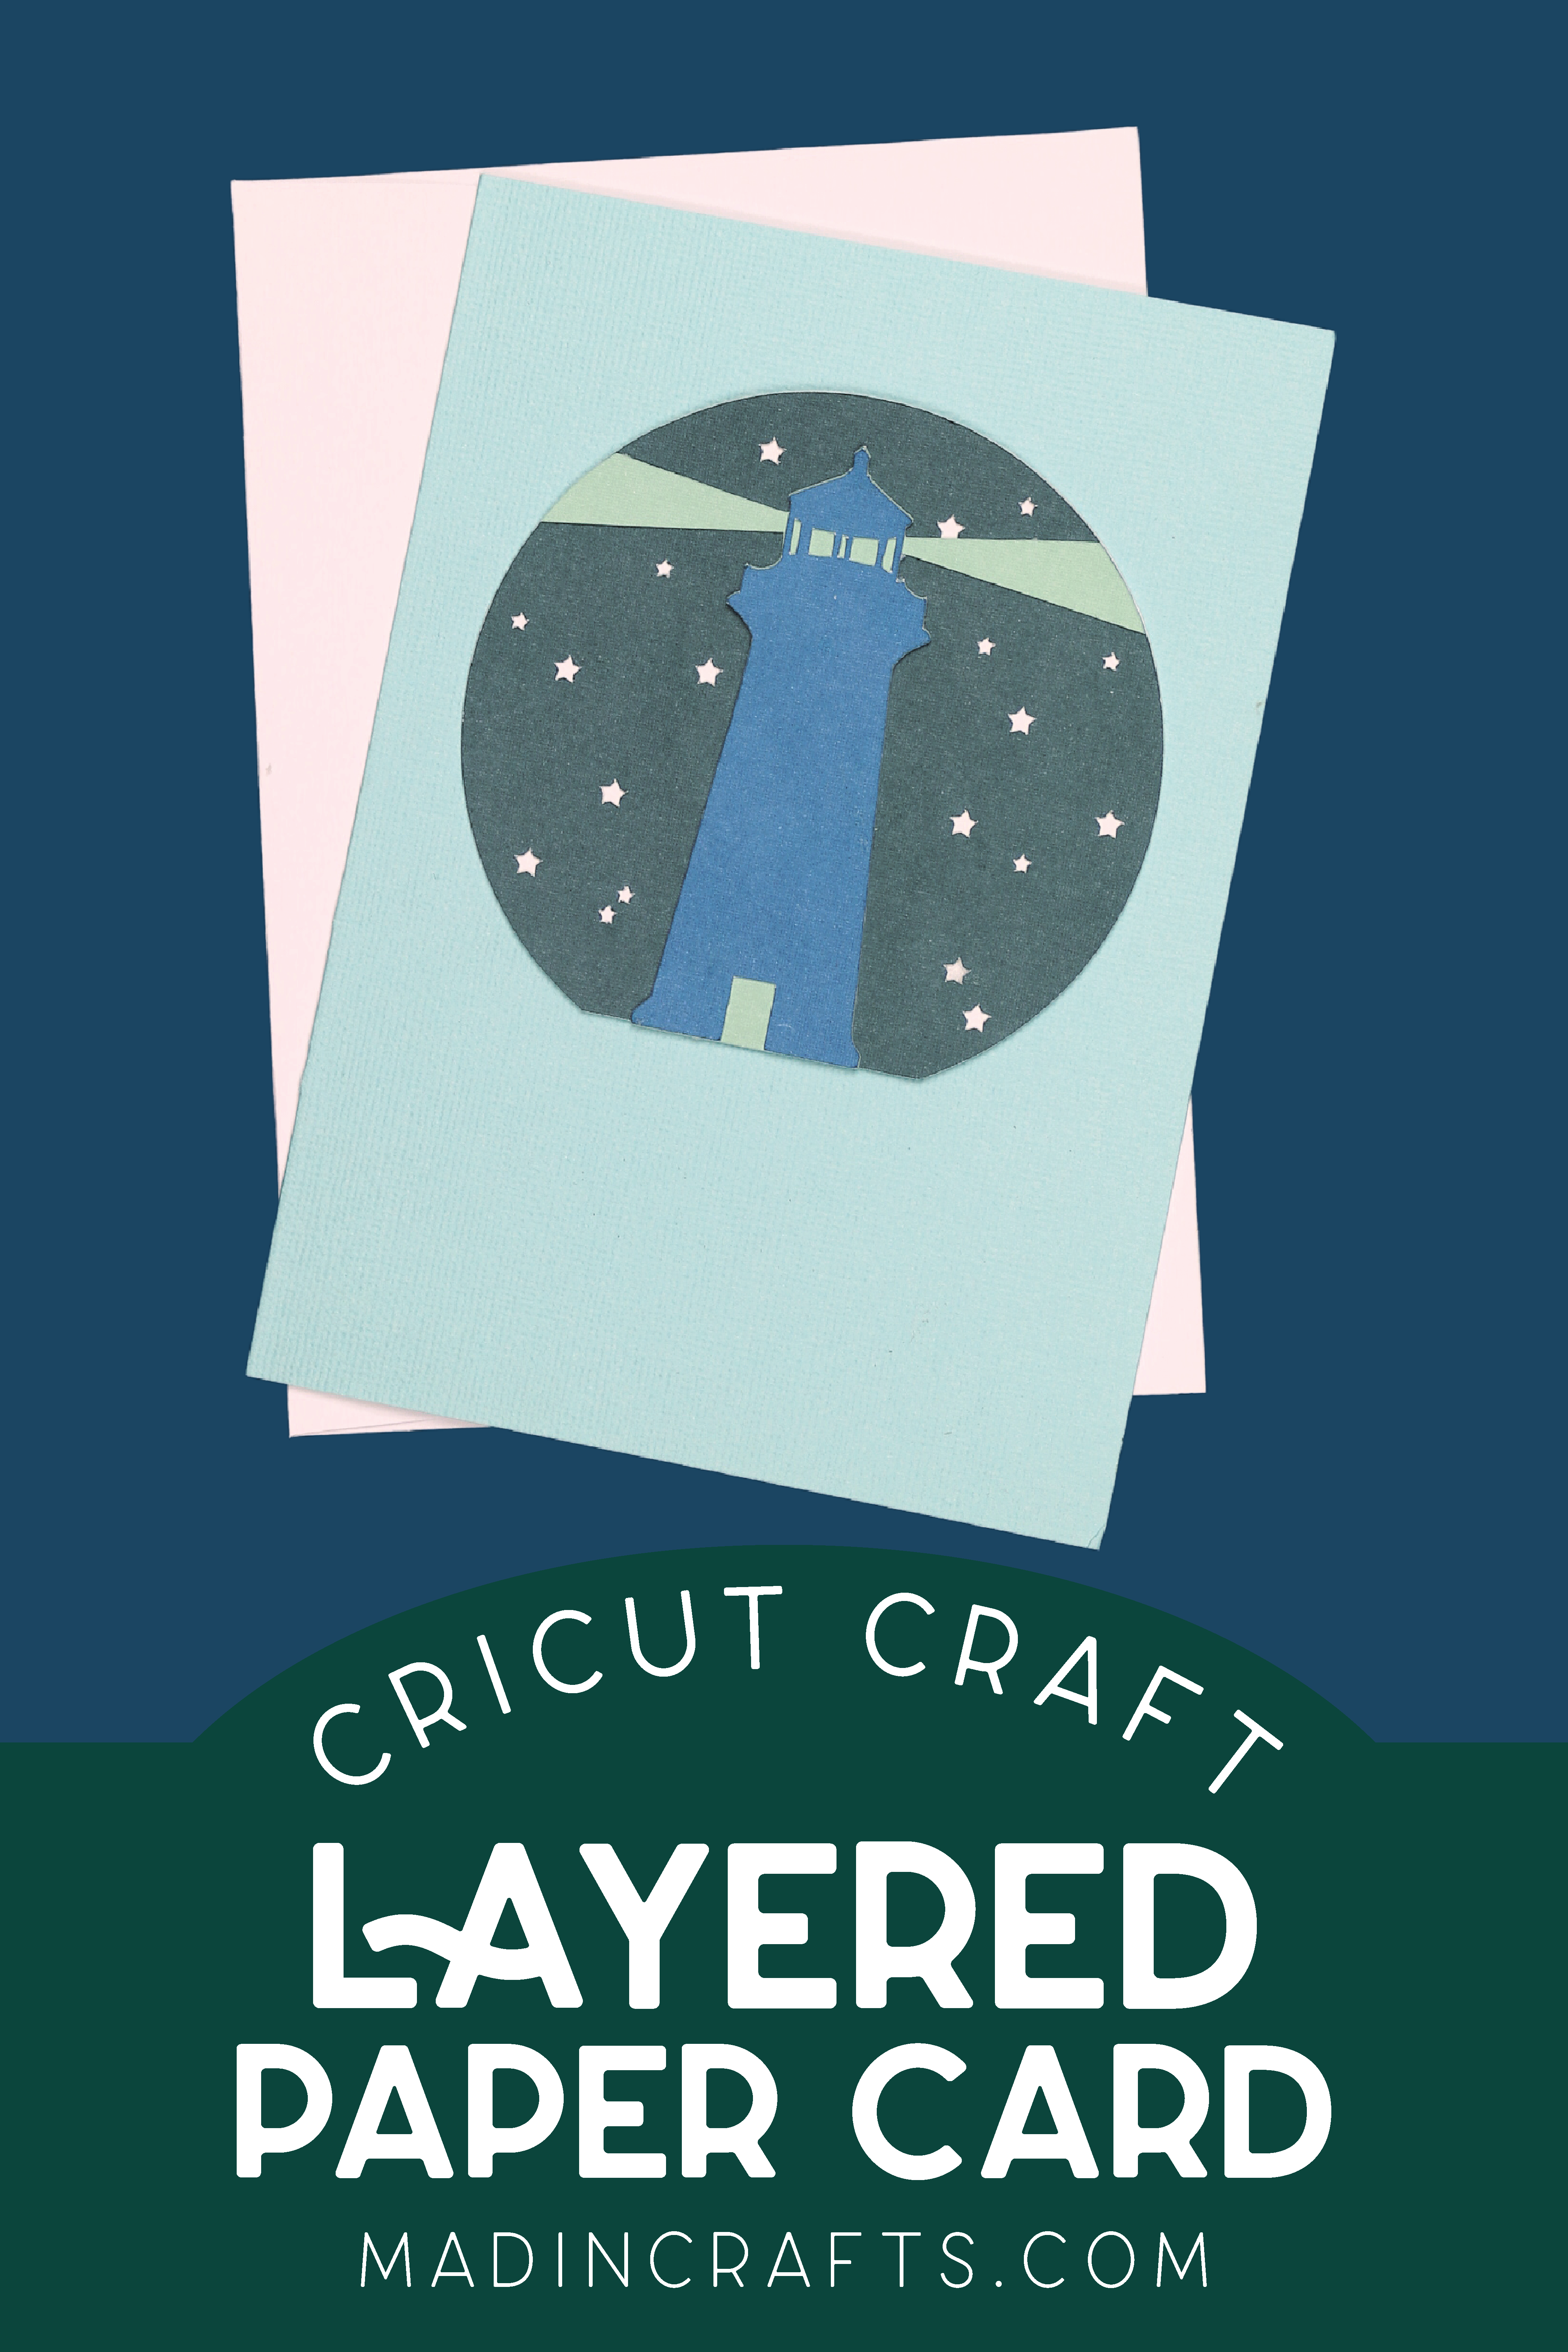
DIY CRICUT LAYERED PAPER CARD
WHAT YOU NEED TO MAKE A PAPER ART CARD FROM AN LAYERED SVG
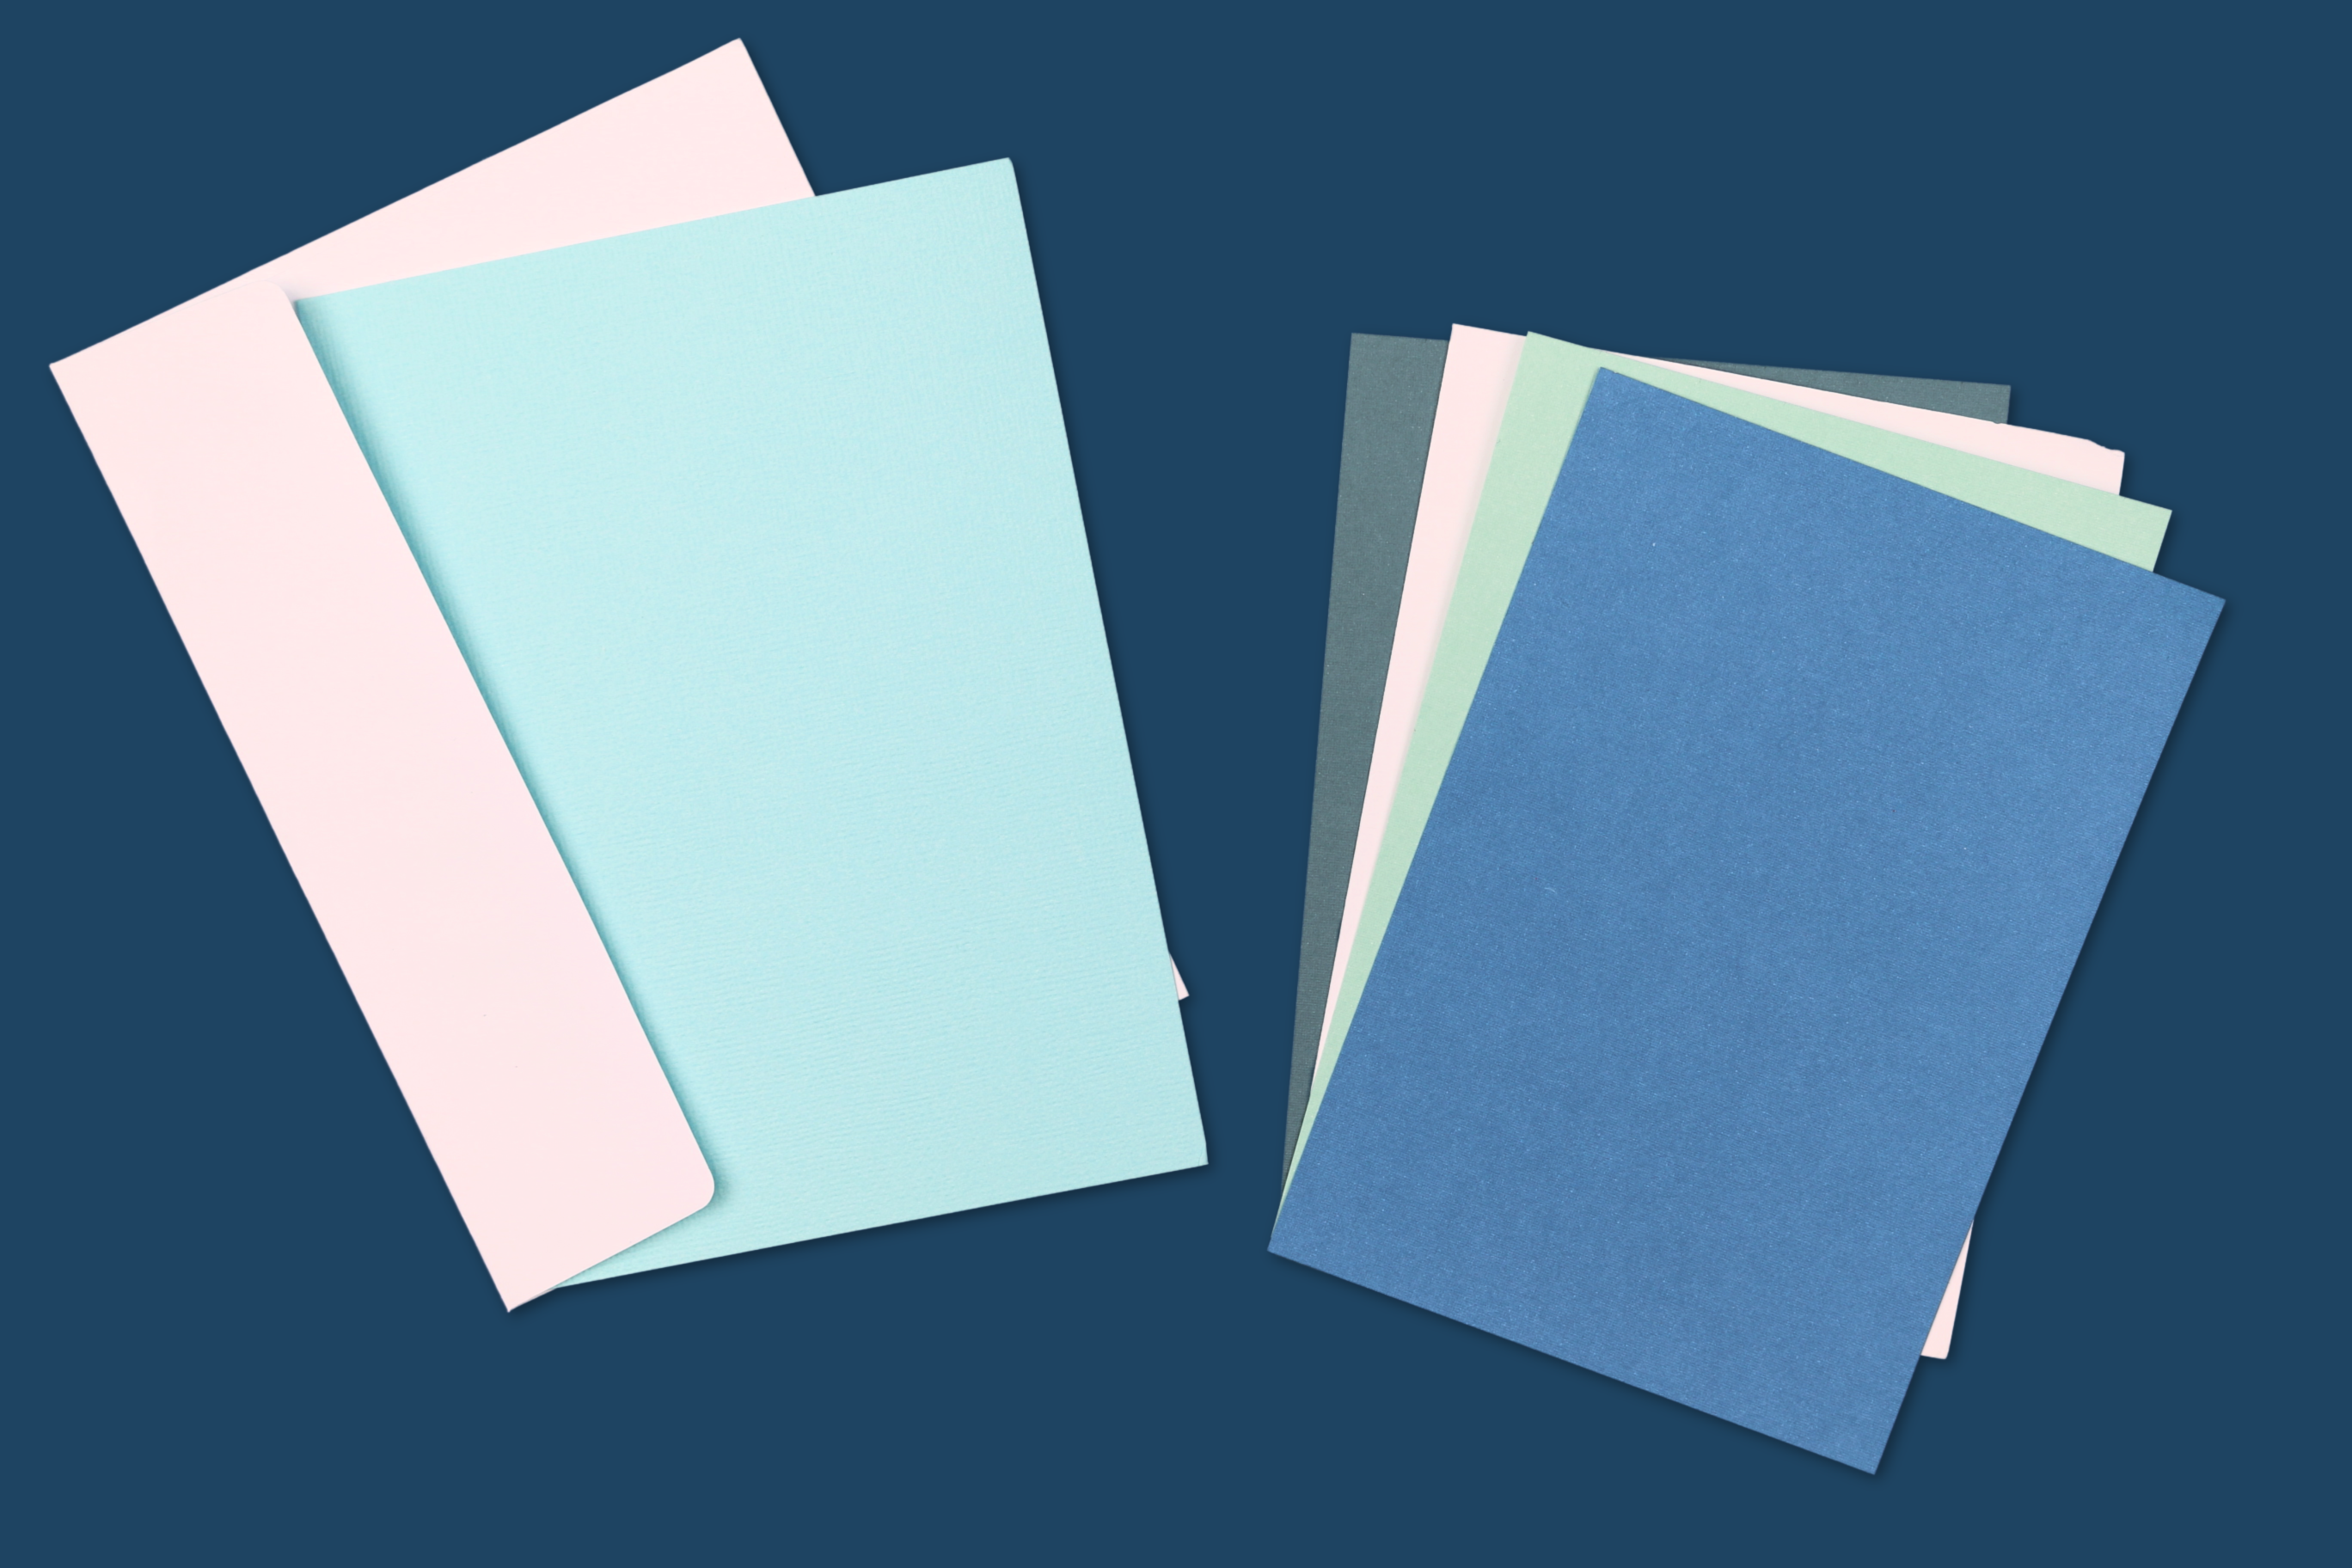
If you would like to make this lighthouse card, you will need to grab my free layered lighthouse SVG which is part of our recent bundle of free svg files. You can also find layered designs right in Cricut Design Space if you have a subscription to Cricut Access.
I used my Cricut Joy for this project since it is small and portable. If you are making paper art for something larger like a shadow box, you might want to use a Cricut Explore or a Cricut Maker.
These are all affiliate links, if you make a purchase (of anything from the site, not just these items) after clicking through, I will earn a small commission. Ads and affiliate links are the way I am able to keep this website running and to offer you free tutorials all year long. Thank you so much for supporting me and Mad in Crafts!

Want to know which craft supplies I always keep in my craft room?
Visit the Mad in Crafts Amazon Storefront to learn more and to buy your own supplies!
HOW TO USE LAYERED SVGS IN CRICUT DESIGN SPACE
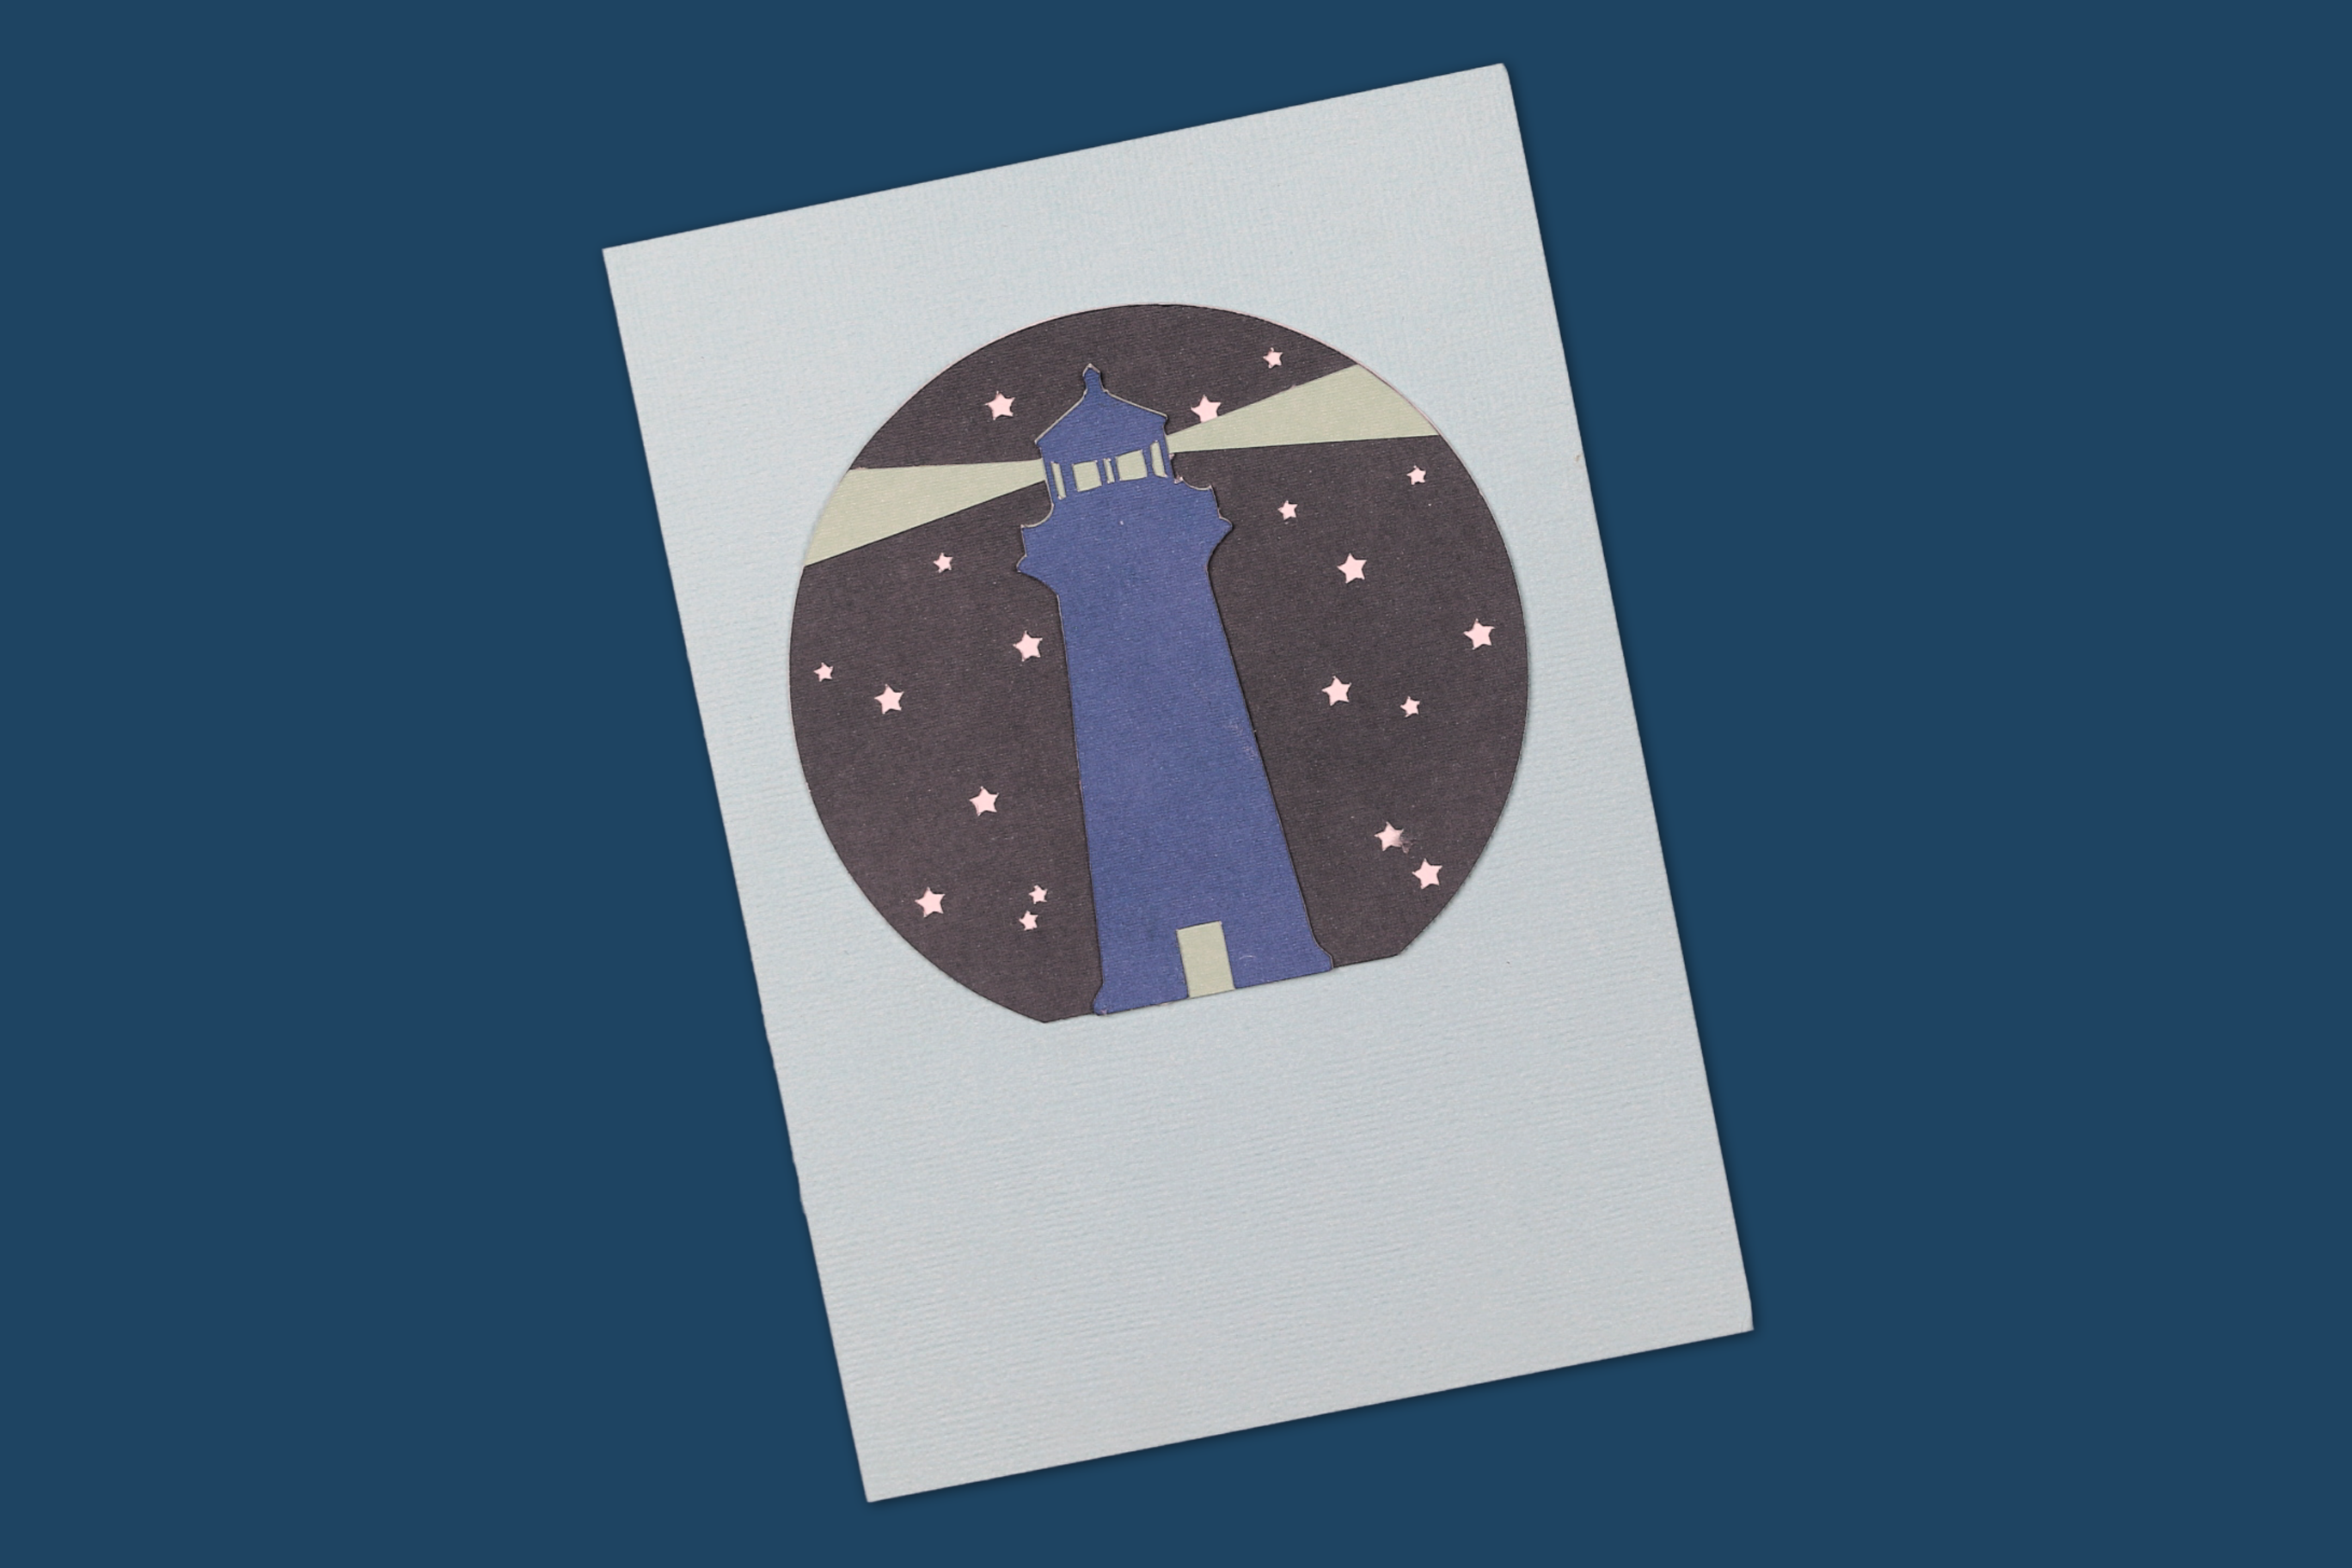
My lighthouse SVG has just 4 simple, stackable layers, but you can use this walkthrough for SVGs that have any number of layers!
Using a Layered SVG
- Upload the SVG into Design Space (or choose an image from the Access library).
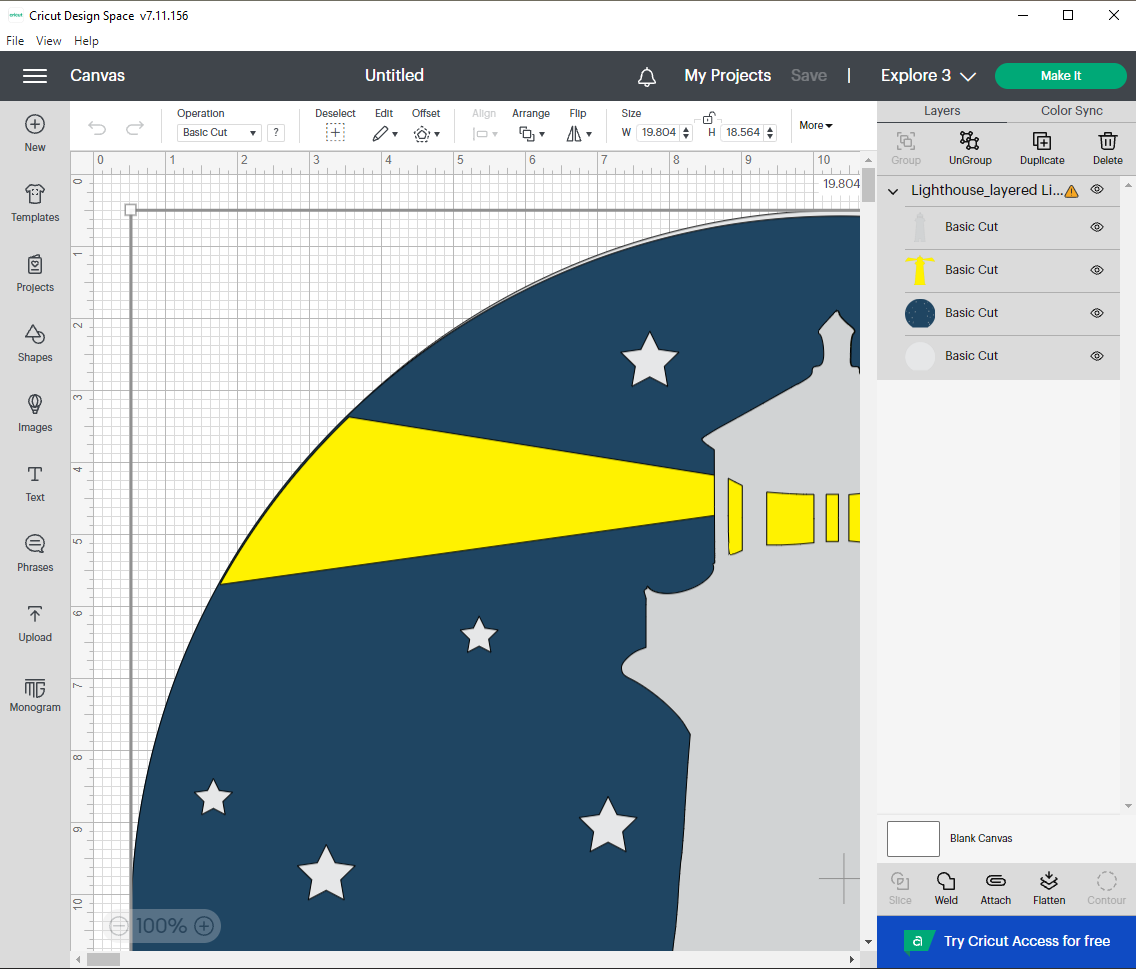
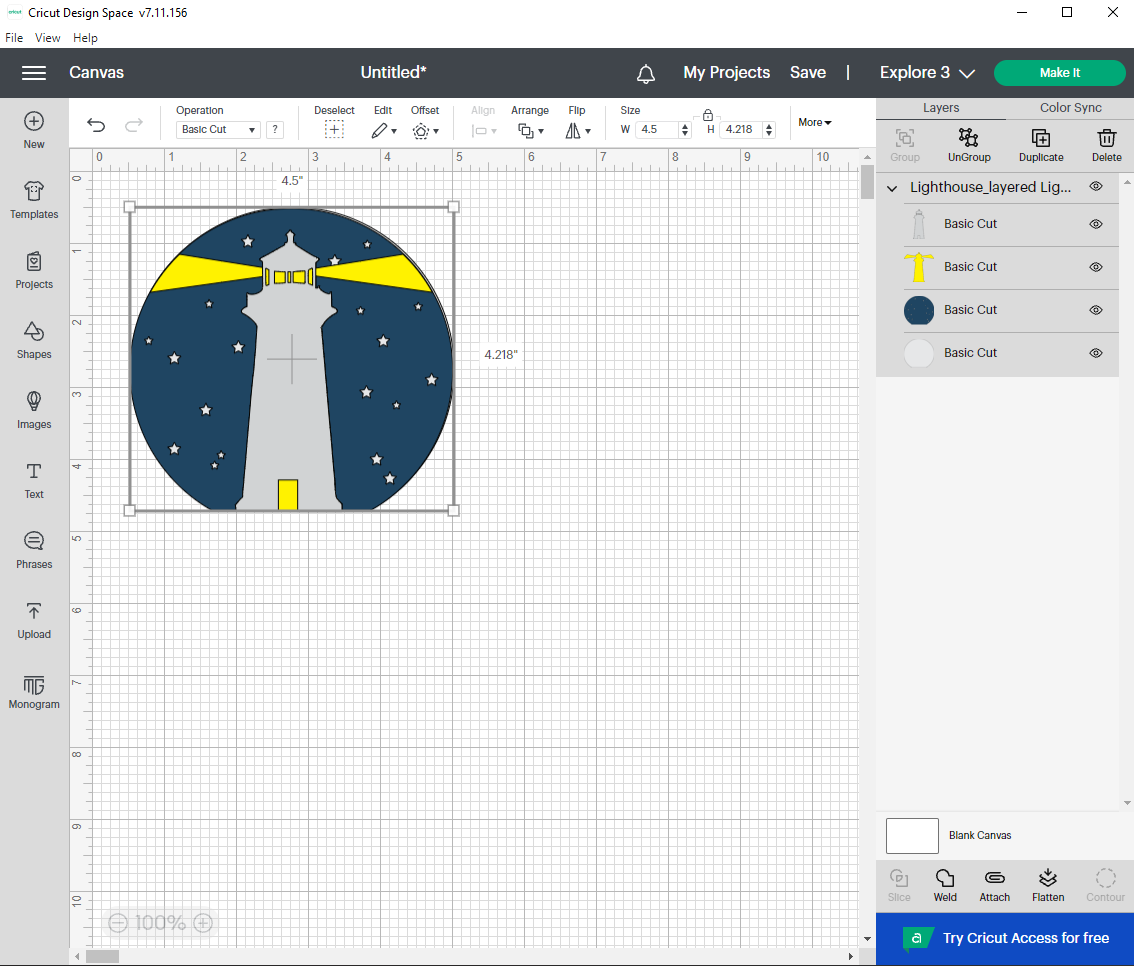
Upload the SVG into Design Space using the upload tool. Then insert the design onto a new canvas.

- Resize the design.
Use the resize tool to change the dimensions of the design to suit your project and your machine. Be sure that you are resizing the entire design so the layers are correctly sized in your final project.

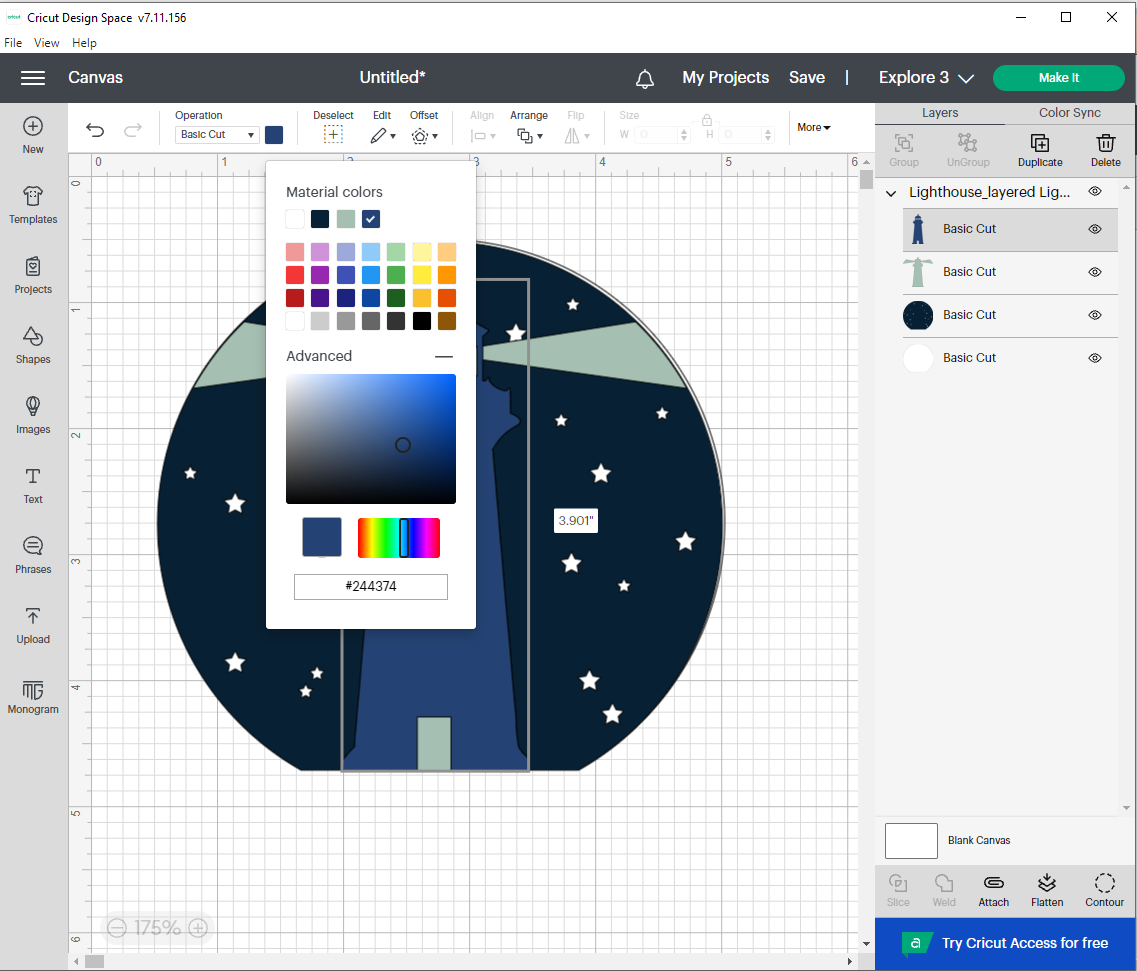
- Recolor the layers in Design Space.
I find that it is easier to keep layered projects organized if I recolor the project layers in Design Space to match the paper I will be using for the project. This helps to make sure I don’t cut a layer out of the wrong color paper.

- Send the layers to cut.
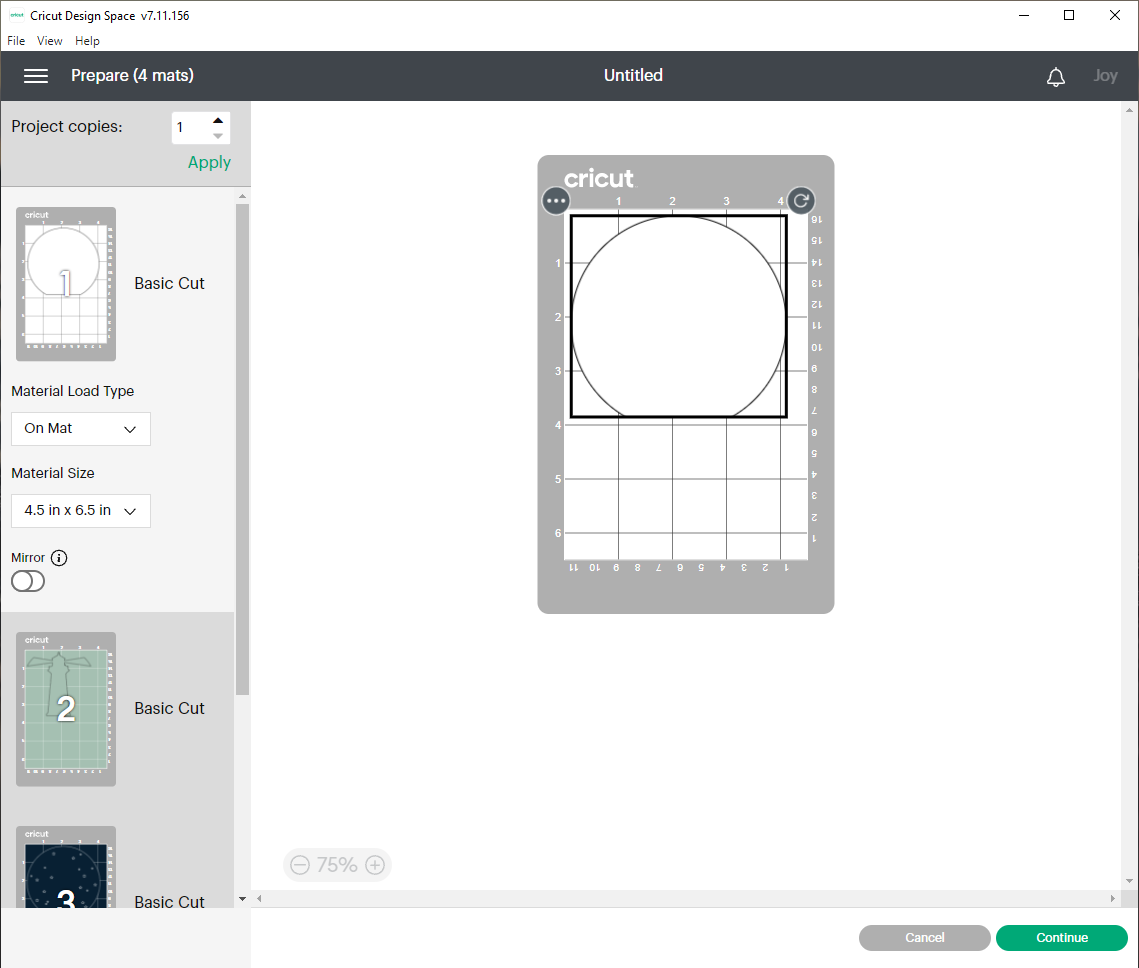
Click the Make It button and choose whether you will be cutting matless or on a mat. The mat preview will show you what layers will be cut from what colors. Cut layers accordingly. Weed the paper and set the layers aside to begin assembling the card.

ASSEMBLING A LAYERED PAPER CRICUT CARD
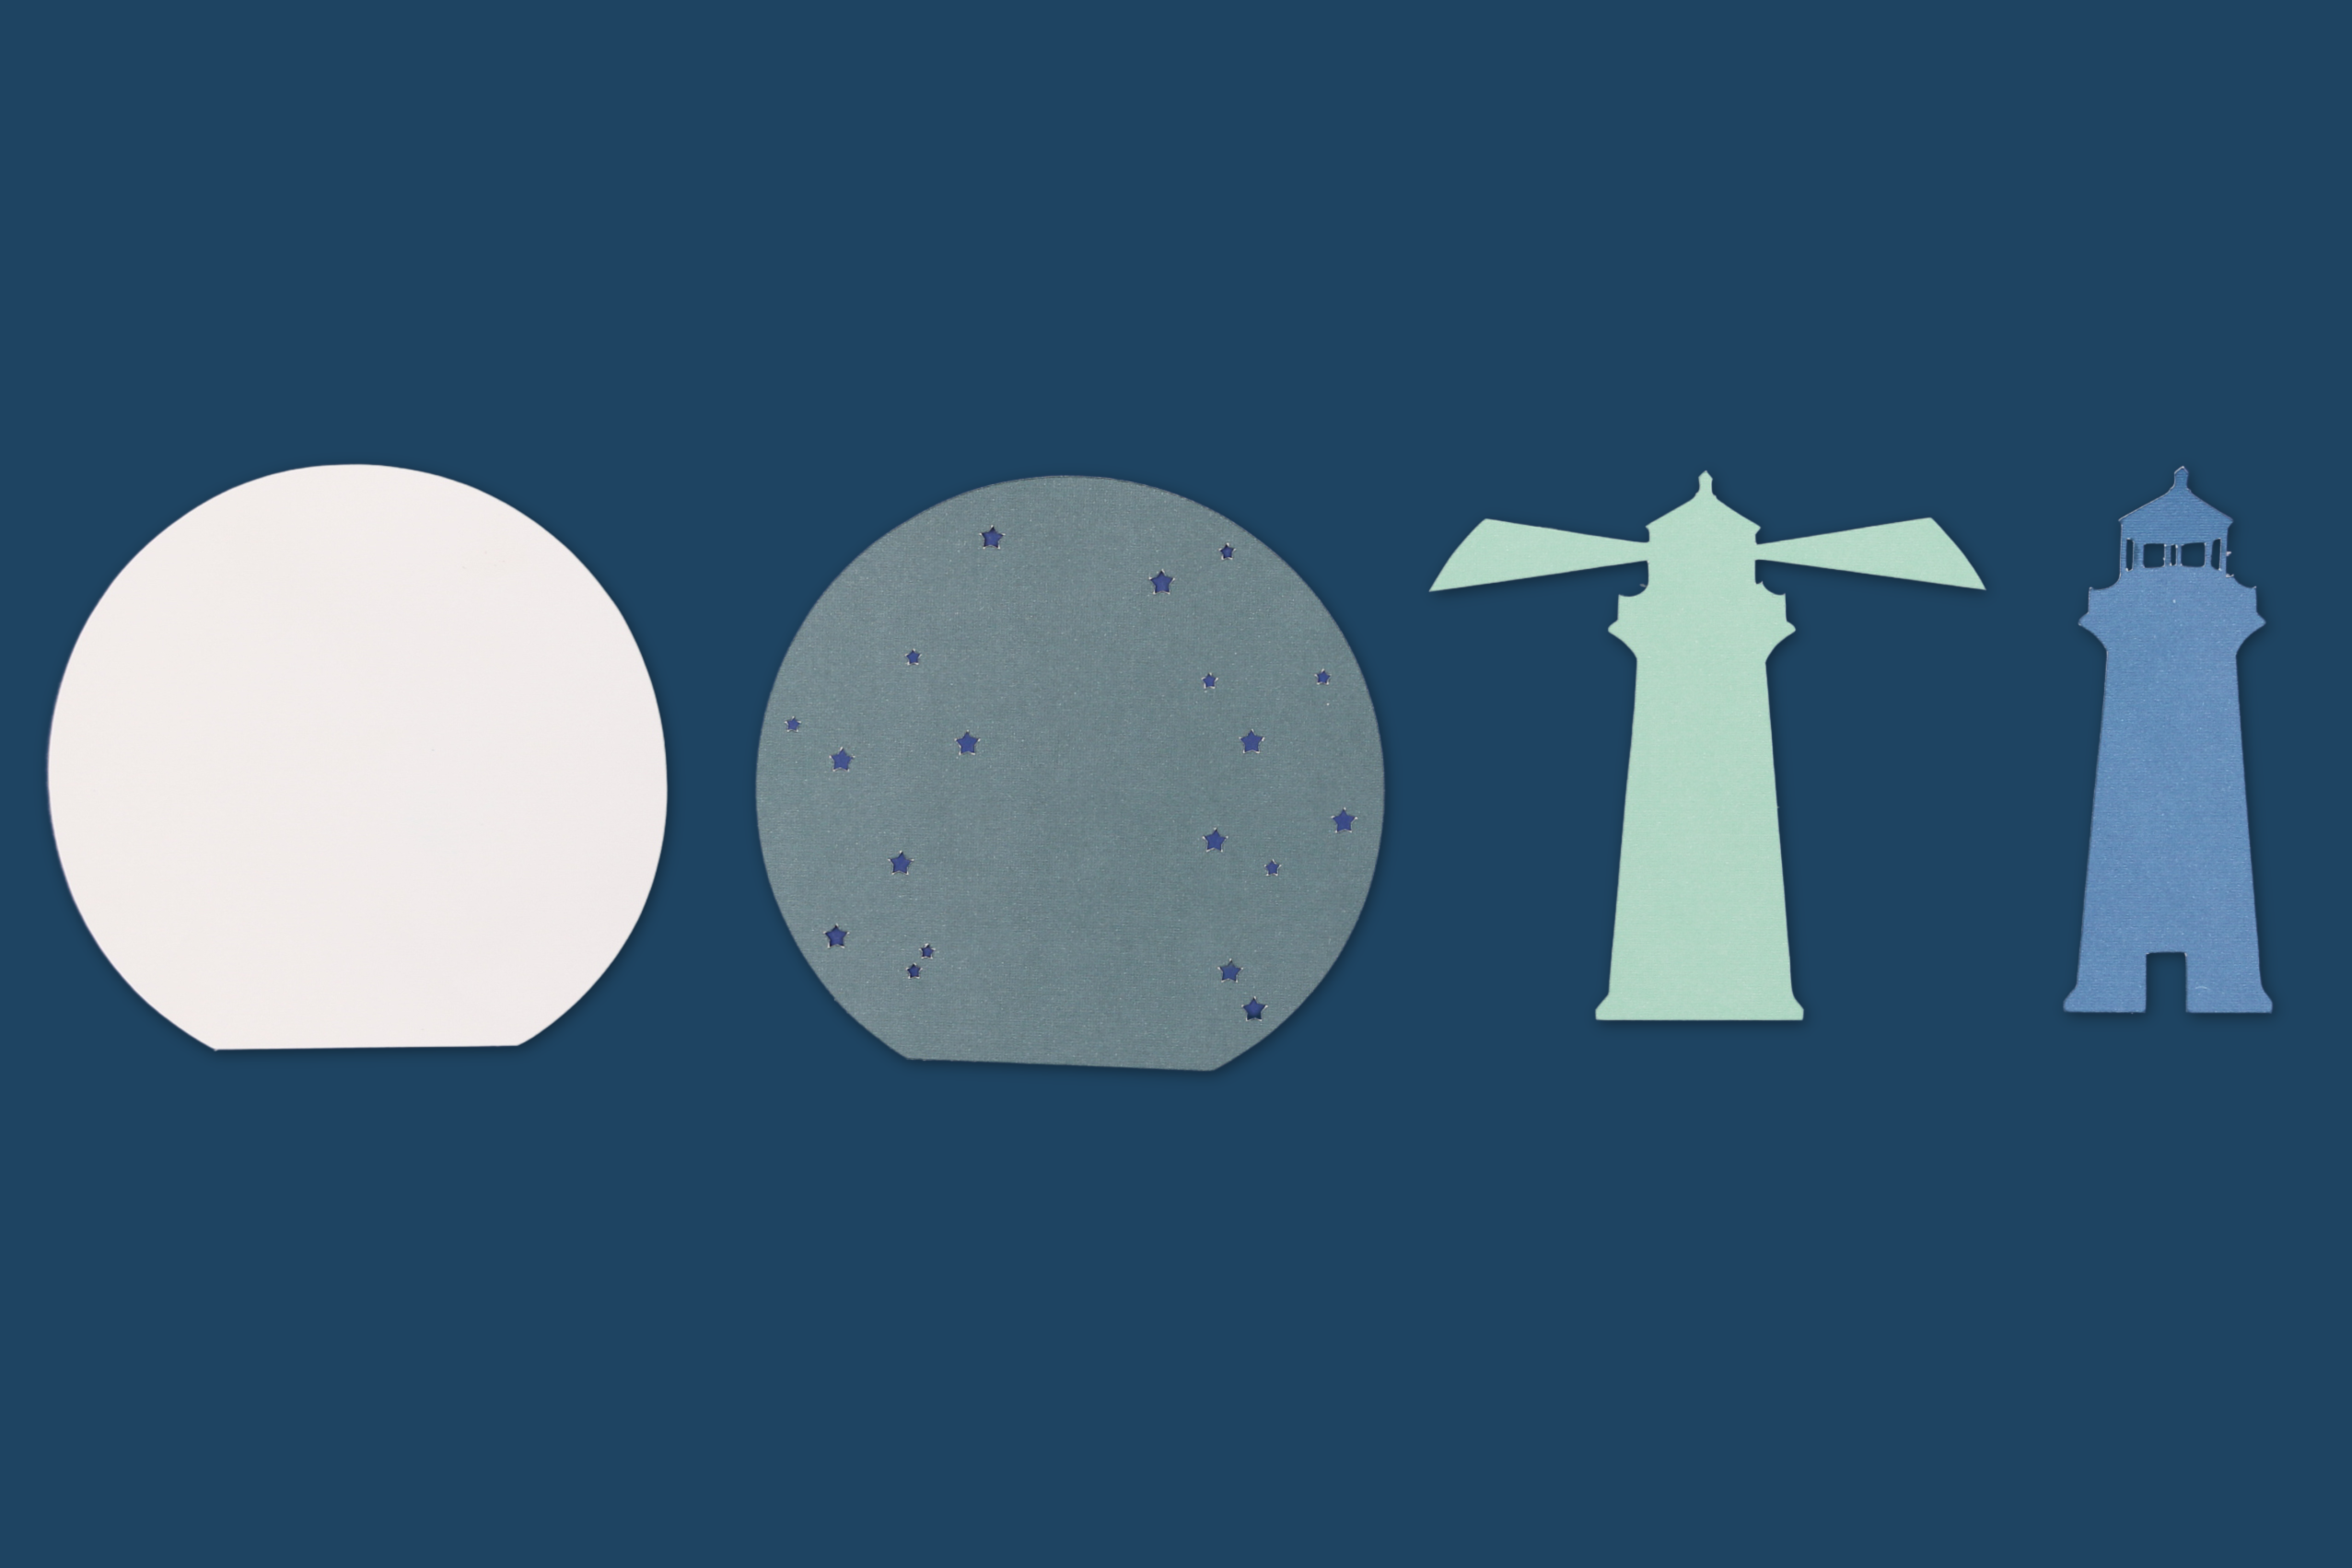
I like to begin the assembly of a layered paper card by laying out the pieces of the design in the order in which I will use them. In the photo above I had laid out the pieces from bottom to top going from left to right.
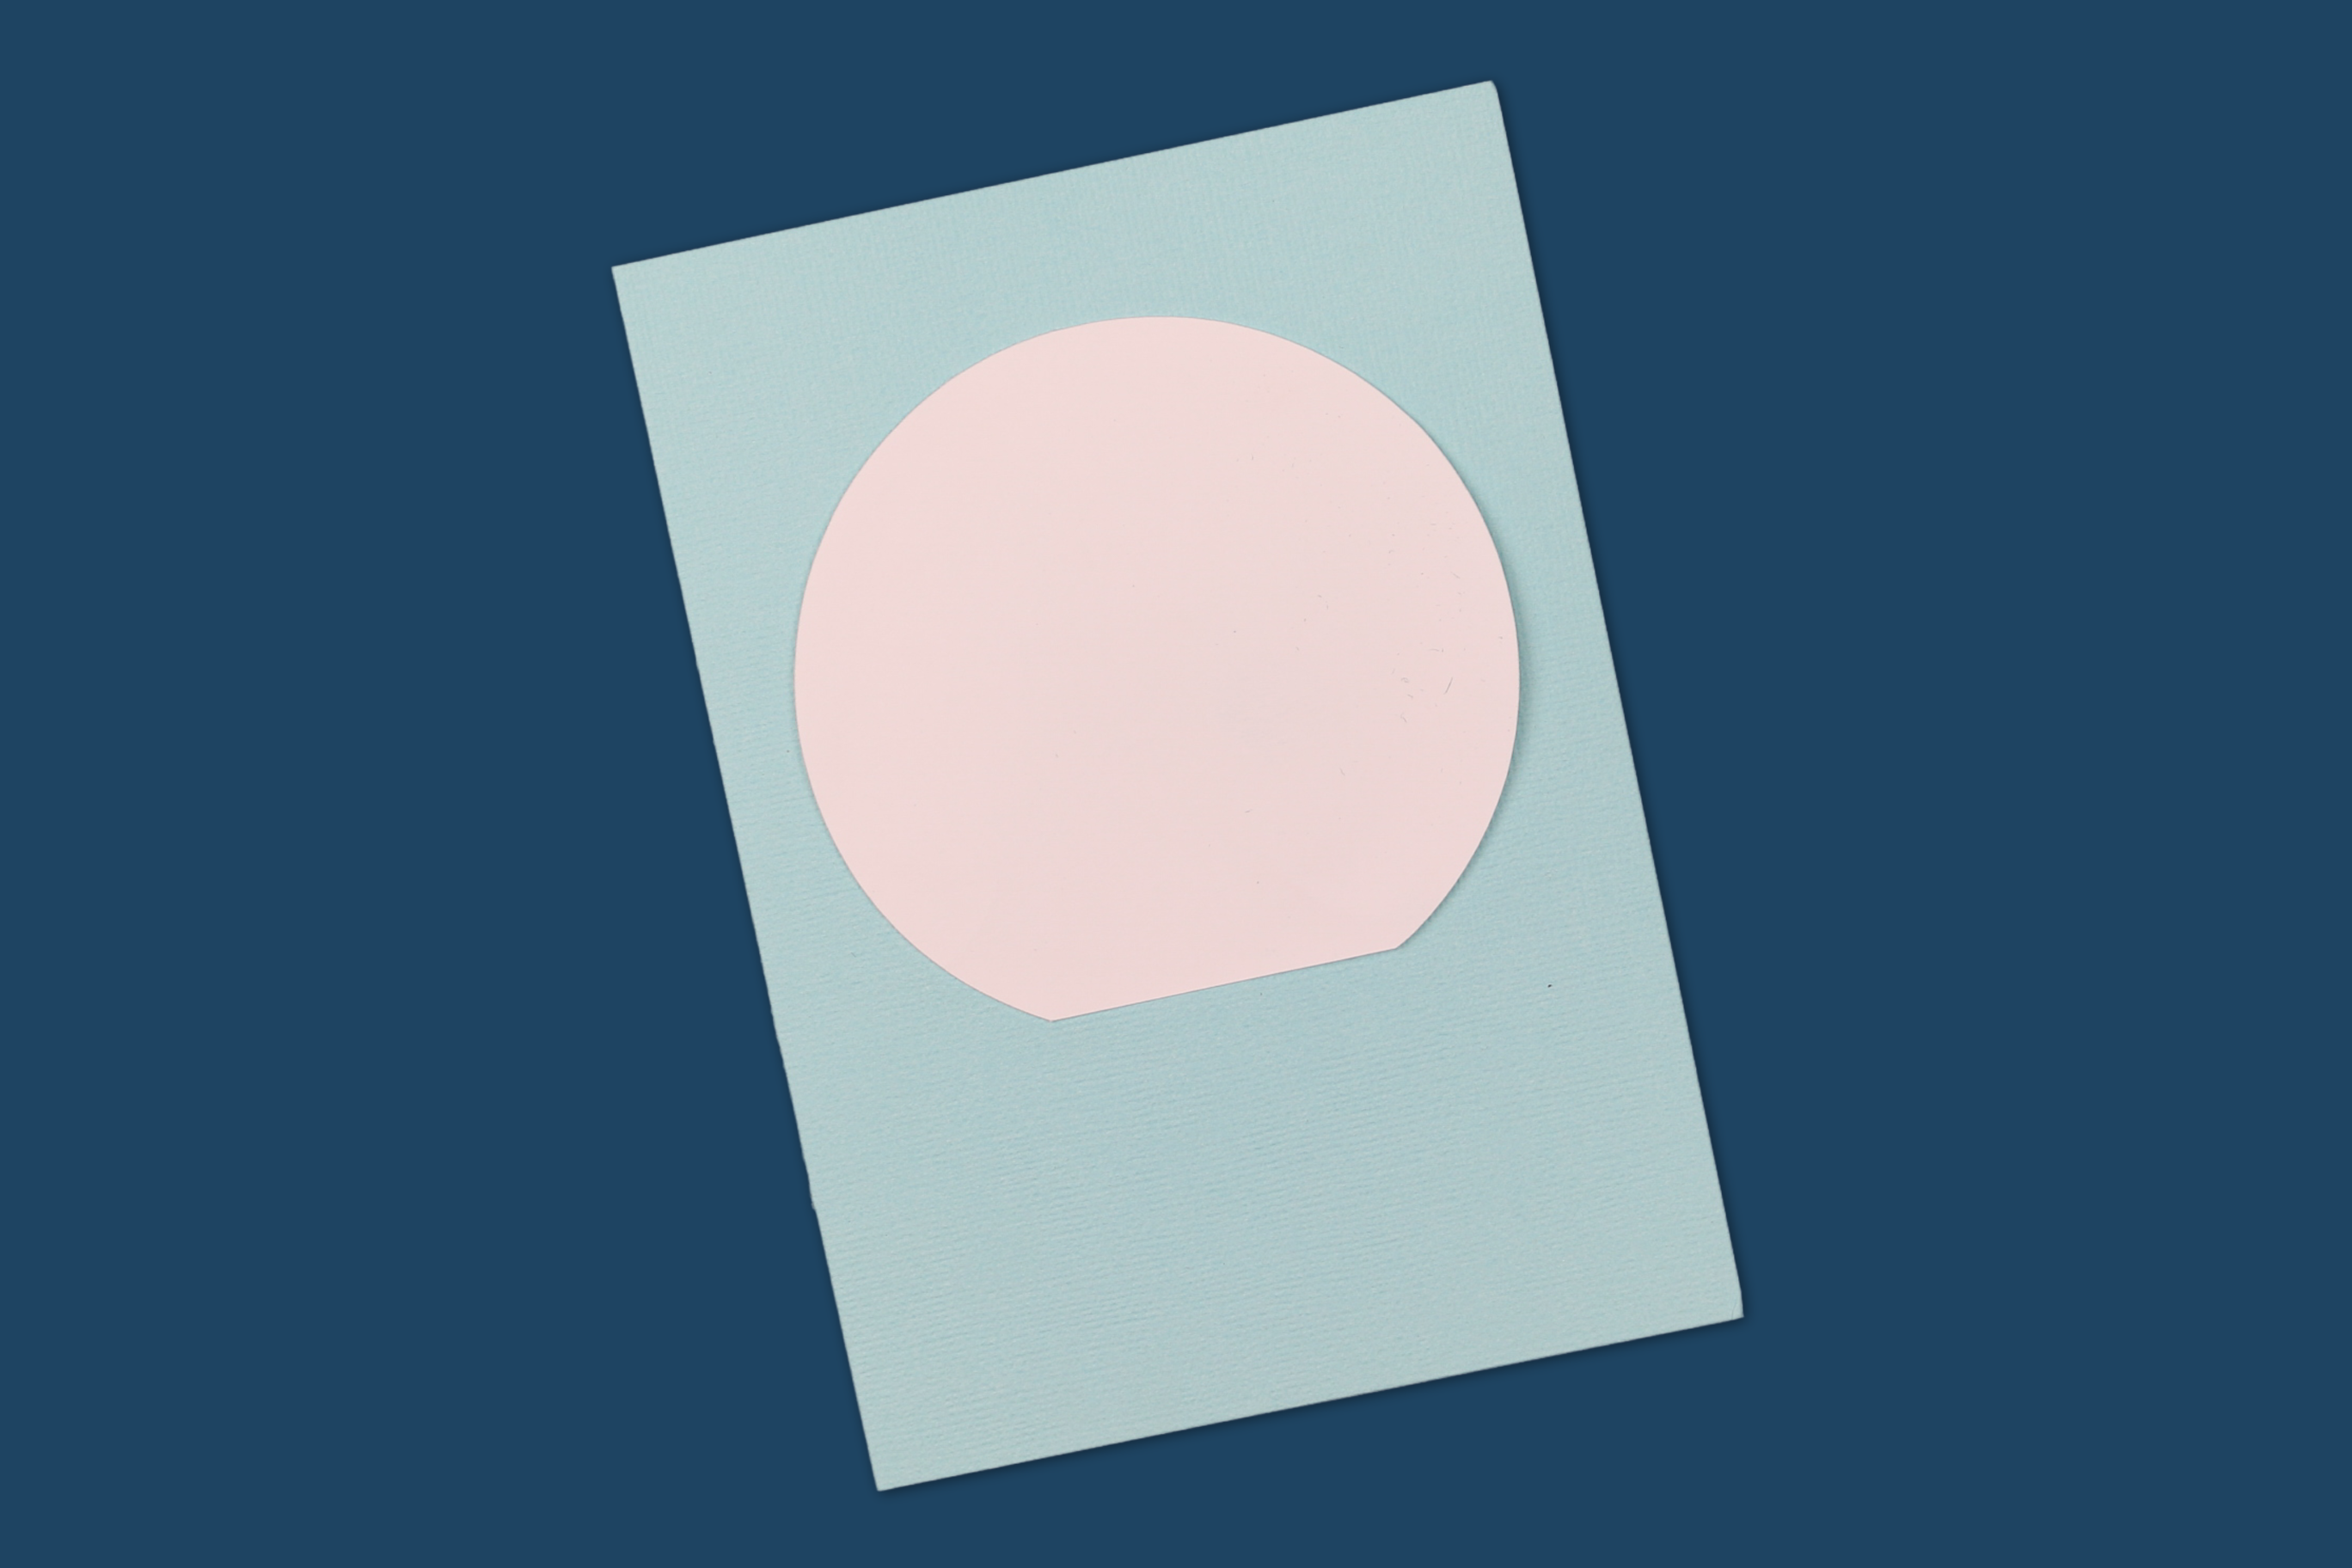
First, apply some glue to the back of the bottom-most layer of cardstock. In the case of my lighthouse SVG, that is the white near-circle that will serve as the stars in the finished design.
Place the bottom layer on the card carefully. All the other layers will stack upon this layer, so make sure you have positioned it exactly where you want it!
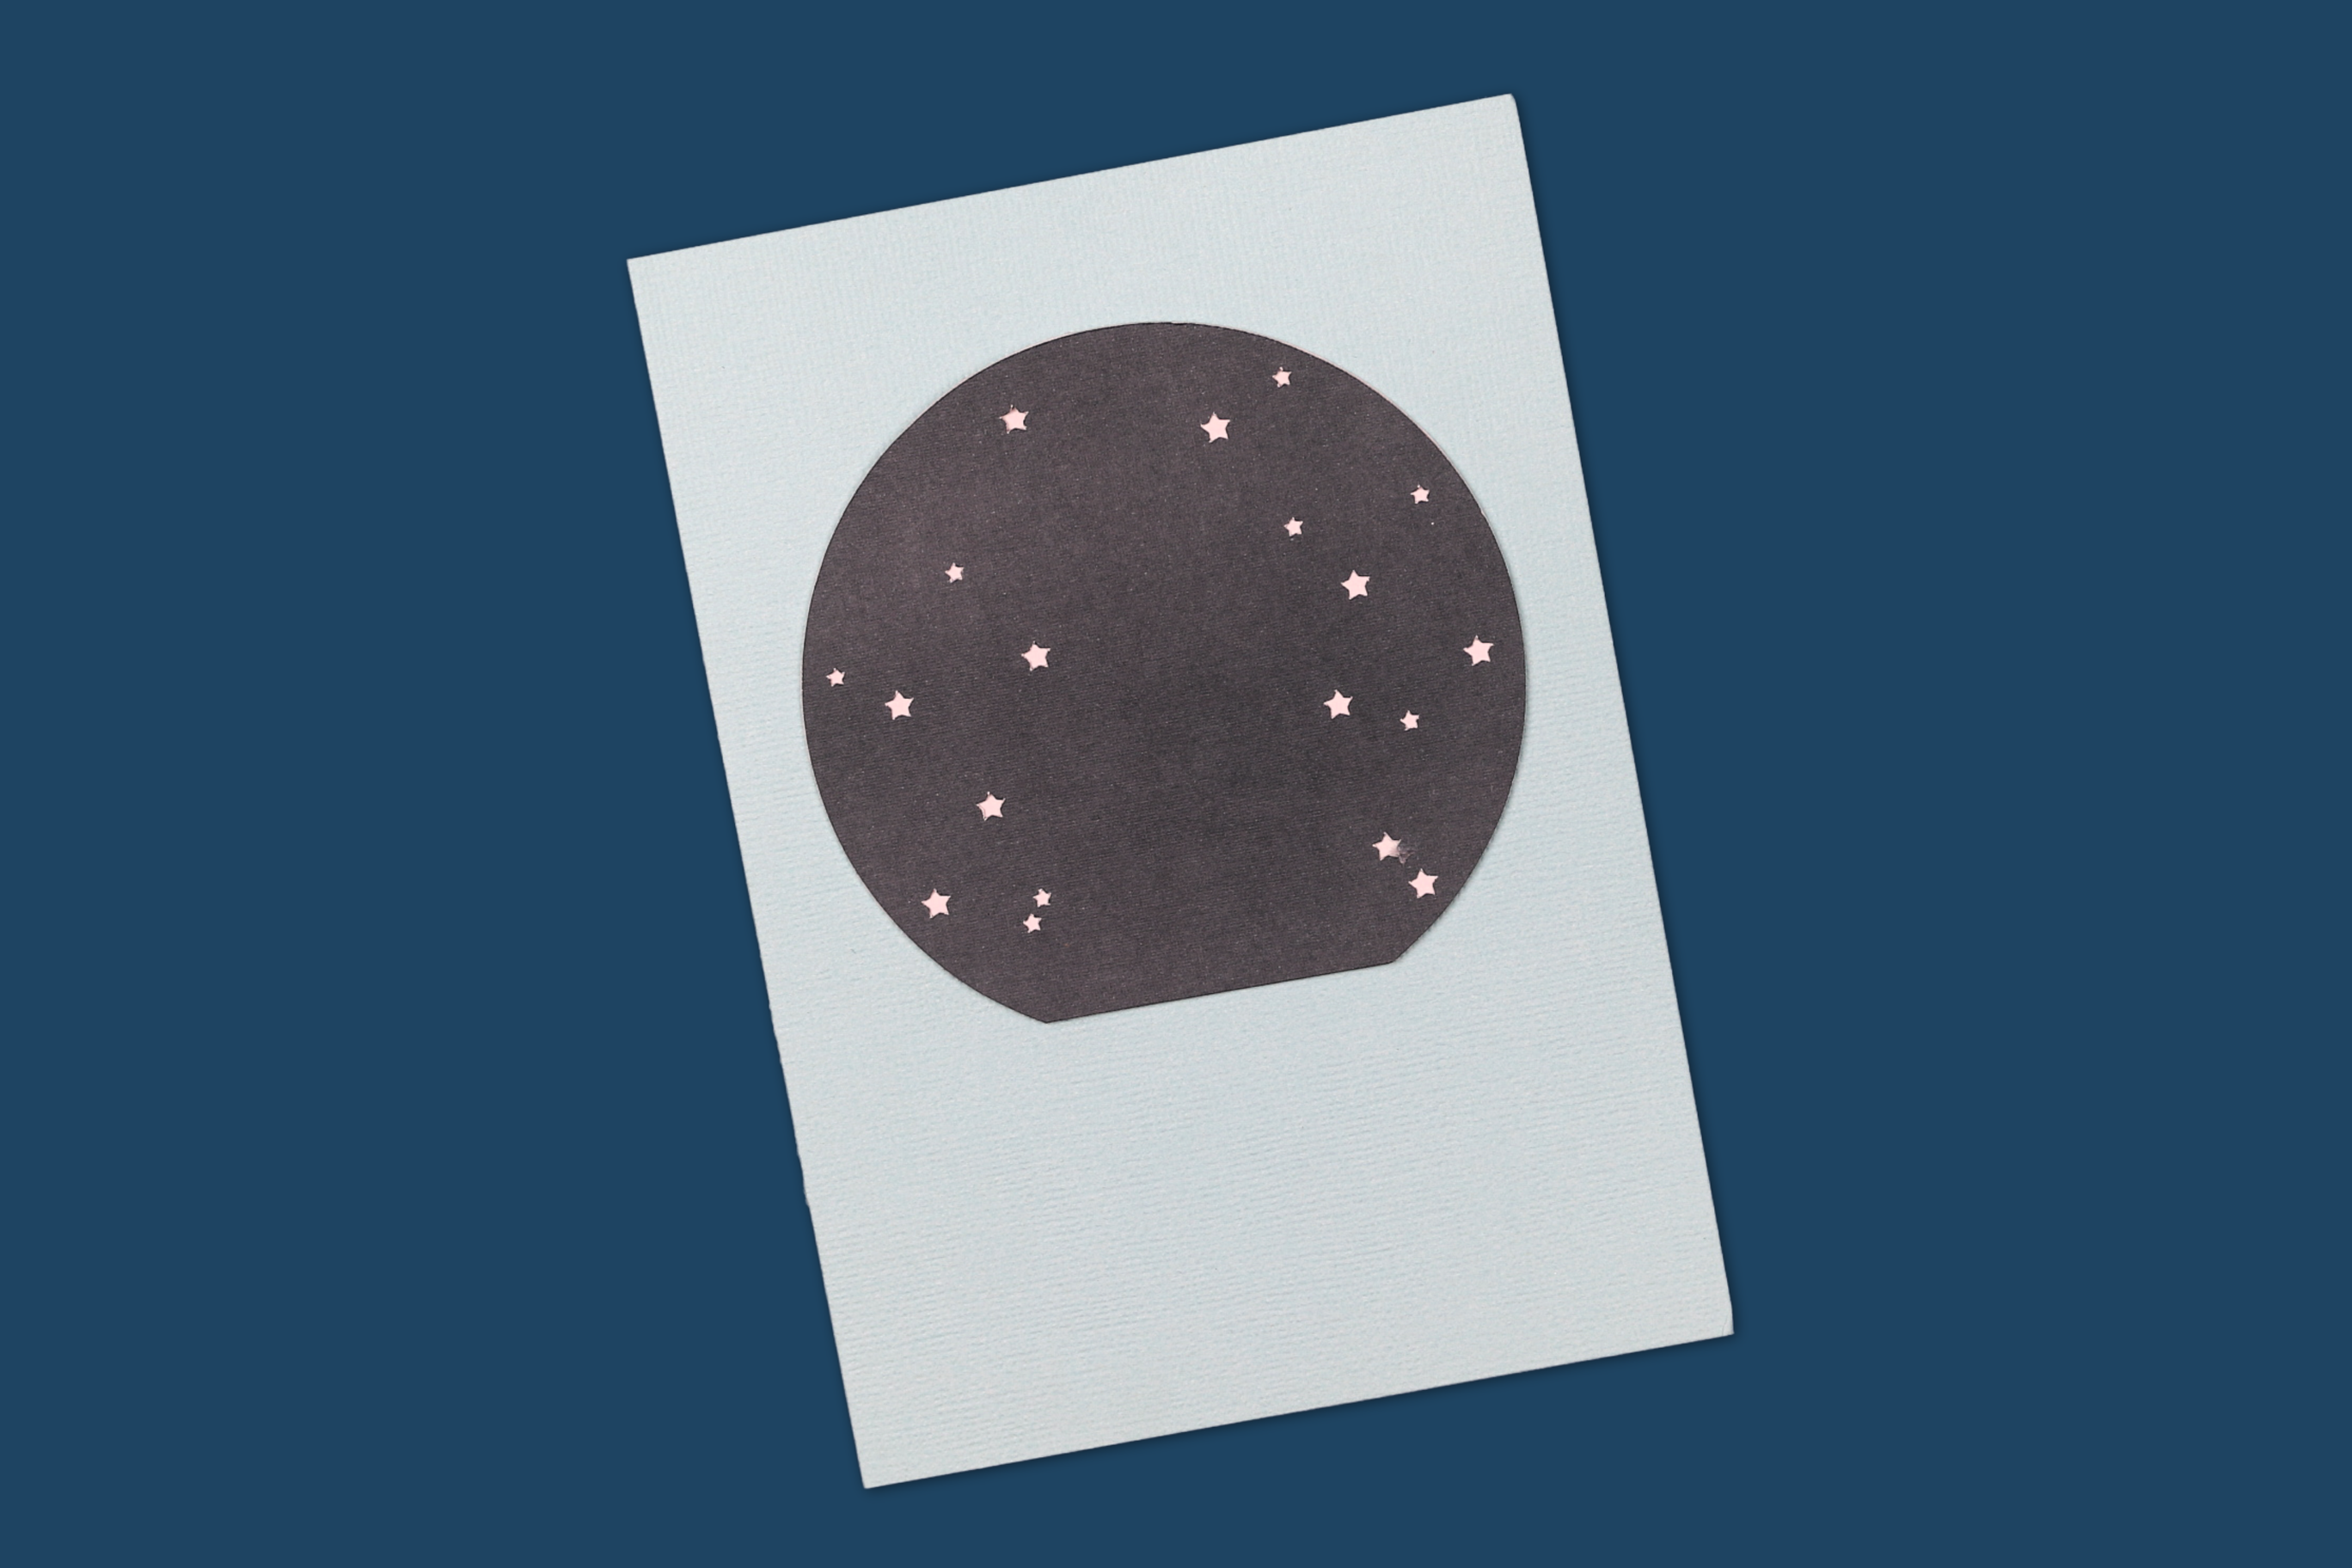
Next, apply glue to the back of the next layer of the design. Align this layer directly on top of the bottom layer, and apply it carefully. In my lighthouse design, the night sky has cut-outs that become stars!
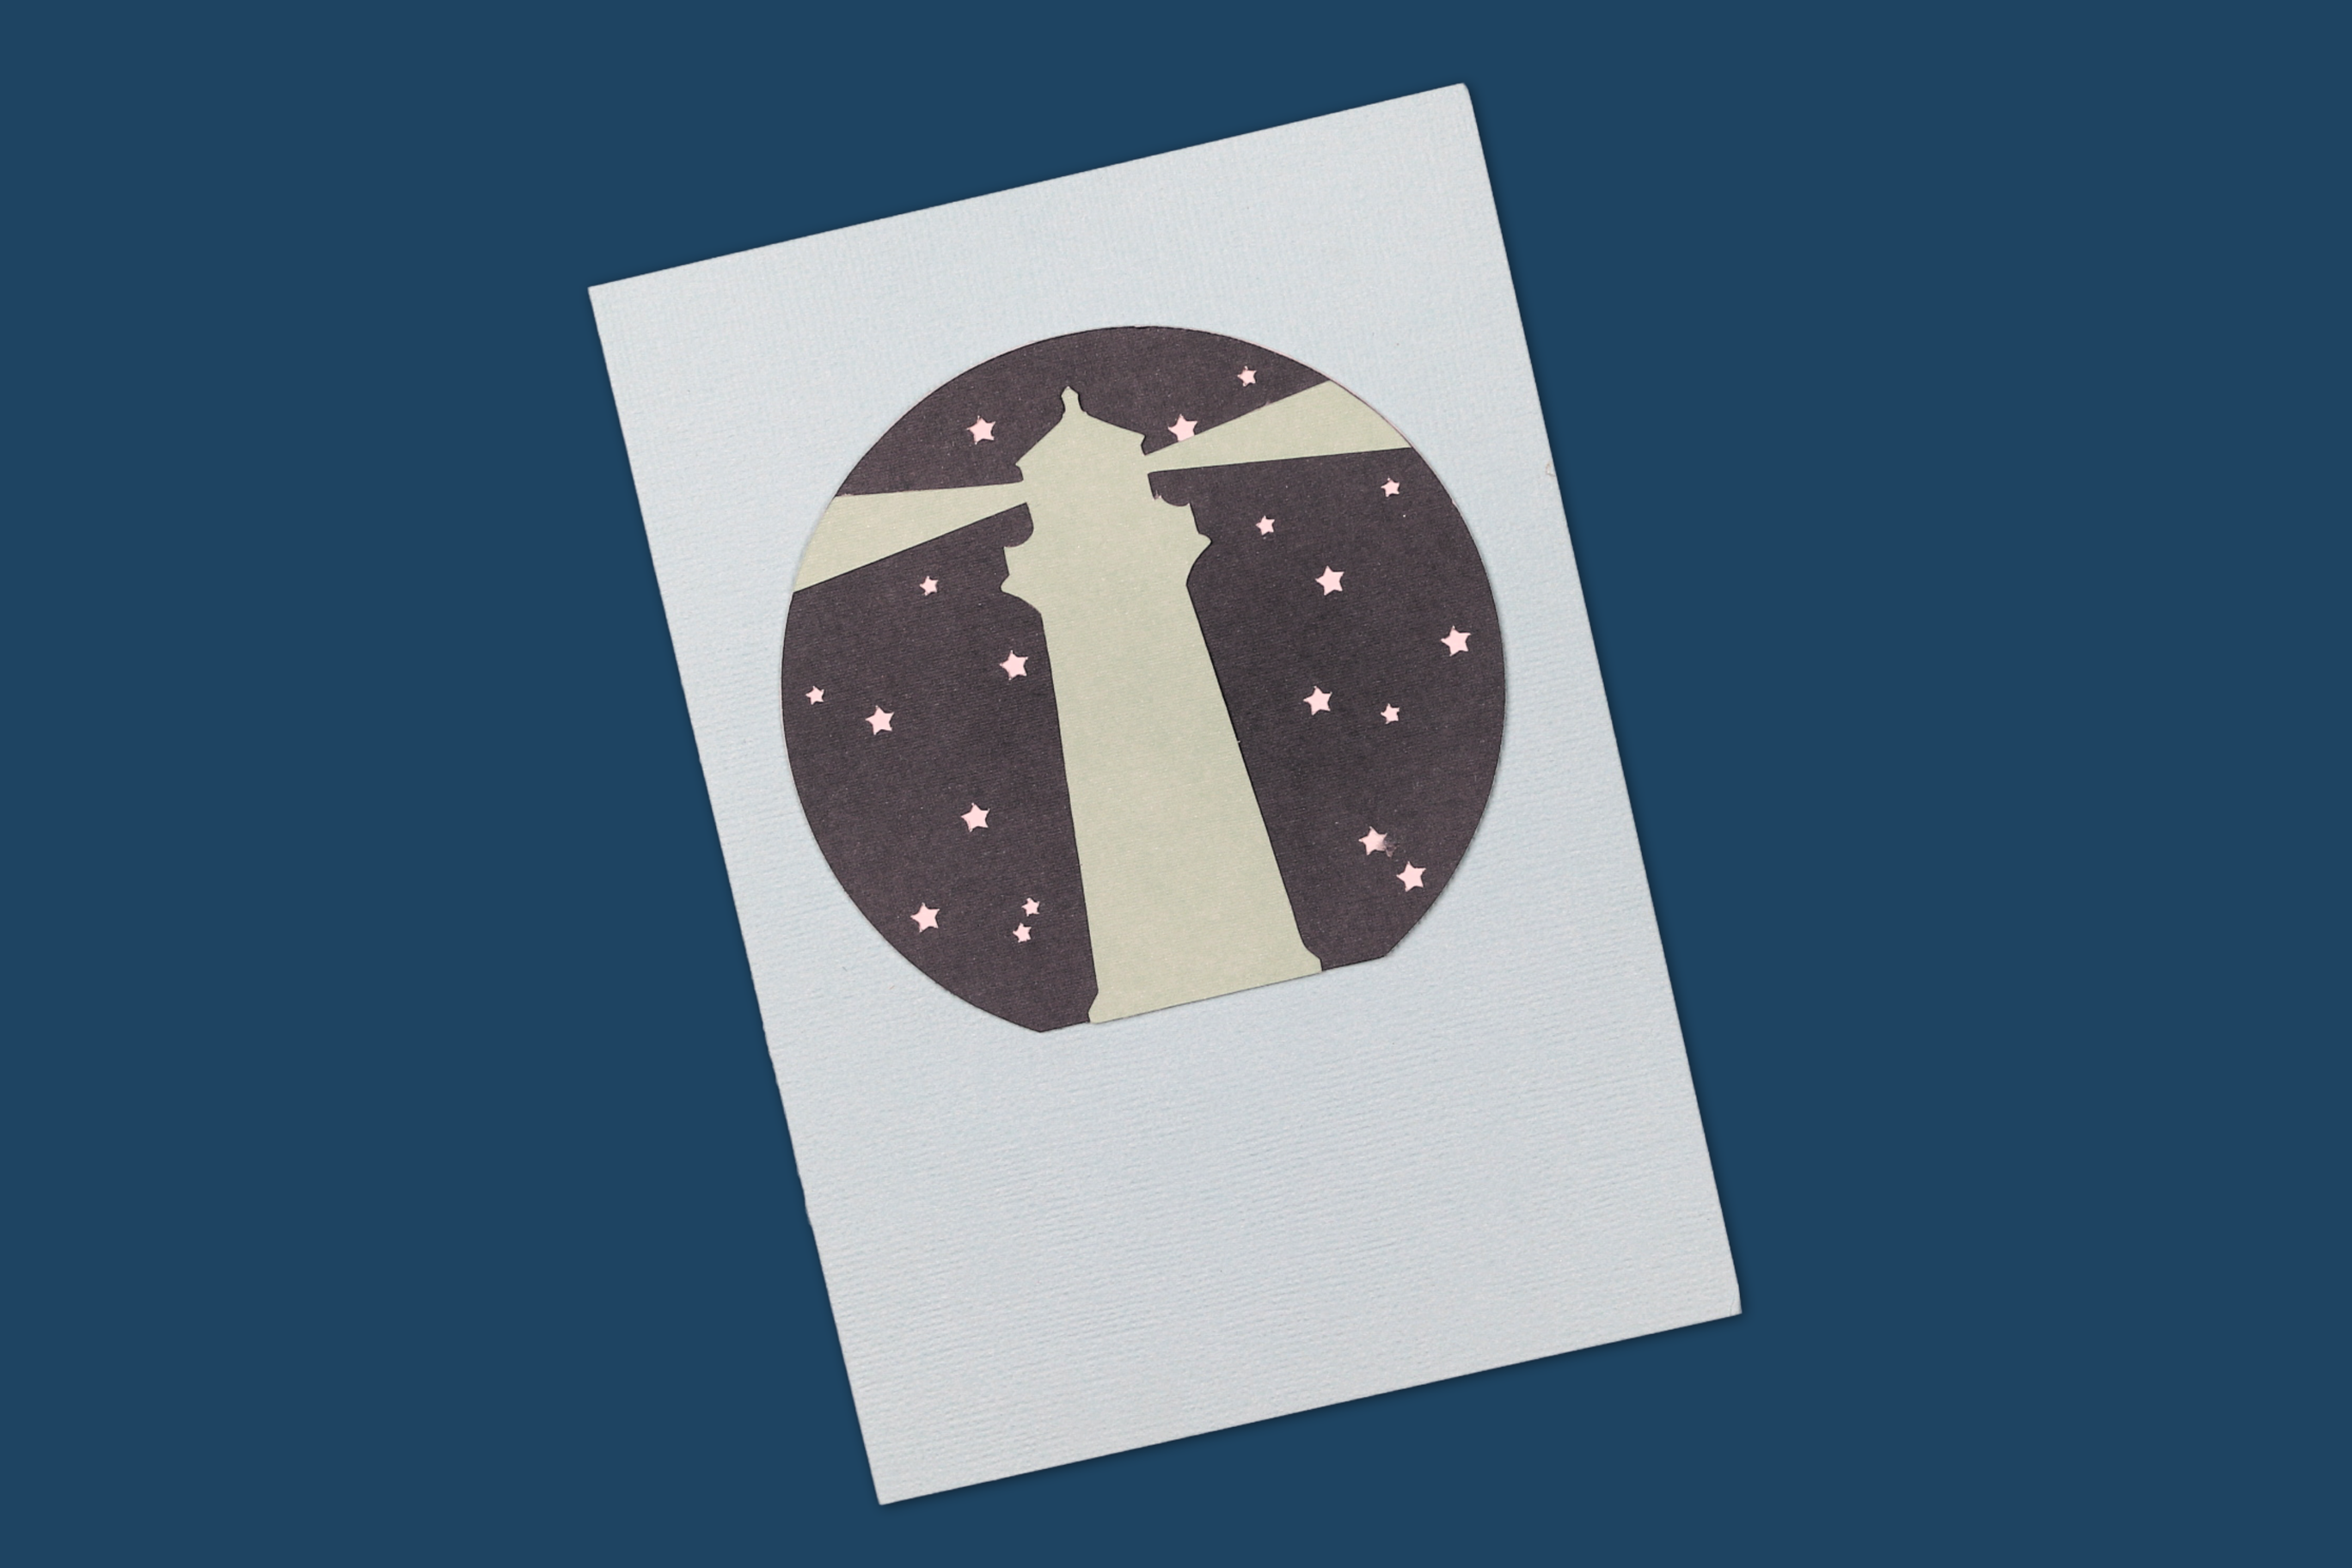
Repeat the glue and application process to the next layer of your design. Always be careful to apply glue to the backside of the design and to align all the edges properly. This layer will serve as the light shining out of the lighthouse.

Finish the design by gluing the top-most layer onto the design.
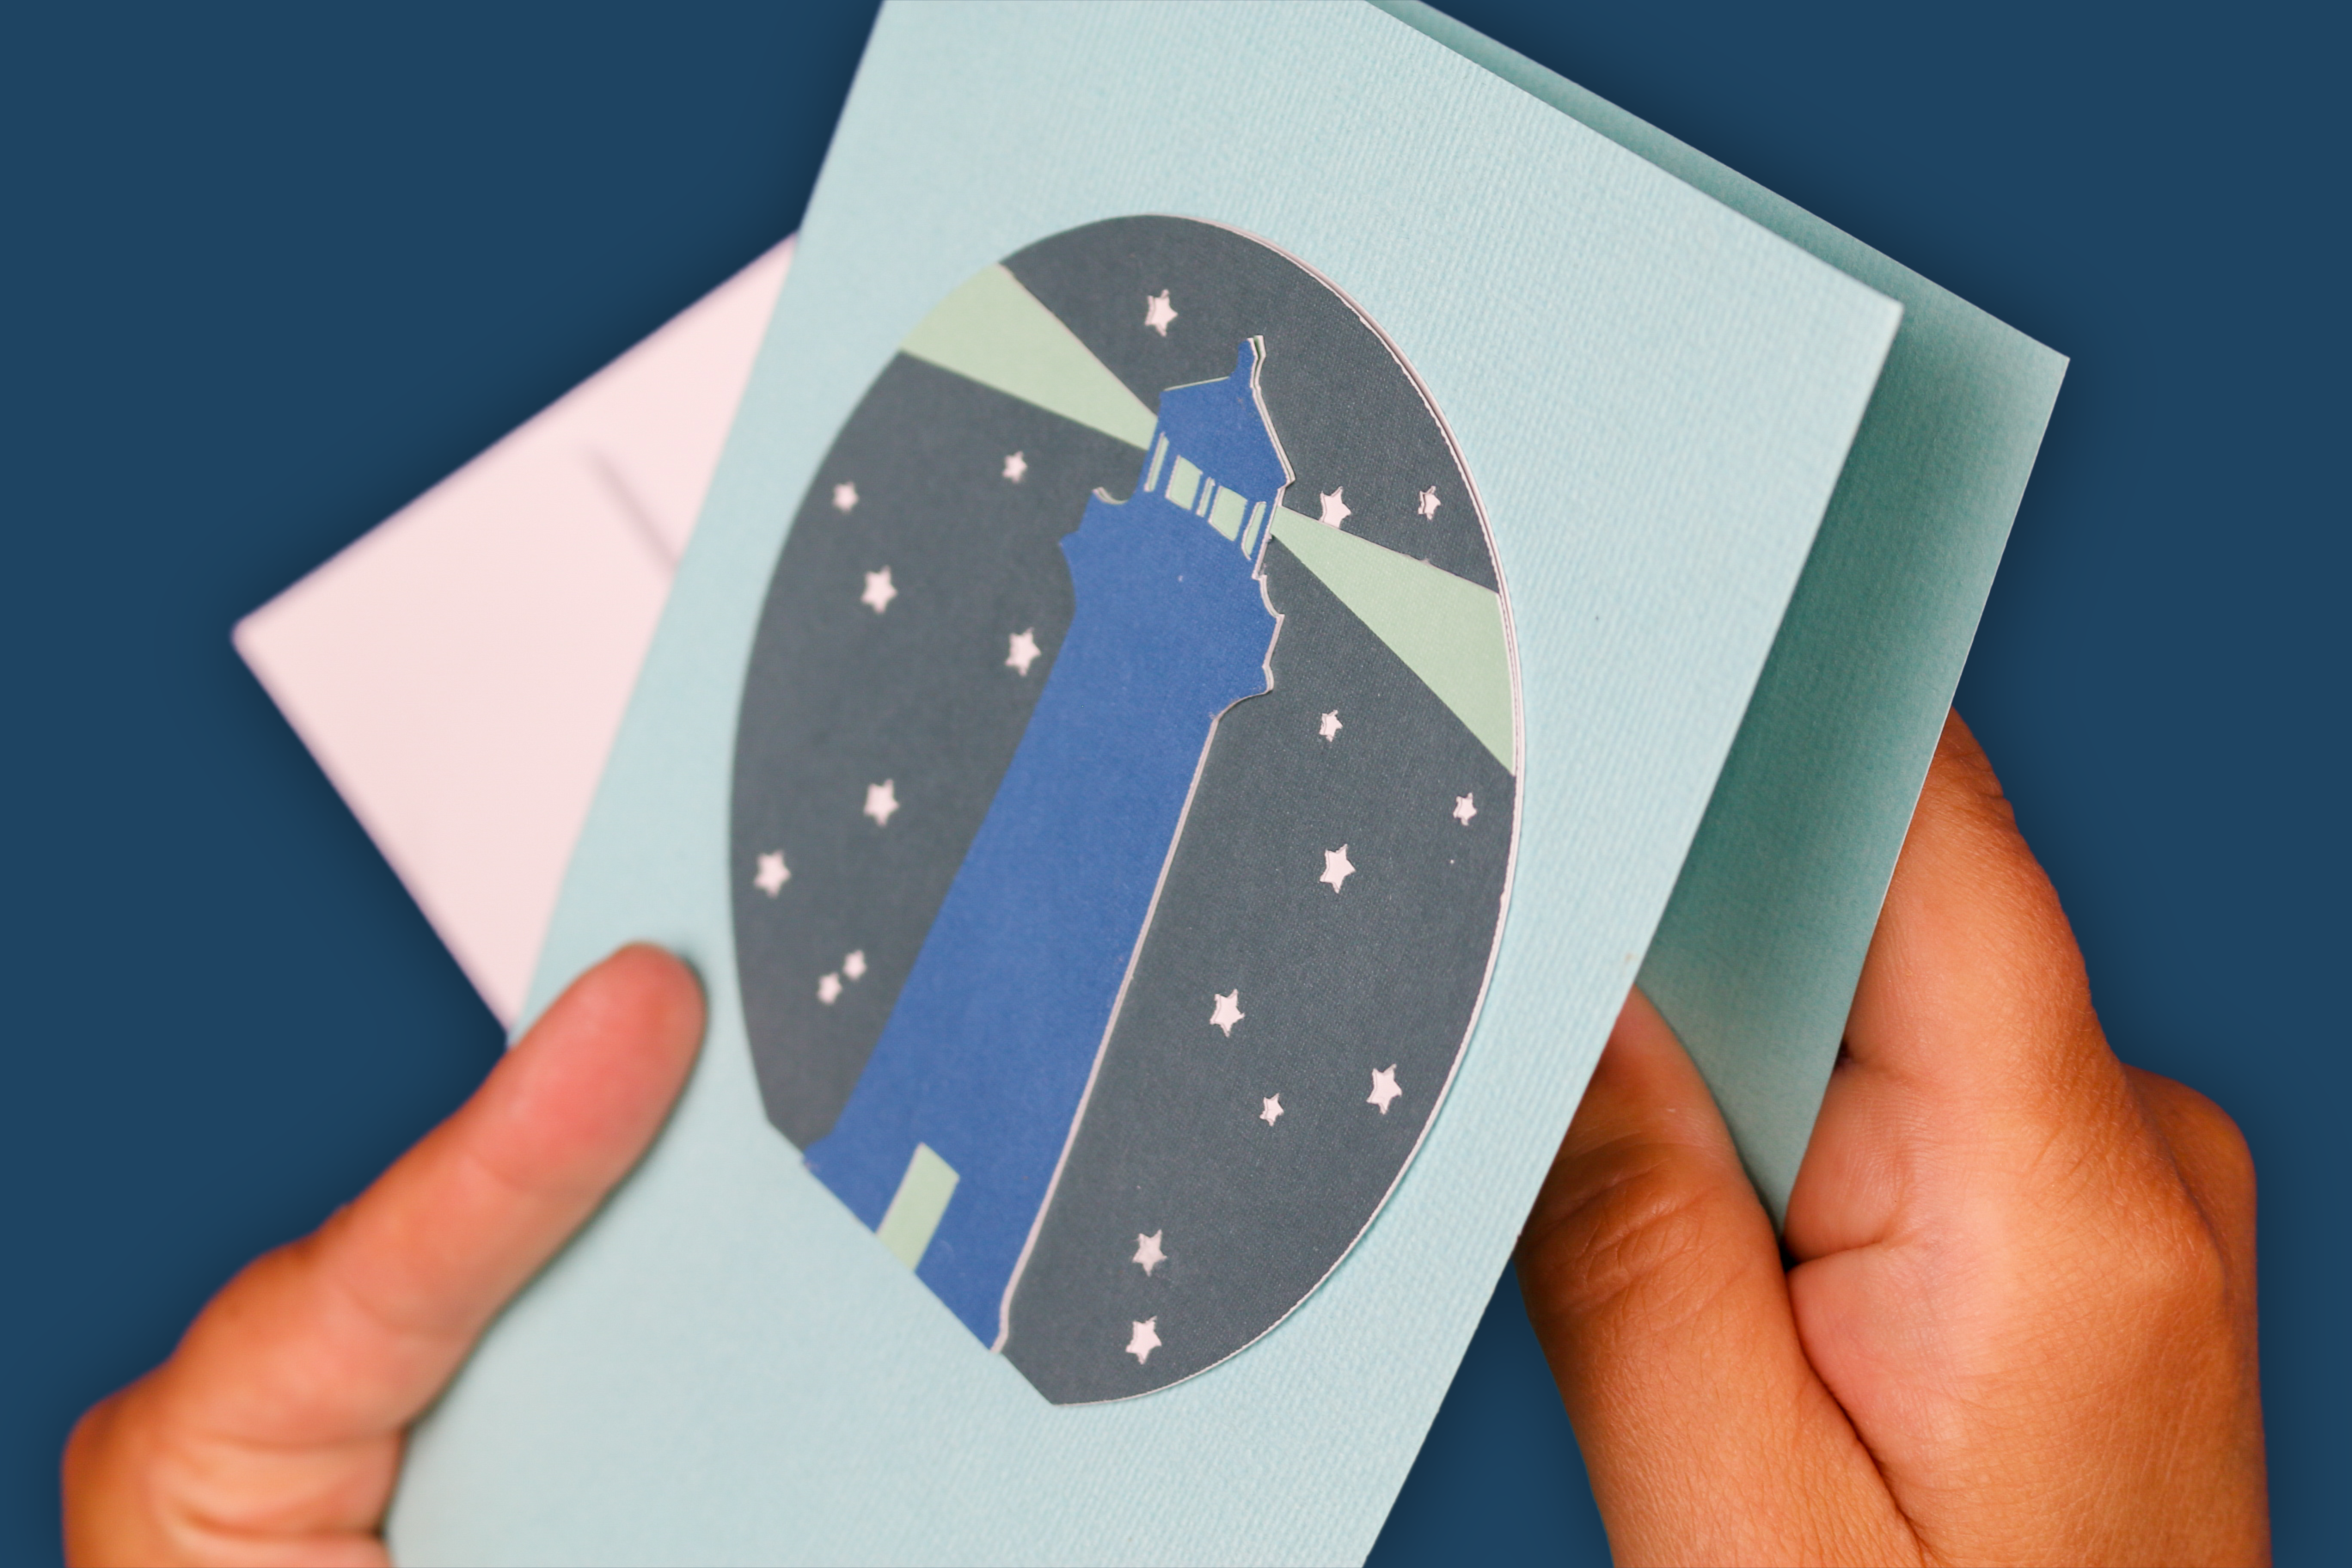
Not only does your finished paper art have multiple colors and textures, but it also has a depth that makes it even more beautiful!
If you would like to, you can add other embellishments or sentiments to the front of your paper art greeting card. All that is left is to write a greeting inside and to send it off to a loved one!



Leave a Reply