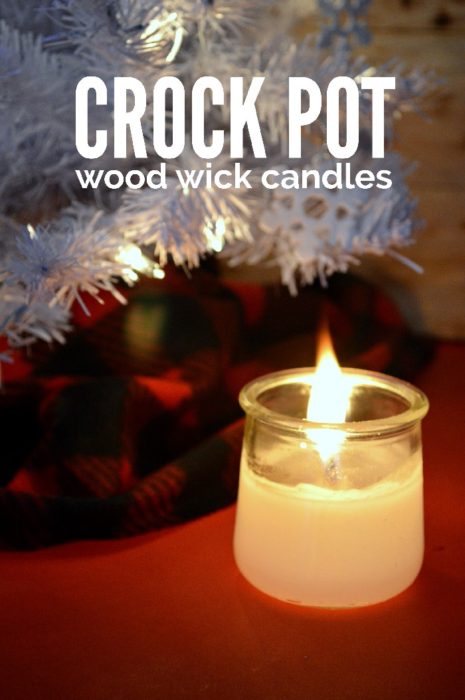
I love wood wick candles! There’s something about the way they burn and crackle that makes any candle seem just a little bit cozier. Homemade candles make wonderful holiday gifts, and they also sell really well at craft shows. Today, I’m going to show you how to make your own wood wick candles with labels made using the Cricut print and cut feature.
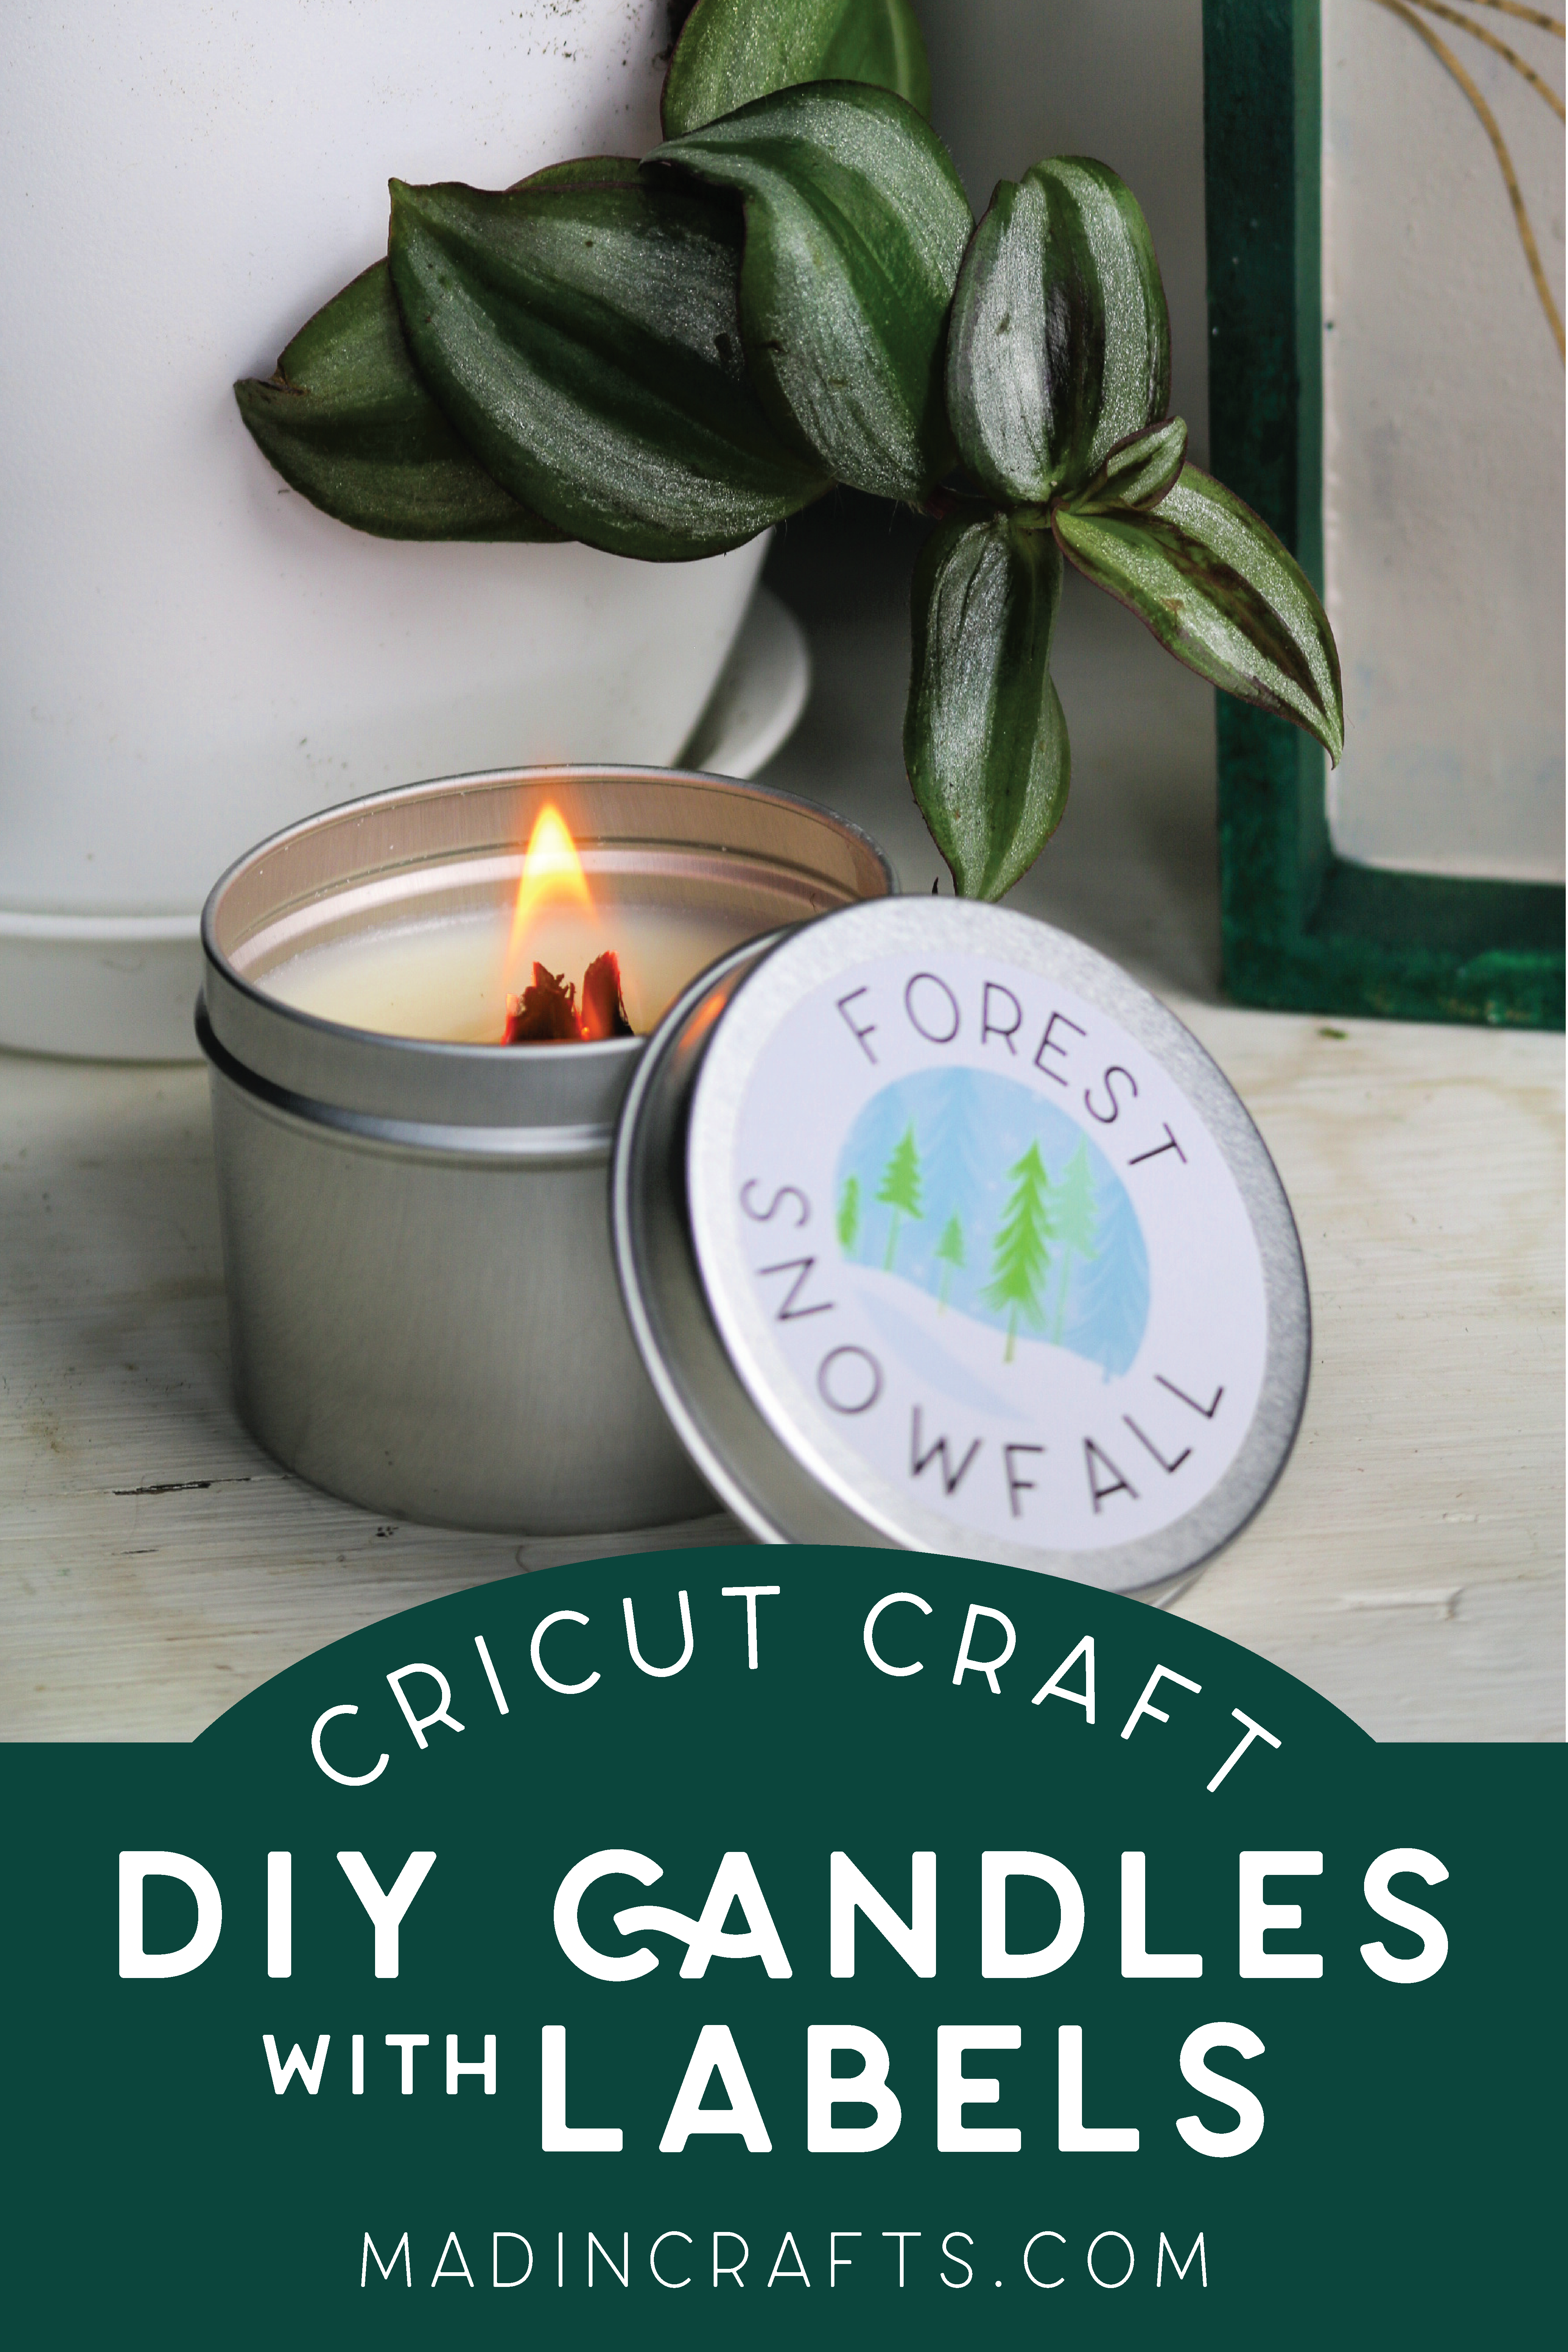
HOW TO MAKE WOOD WICK CANDLES WITH LABELS
WHAT YOU WILL NEED TO MAKE DIY CANDLES WITH LABELS
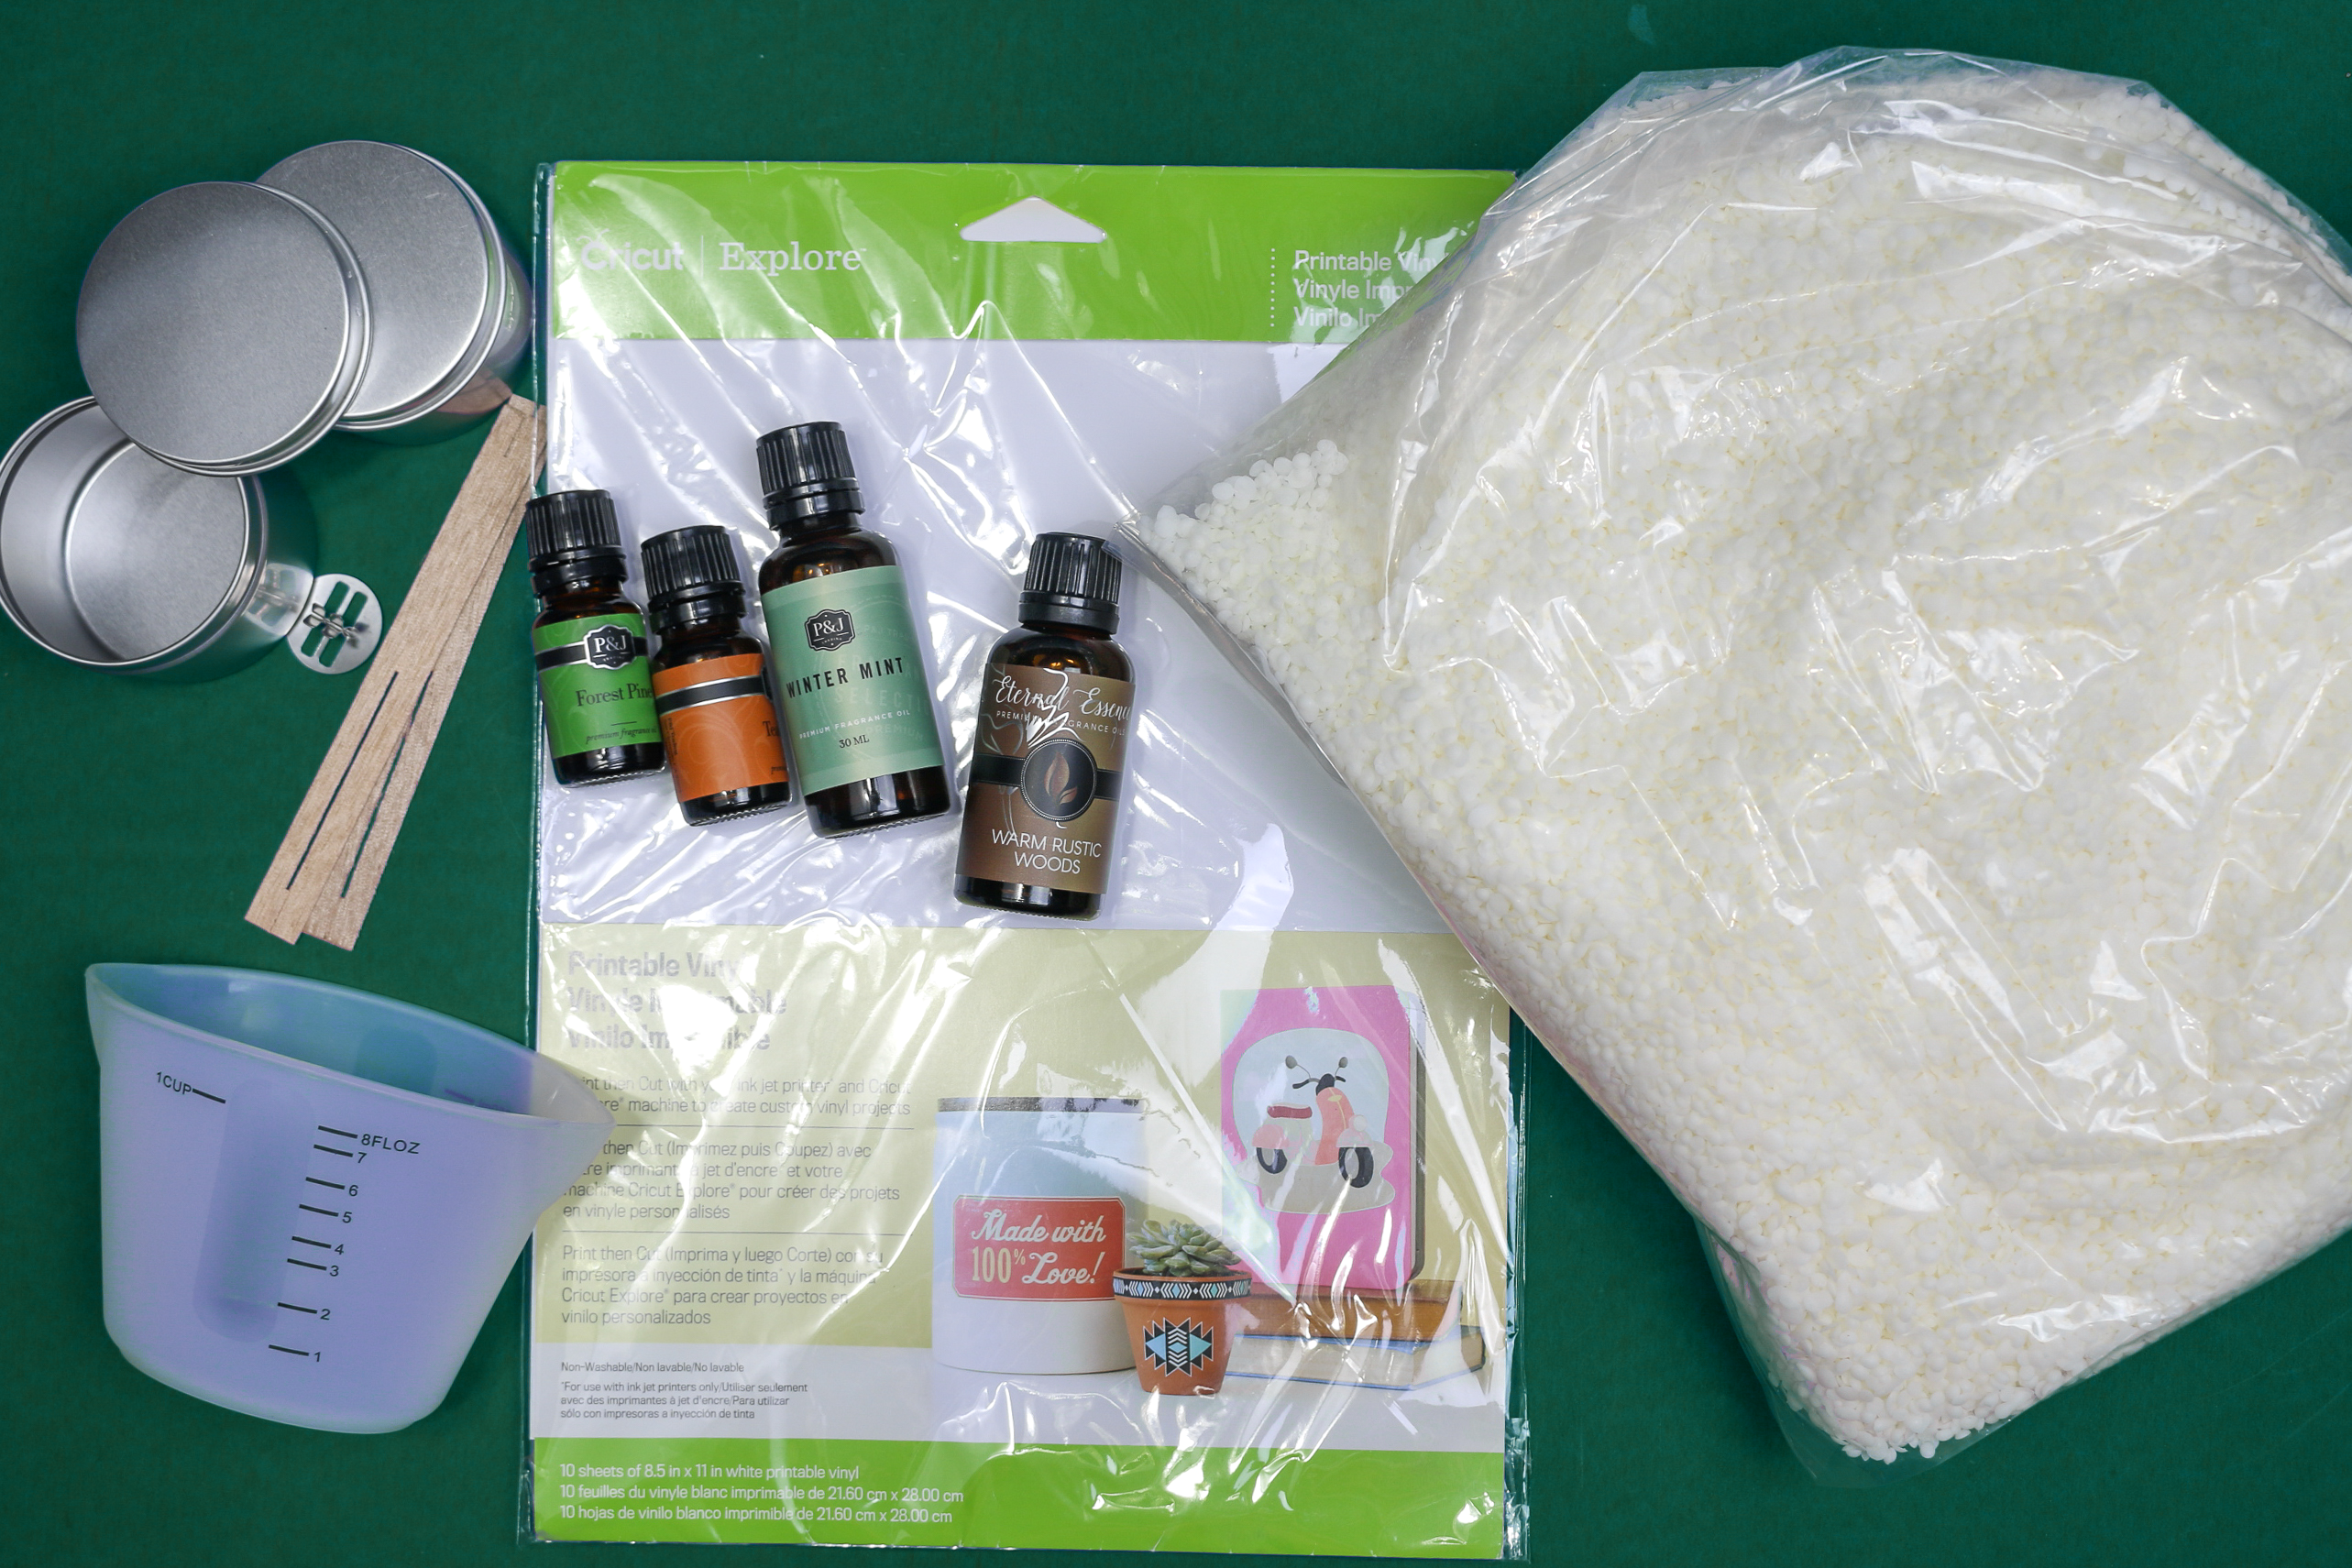
Making candles does require a little bit of special equipment. This tutorial uses a minimum amount of supplies, and you can modify my supplies to suit your needs.
These are all affiliate links, if you make a purchase (of anything from the site, not just these items) after clicking through, I will earn a small commission. Ads and affiliate links are the way I am able to keep this website running and to offer you free tutorials all year long. Thank you so much for supporting me and Mad in Crafts!
- Soy wax pellets
- Silicone measuring cups
- Candle fragrances
- Wood candle wicks
- Candle tins
- Glue dots or hot glue
- Small saucepan
- Spoon
- Cricut Explore 3 (or other Cricut Explore or Maker)
- Printable vinyl
- Cutting mat
- Cricut Access

Want to know which craft supplies I always keep in my craft room?
Visit the Mad in Crafts Amazon Storefront to learn more and to buy your own supplies!
MAKING CANDLE LABELS WITH CRICUT PRINT AND CUT
You can use Cricut Design Space to create your own personalized labels for your wood wick candles. First, you need to measure the size of the lids of your candle tins. You will want to make sure that your design (images and text) will fit inside this measurement. This is how I designed my candle labels.
Cricut Print and Cut Candle Labels
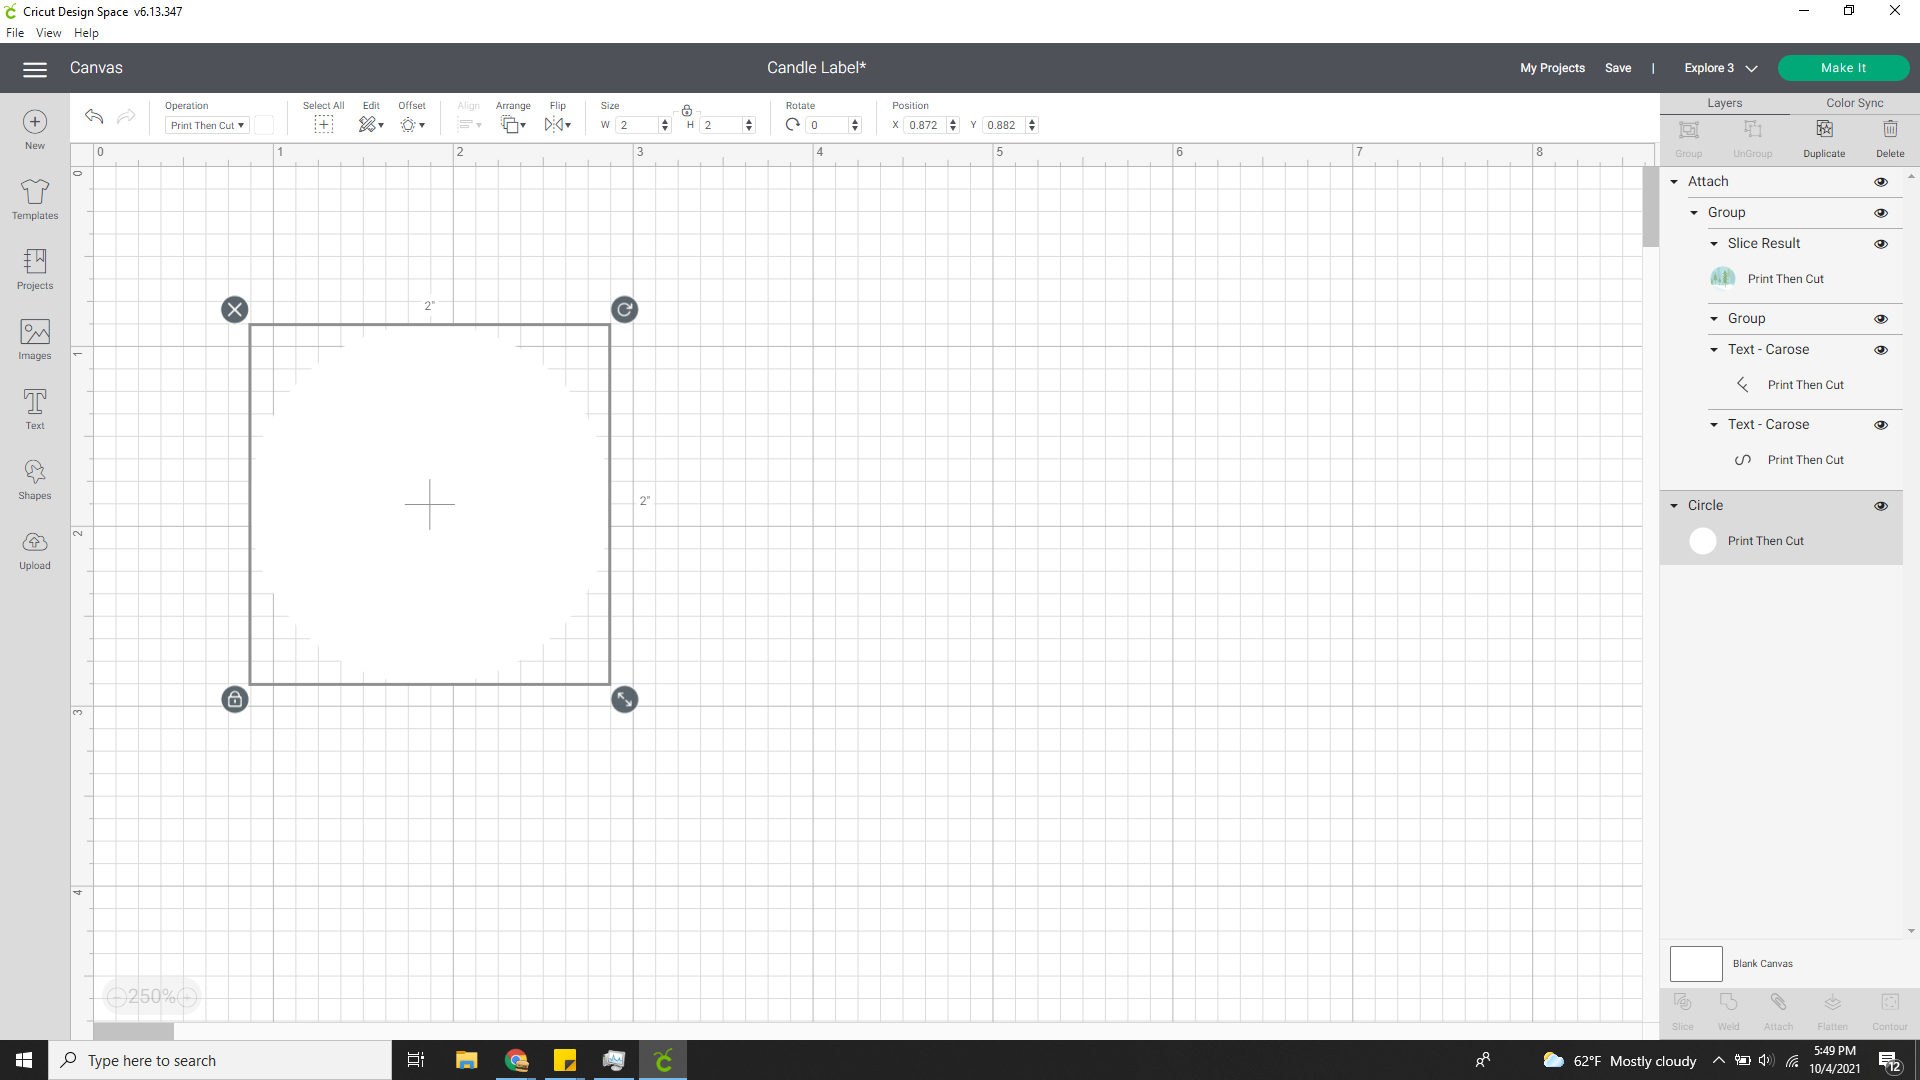
- Open a canvas in Design Space and insert a white circle that is slightly smaller than the size of your tin lids.

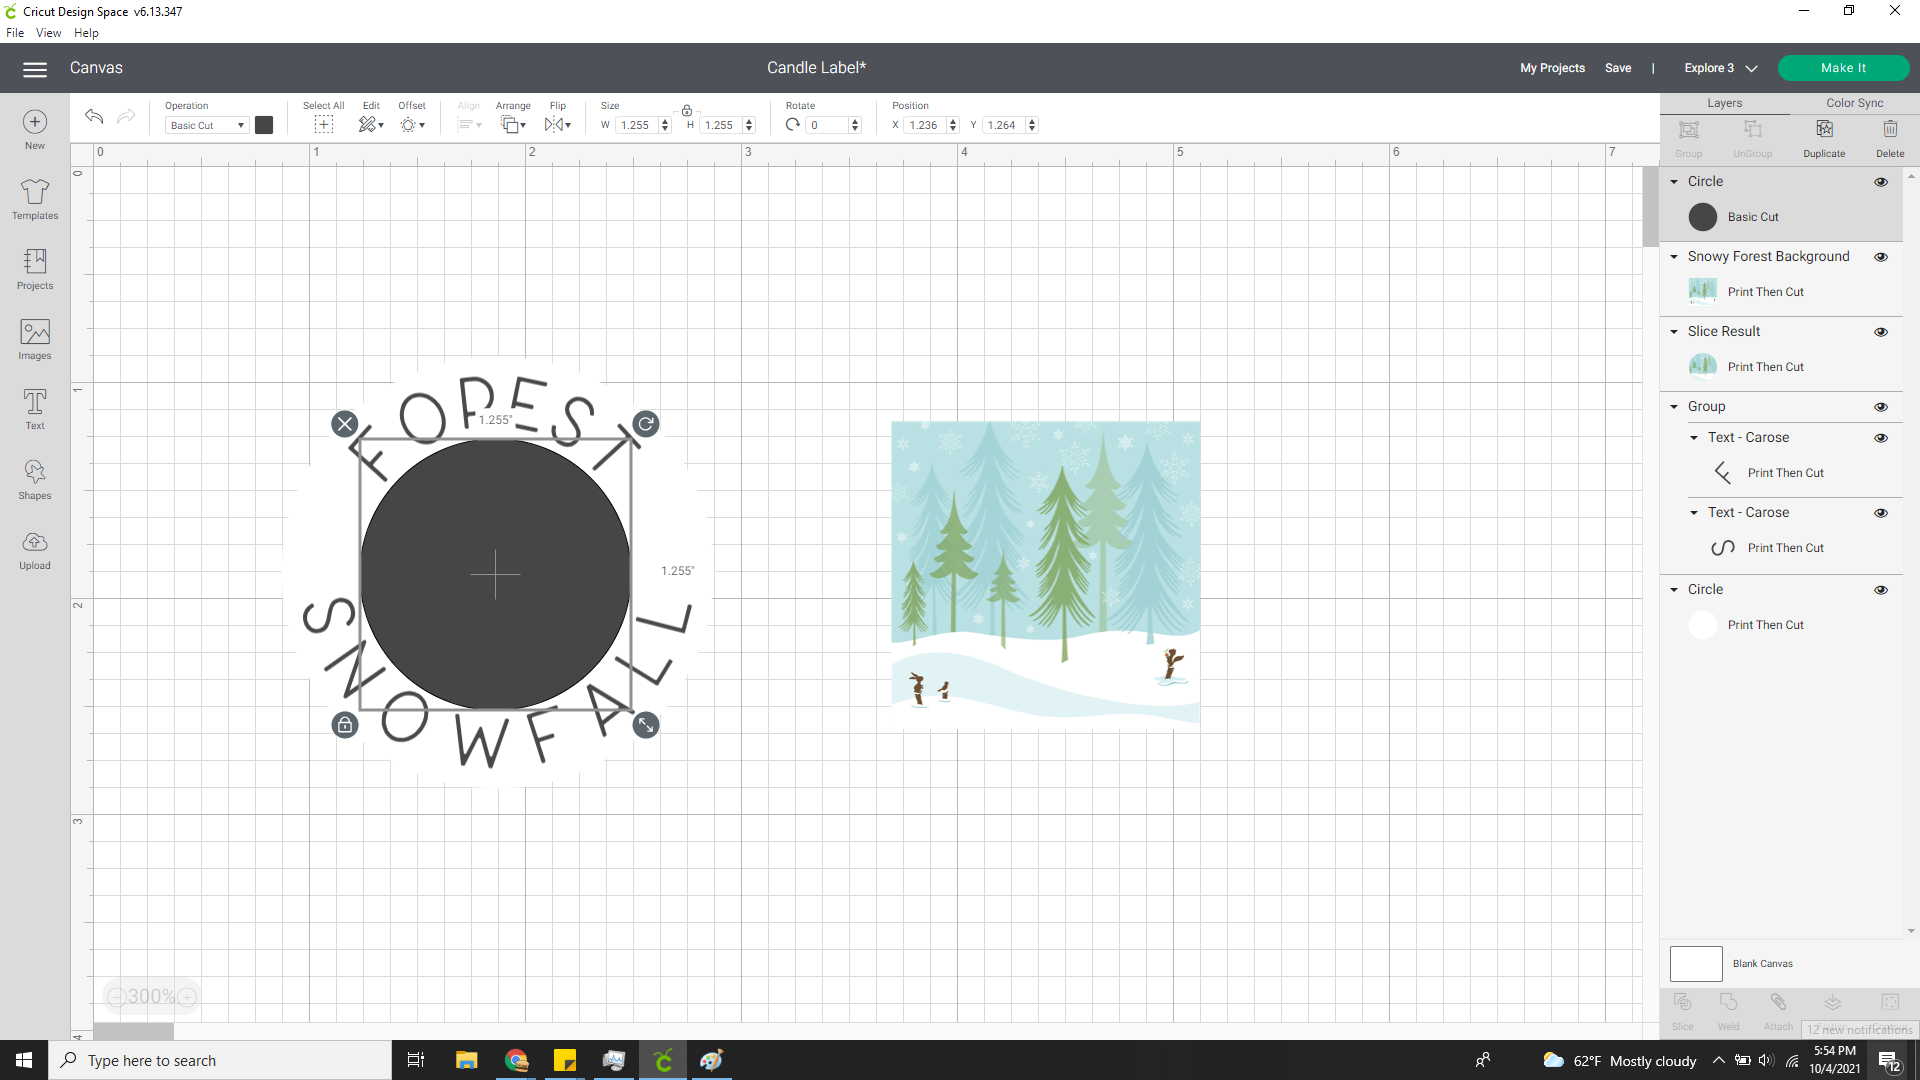
- Add your text and curve it to fit within the white circle.

- Choose an image from Cricut Access that you would like to use on your labels. Resize the image to fit your label. Create a circle that will fit within your label.

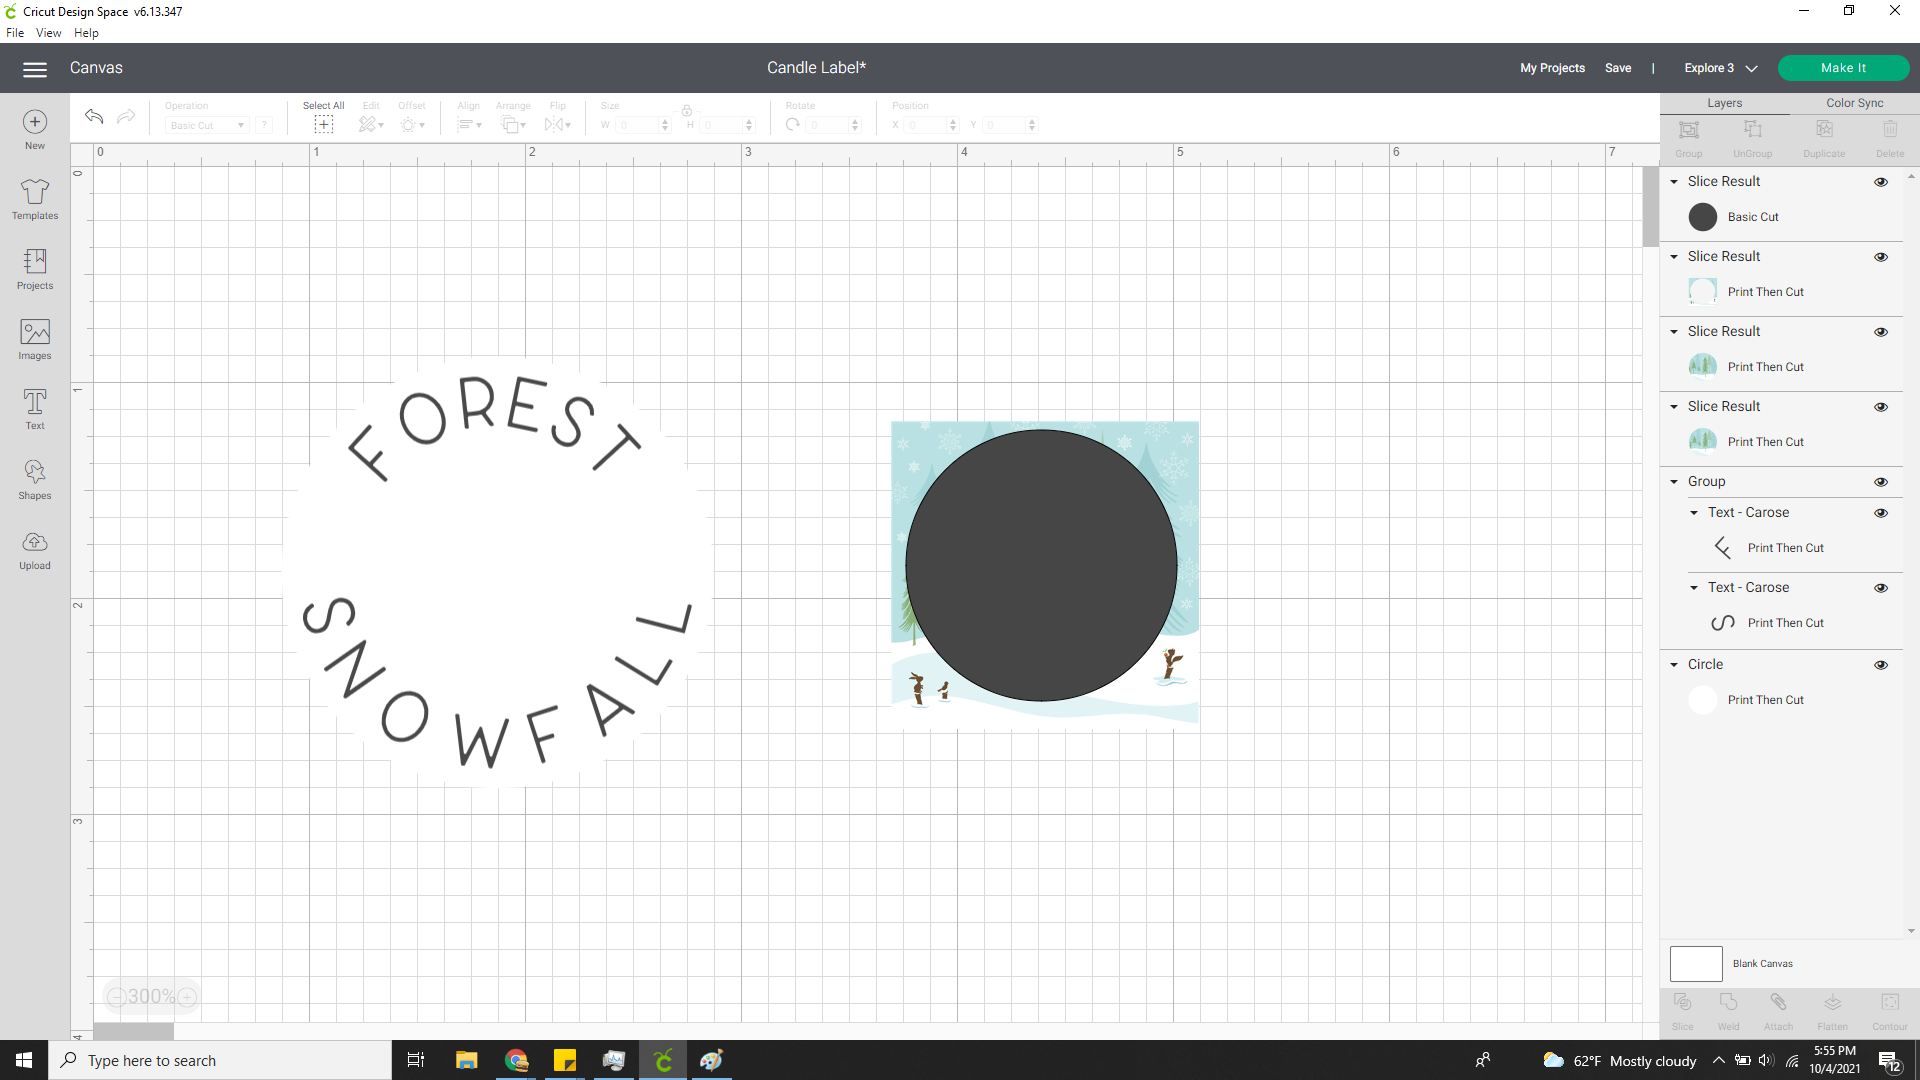
- Place this circle on top of the image. Select both the circle and the image, and click the slice button.

- Delete the unneeded shapes.

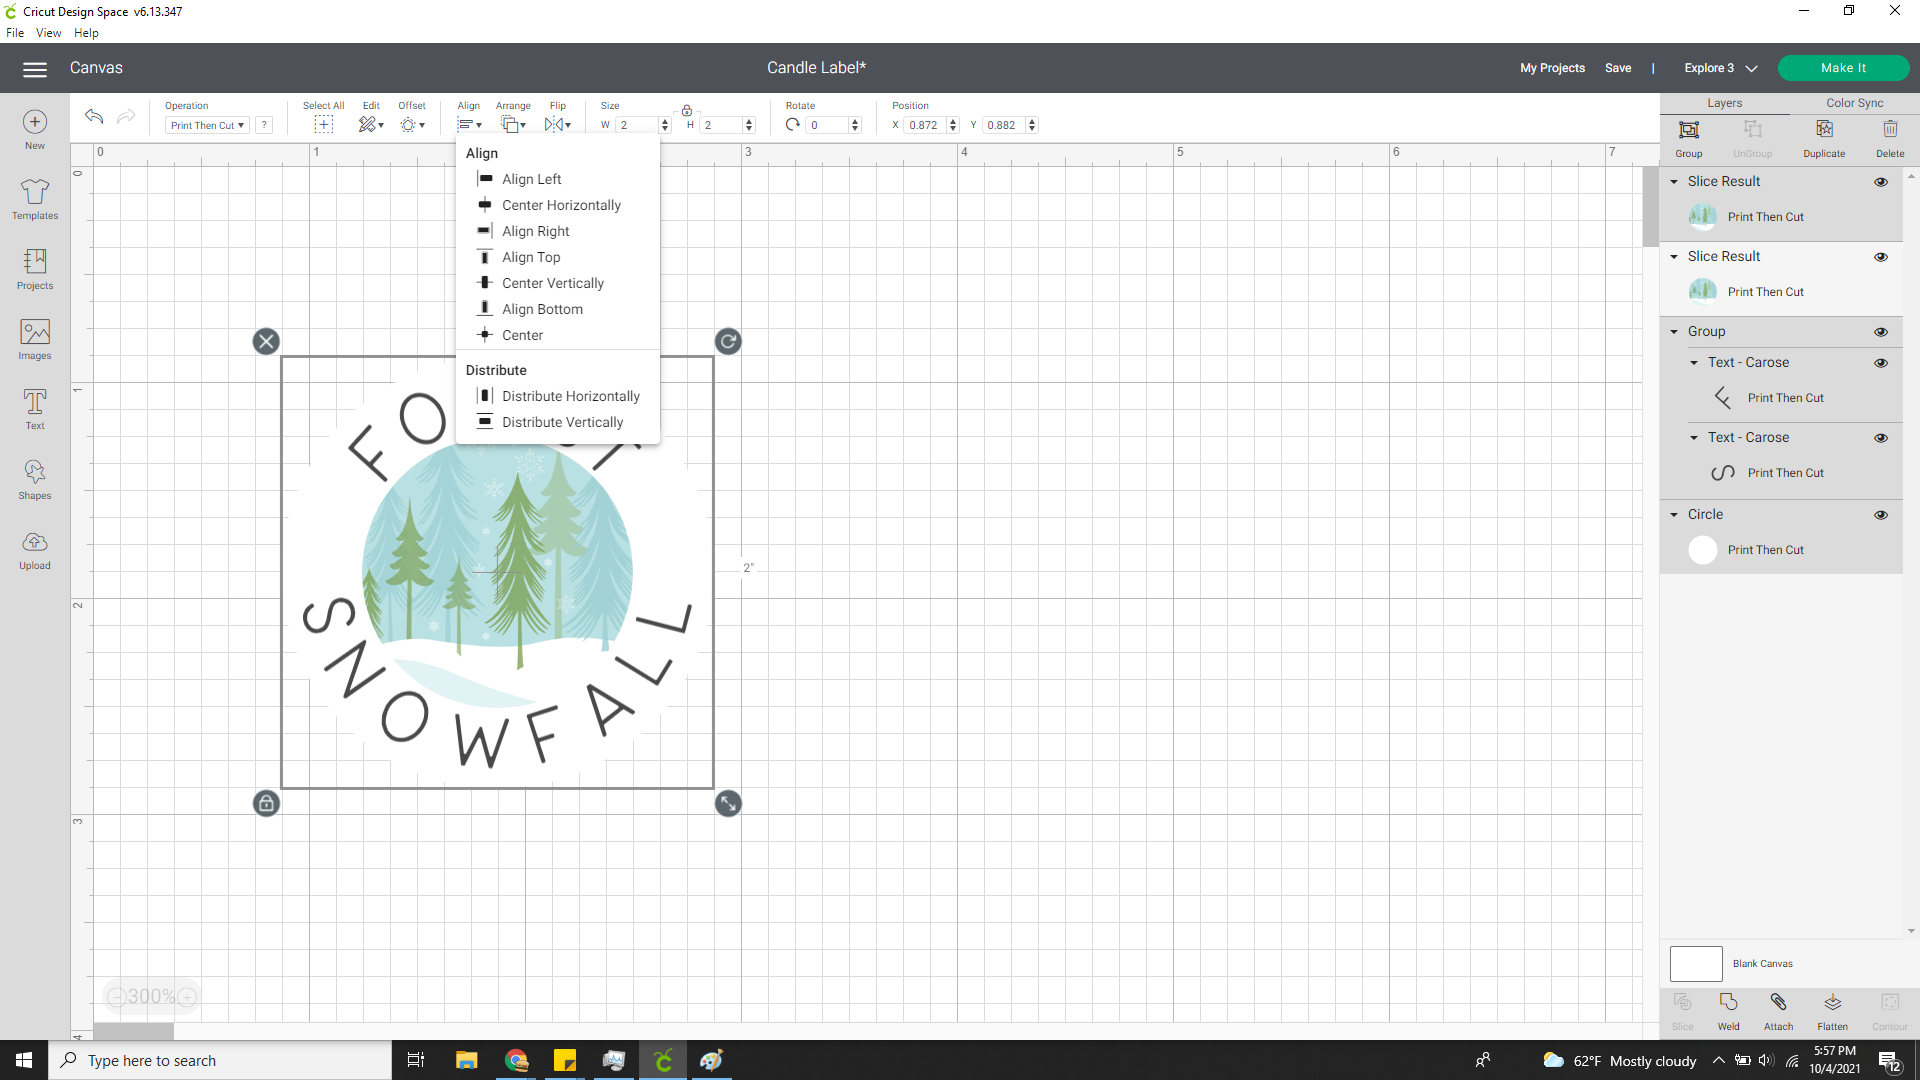
- Use the align tool to center the text and image on the white circle.

- Select the text and the image, then click the Flatten button.

- Select the flattened design and the white circle and click the Attach button.

- Duplicate the design for as many labels as you would like to make.

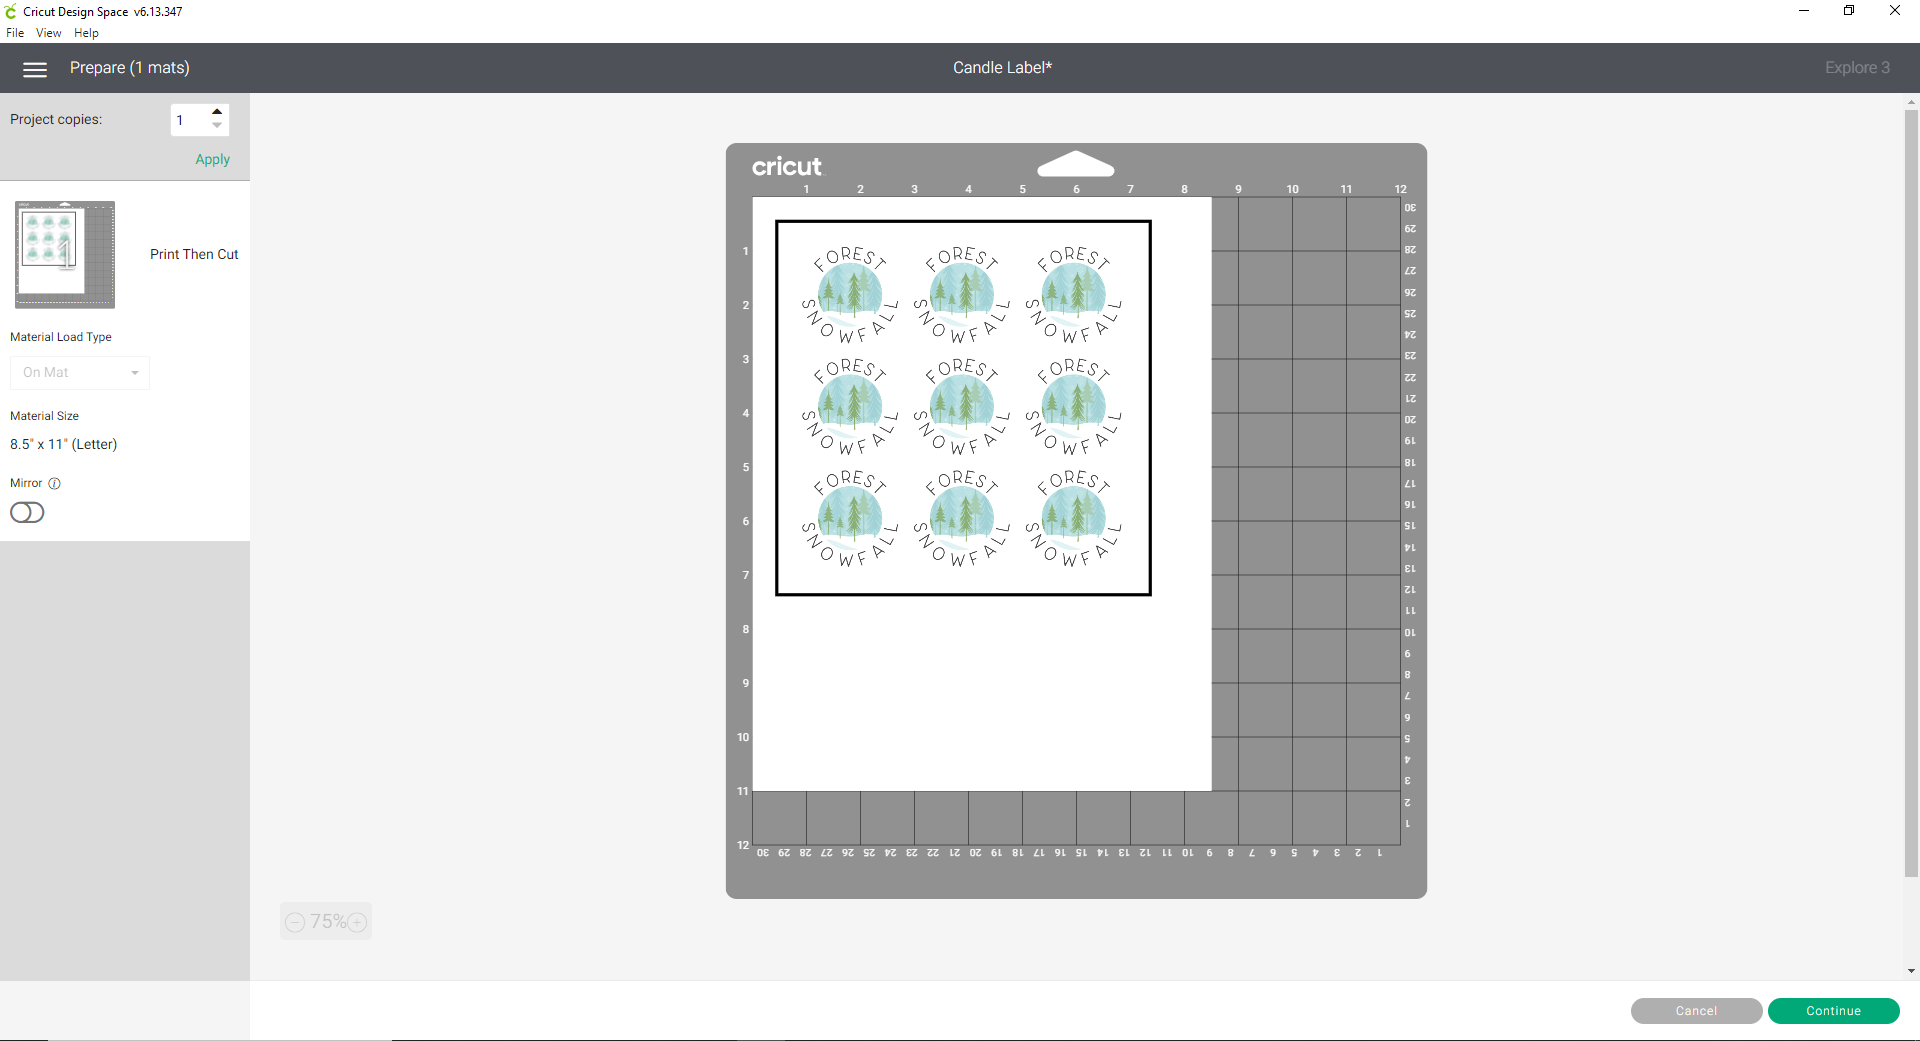
- Click the Make It button. Then click Continue.

- Choose your Cricut machine from the dropdown menu. And click Send to Printer. Adjust the settings as needed, then click Print.

- Load your printer with printable vinyl.
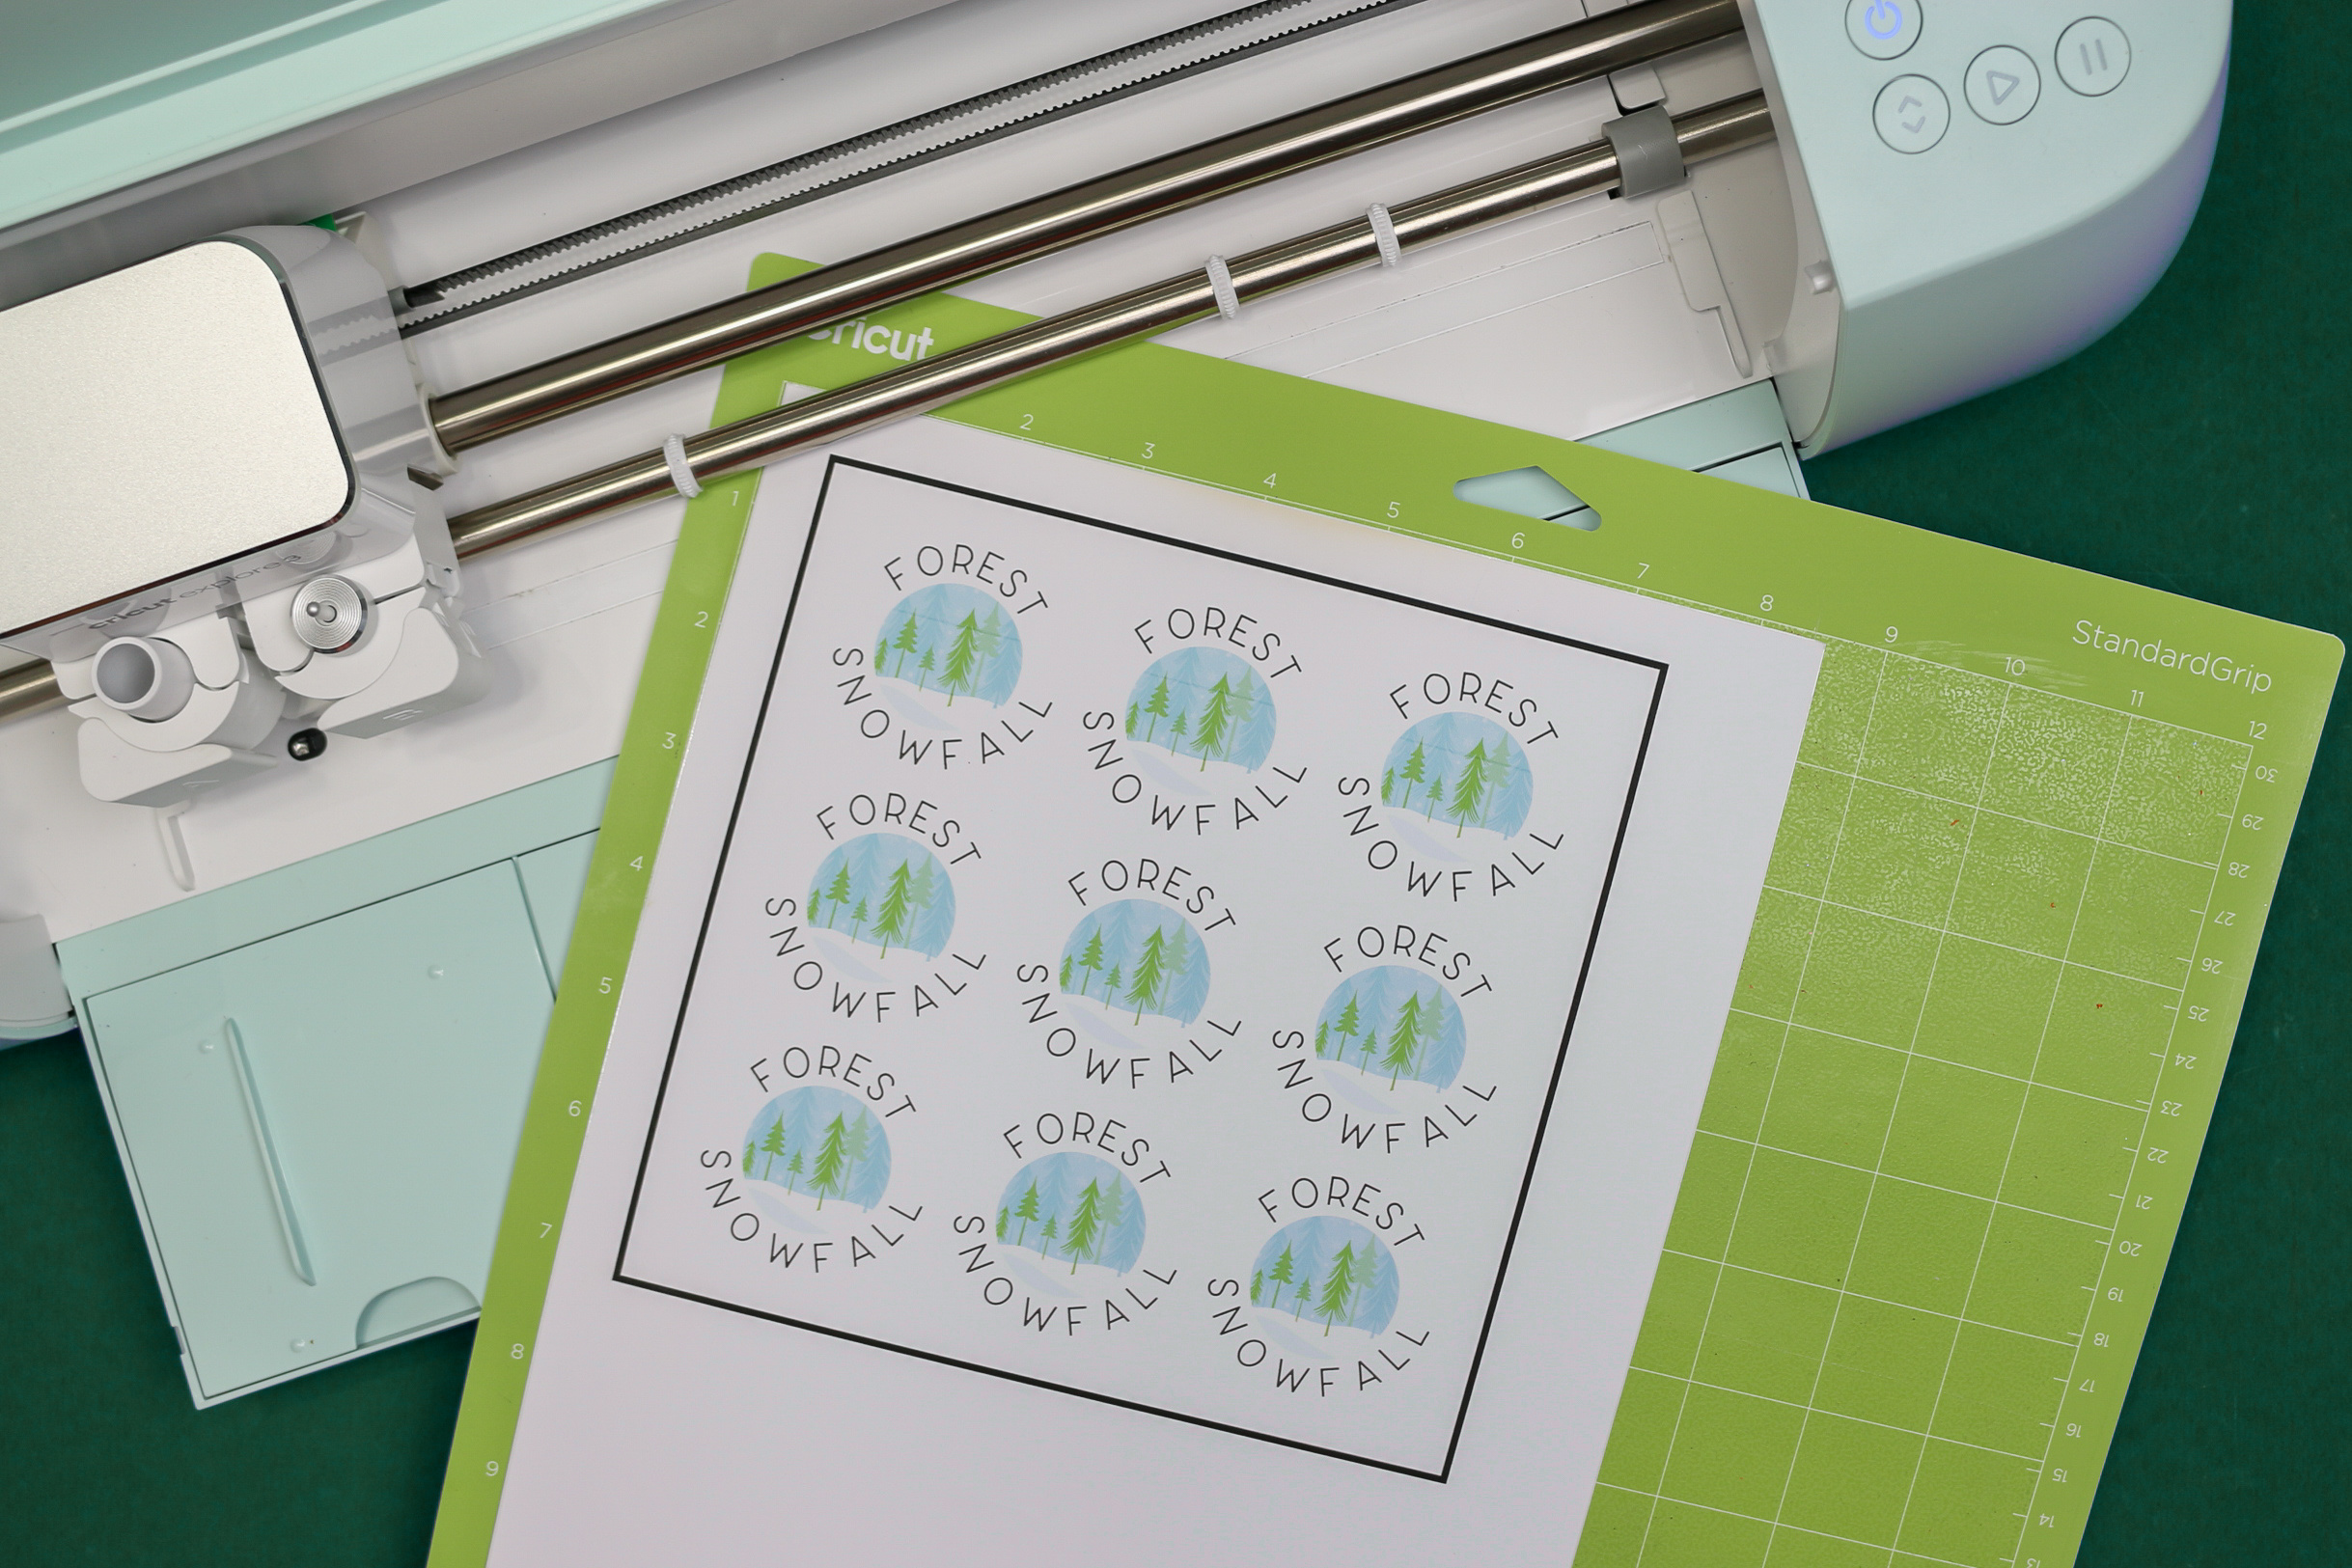
- Place the printed sheet of vinyl on a Cricut mat. Load the mat into the machine, choose the correct settings, and let your Cricut cut out your labels!

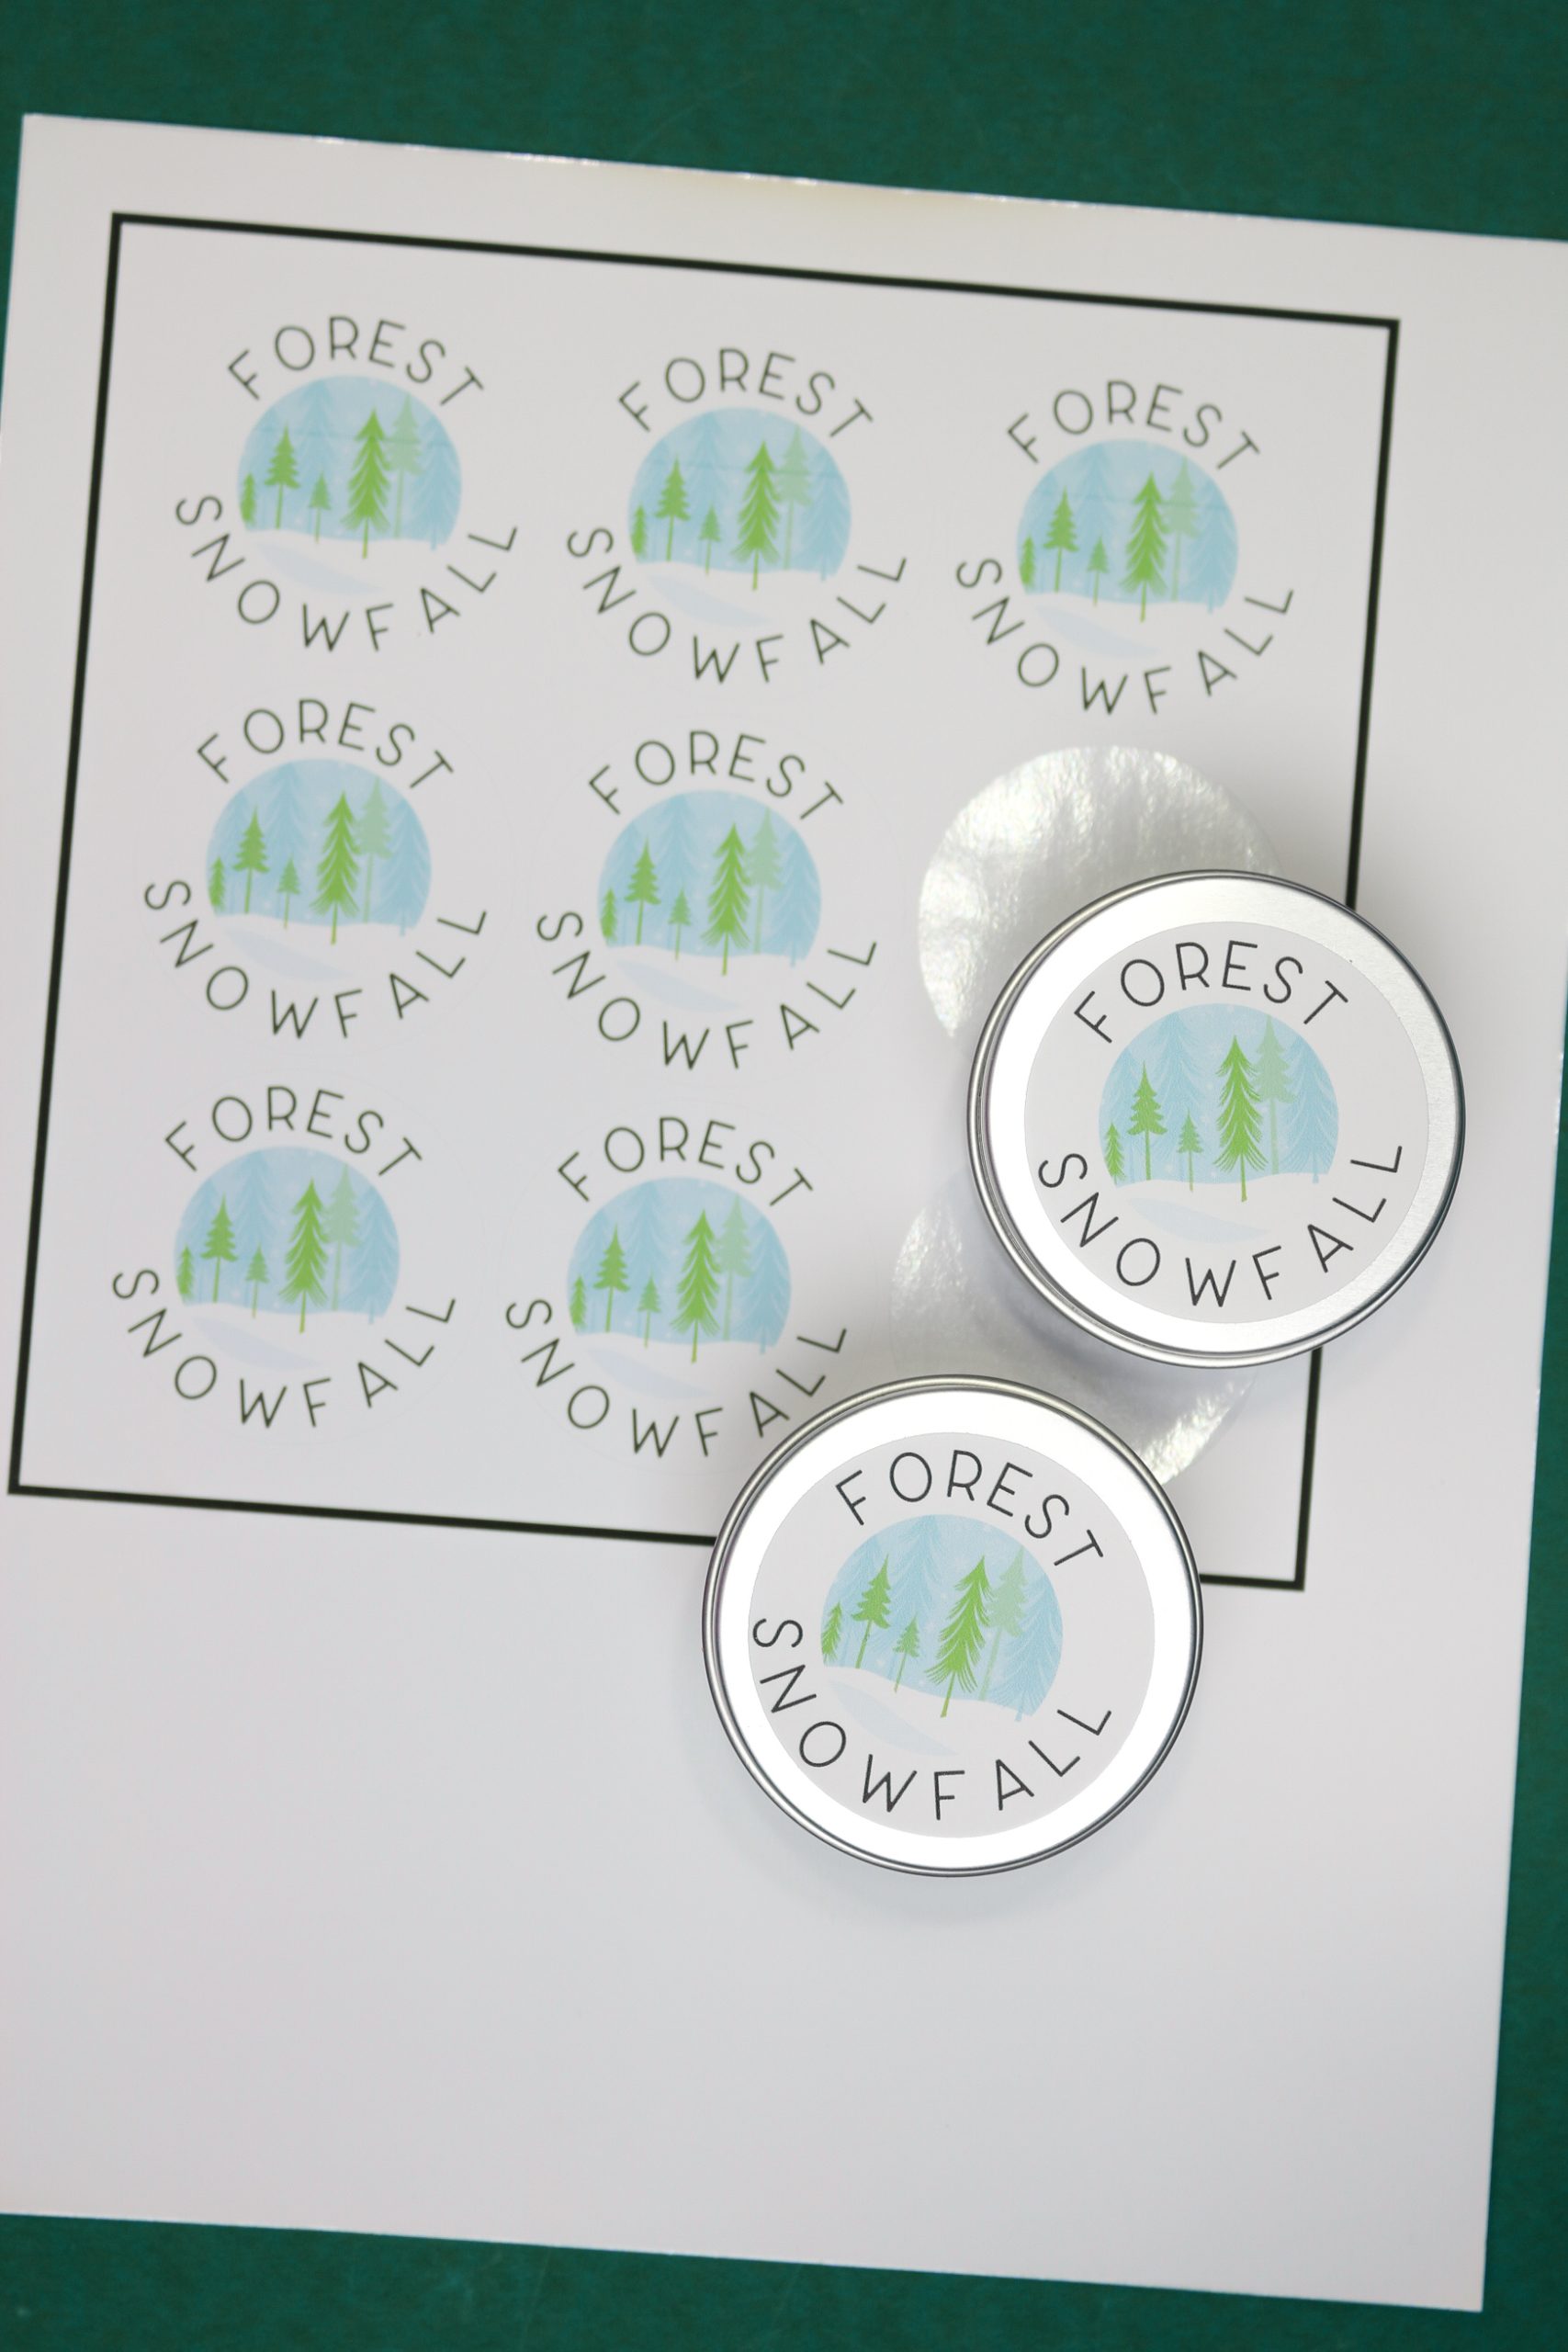
- Add the labels to the lids of your candle tins.

HOW TO MAKE WOOD WICK CANDLES IN TINS
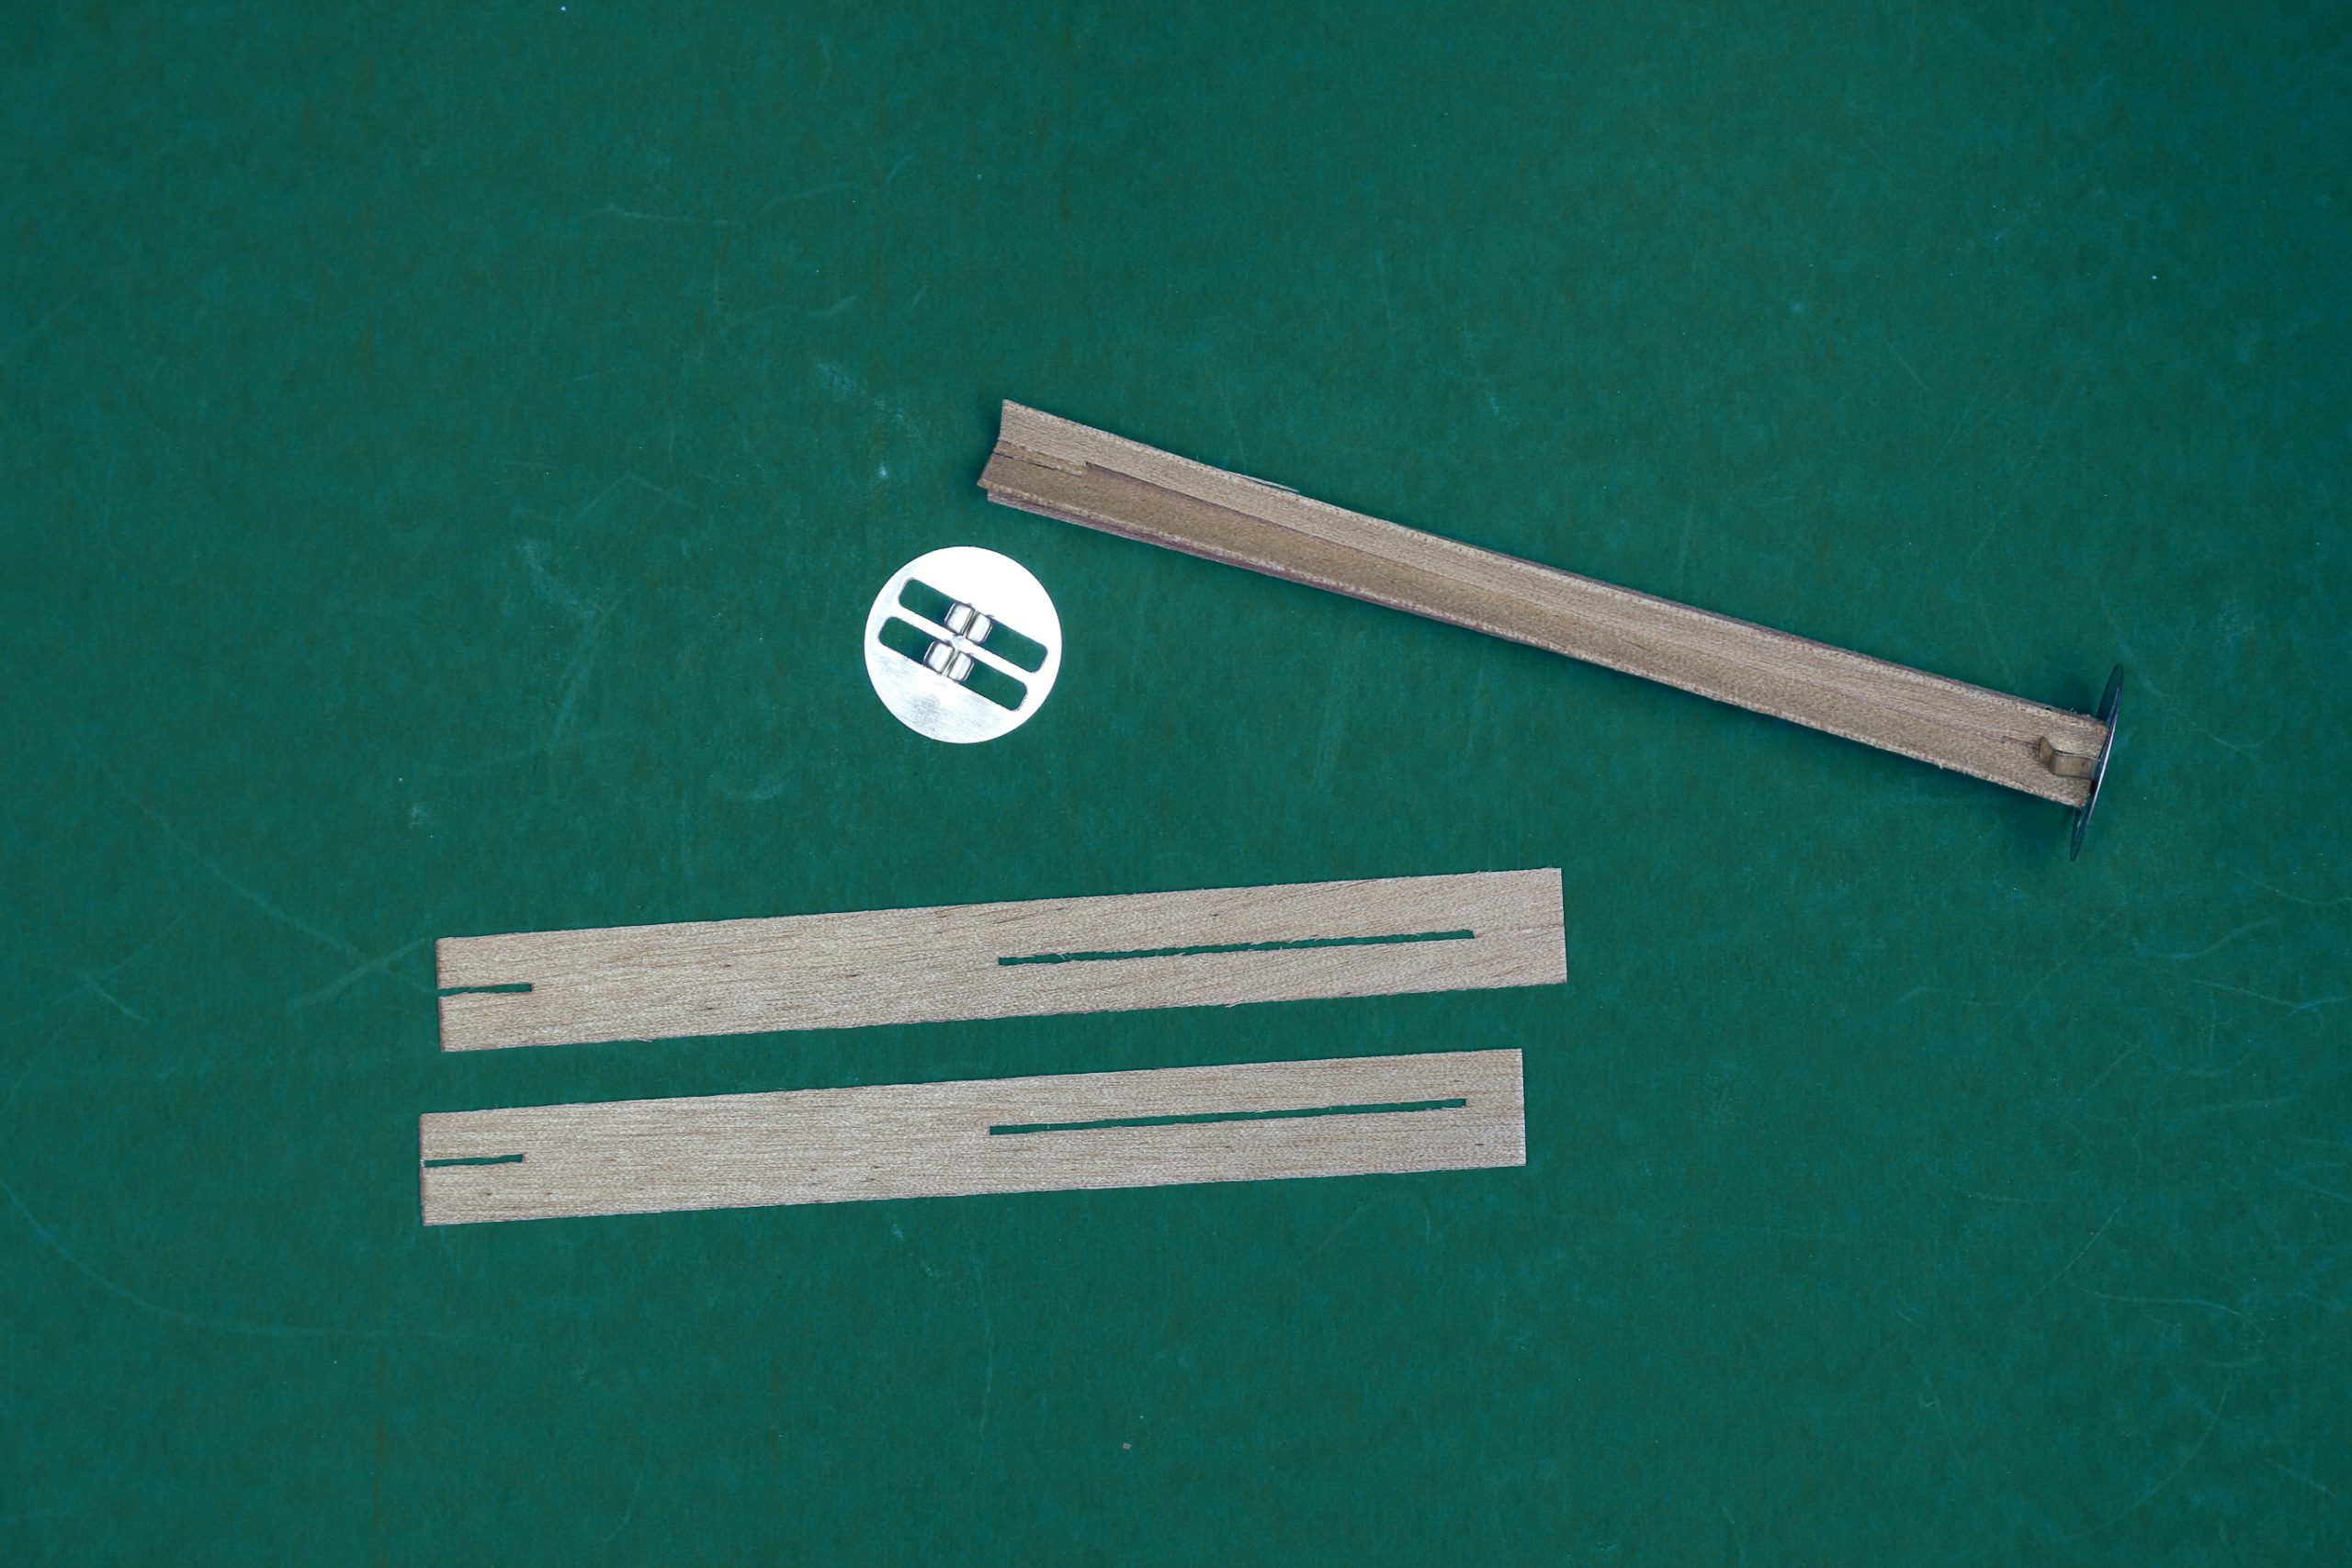
The wood wicks come in two pieces with slits at each end.
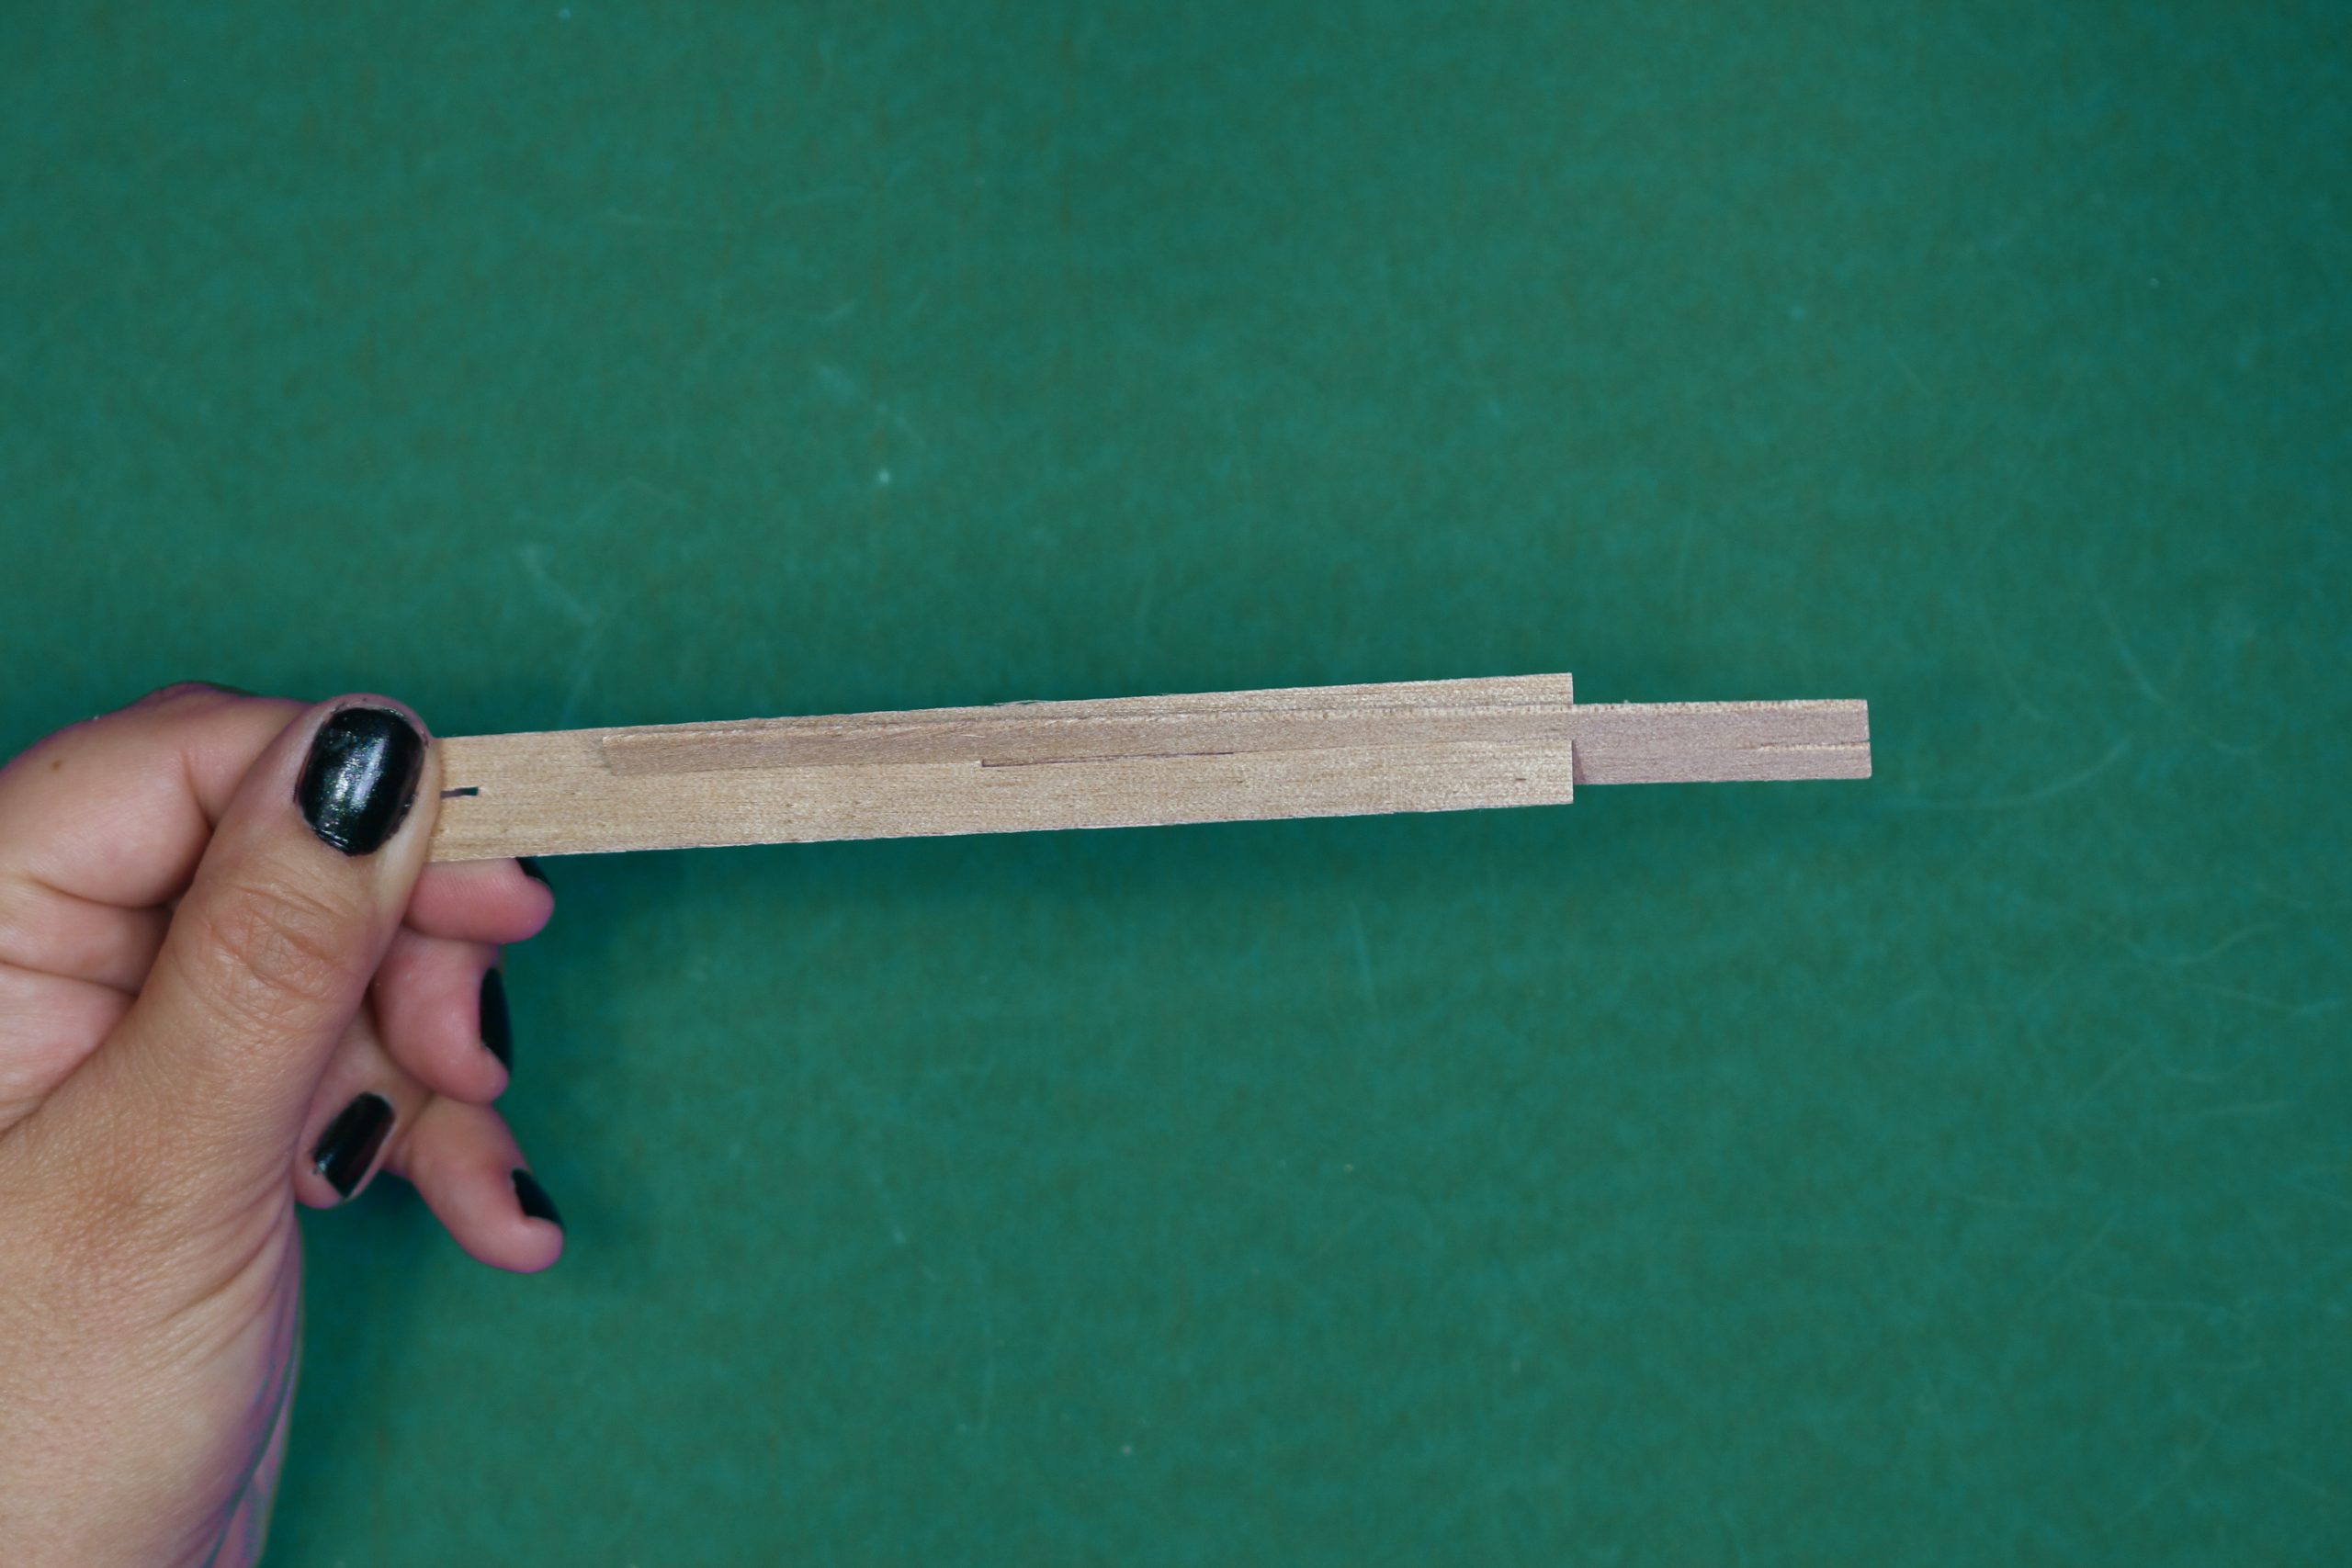
Insert one piece into the other perpendicularly until it slides into place.
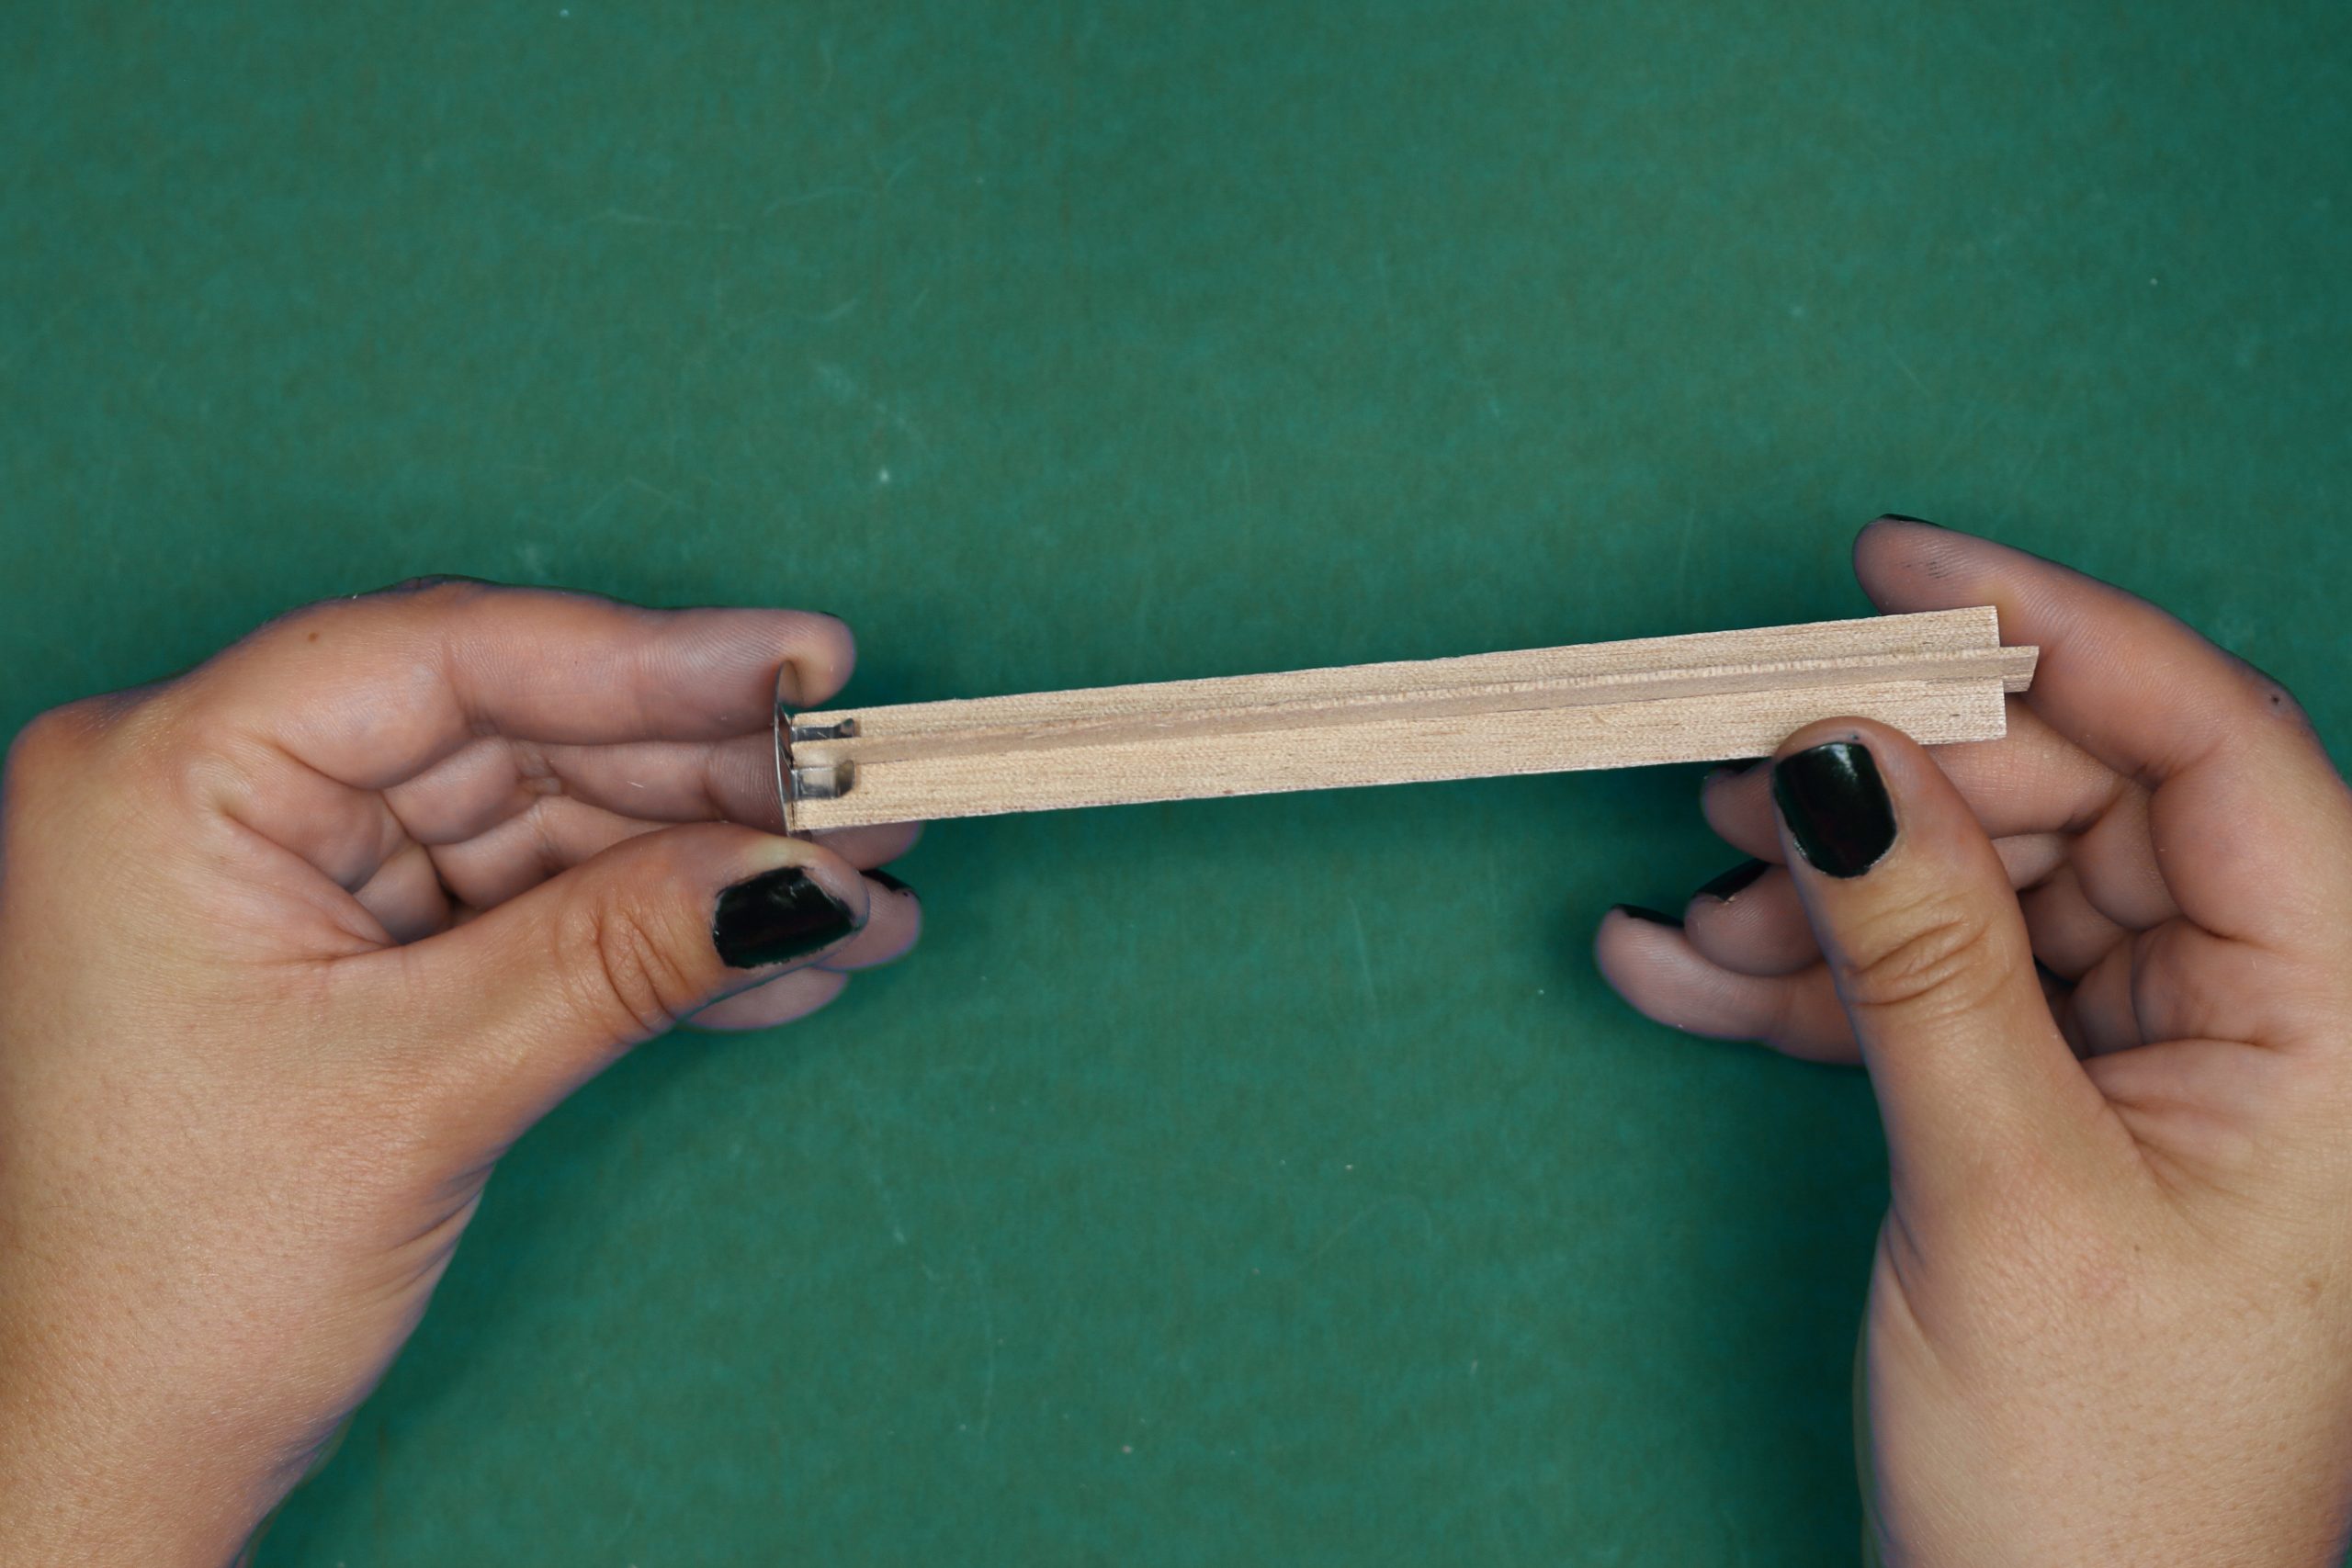
Place the ends of the wood wick into a metal holder.
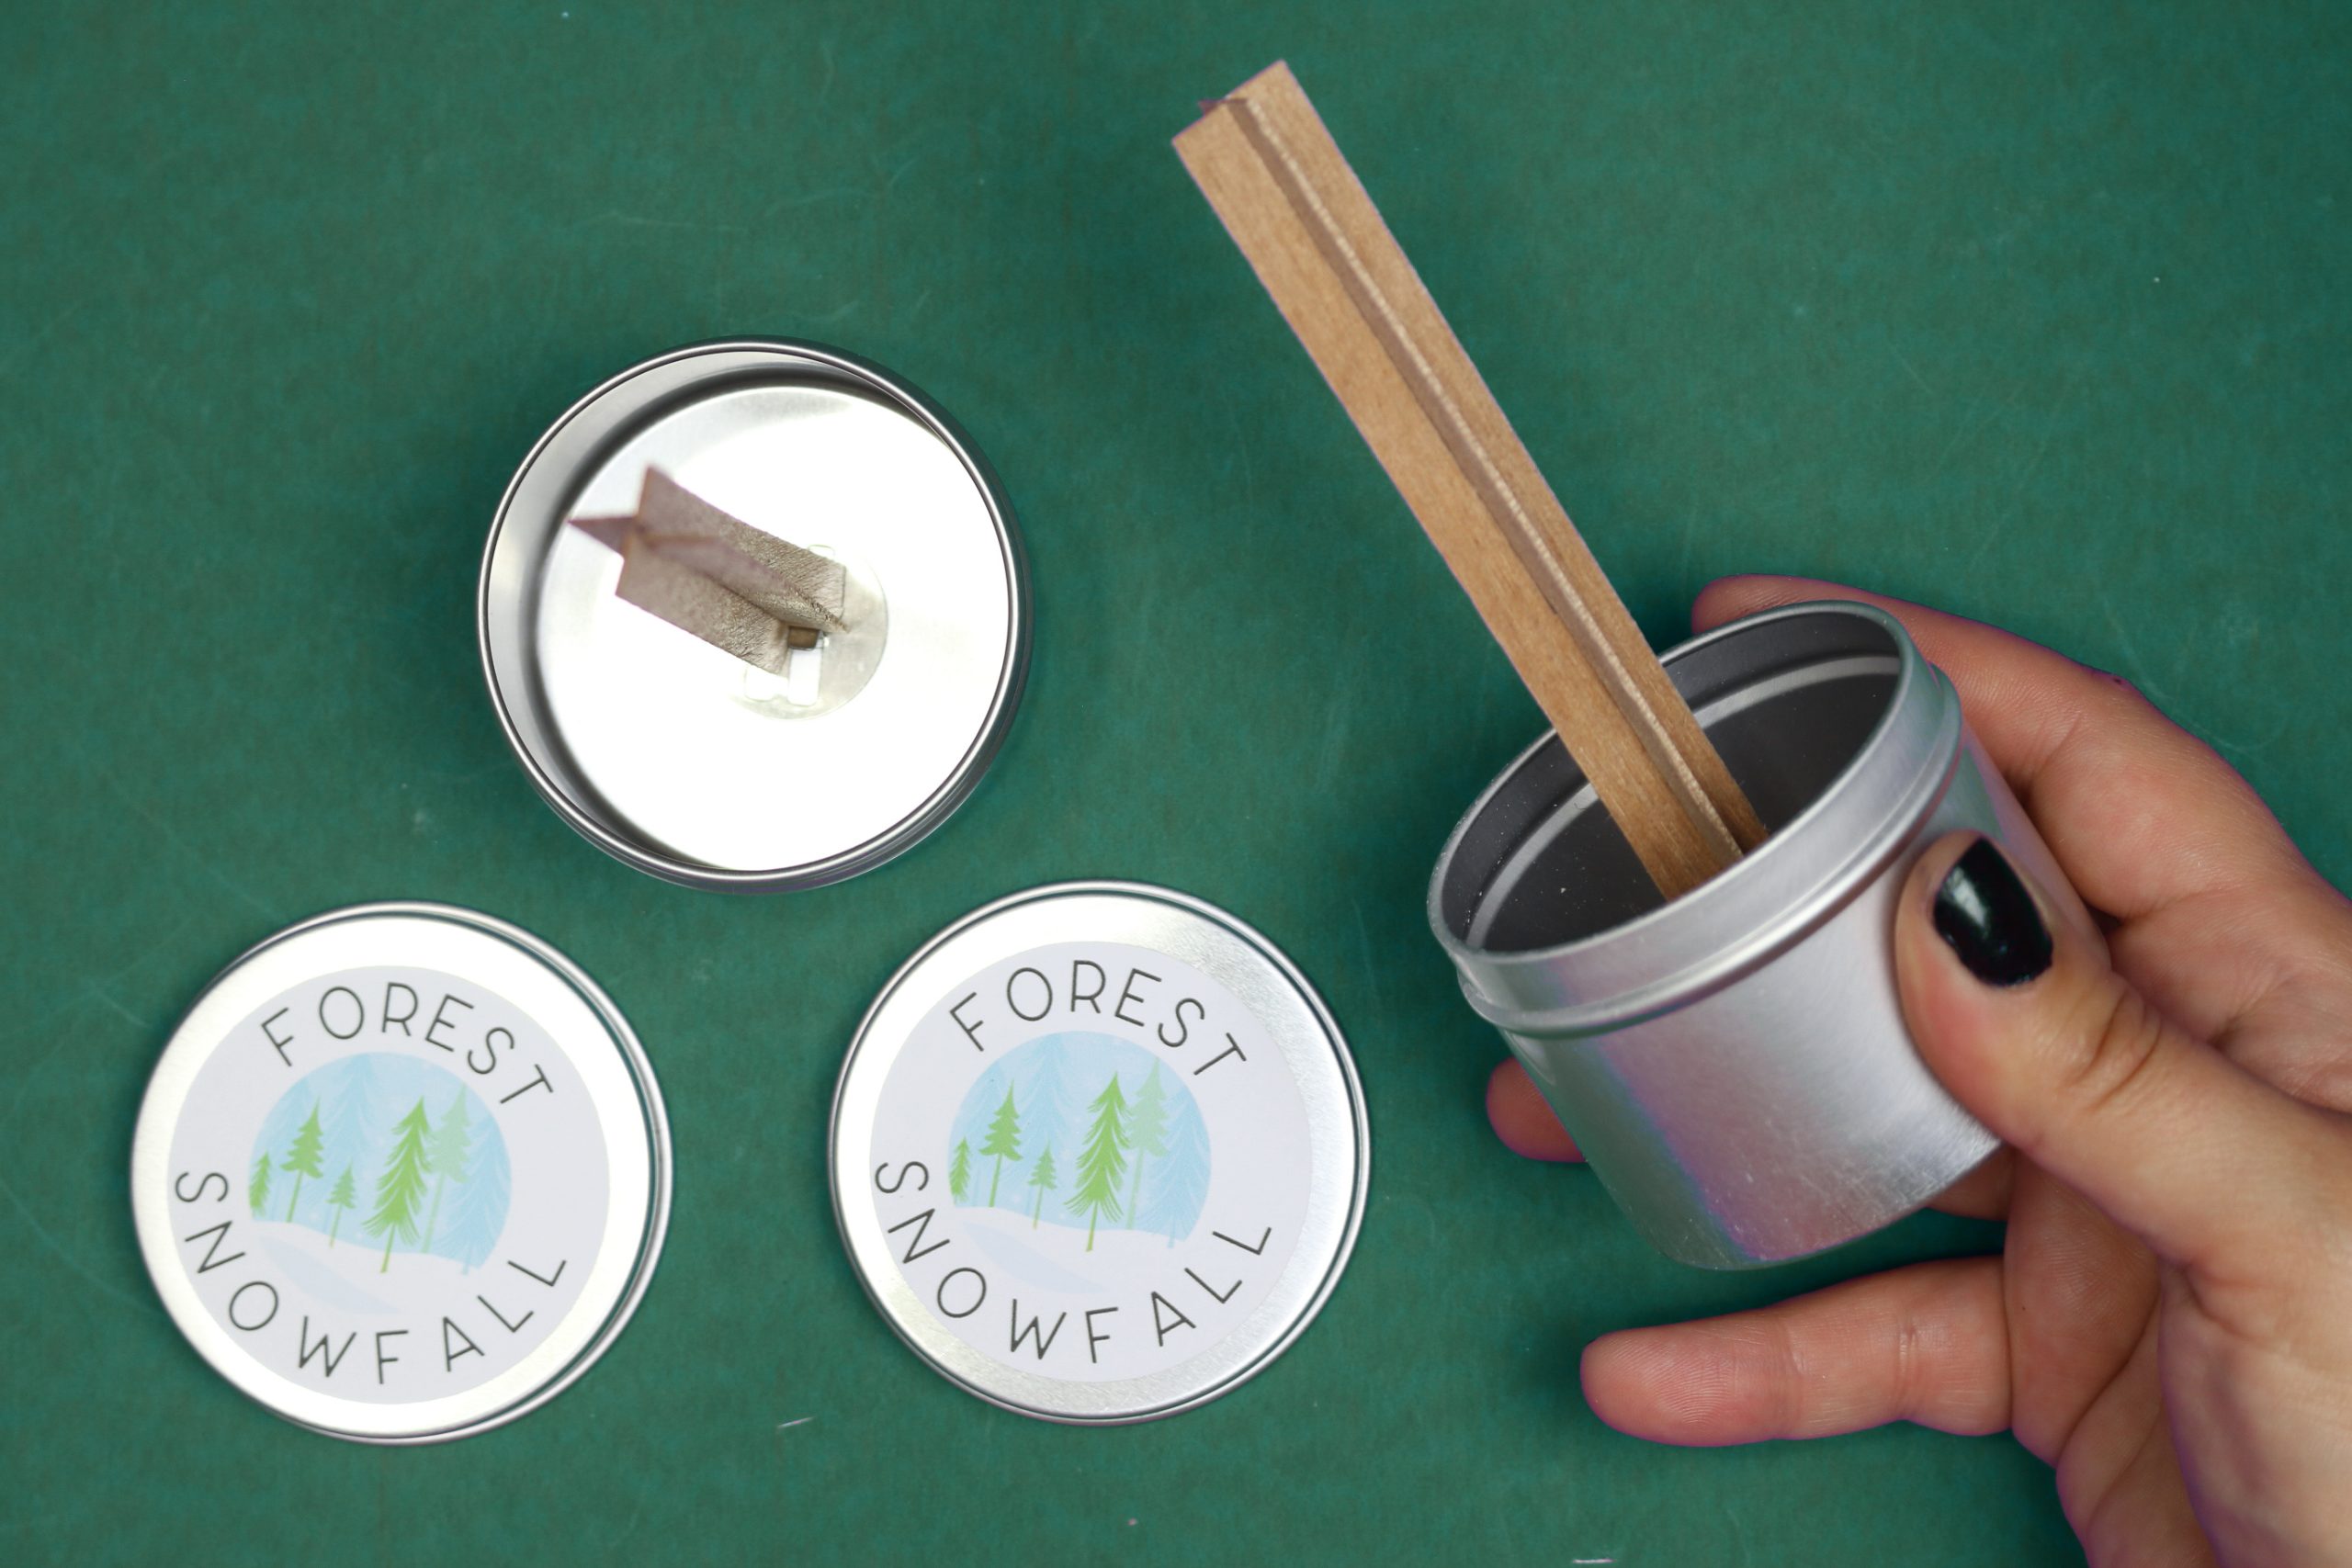
Add either a bit of hot glue or a glue dot to the bottom of the candle holder and center it in the bottom of your tin. Now your tin is ready for the wax!
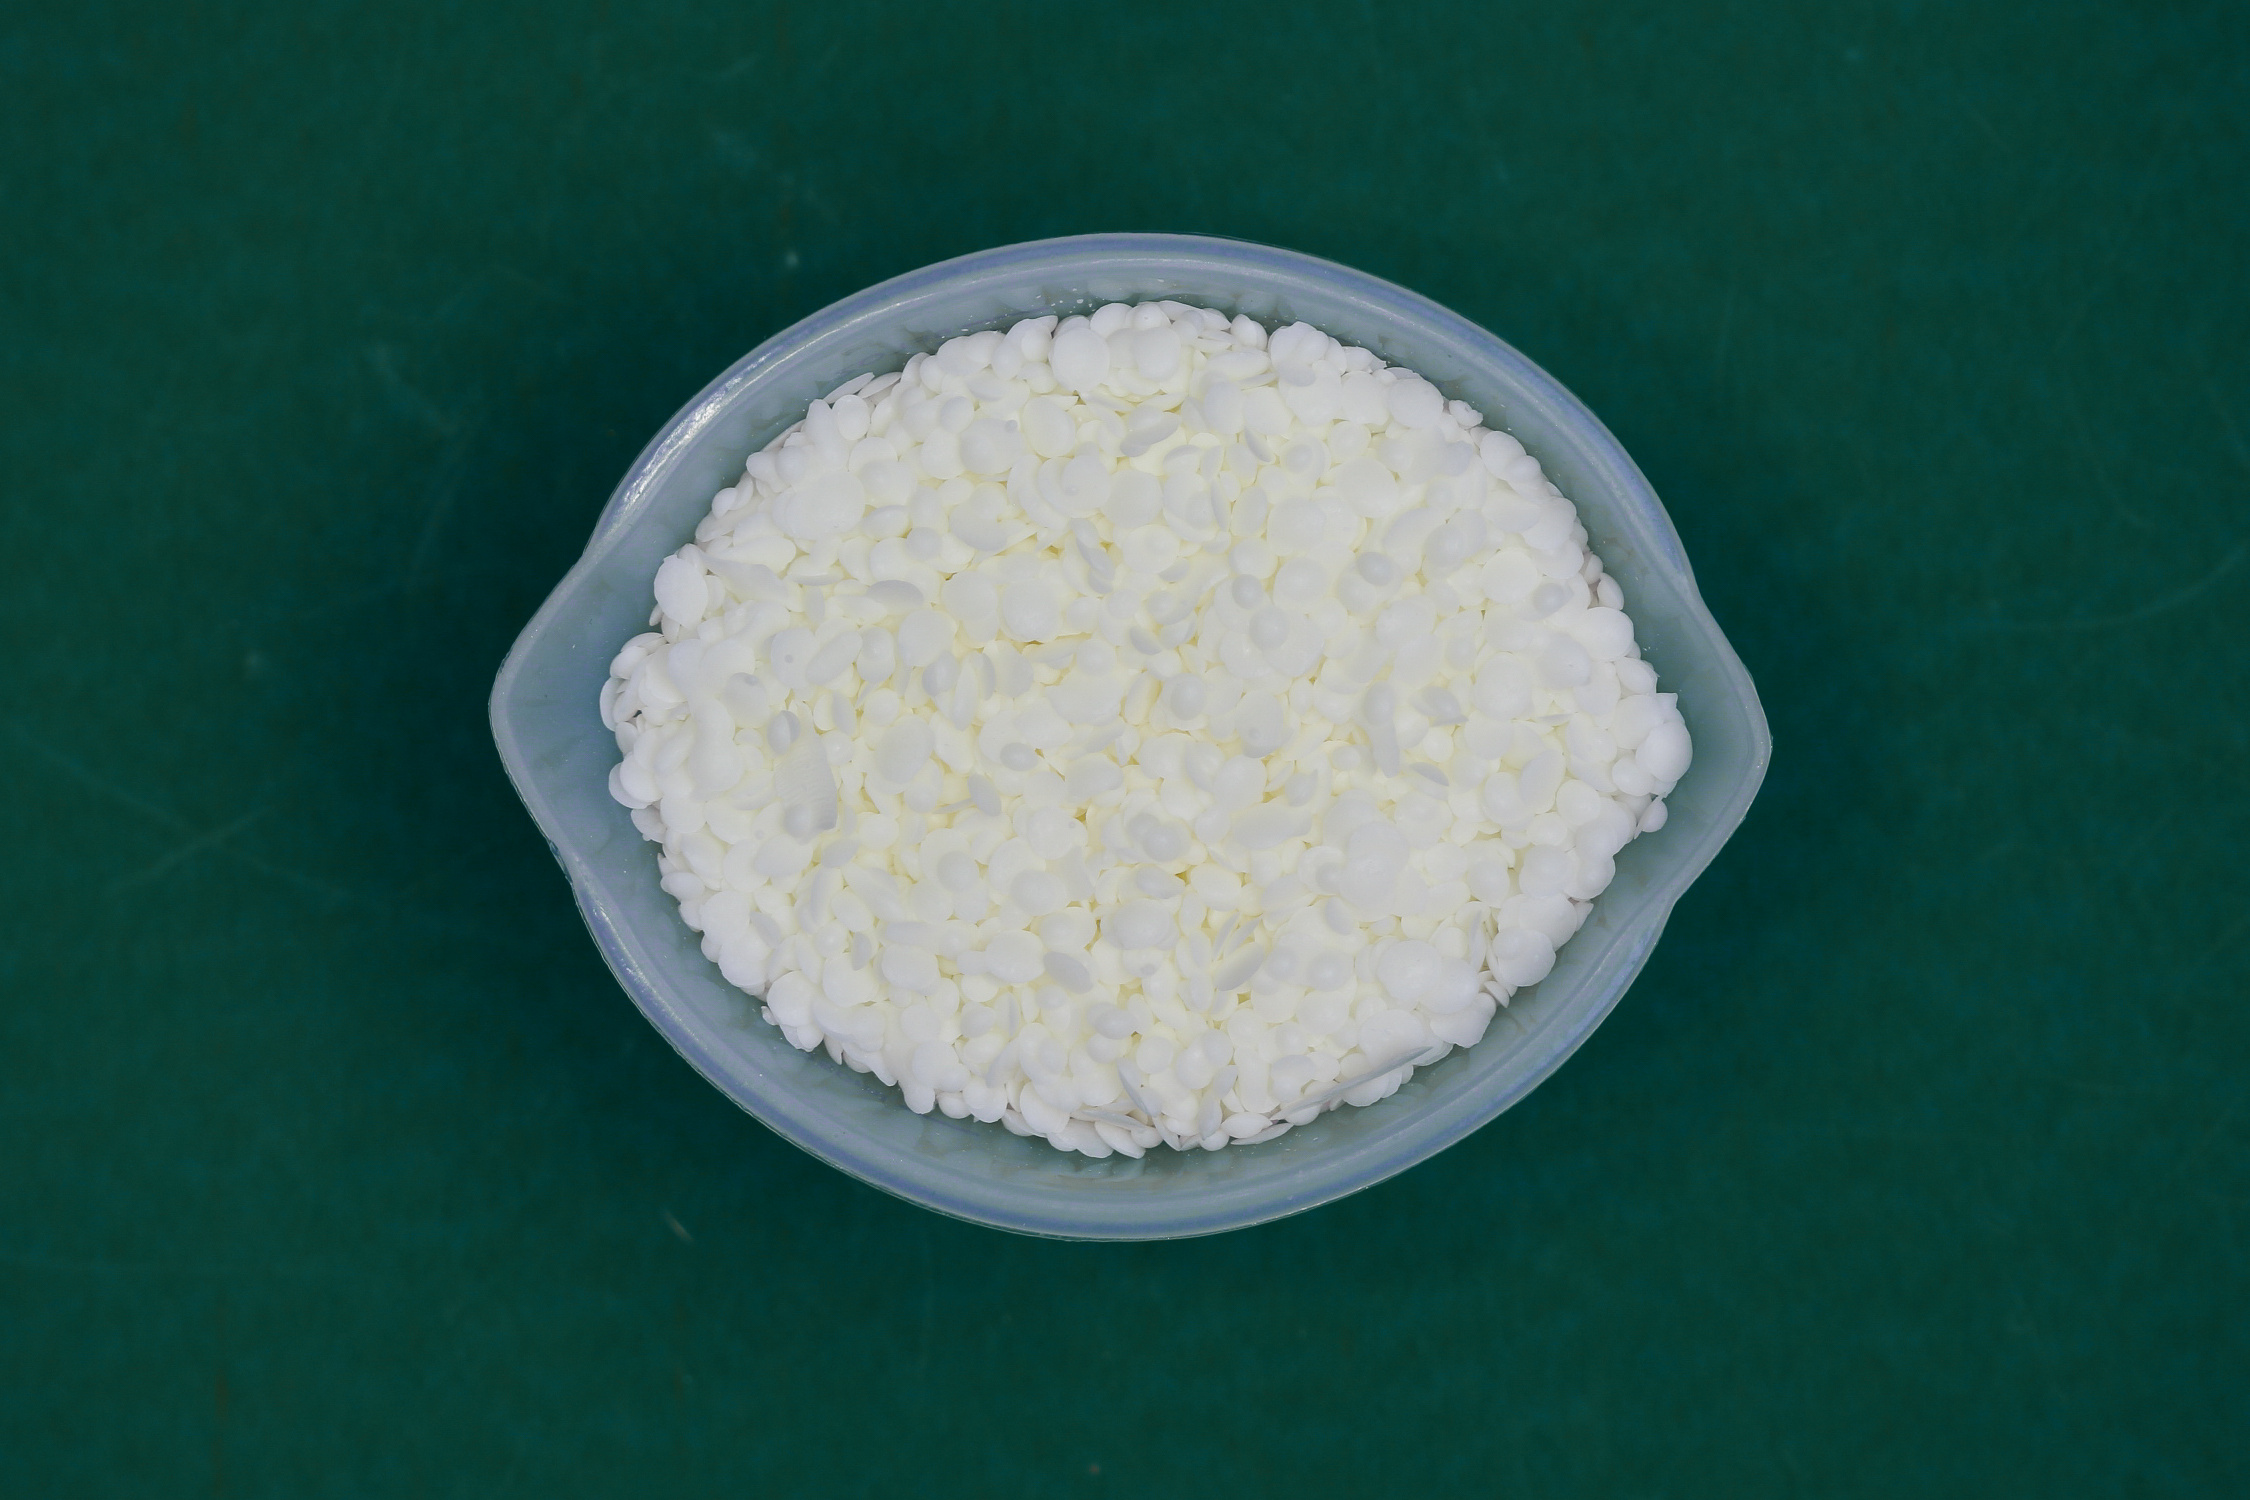
Fill a silicone measuring cup with soy candle wax pellets. Then place the silicone measuring cup into a small saucepan filled with 1 inch of water.
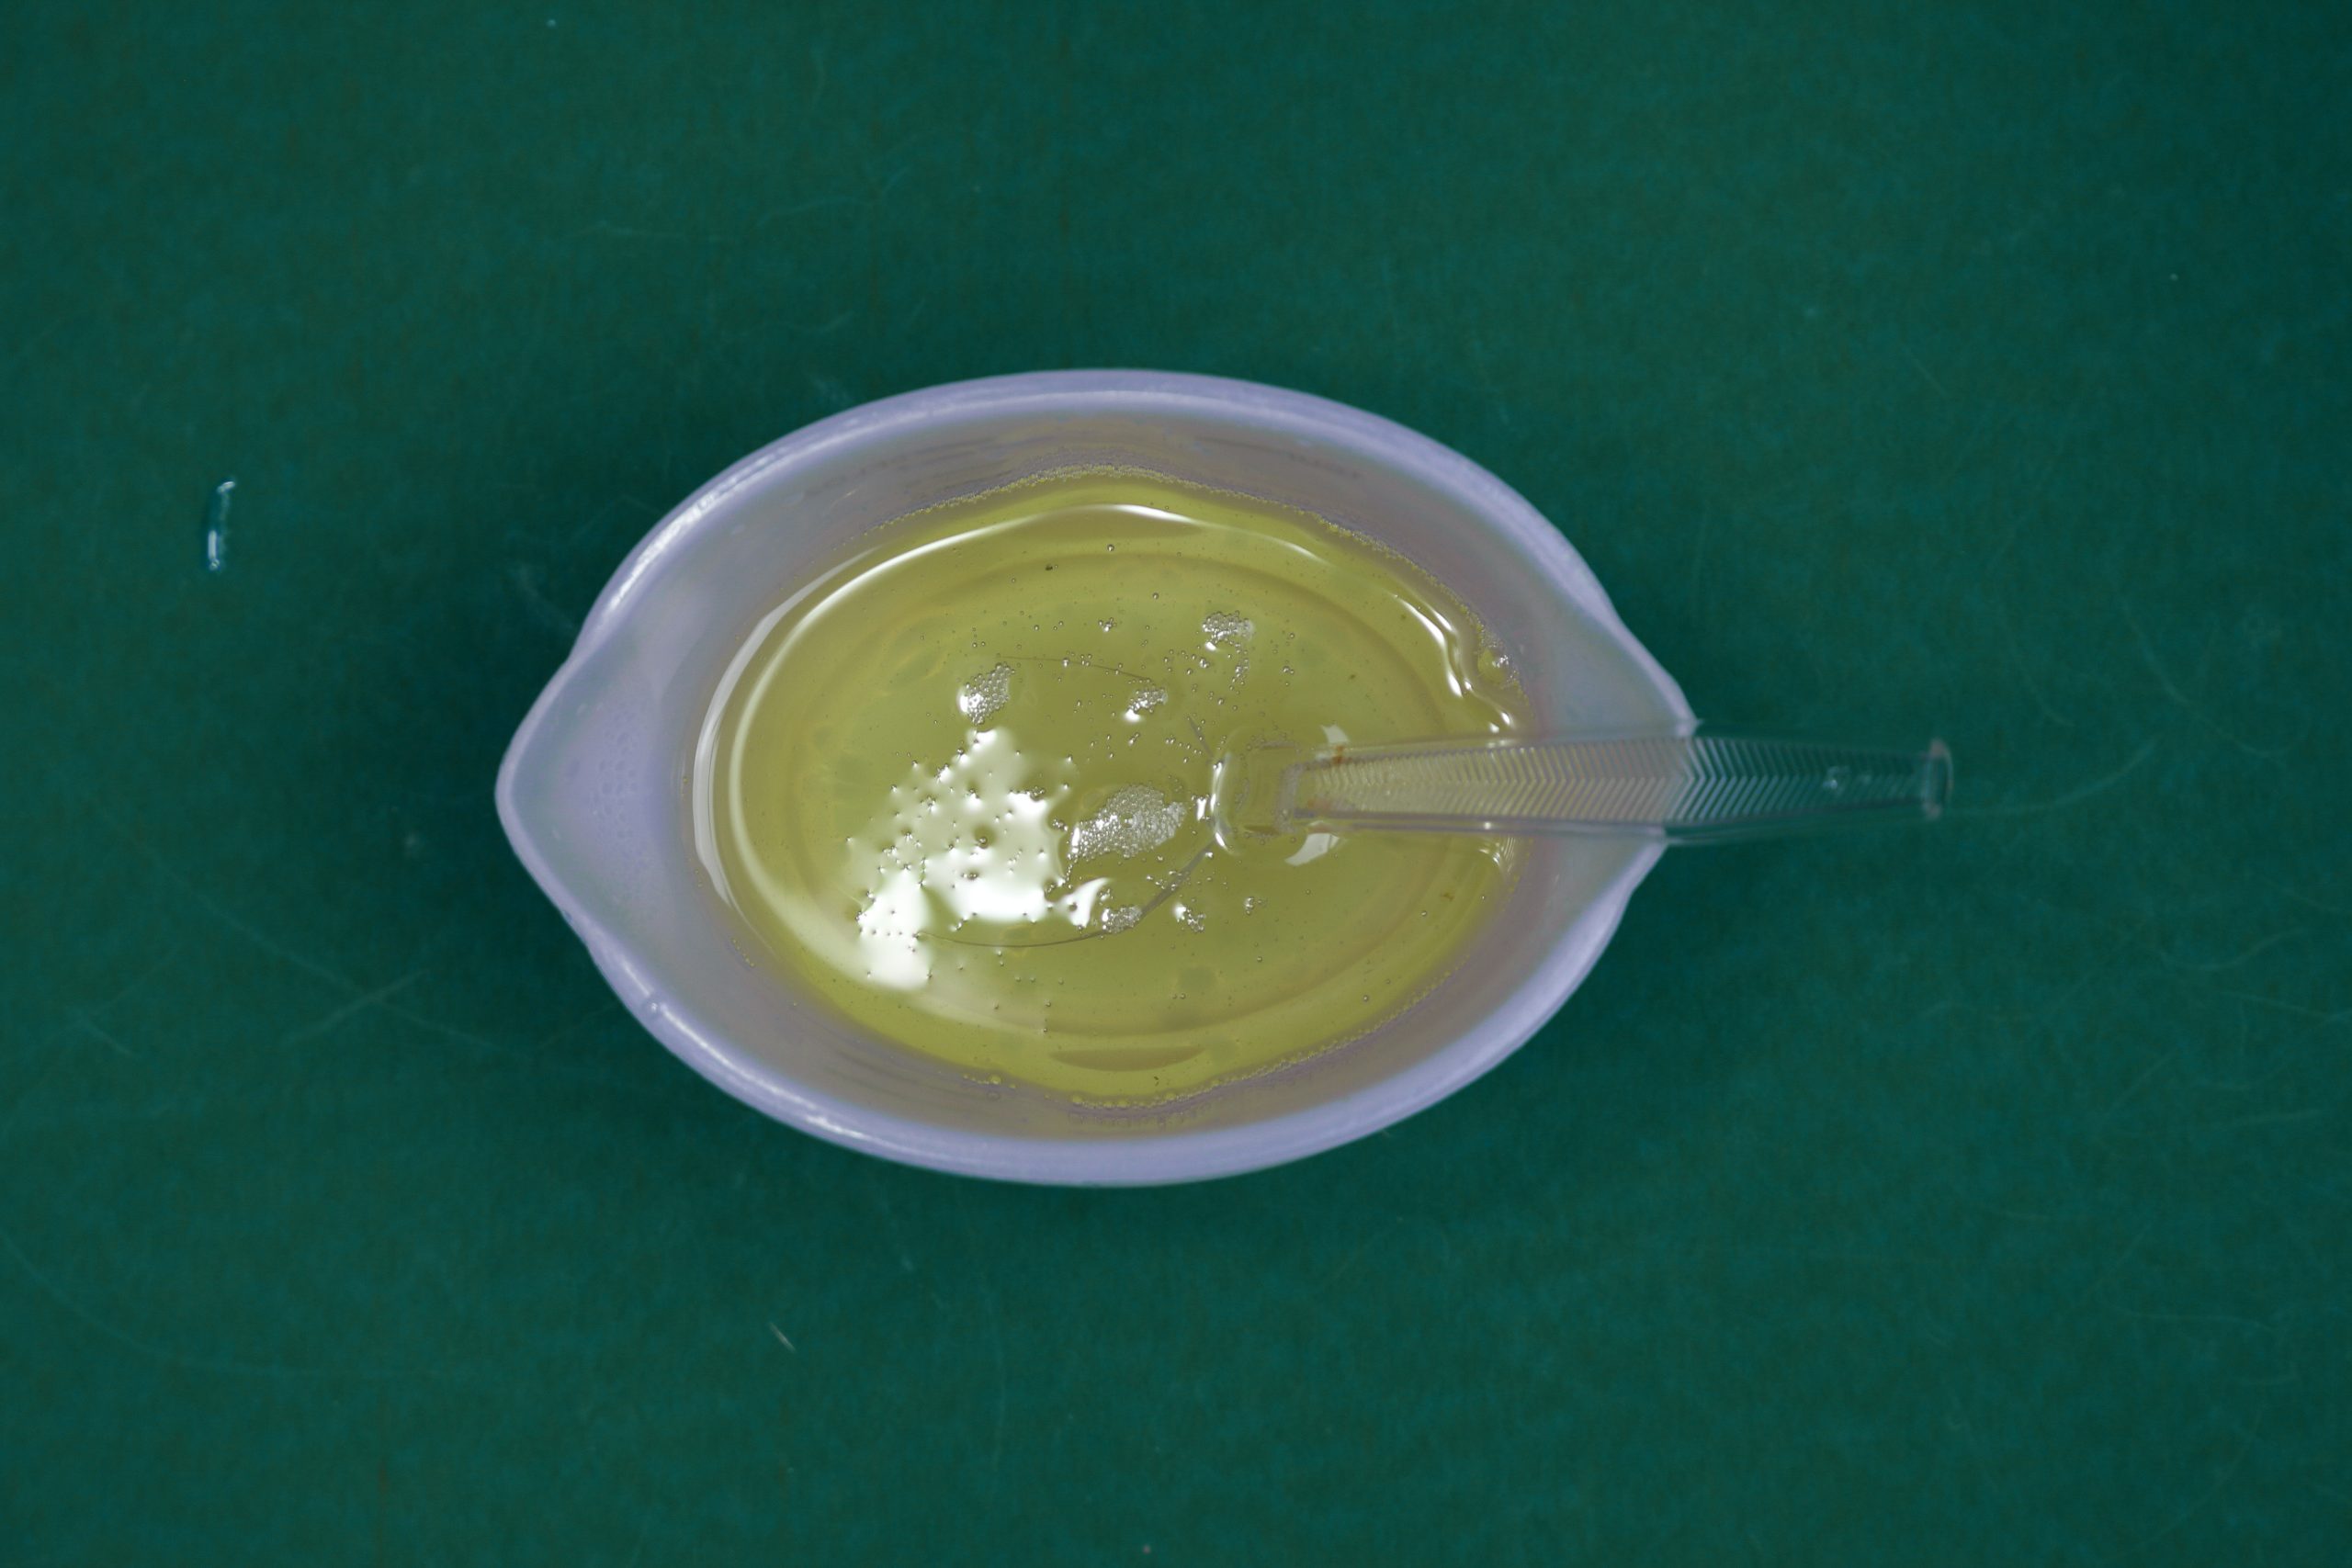
Heat the saucepan over medium heat until the wax is completely melted.
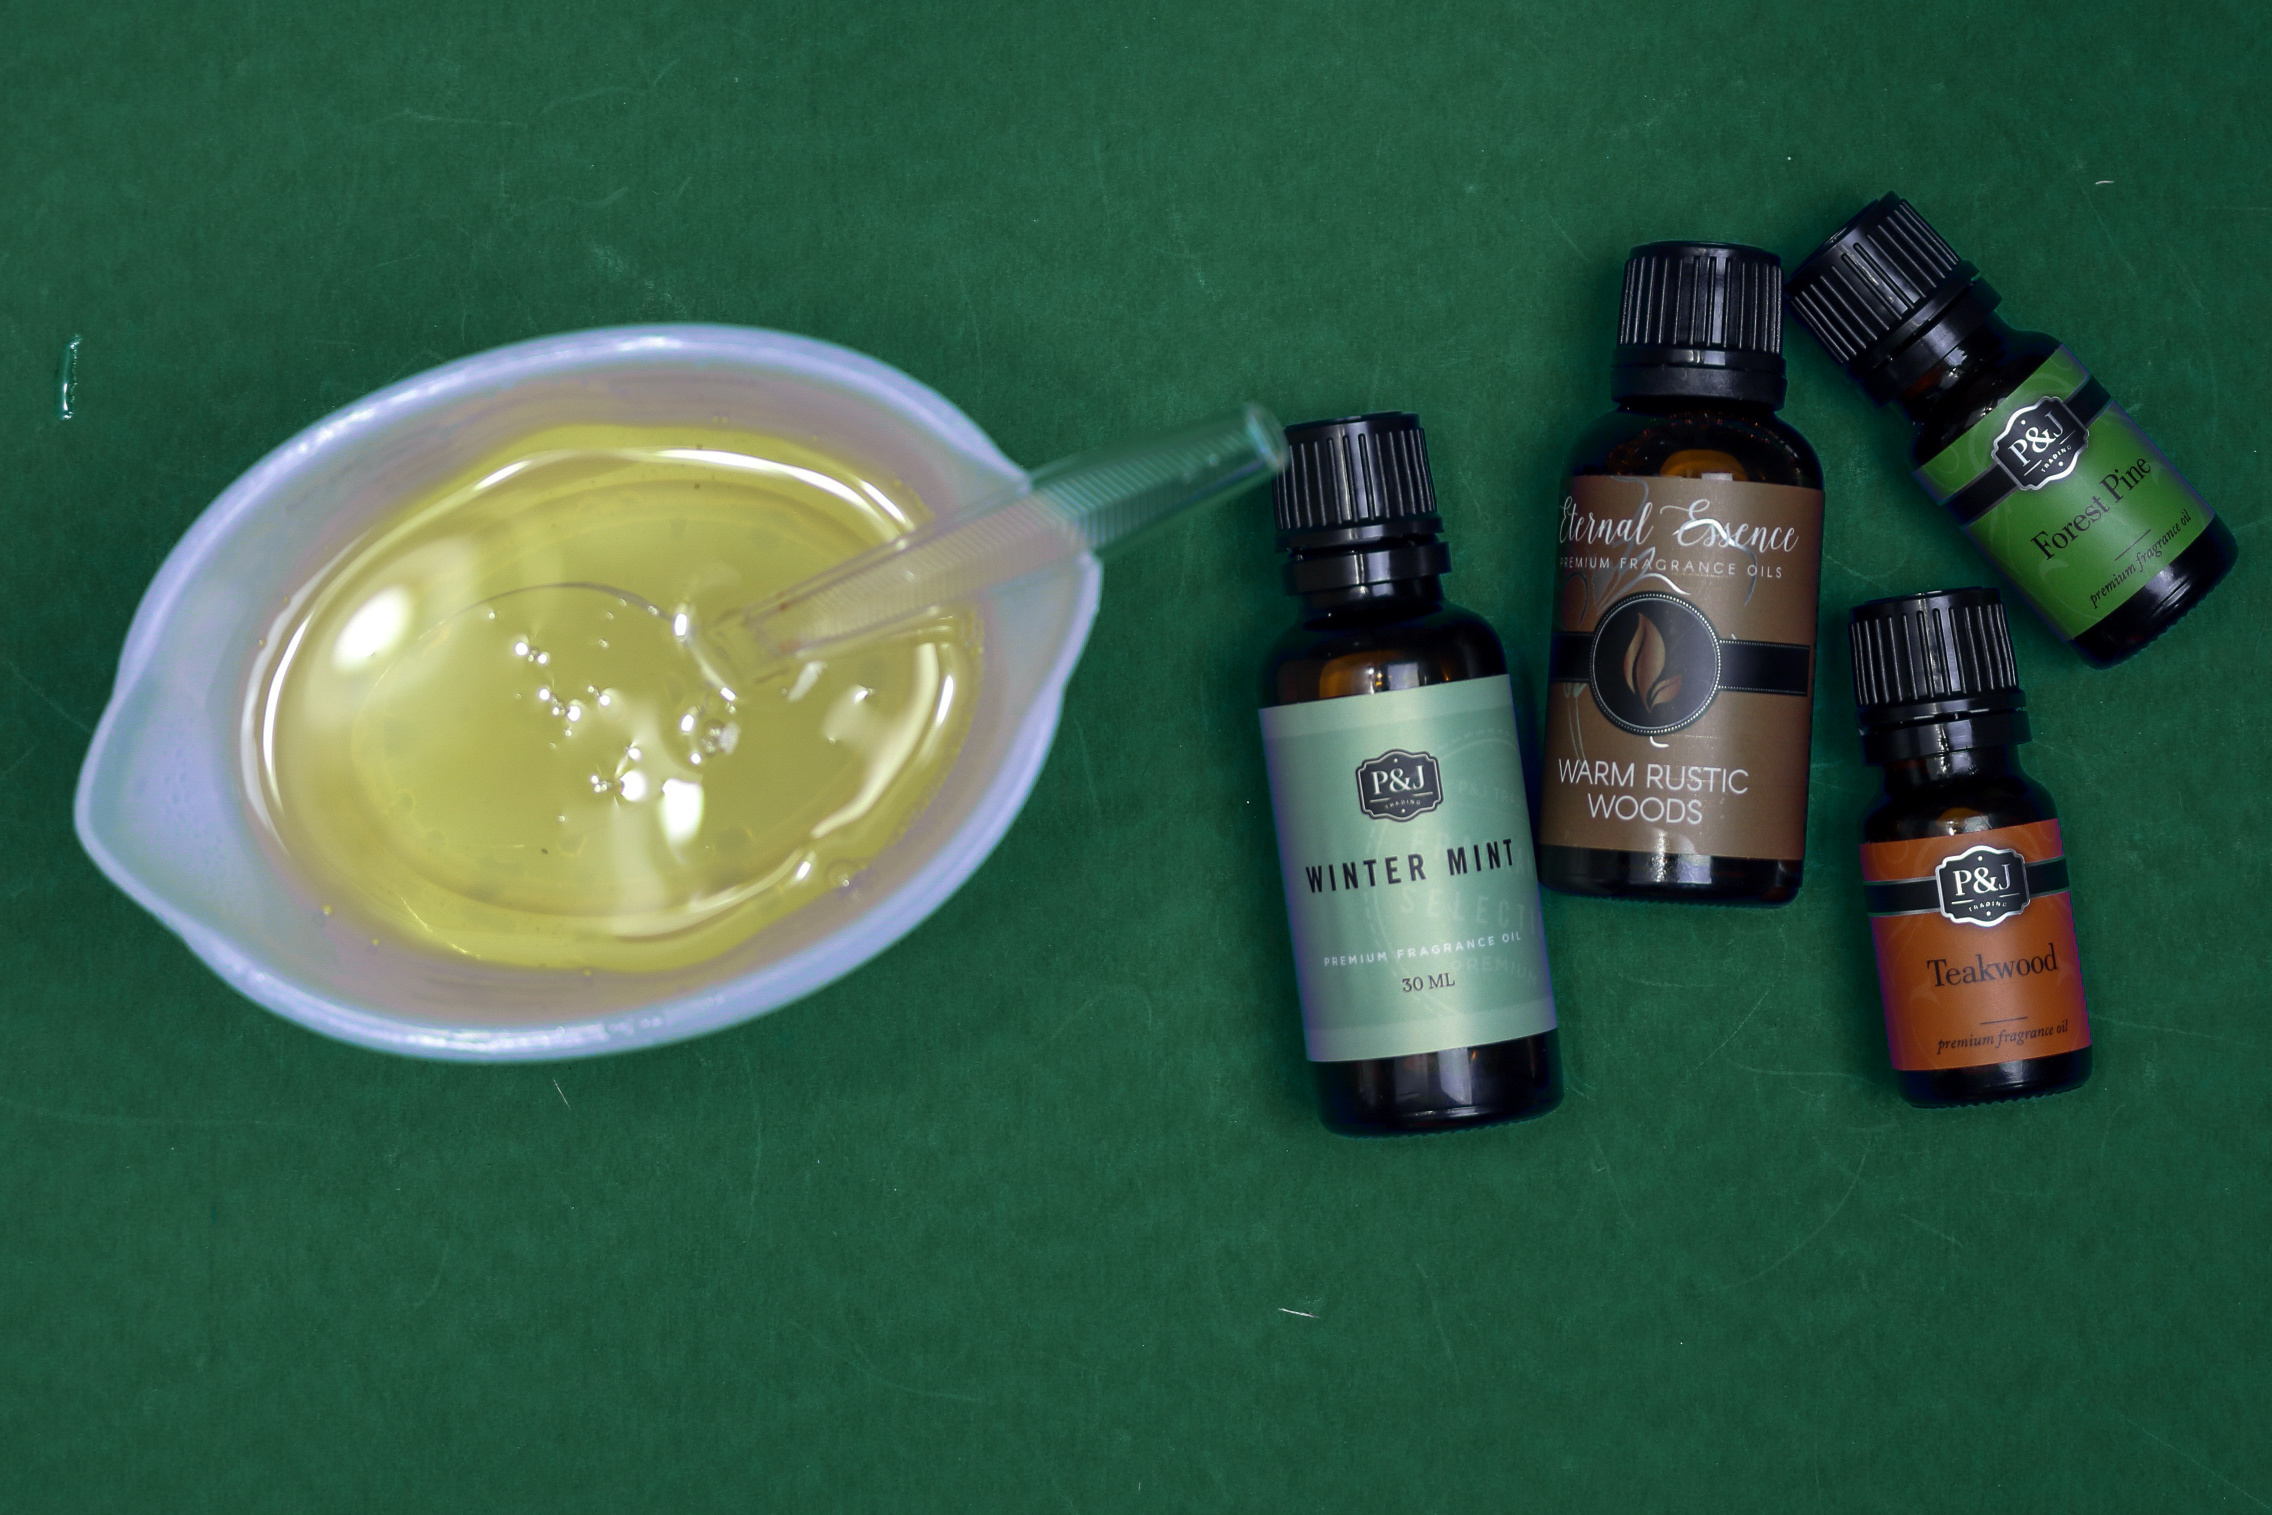
Add in your choice of candle fragrances. Stir to make sure that the fragrances are fully mixed into the melted wax, and then pour the wax into your prepared tins.
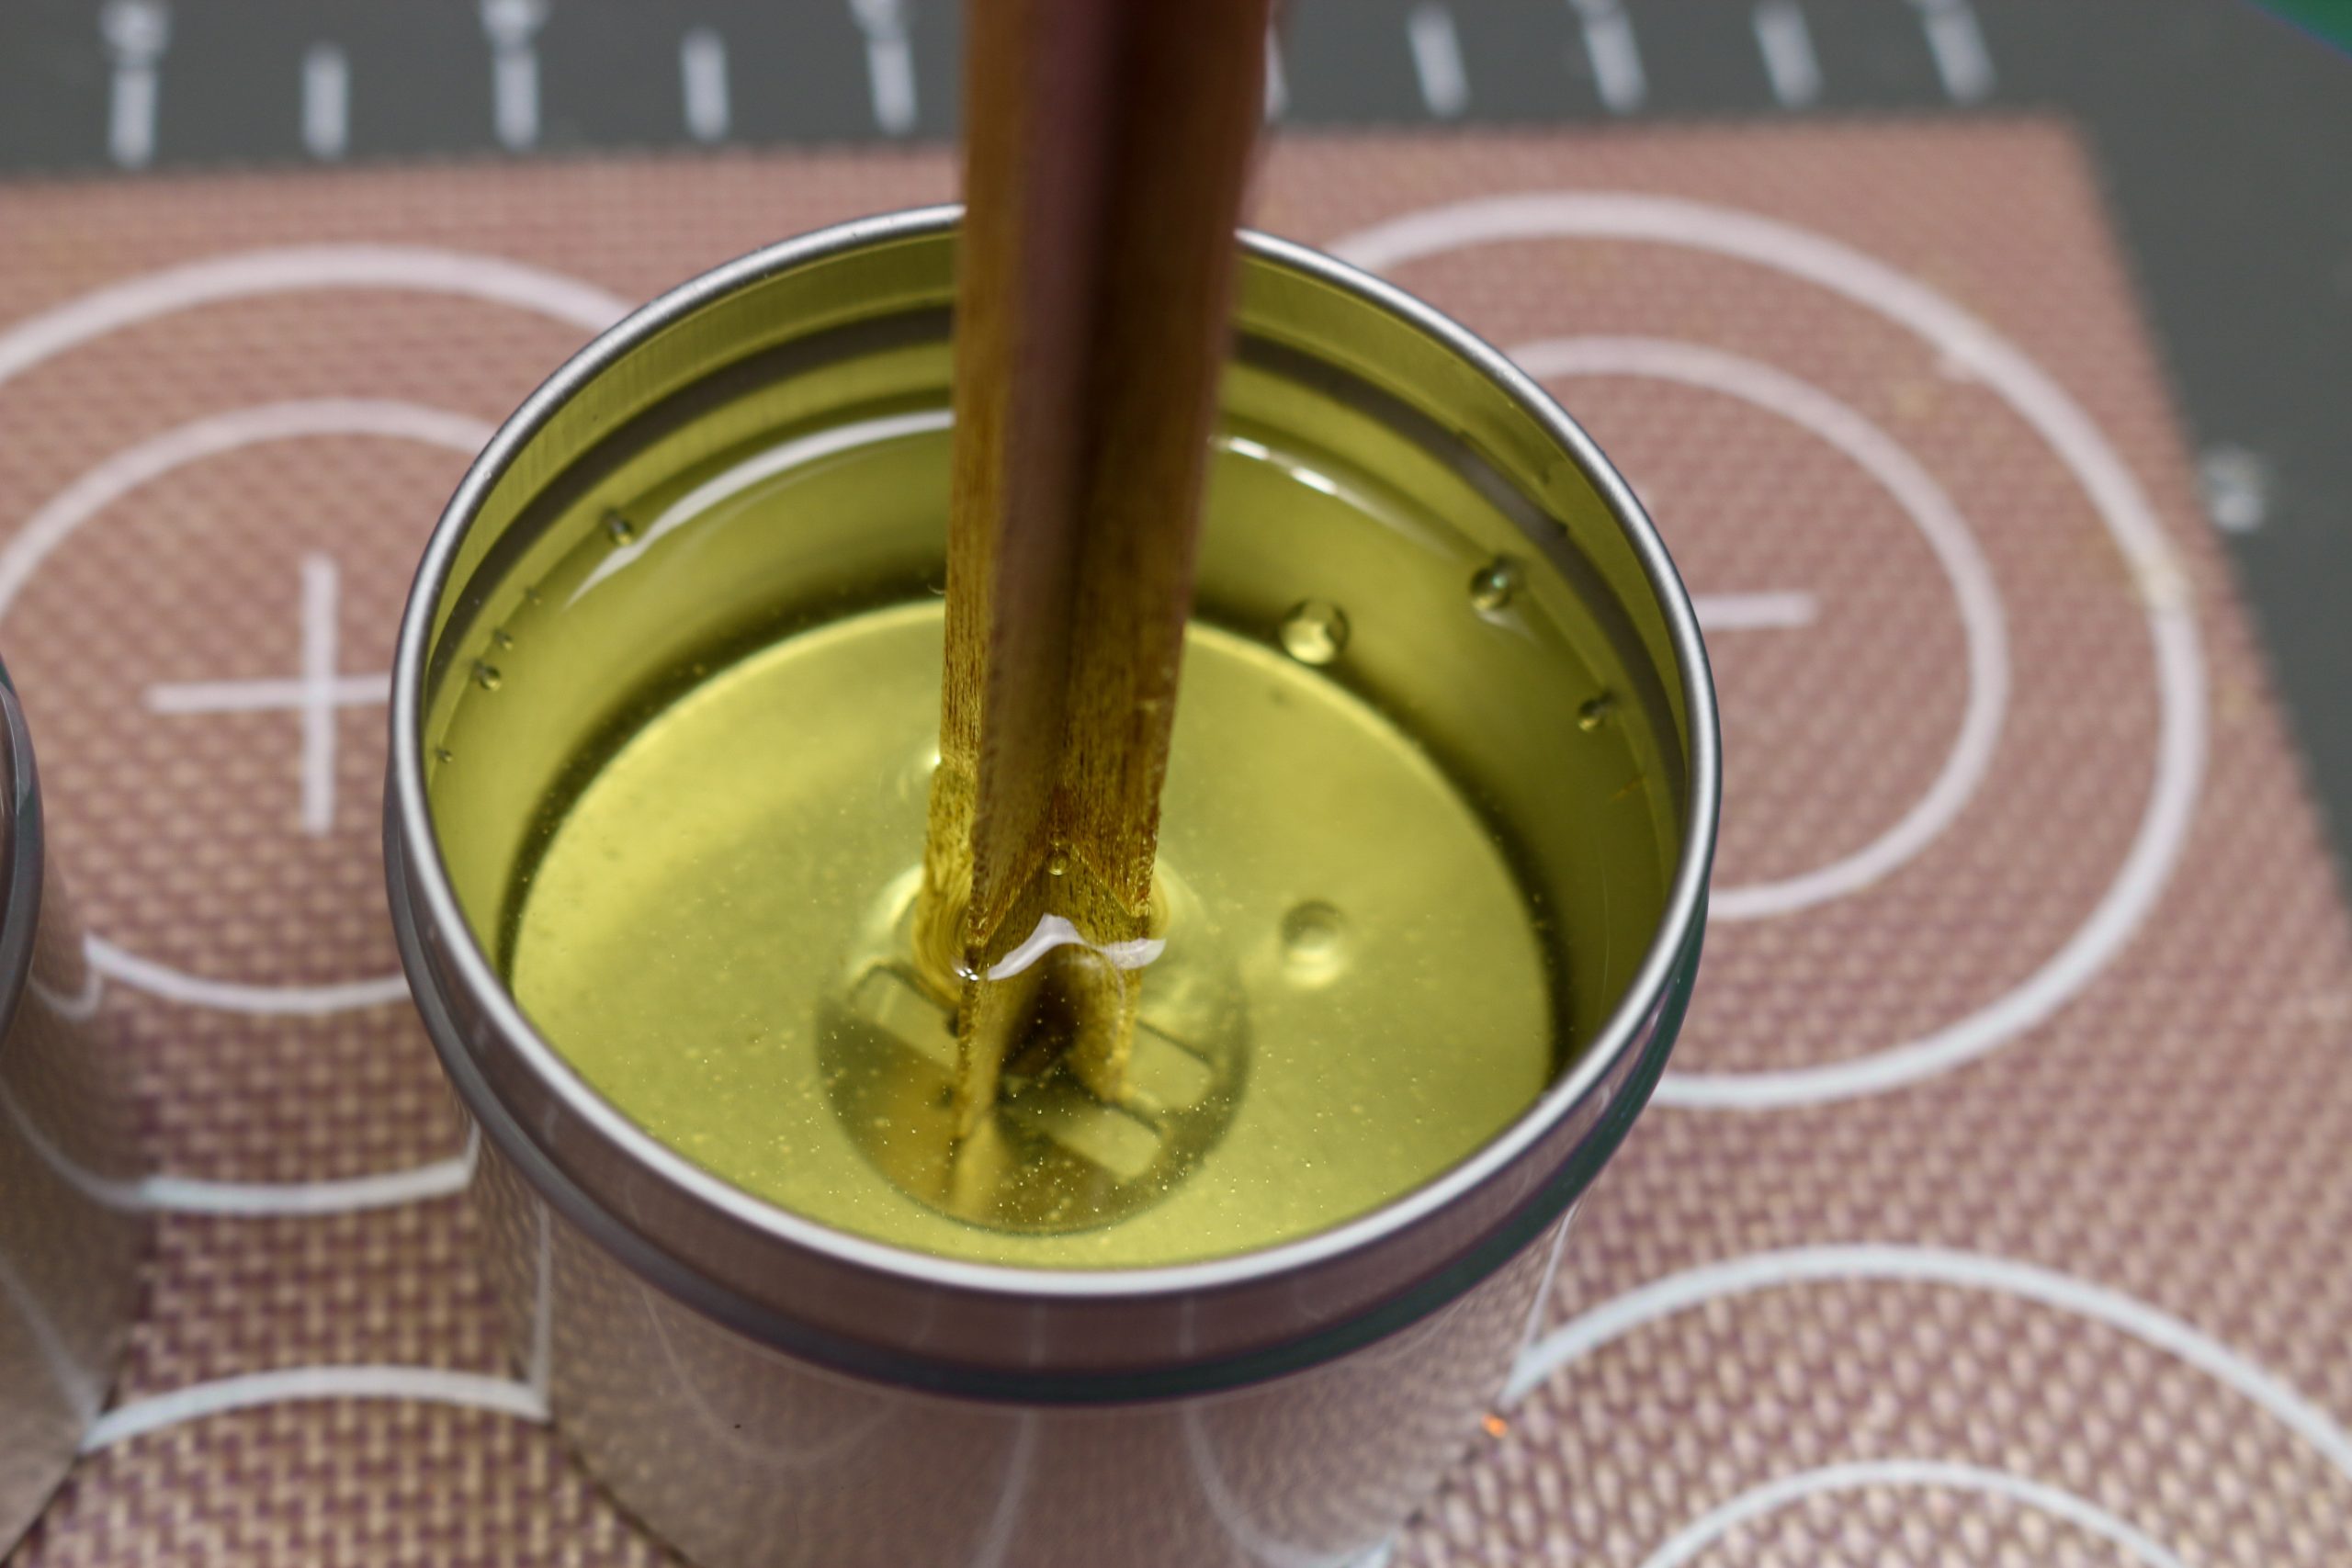
Allow the wax to fully cool before handling.
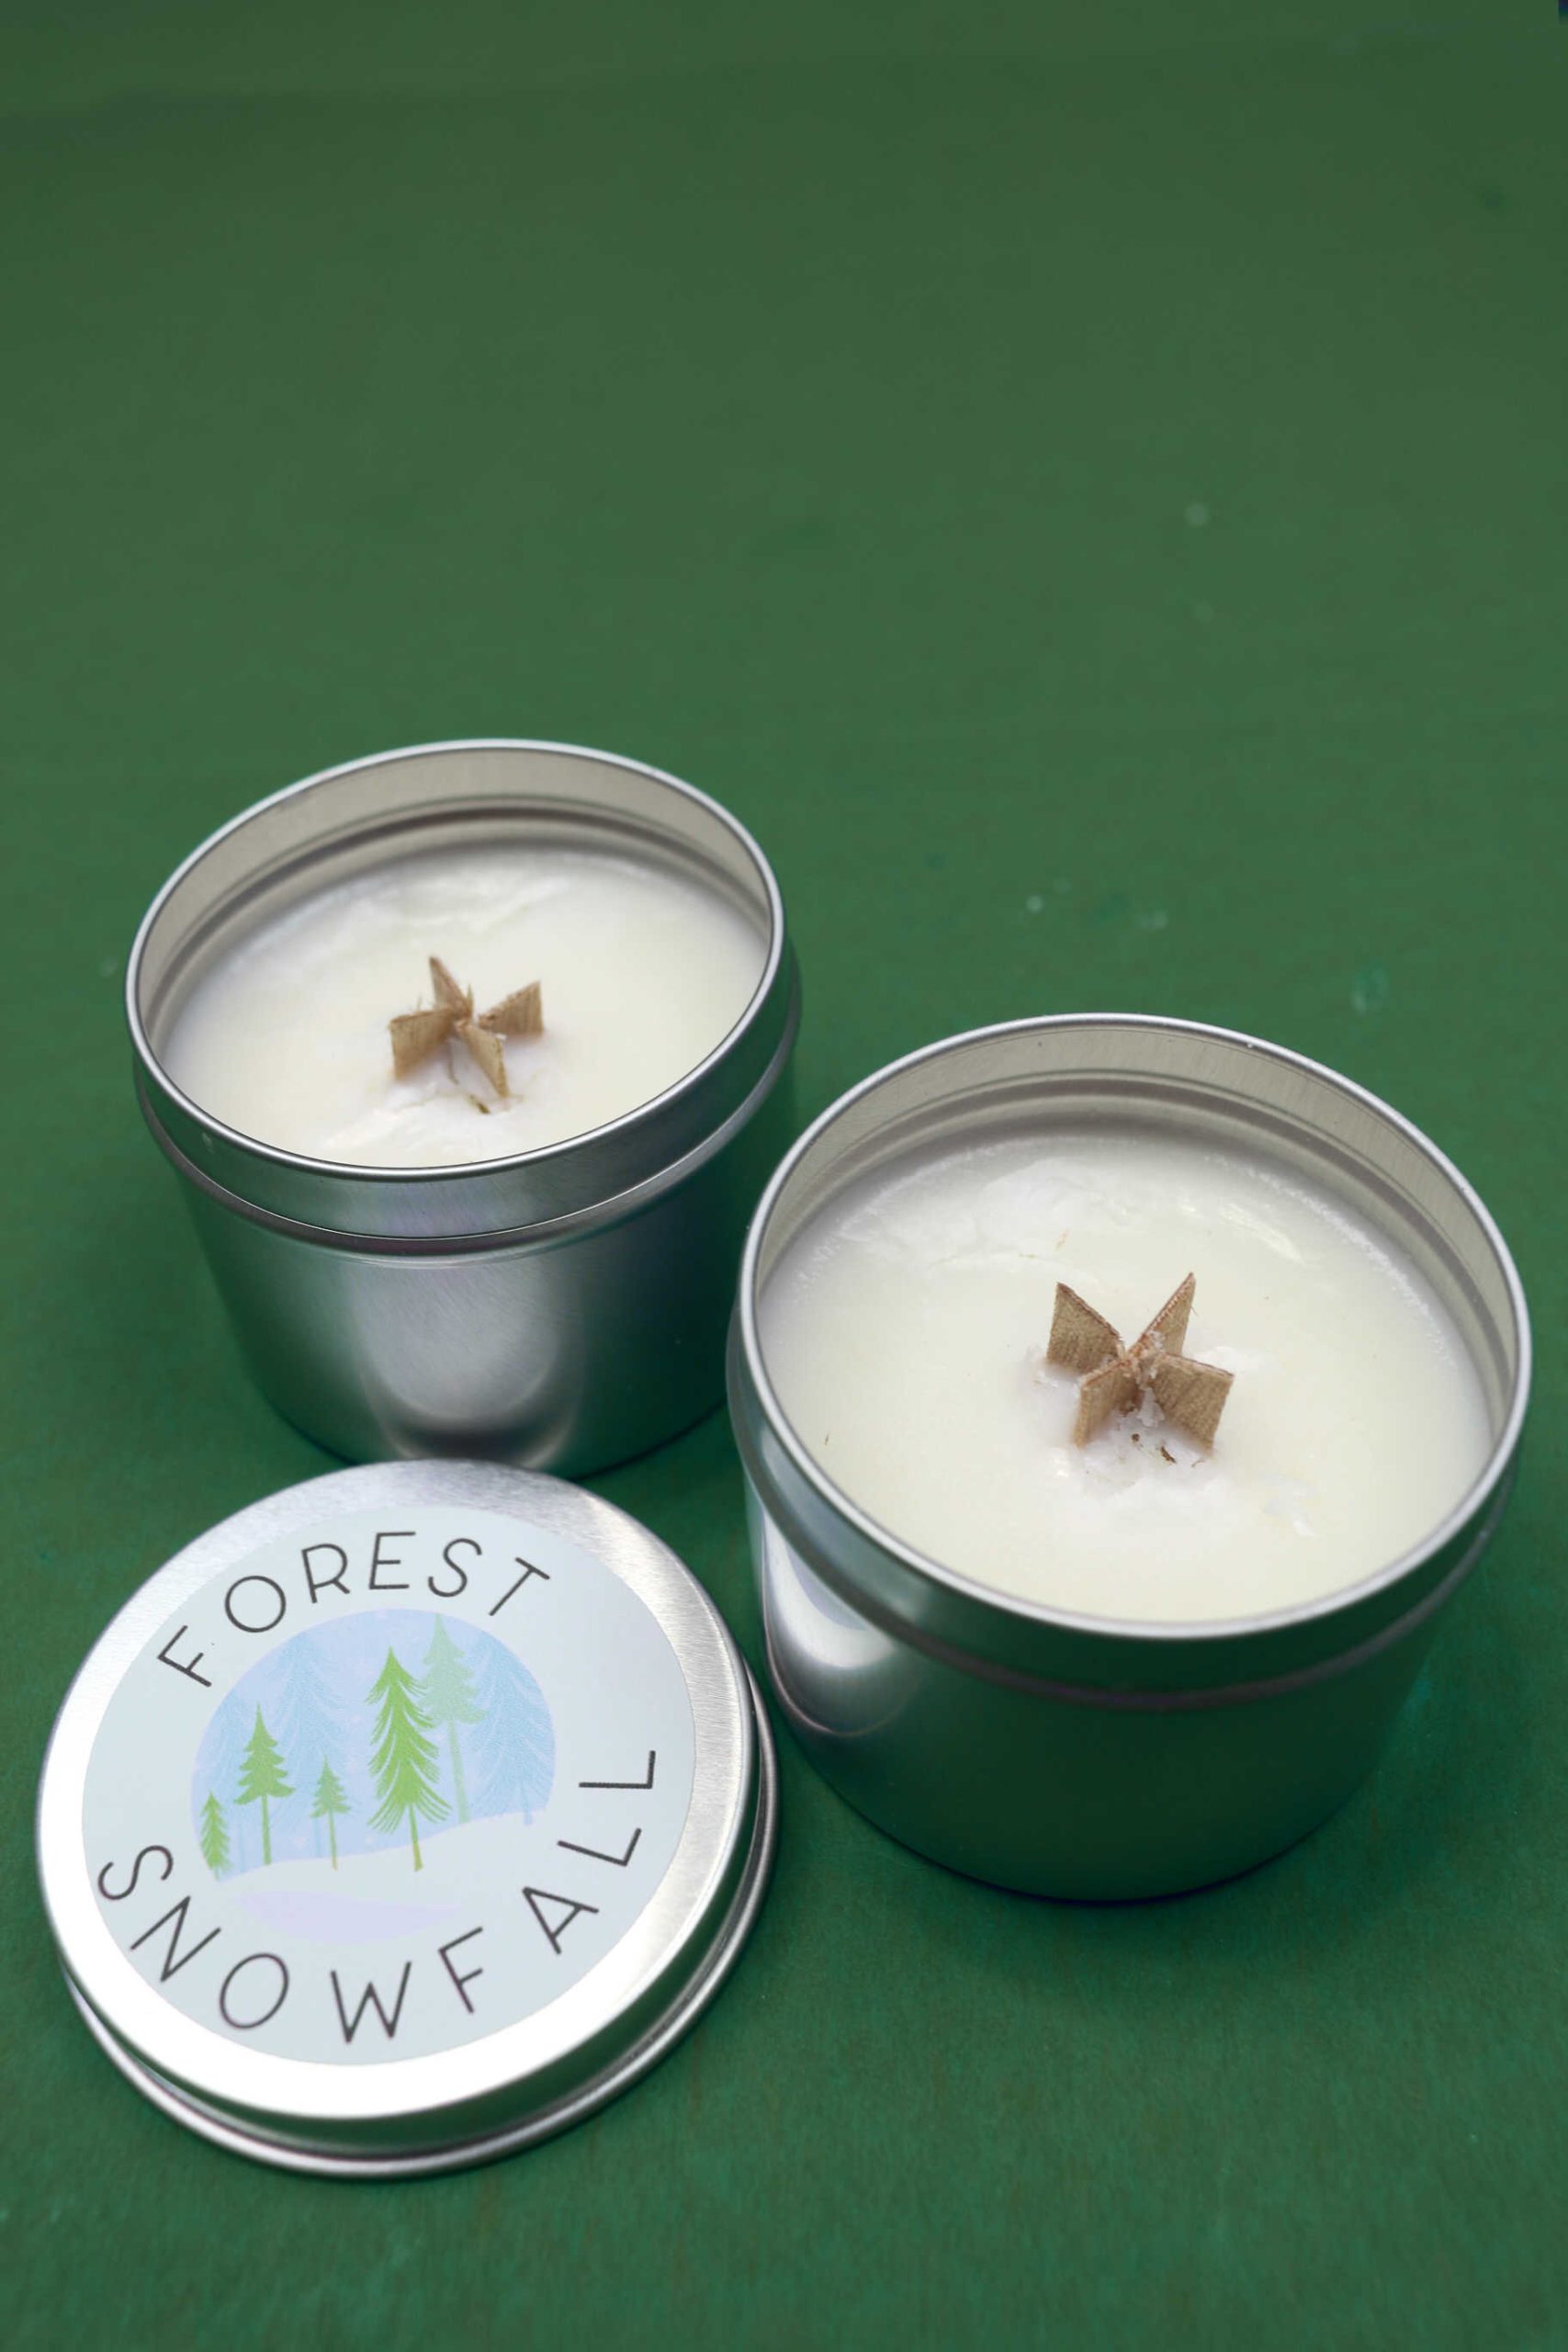
After the wax has cooled, you can trim the wood wicks down so they fit under the lid of the tin.
BURNING WOOD WICK CANDLES
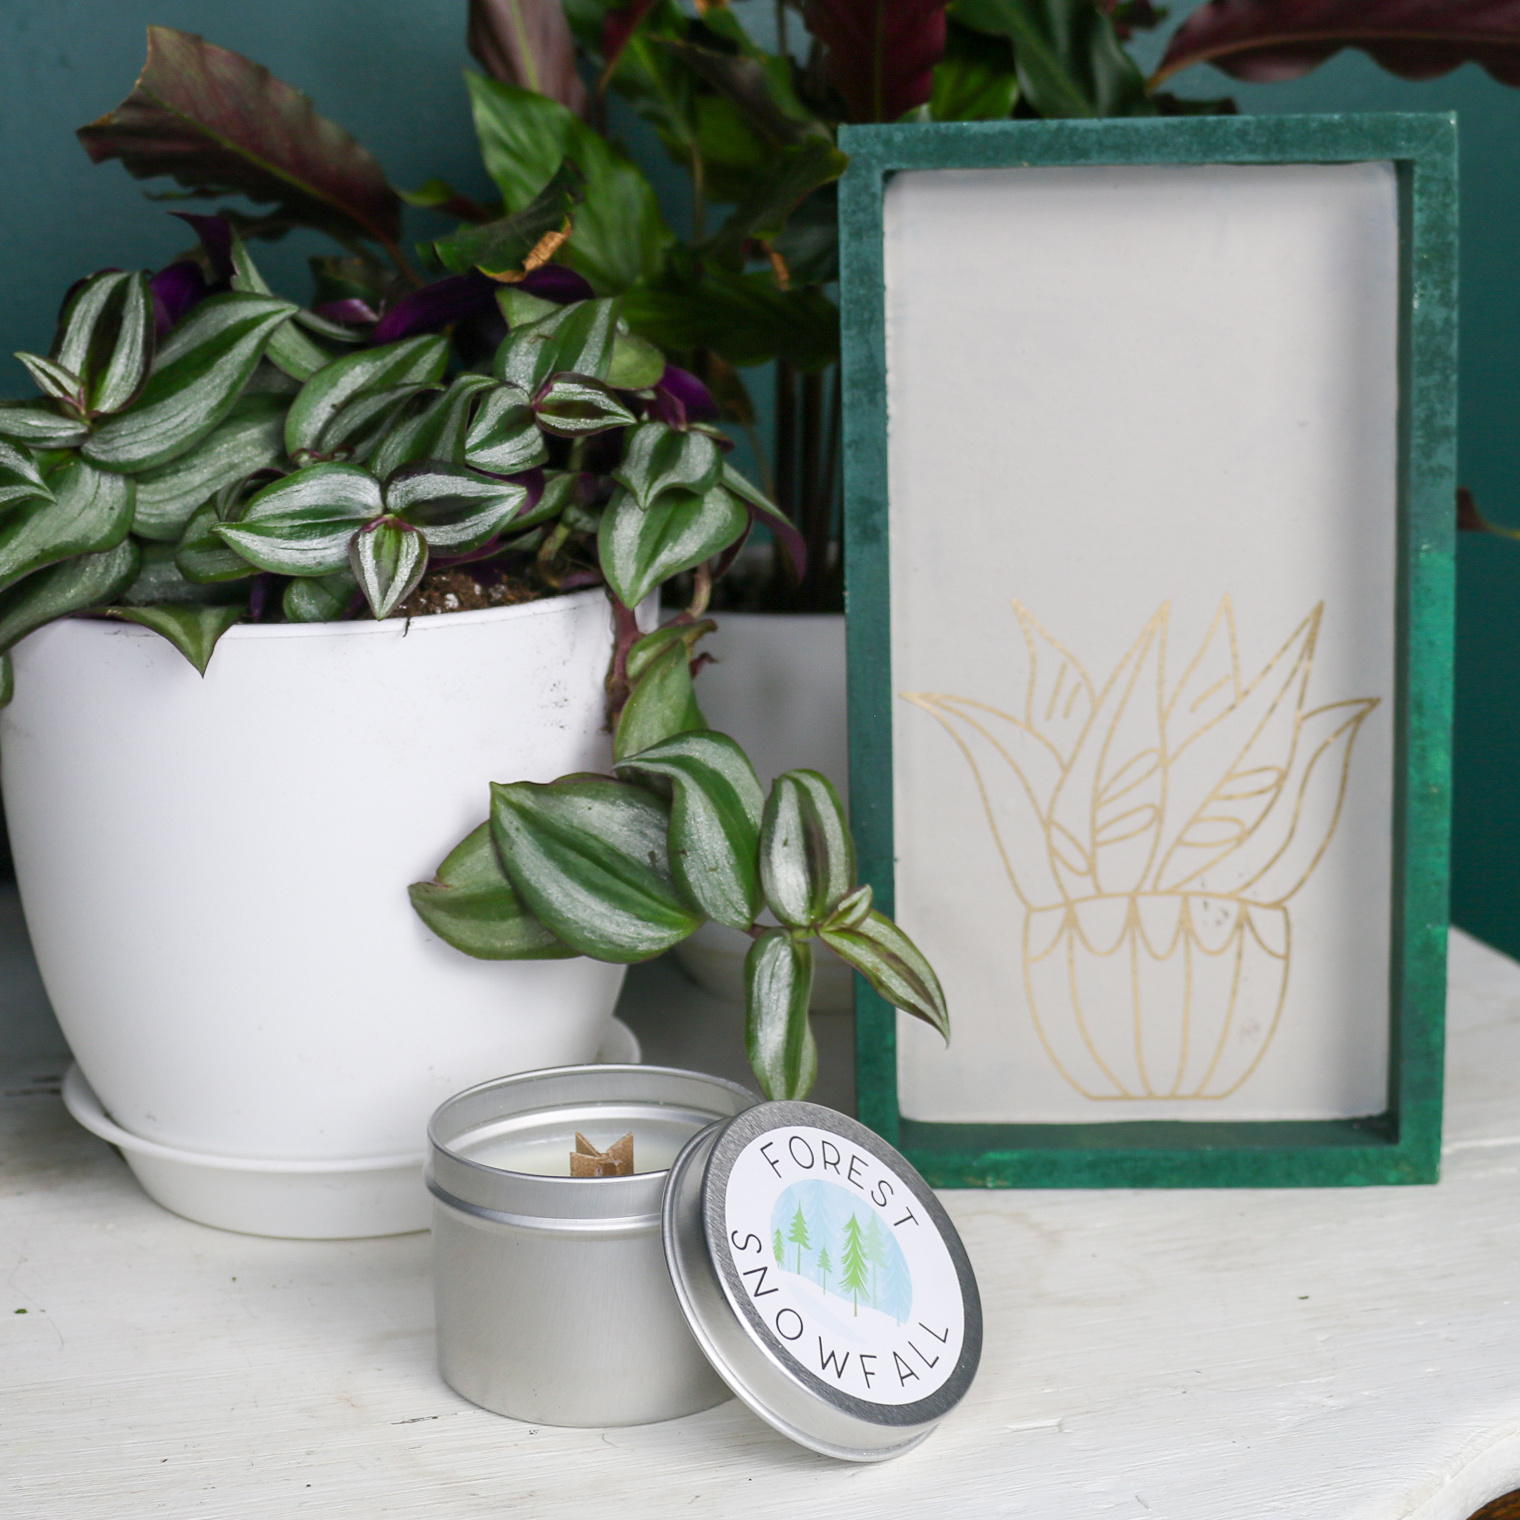
Here are a few tips for making sure you get the best results out of your candle:
- Make sure your wood wick is always about 1/4″ above the surface of the wax. This may mean removing charred wick after burning.
- Use a long match or long-arm lighter to light the wick. Once you have caught part of the wood wick on fire, the rest will follow.
- When you burn the candle the first time, leave the flame burning until the pool of wax reaches the outer edge of the tin for best results.
- NEVER LEAVE YOUR CANDLE UNATTENDED.
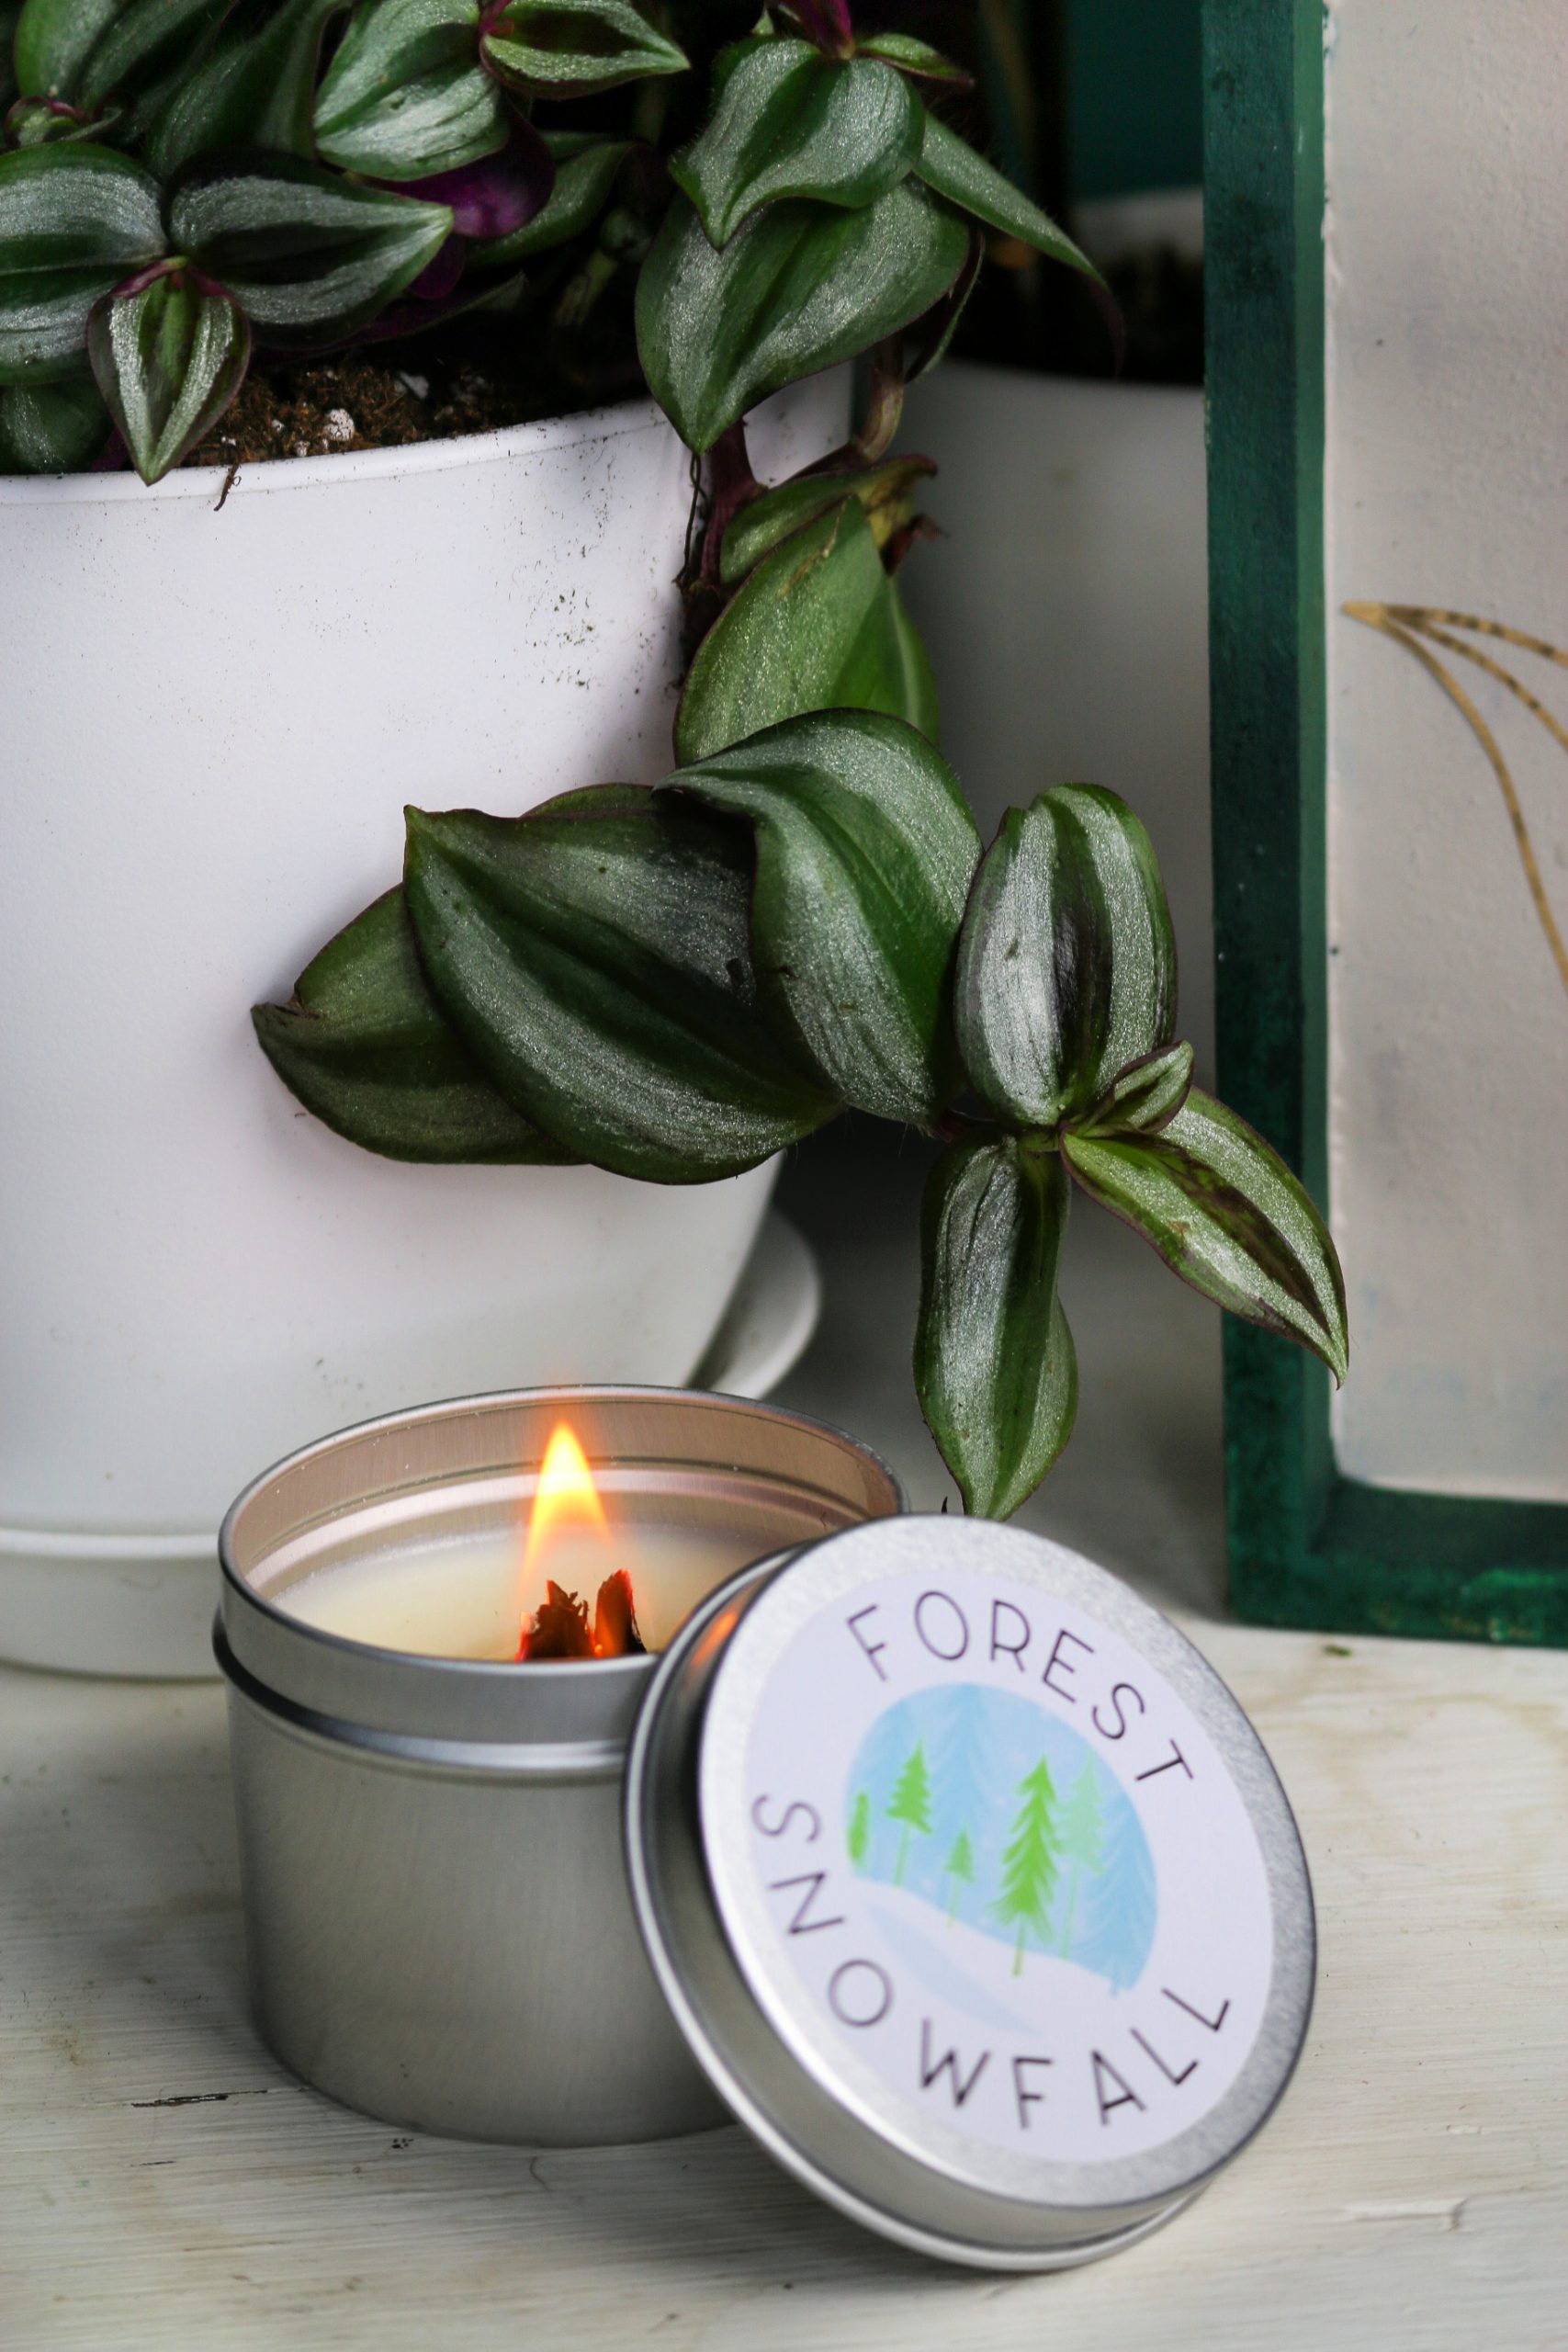
The fun thing about this project is you can make as few candles or as many as you’d like. If you have a larger container to melt the wax, you can make multiple candles of the same scent all at once. This is a great way to get a lot of holiday gifts made at once or to make multiple candles to sell at a craft show. You can use printable vinyl to add your own branding or to add a personalized holiday tag to every candle.

