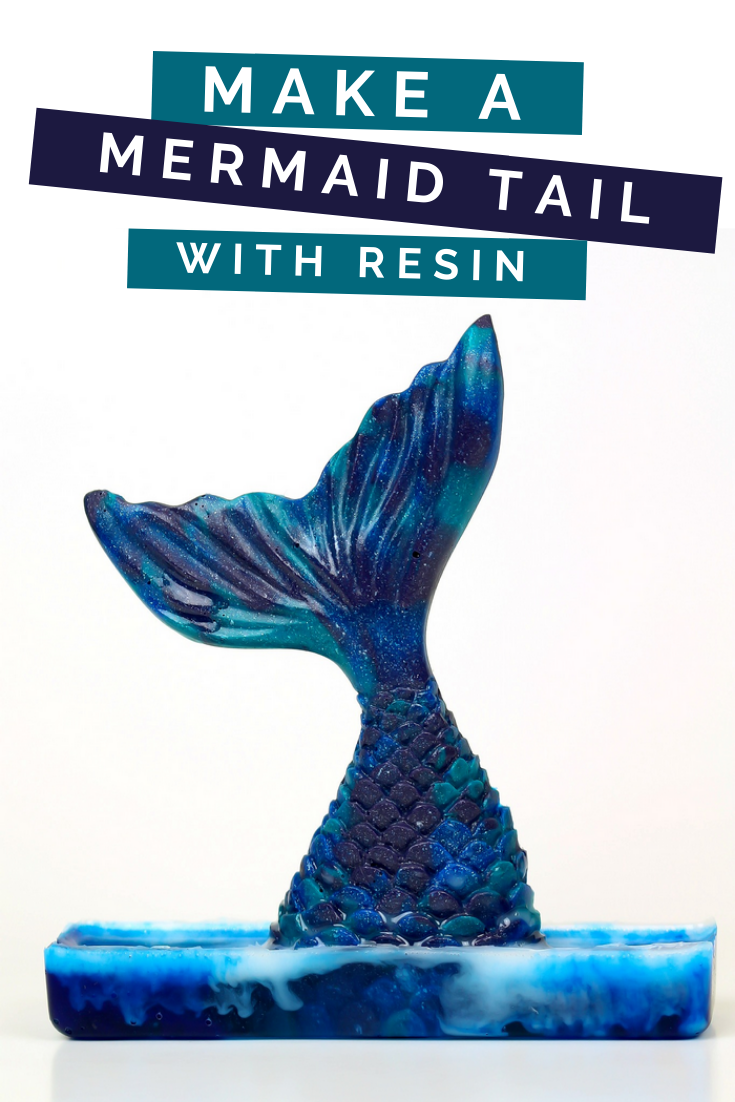
Maybe you already know that you can use resin to create a stunning glossy finish on DIY and art projects. But you open a whole new world of possibilities when you color that resin! Specially made resin dyes and pigments give that clear base color and dimension. I created a beautiful resin mermaid tail by layering and marbling pigmented resin.
HOW TO CREATE A RESIN MERMAID TAIL
WHAT YOU NEED TO MAKE A MERMAID TAIL USING RESIN
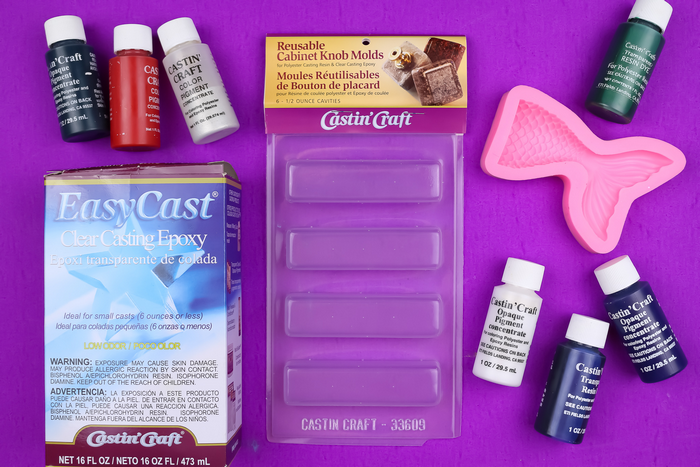
I used EnviroTex resin and Castin’ Craft dyes and pigments for this project. I have read that alcohol ink also works to dye resin, although I haven’t tried it myself yet. That’s on my list for later this week!
These are all affiliate links, if you make a purchase (of anything from these retailers, not just these items) after clicking through, I will earn a small commission. Ads and affiliate links are the way I am able to keep this website running and to offer you free tutorials all year long. Thank you so much for supporting me and Mad in Crafts!
- EasyCast
- Disposable gloves
- Mixing cups
- Transparent Resin Dye
- Opaque Resin Pigment
- Mermail Tail Silicone Mold

Want to know which craft supplies I always keep in my craft room?
Visit the Mad in Crafts Amazon Storefront to learn more and to buy your own supplies!
COLORING RESIN WITH DYE AND PIGMENT
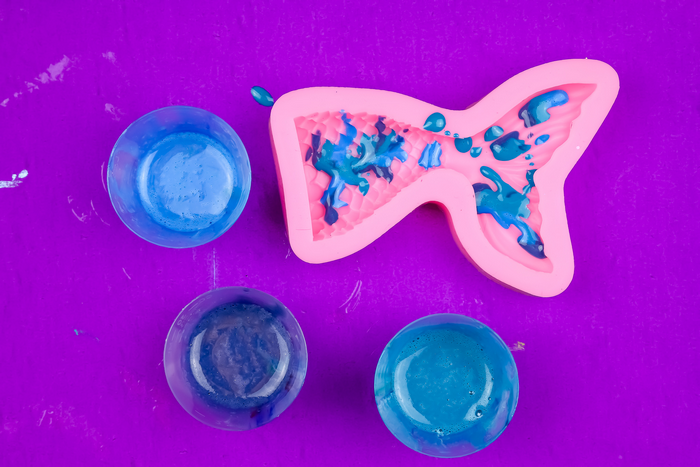
Start this project by mixing up a small amount of resin according to the directions on the package of resin that you purchased. This will probably require you to mix the resin for a few minutes, to transfer it to a second mixing cup, and then to mix for a while in that second cup. Divide the properly mixed resin into 3 small cups and add a few drops of resin pigment to each cup. I mixed up blue, dark purple, and teal resin, but you can create whatever colors you would like to use for your mermaid tail! I also added a drop of pearl pigment into each cup and mixed that in as well. This is completely optional, but it will give your finished mermaid tail a bit of magical shimmer.
MARBLING RESIN IN A SILICONE MOLD
![]()
Drizzle very small amounts of each of the colors of resin into the silicone mold. This bottom layer will be the most visible in your finished pieces, so place the resin carefully. Continue to drizzle in the colored resin until the mold is full. Place the mold on a level surface and allow the resin to cure according to the directions that came with your resin.
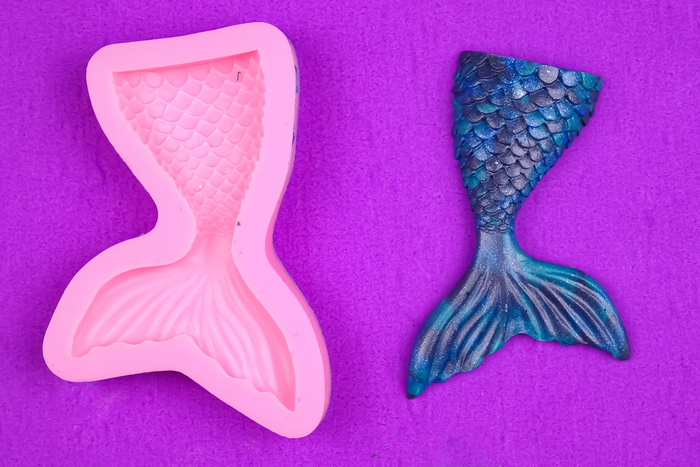
Allow the resin to fully cure and then pop the mermaid tail out of the mold! I love the way the marbled resin looks in the scaly portion of the tail. Come back later this week to see where I used this pretty resin mermaid tail!
You might also like:

