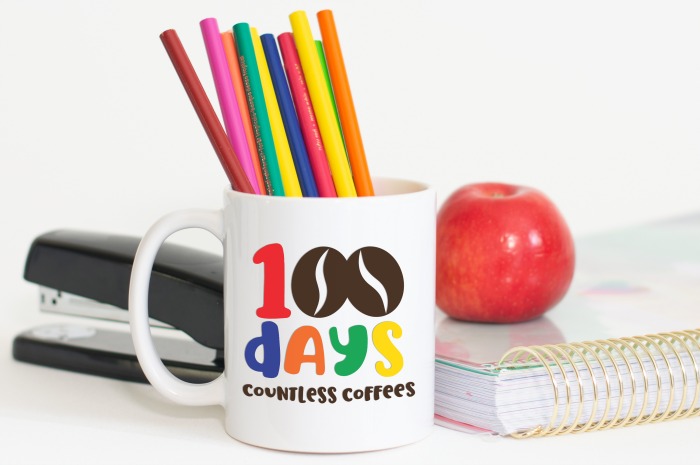
Getting through the first 100 days of school is an achievement for students AND teachers. And, as I know from experience, the teacher’s achievement is almost certainly fueled by lots and lots of coffee. Make a special mug for the teachers in your life to recognize all the hard work they do — and the caffeine that helps them do it. I’ve joined up with other creative bloggers to bring you free SVG files including this 100 Days coffee mug for teachers.
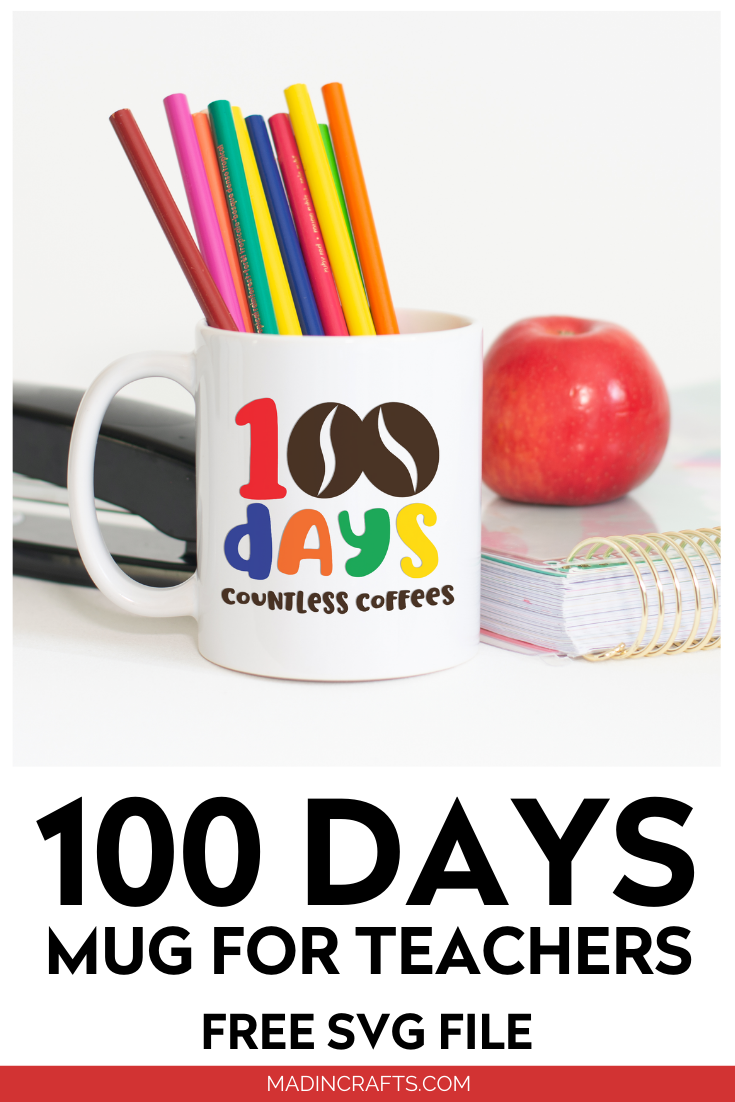
100 DAYS COFFEE MUG FOR TEACHERS
WHAT YOU NEED TO MAKE THE 100 DAYS MUG
These are all affiliate links, if you make a purchase (of anything from these retailers, not just these items) after clicking through, I will earn a small commission. Ads and affiliate links are the way I am able to keep this website running and to offer you free tutorials all year long. Thank you so much for supporting me and Mad in Crafts!
- plain coffee mug
- permanent adhesive vinyl
- transfer tape
- Cricut (or other cutting machine)
- Dishwasher-safe Mod Podge (optional)

Want to know which craft supplies I always keep in my craft room?
Visit the Mad in Crafts Amazon Storefront to learn more and to buy your own supplies!
GET THE FREE SVG
DOWNLOAD THE FREE SVG FILE
Sign up for my SVG Club below for these free SVG files! As a member of the club, you will receive one new SVG file each month. These SVG files are ready to upload directly into your favorite cutting machine’s design software. Insert the file into a new project, then resize it to fit the project you will be making.
HOW TO USE THE SVG TO MAKE A COLORFUL 100 DAYS COFFEE MUG
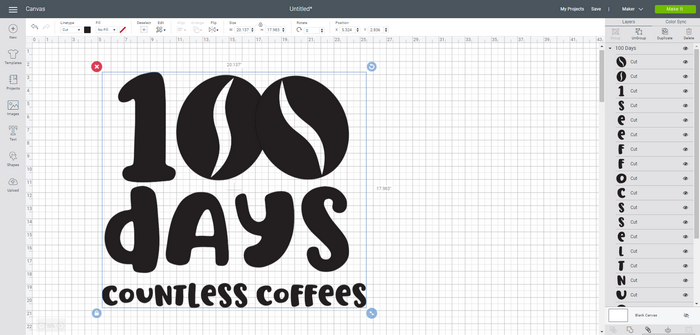
Begin by uploading the SVG into Design Space and inserting it into a blank canvas.
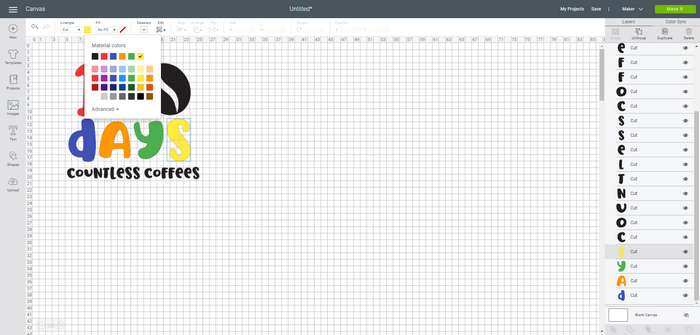
Next, select a single element of the design from the Layers menu on the right side of the workspace. In the image above, I clicked on the S in “days.” You will see how it is highlighted in grey in the Layers menu. Next, click on the square in the top menu between the Linetype and Fill dropdowns. This will bring up the Material Colors menu. Change this element’s color to match the color of adhesive vinyl you will use. I wanted to use yellow vinyl for the S, so I changed its color to yellow. Repeat this step for all of the elements in the design.
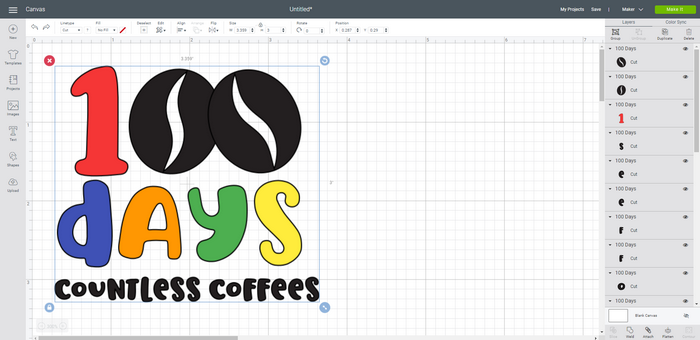
Click and drag over the entire design to select the whole design. Resize the design to fit the mug you are using for your project. Be sure to measure the mug carefully so your vinyl is cut to the right size.
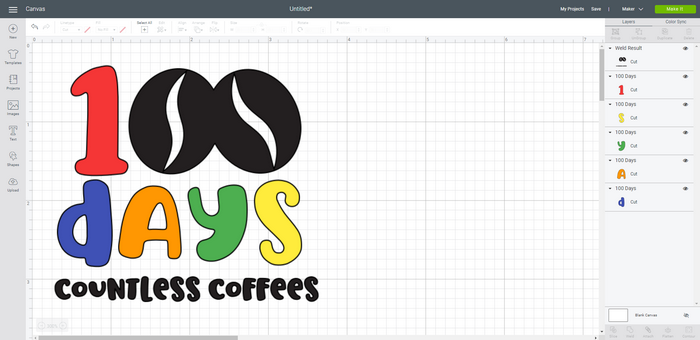
If you have multiple elements that are the same color, and I recommend that you do, hold down the shift key and click on each of those elements. (You can click and drag over multiple elements if they are near each other.) When they are all selected, click the Weld button from the bottom of the Layers menu. This will lock these items into position when it comes time to cut. For my design, I welded all the brown elements together. Not only does this keep the design together, but it also makes placing the vinyl on the mug much easier later.
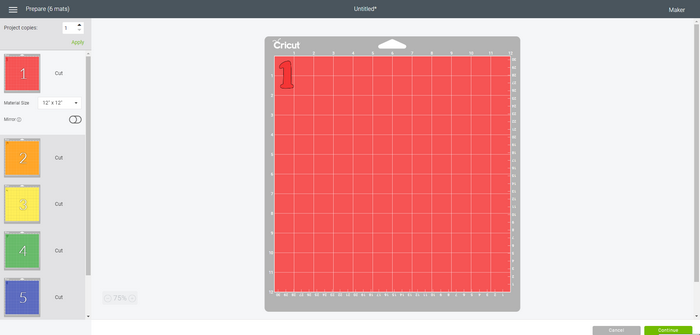
Cut your design out of adhesive vinyl, matching the color of your vinyl to the color of the mats. I recommend starting with the color of vinyl that you welded together in Design Space (in my case the brown coffee beans and words). This will serve as the base of your design. Weed the excess vinyl away, and place transfer tape over the vinyl. Rub the transfer tape to make sure that the vinyl is stuck to the tape. Carefully remove the backing from the vinyl, and position the vinyl on the mug. Rub the transfer tape again to ensure the vinyl is sticking to the mug. Slowly peel the transfer tape away from the vinyl. Repeat for all the other elements of your design. If you want to make the mug dishwasher-safe, follow the instructions in this post.
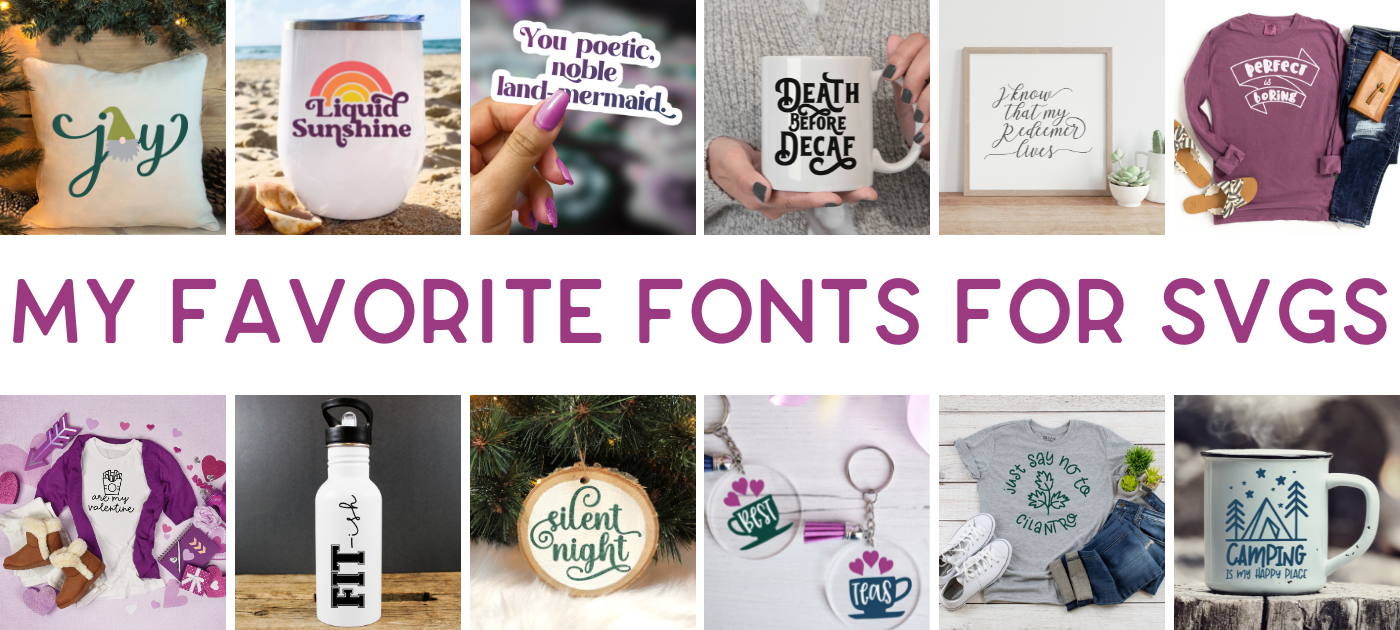
Do you like the font that I used in this design? This design uses the Blanket of Snow font (affiliate link) from Font Bundles. Check out this post to find all of my favorite fonts, as well as links to buy them and links to the SVGs which use them!
MORE FREE 100 DAYS SVG FILES
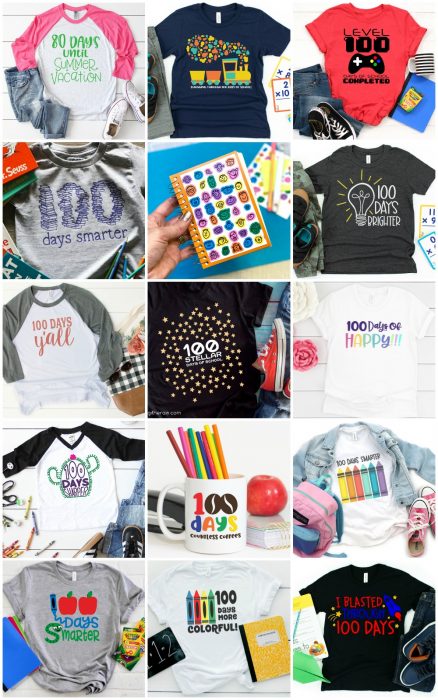
Want even more fun 100 Days SVG files? Check out all these offerings from my crafty friends!
- 100 Days of Happy from Hello Creative Family
- 100 Days Y’all from Everyday Party Magazine
- 100 Days Sharper from The Country Chic Cottage
- Level 100 Completed from Artsy-Fartsy Mama
- 80 Days Until Summer Vacation from Pineapple Paper Co.
- 100 Days More Colorful from Pattern Revolution
- 100 Days Brighter from Happiness is Homemade
- Blasted Through 100 Days from Happy Go Lucky
- 100 Days of School, Countless Coffees from Mad in Crafts
- 100 Days Smarter from That’s What Che Said
- 100 Stellar Days of School from Crafting in the Rain
- 100 Days of Chugging Along (Train) from Hey, Let’s Make Stuff
- 100 Happy Faces from 100 Directions
- 100 Days Smarter (Crayons) from seeLINDSAY
- 100 Books from 30 Minute Crafts


