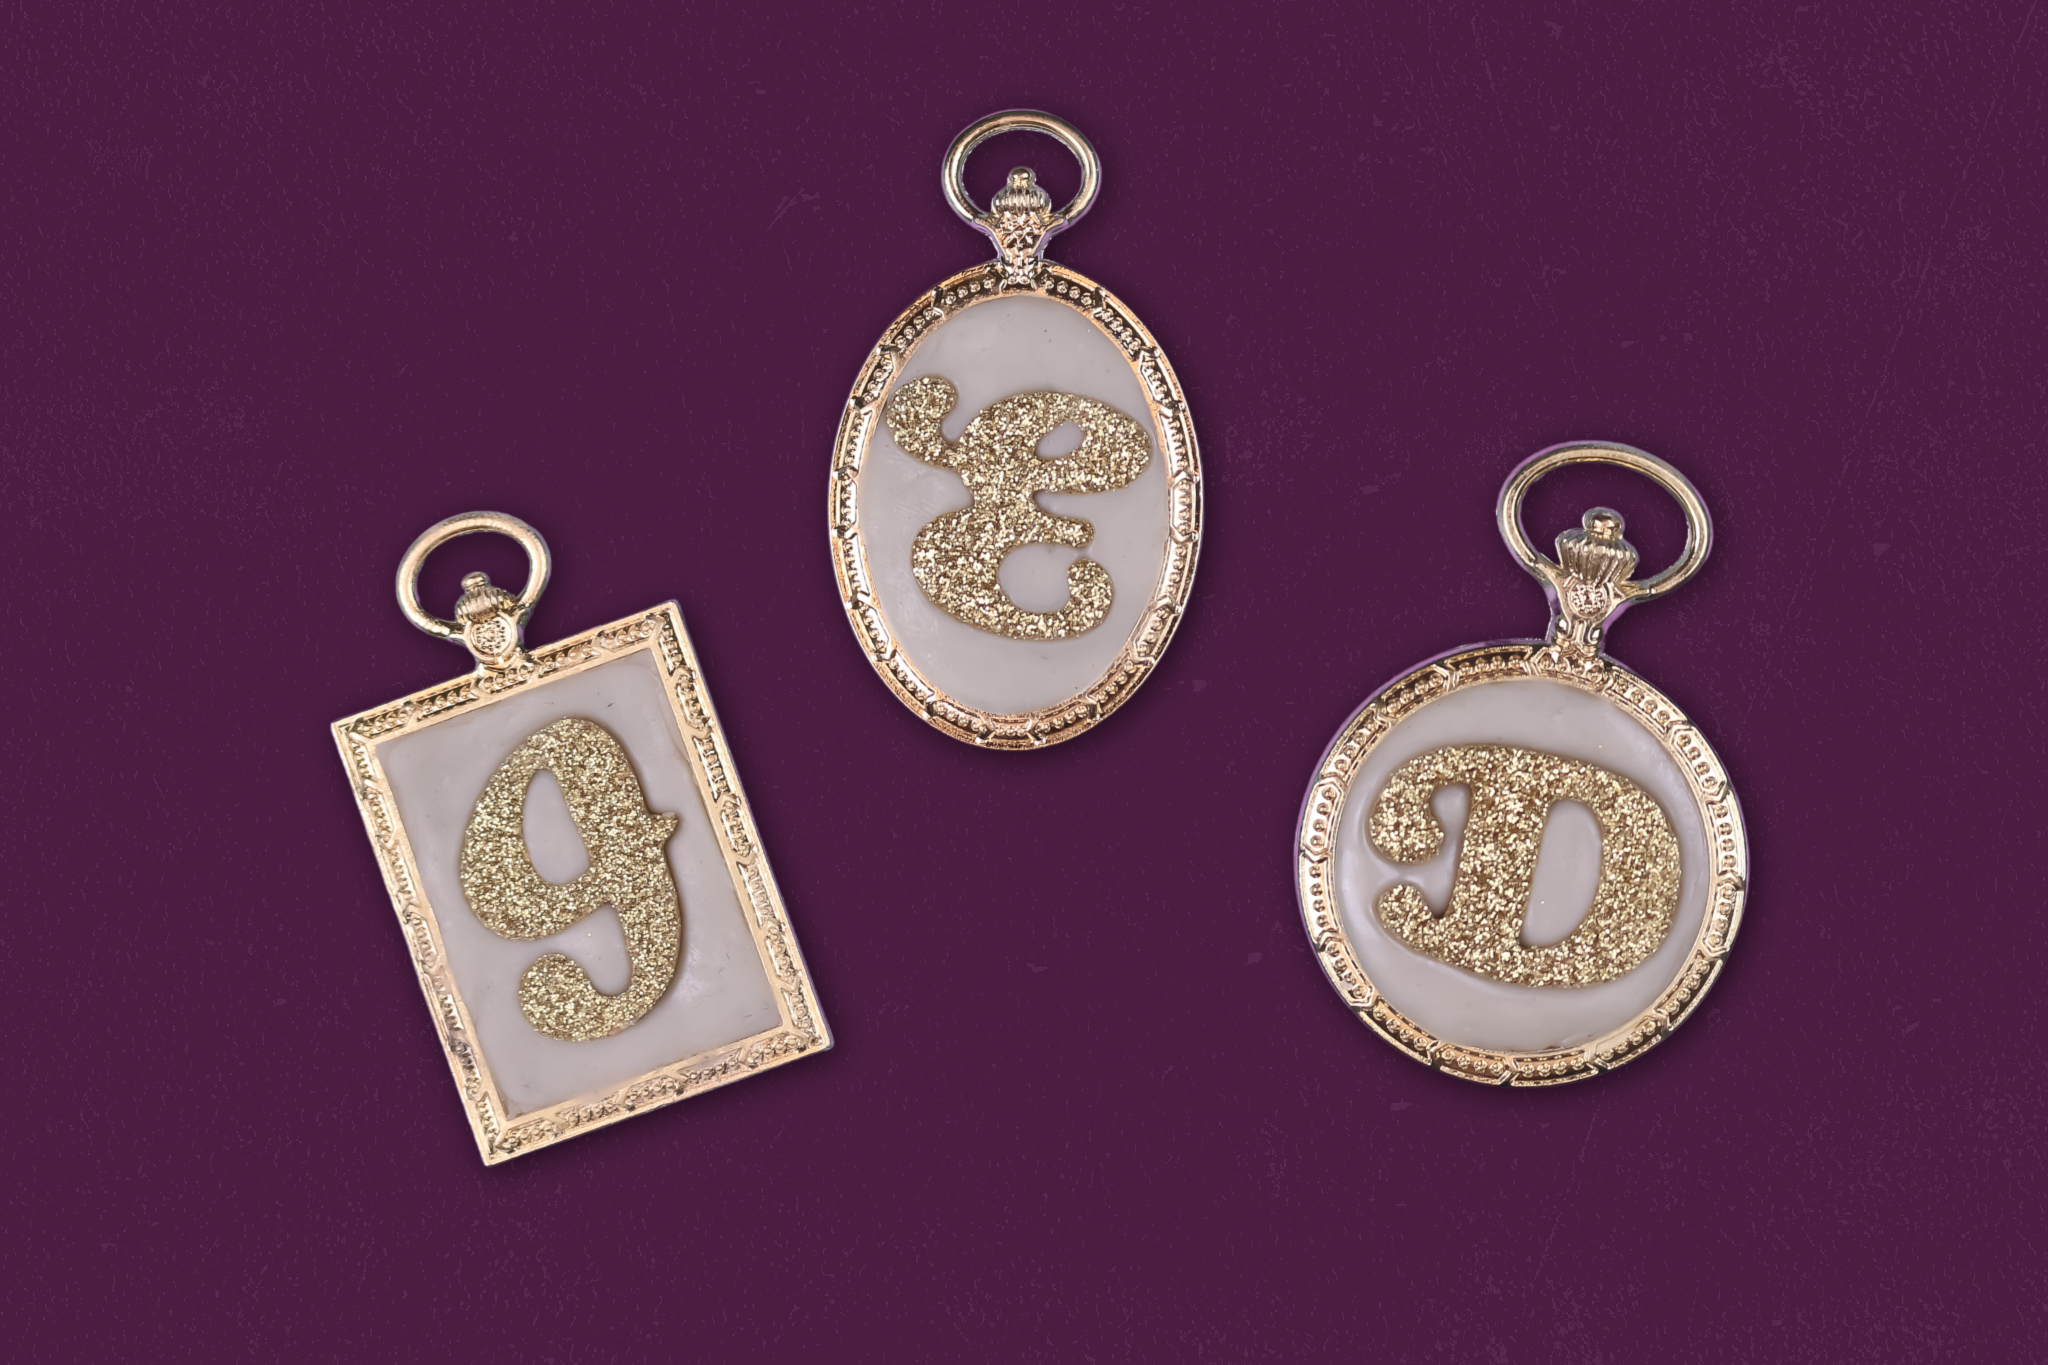
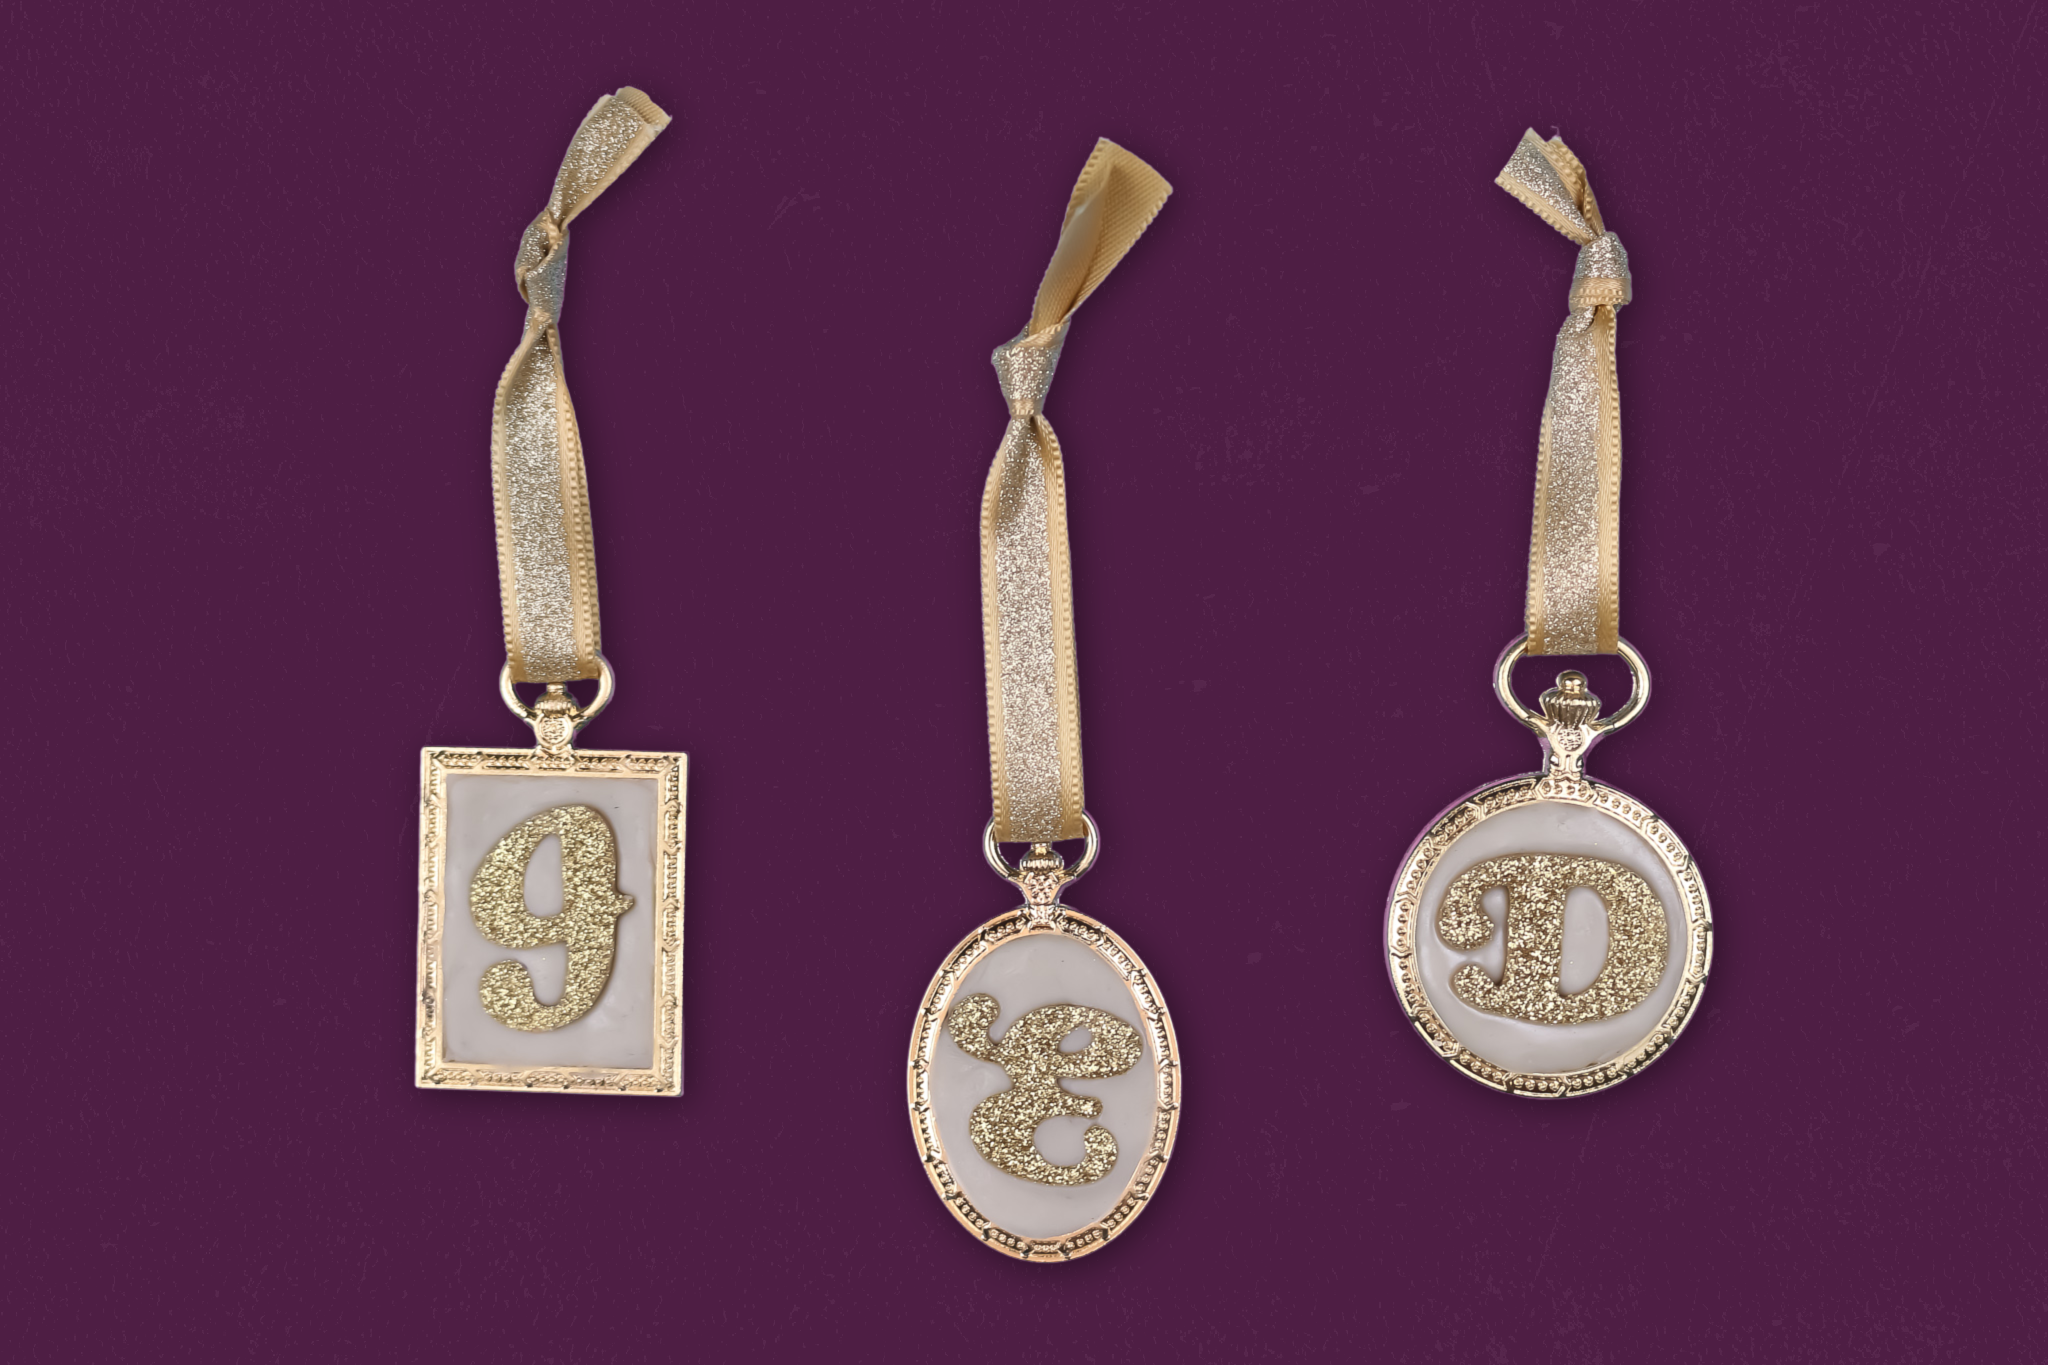
If you have never worked with jewelry clay before, you are in for a treat! It is an easy-to-use craft supply that lets you embed all kinds of beautiful elements into DIY jewelry. I used jewelry clay with some jewelry bevels to create elegant clay initial ornaments.
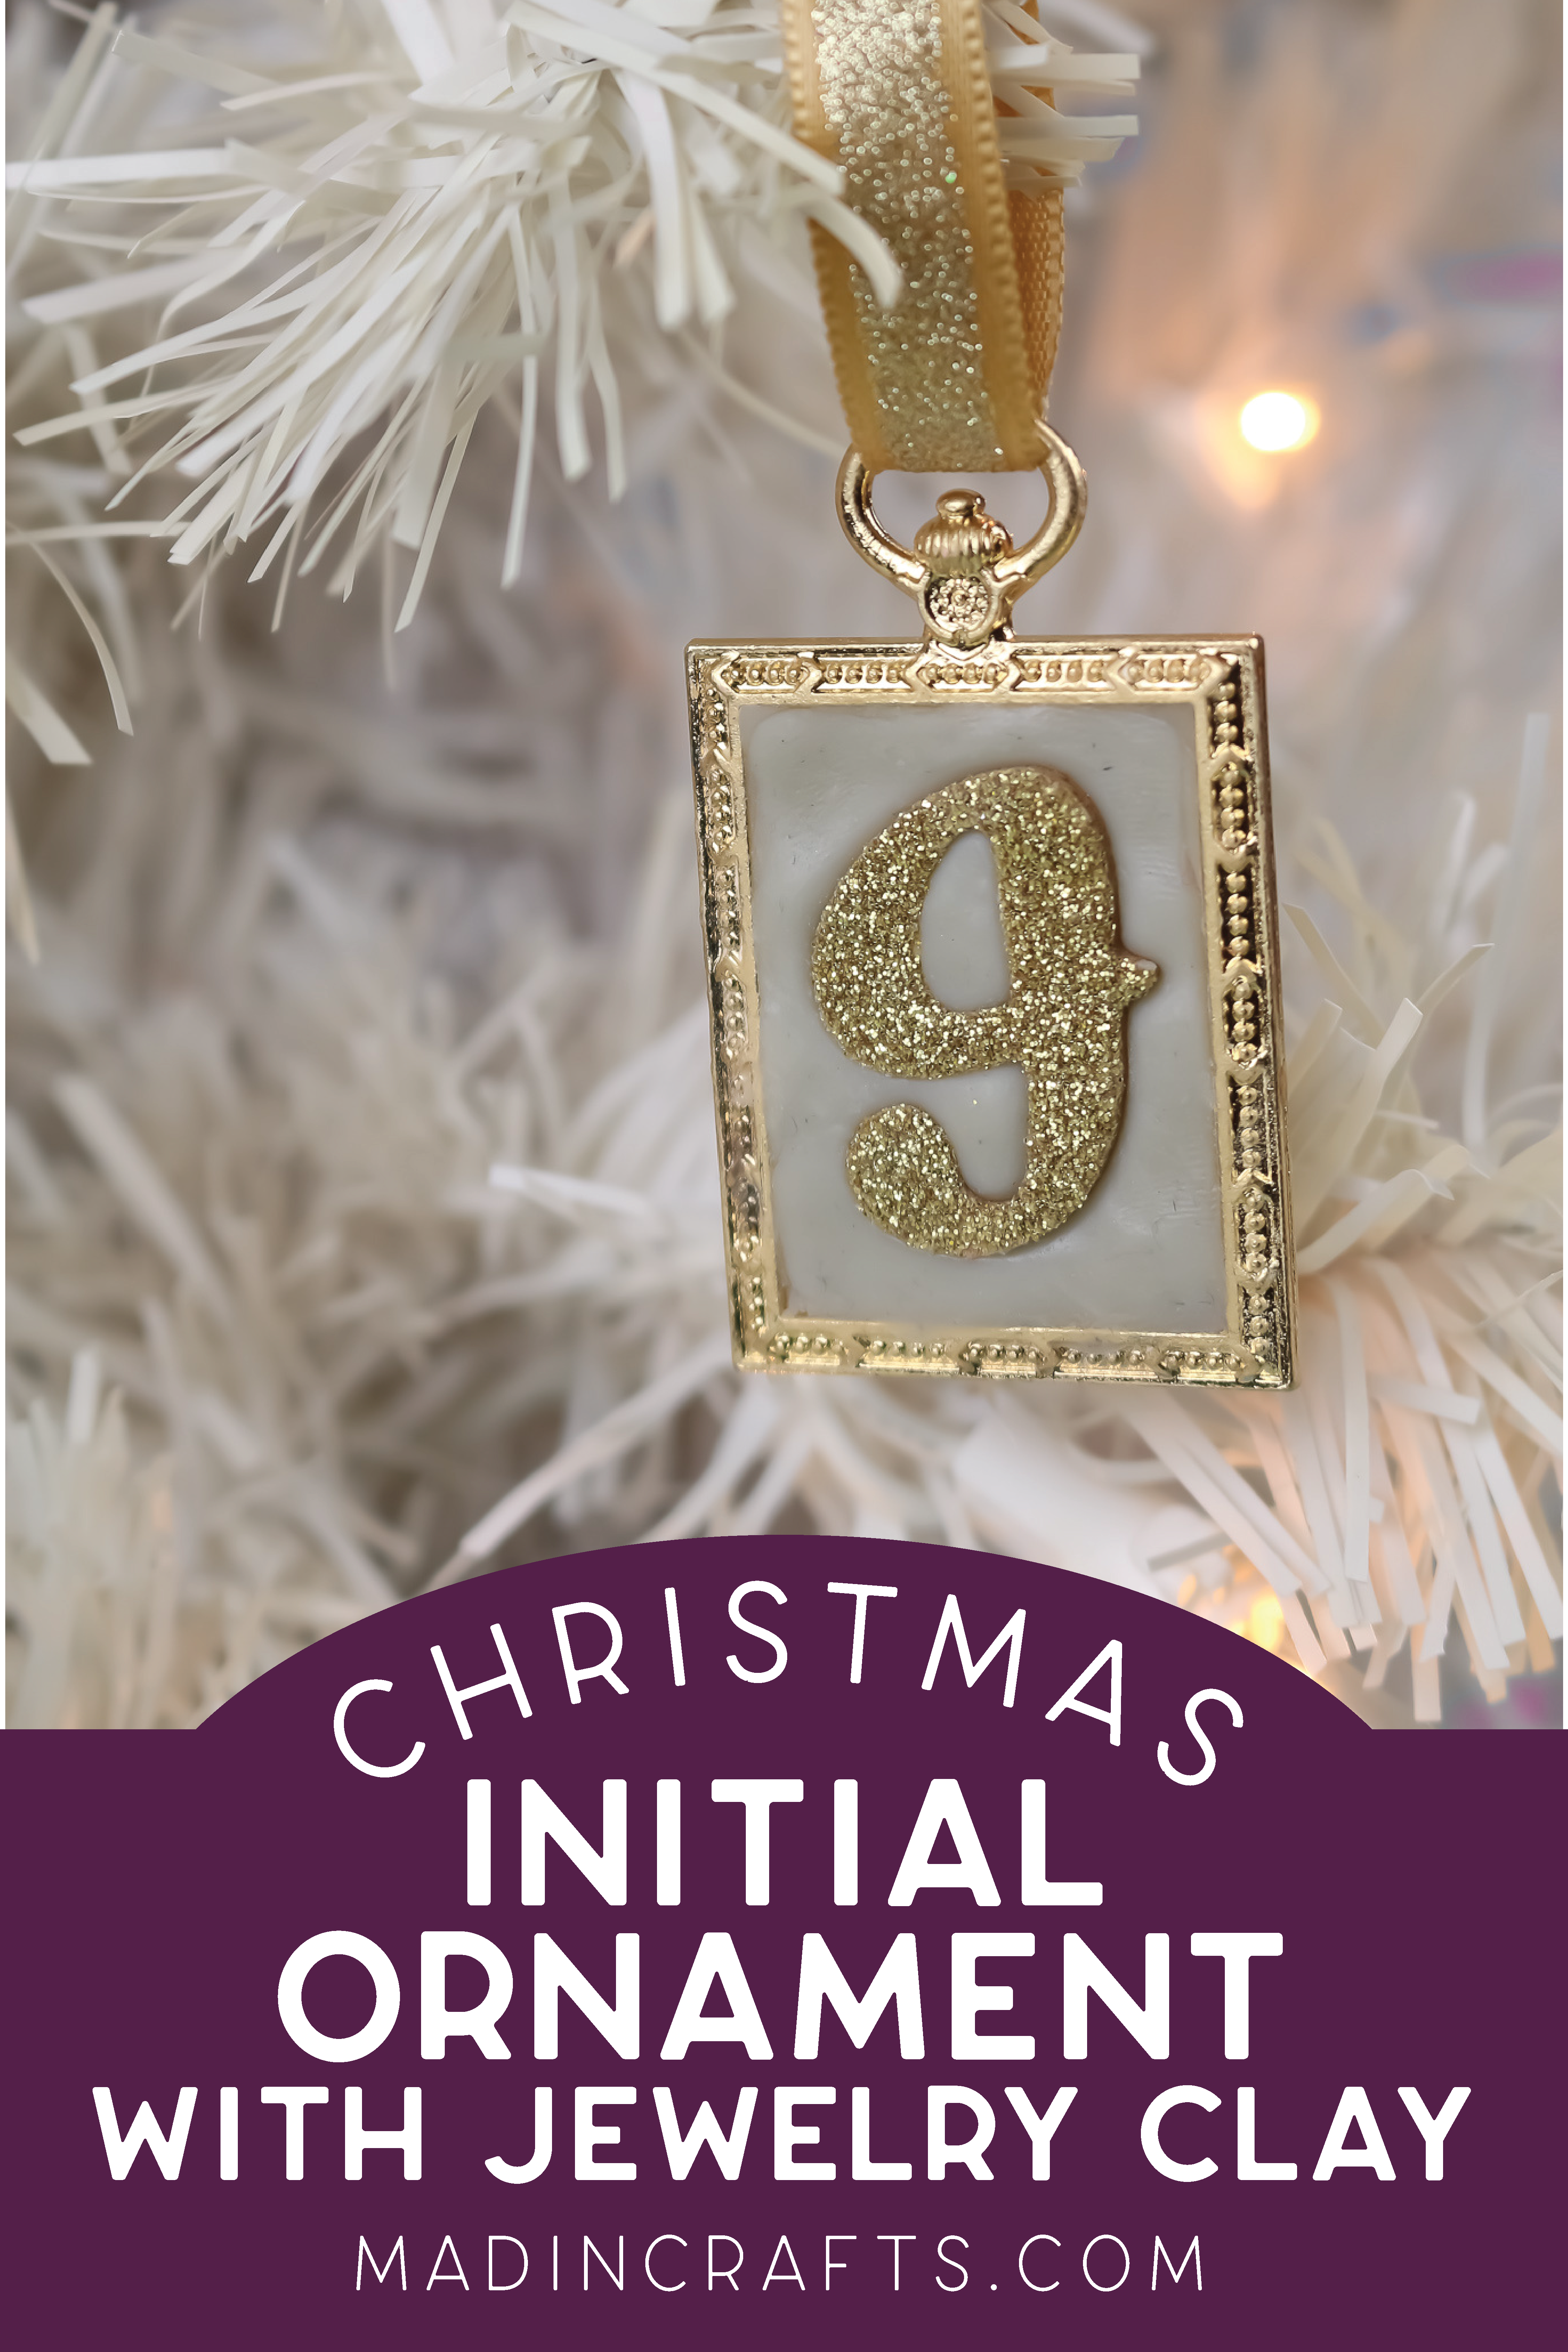
DIY JEWELRY CLAY INITIAL ORNAMENTS
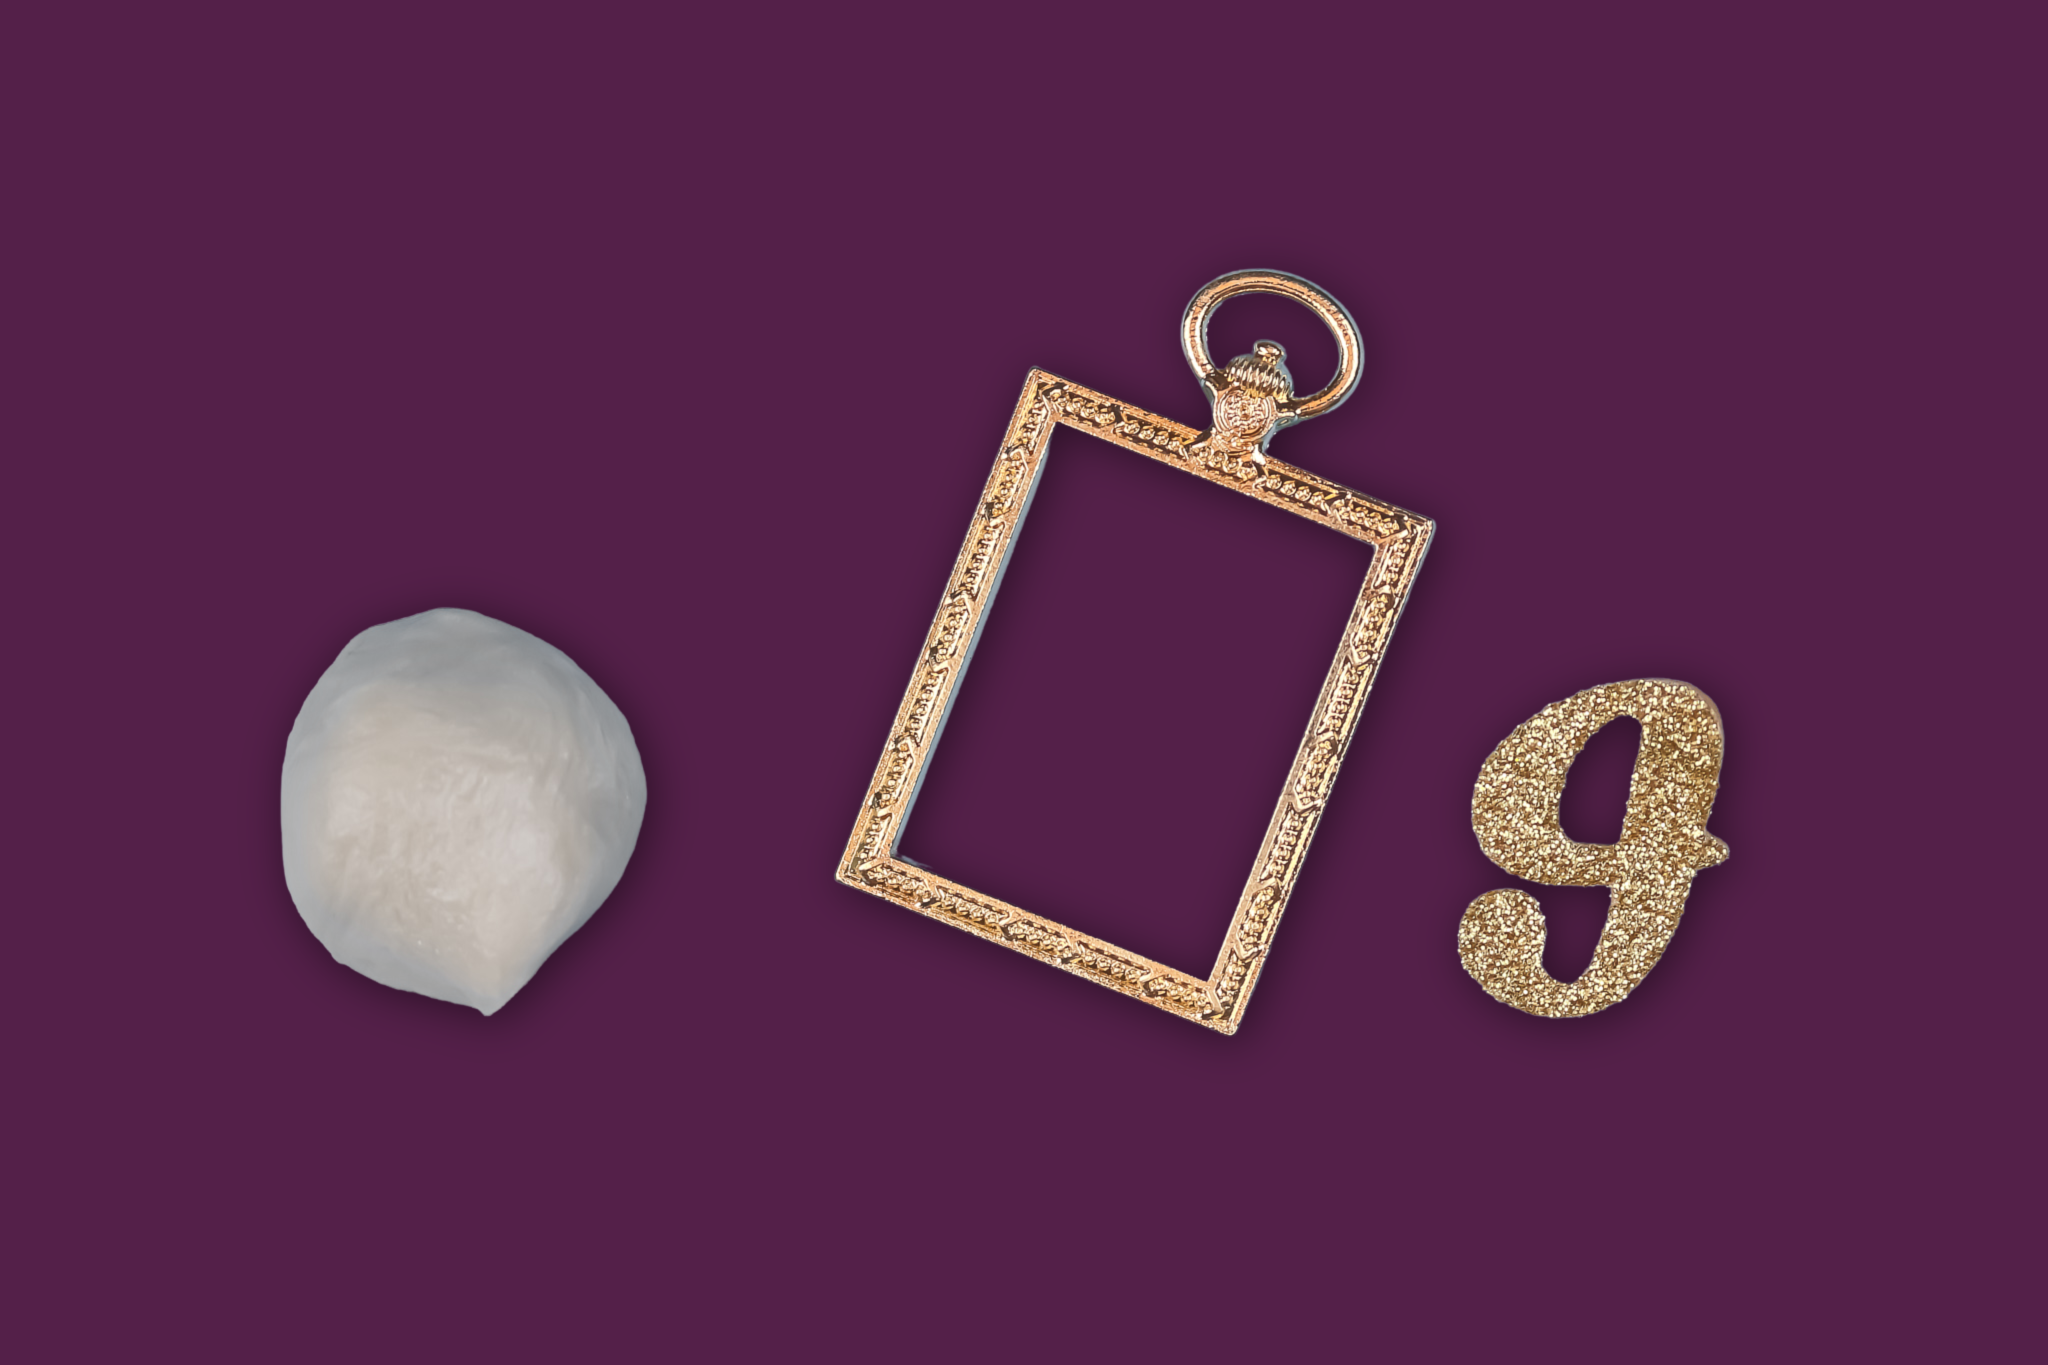
WHAT YOU NEED TO MAKE ORNAMENTS WITH JEWELRY CLAY
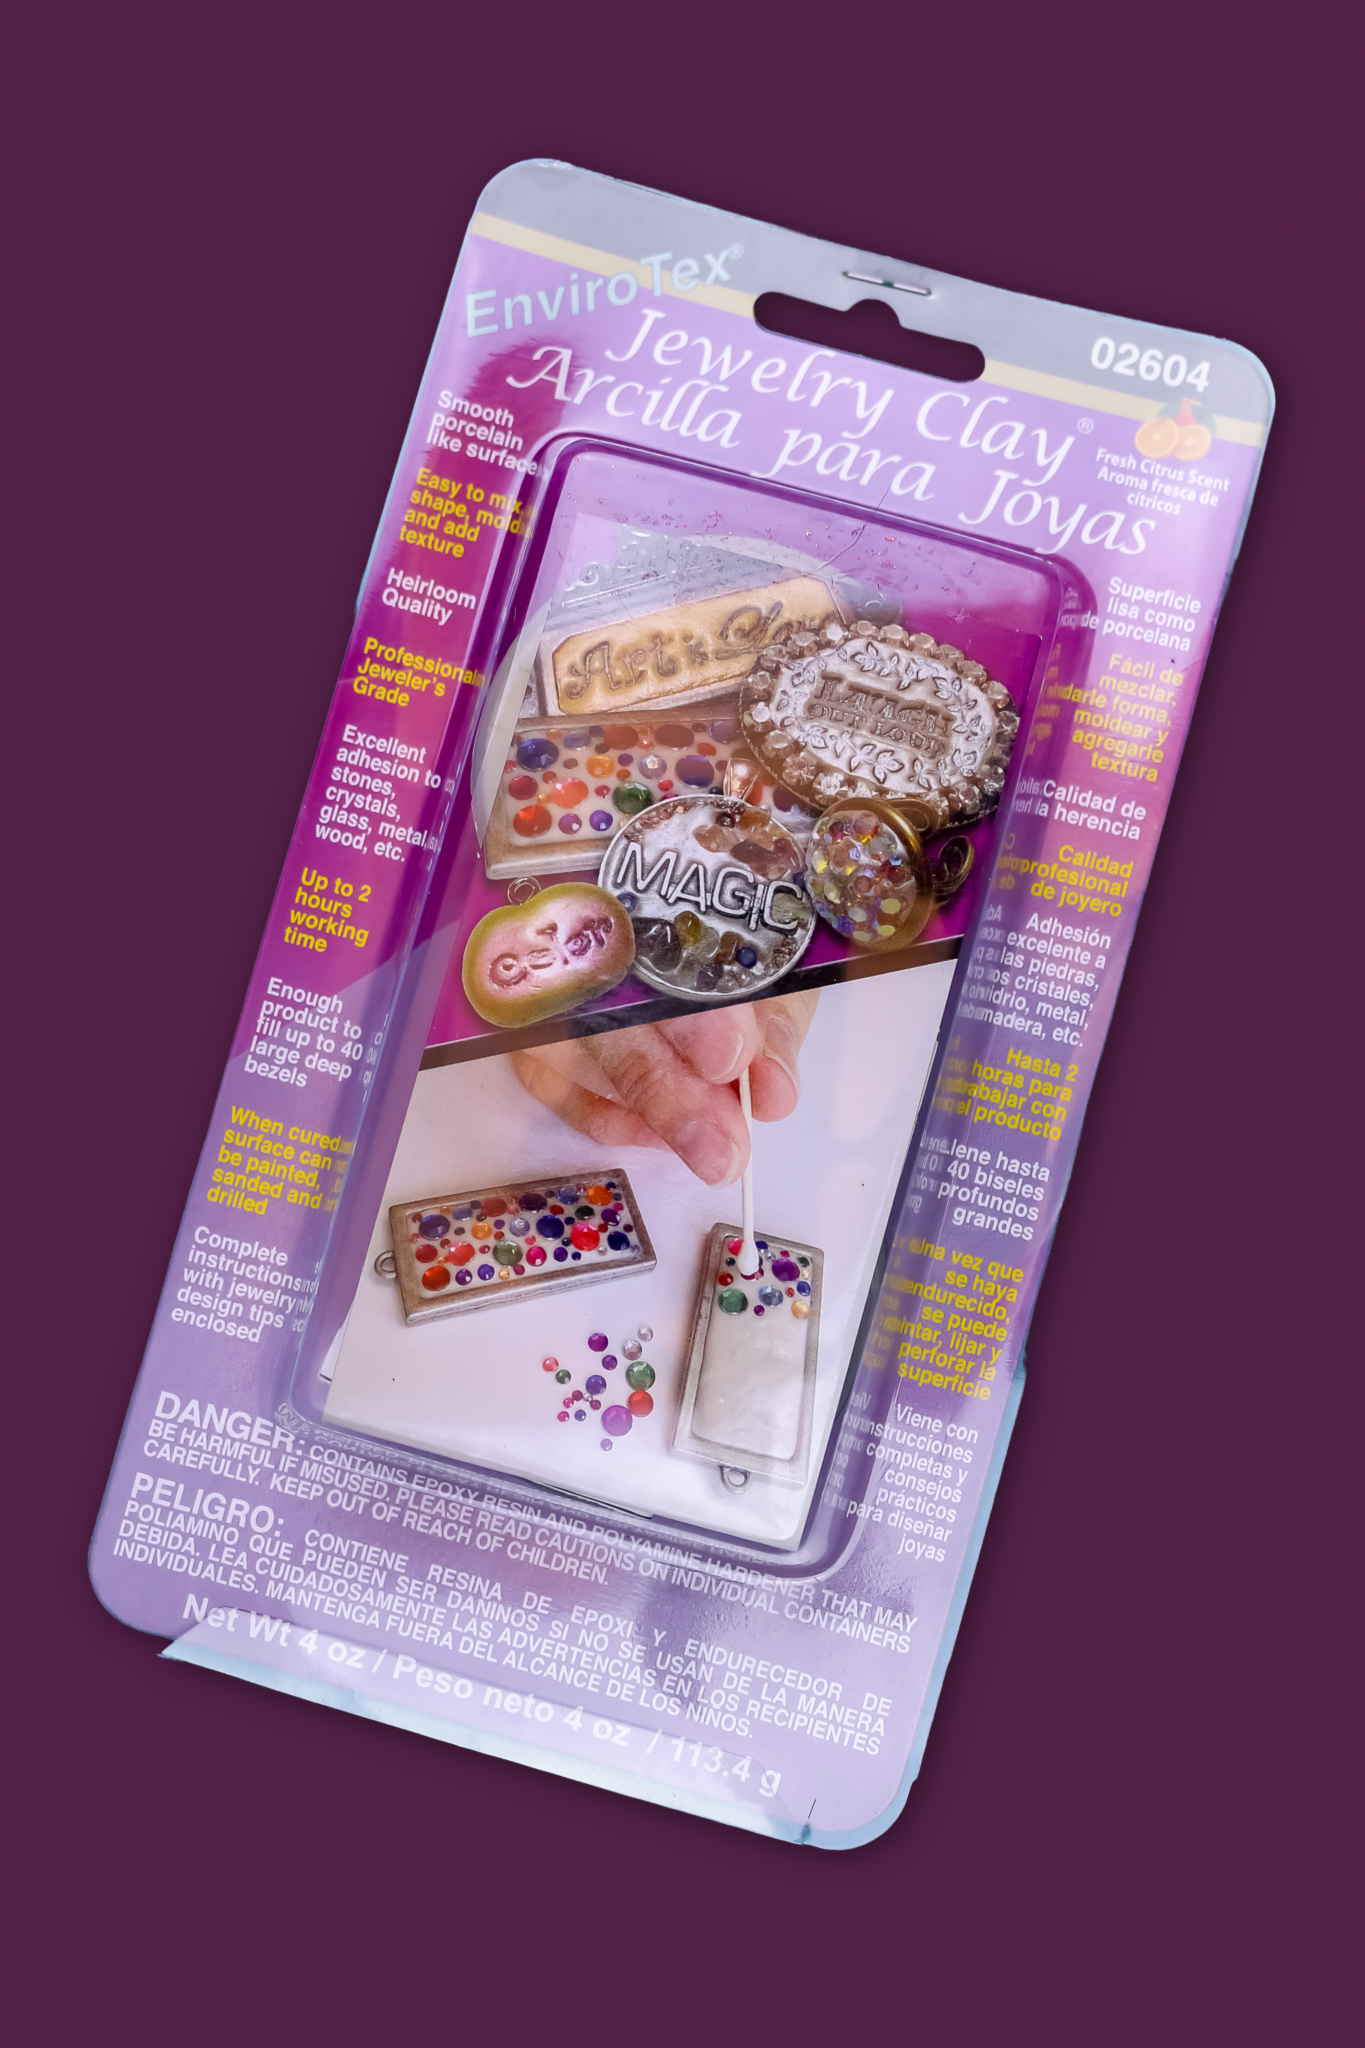
Jewelry clay is found in specialty stores online. It is as easy to work with as playdough, but since it is an epoxy resin material you will want to be sure to protect your work surface and your hands.
These are all affiliate links, if you make a purchase (of anything from the site, not just these items) after clicking through, I will earn a small commission. Ads and affiliate links are the way I am able to keep this website running and to offer you free tutorials all year long. Thank you so much for supporting me and Mad in Crafts!
You will need:
- Envirotex Jewelry Clay
- or Similar Epoxy Clay
- Jewelry bezels
- Dimensional alphabet embellishment
- Gloves
- Cornstarch or baby powder
- Ribbon

Want to know which craft supplies I always keep in my craft room?
Visit the Mad in Crafts Amazon Storefront to learn more and to buy your own supplies!
HOW TO MAKE DIY CHRISTMAS ORNAMENTS
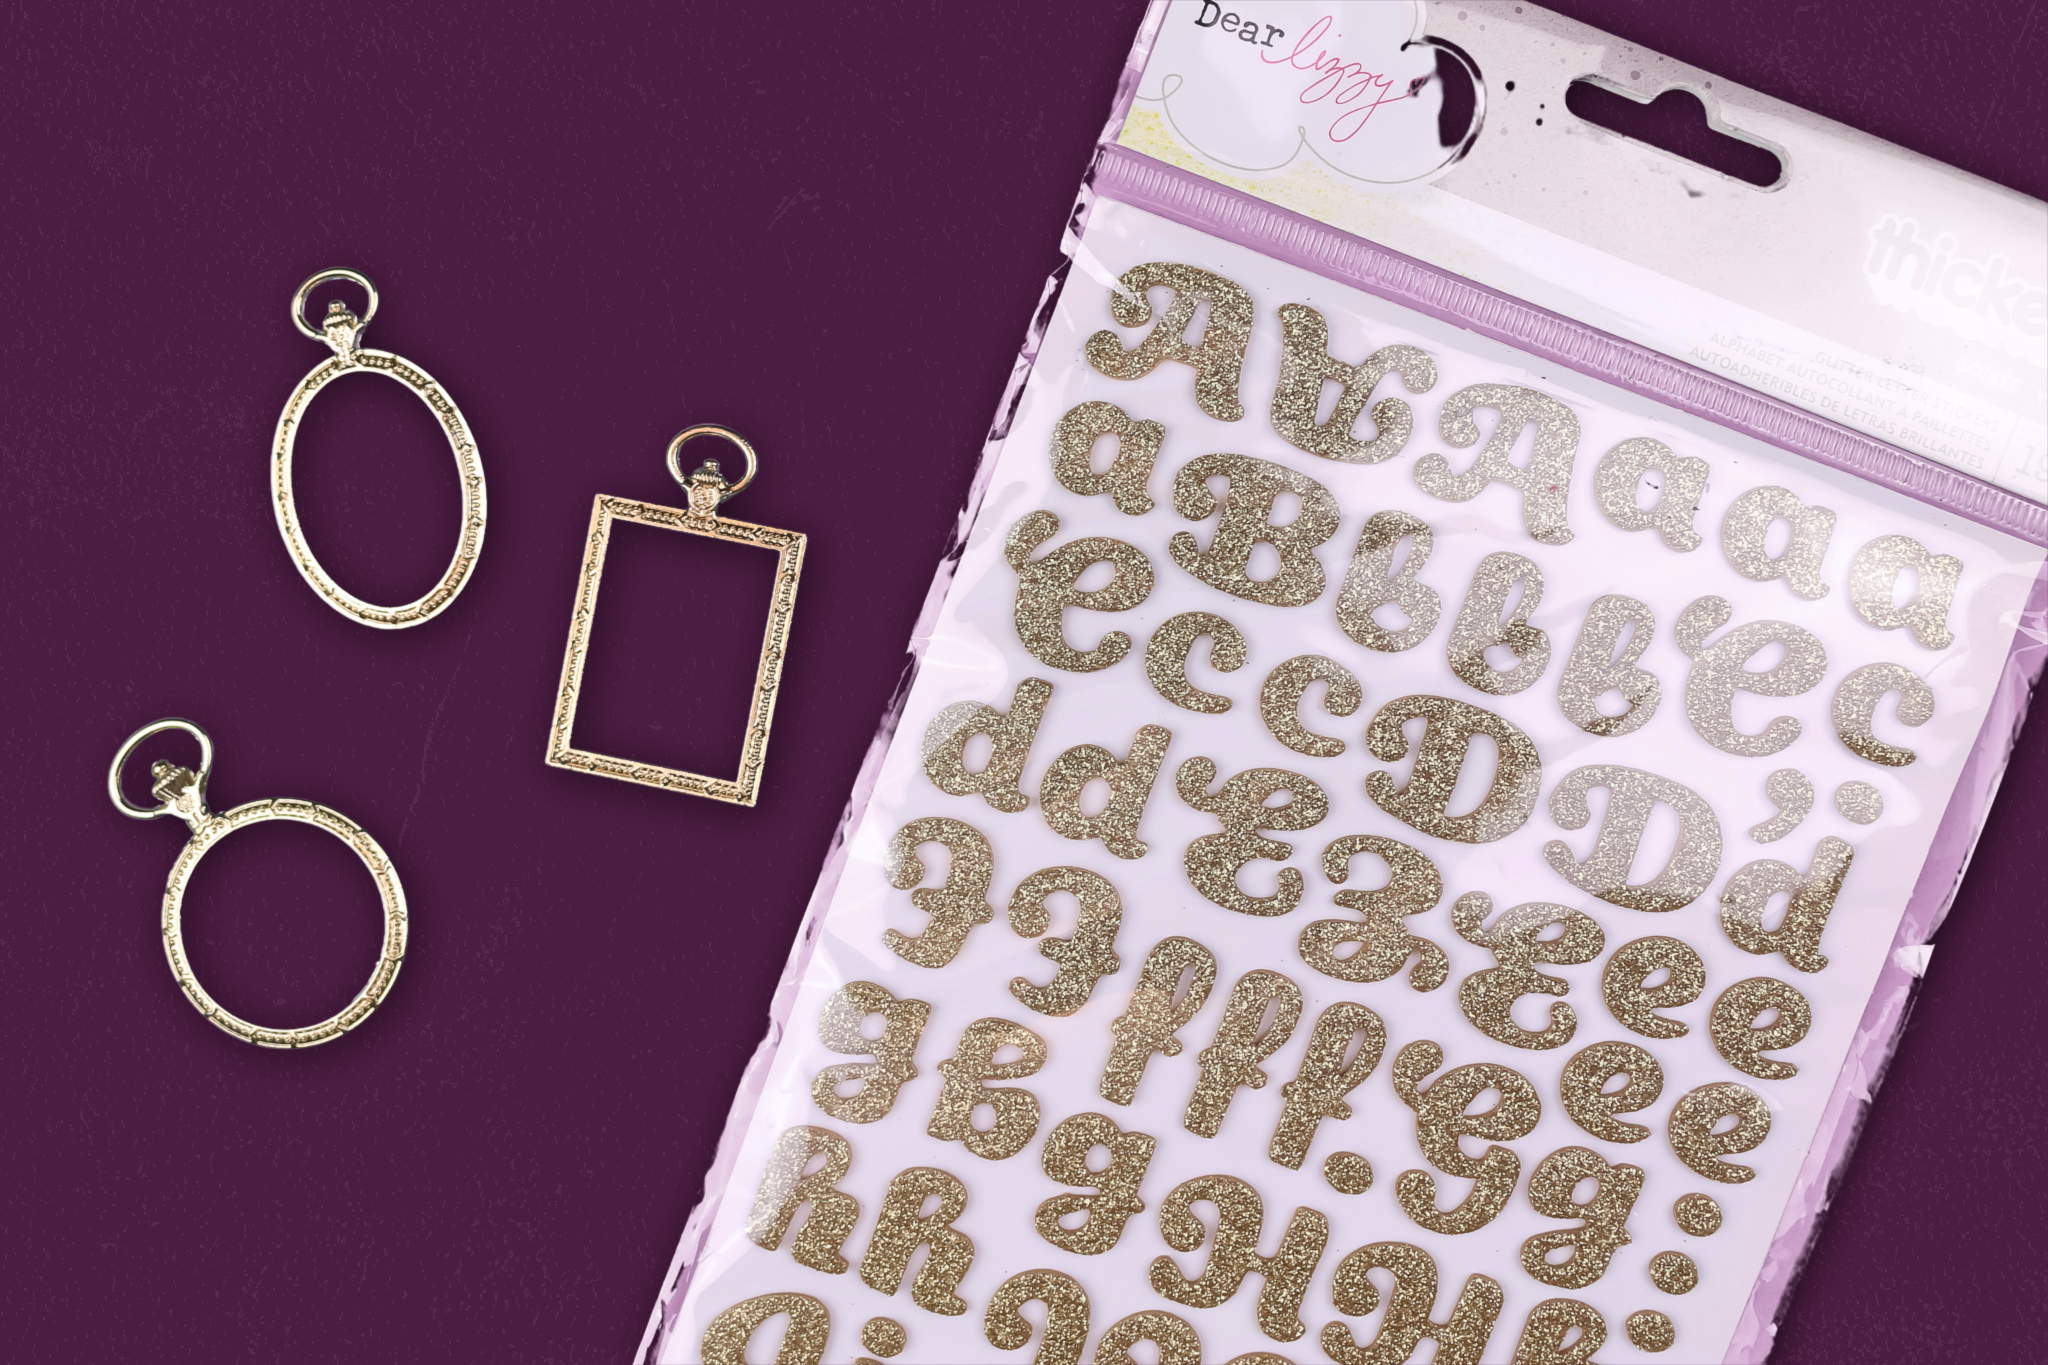
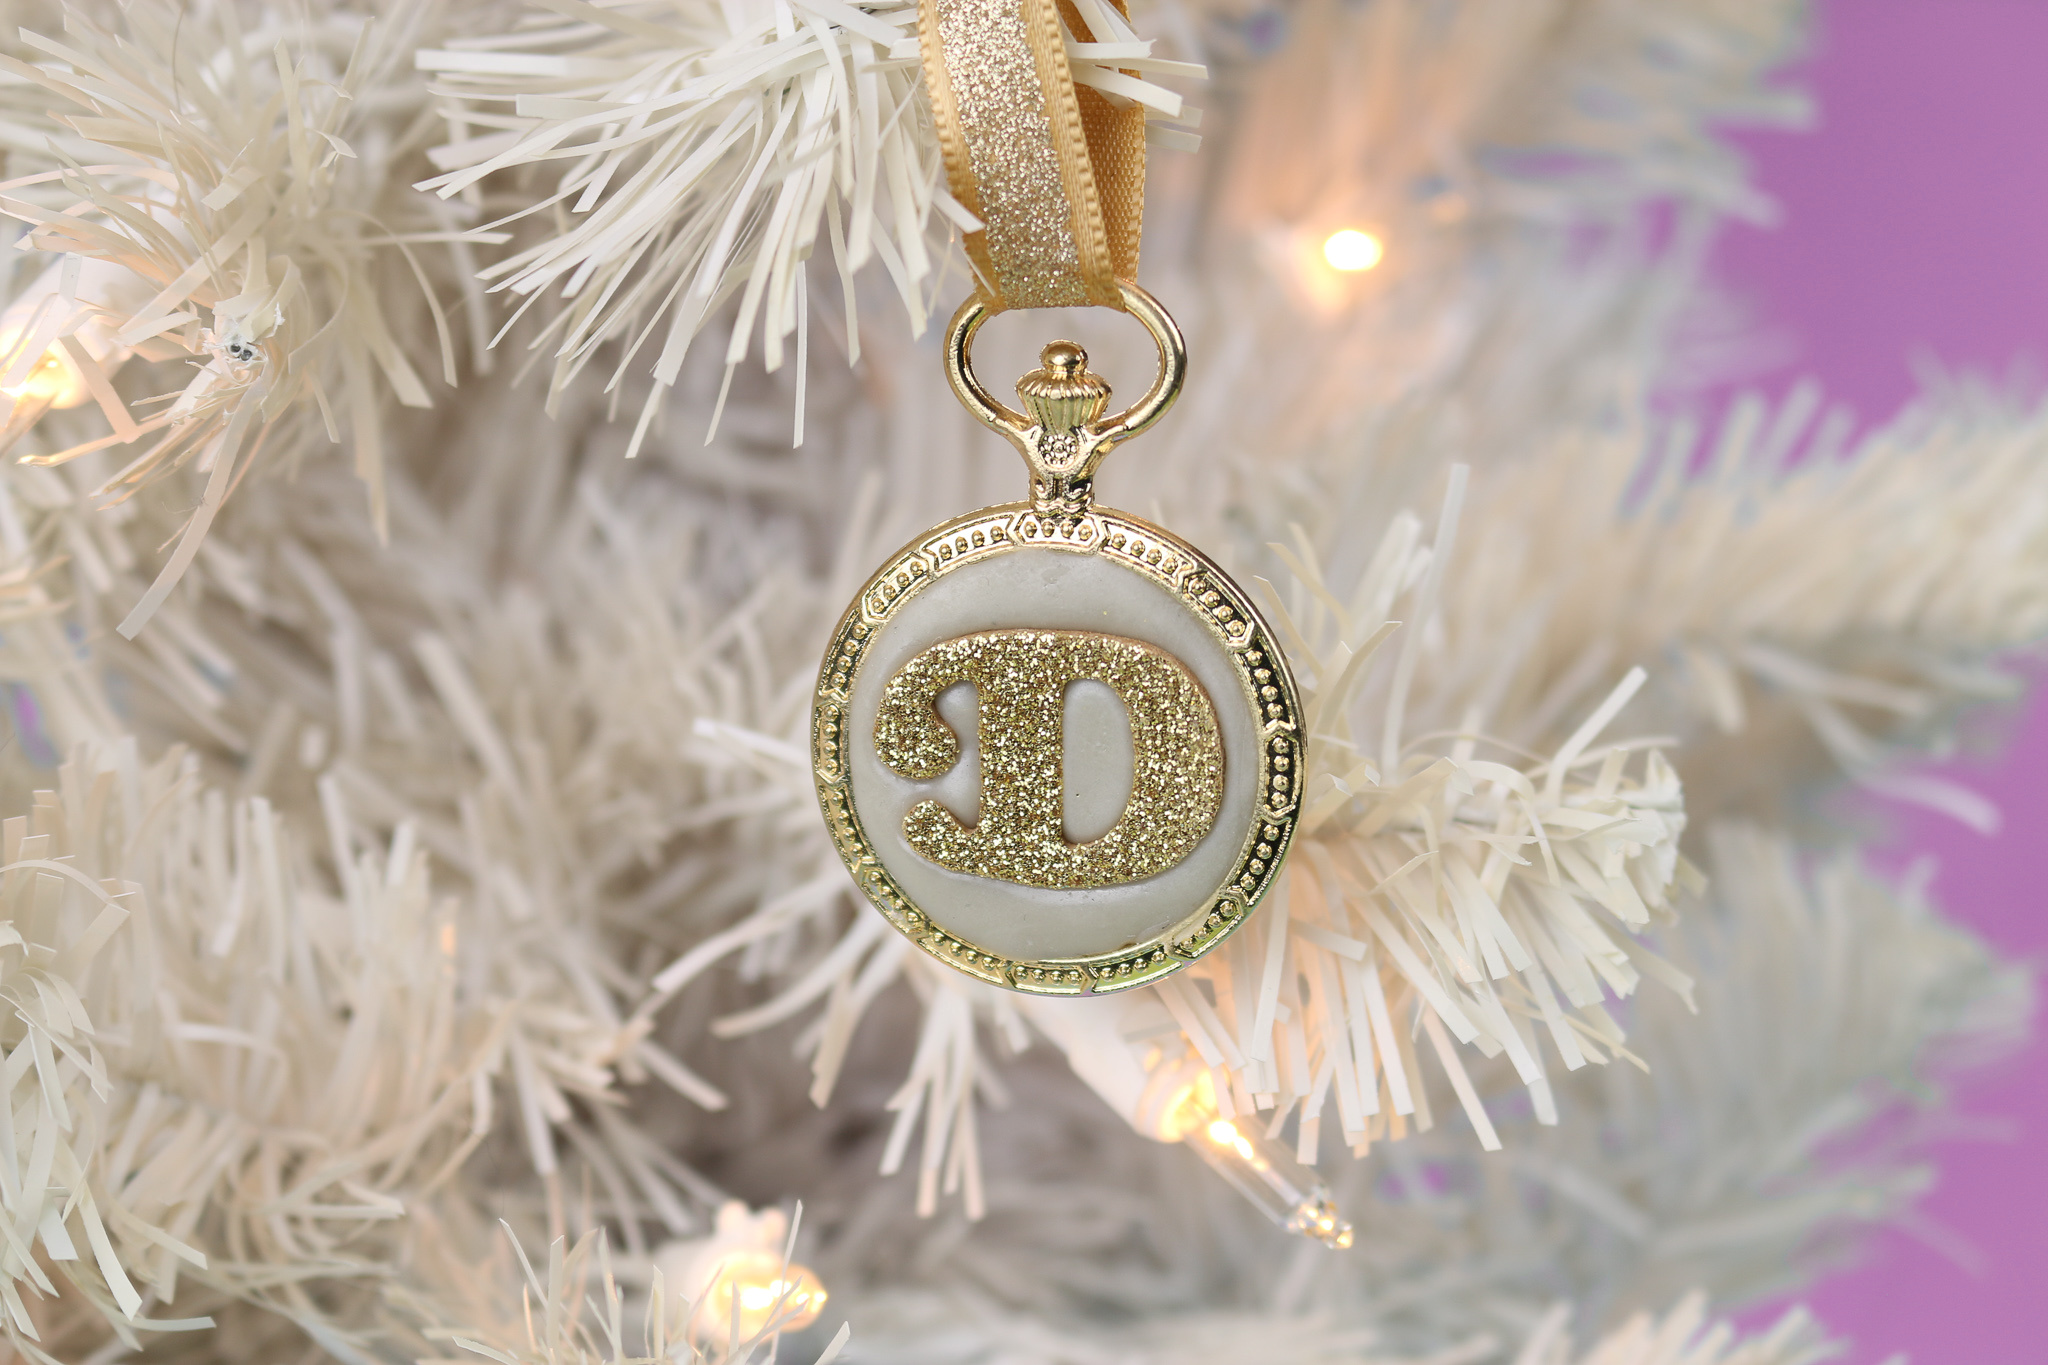
While you can embed just about anything into jewelry clay, I chose to create homemade Christmas ornaments by placing thick glittery stickers into the jewelry clay.
Jewelry Clay Ornament Instructions
- Begin by mixing a small amount of epoxy clay according to the package directions.
You will want to thoroughly mix equal amounts of both parts of the clay together until it is one solid color with no marbling. You now have about two hours of work time before the clay sets.

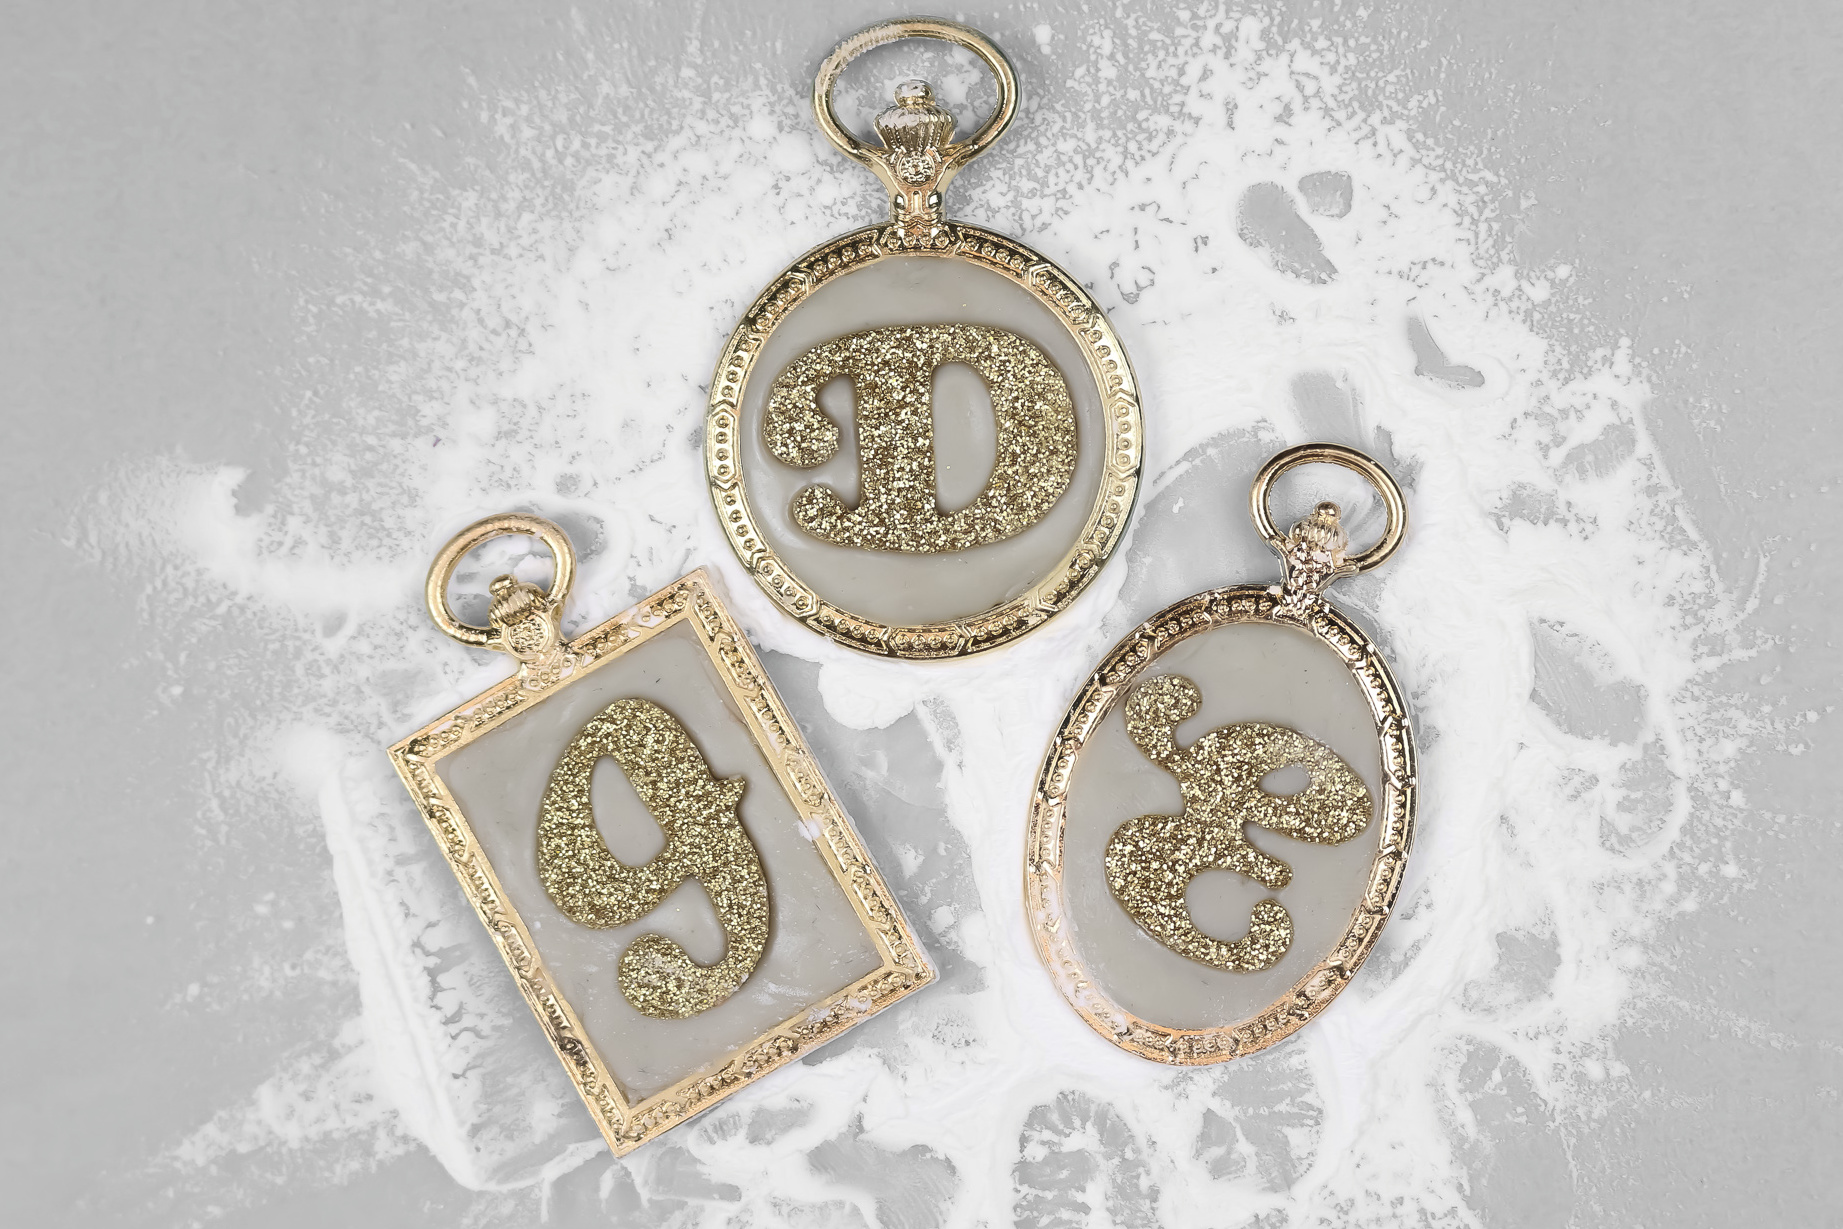
- Cover your work surface with a silicone sheet or a piece of parchment paper. Lightly coat your work surface with cornstarch or baby powder.
This will prevent your ornaments from sticking to your work surface if you are using open-backed bezels. If you are using standard bezels, this is less necessary.
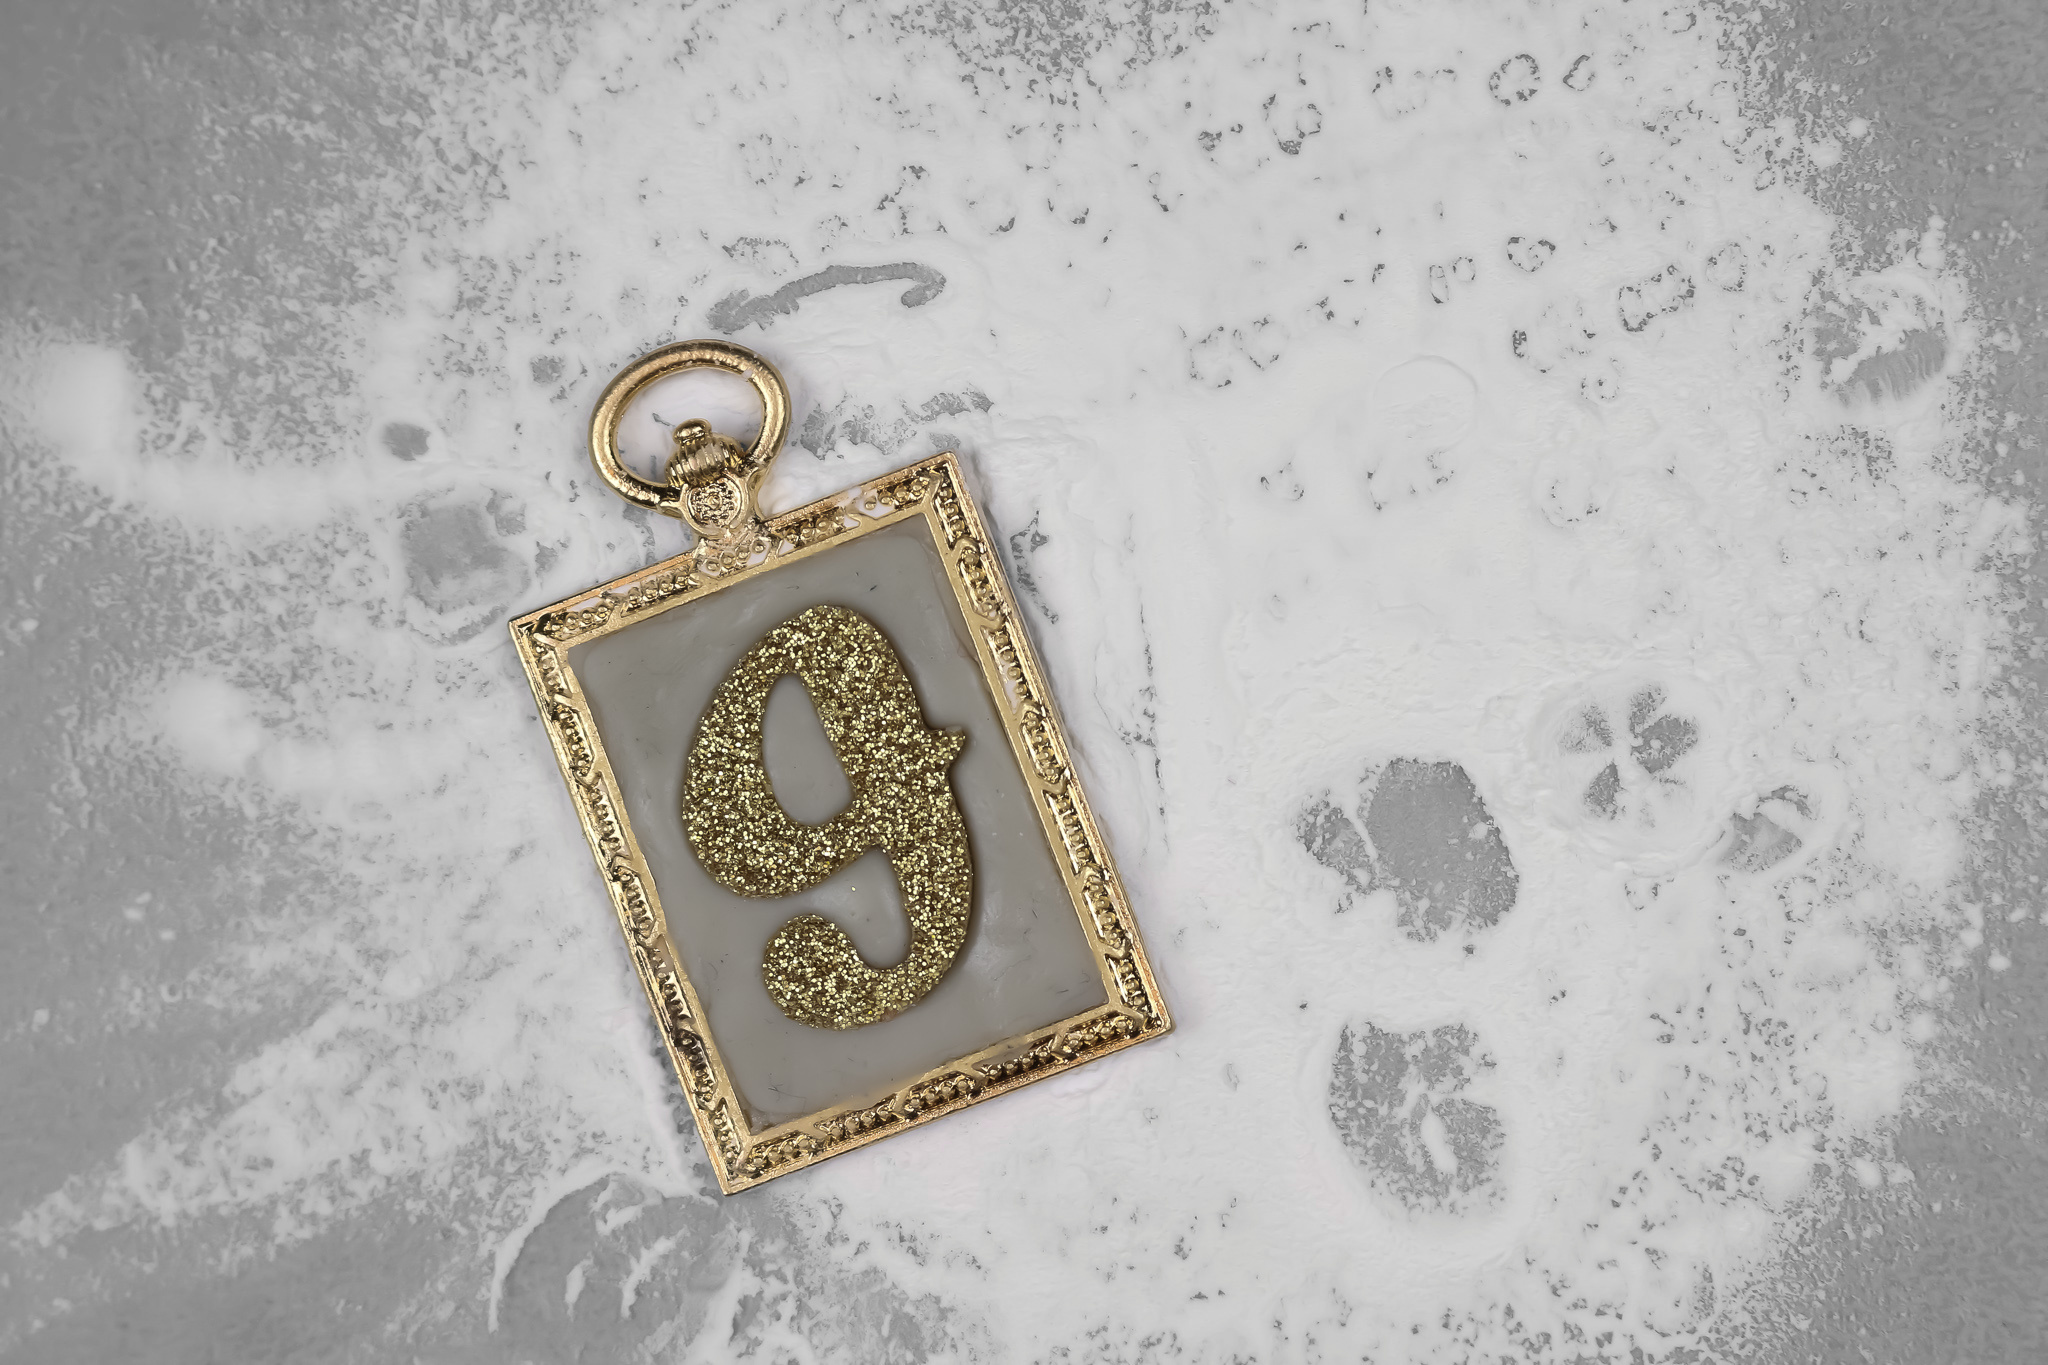
- Press small amounts of jewelry clay into each bezel.
Make sure to push the clay into all the corners.

- Next, gently push an alphabet embellishment into the surface of the jewelry clay.
The goal is to have the embellishment firmly embedded into the jewelry clay without the clay overlapping the letter.

- If you would like to add any other embellishments, like beads or rhinestones, now would be the time to add them.
You can also add texture to the jewelry clay with stamps, dowels, etc.
- Carefully remove any excess clay from the interior of the bezel.
- Repeat for as many ornaments as you would like to make. Allow the clay to fully cure.

- Finish your homemade ornaments by attaching the bezel to a length of pretty ribbon.

- Your ornaments are ready to be hung on your Christmas tree!


WAYS TO USE THE JEWELRY CLAY ORNAMENTS
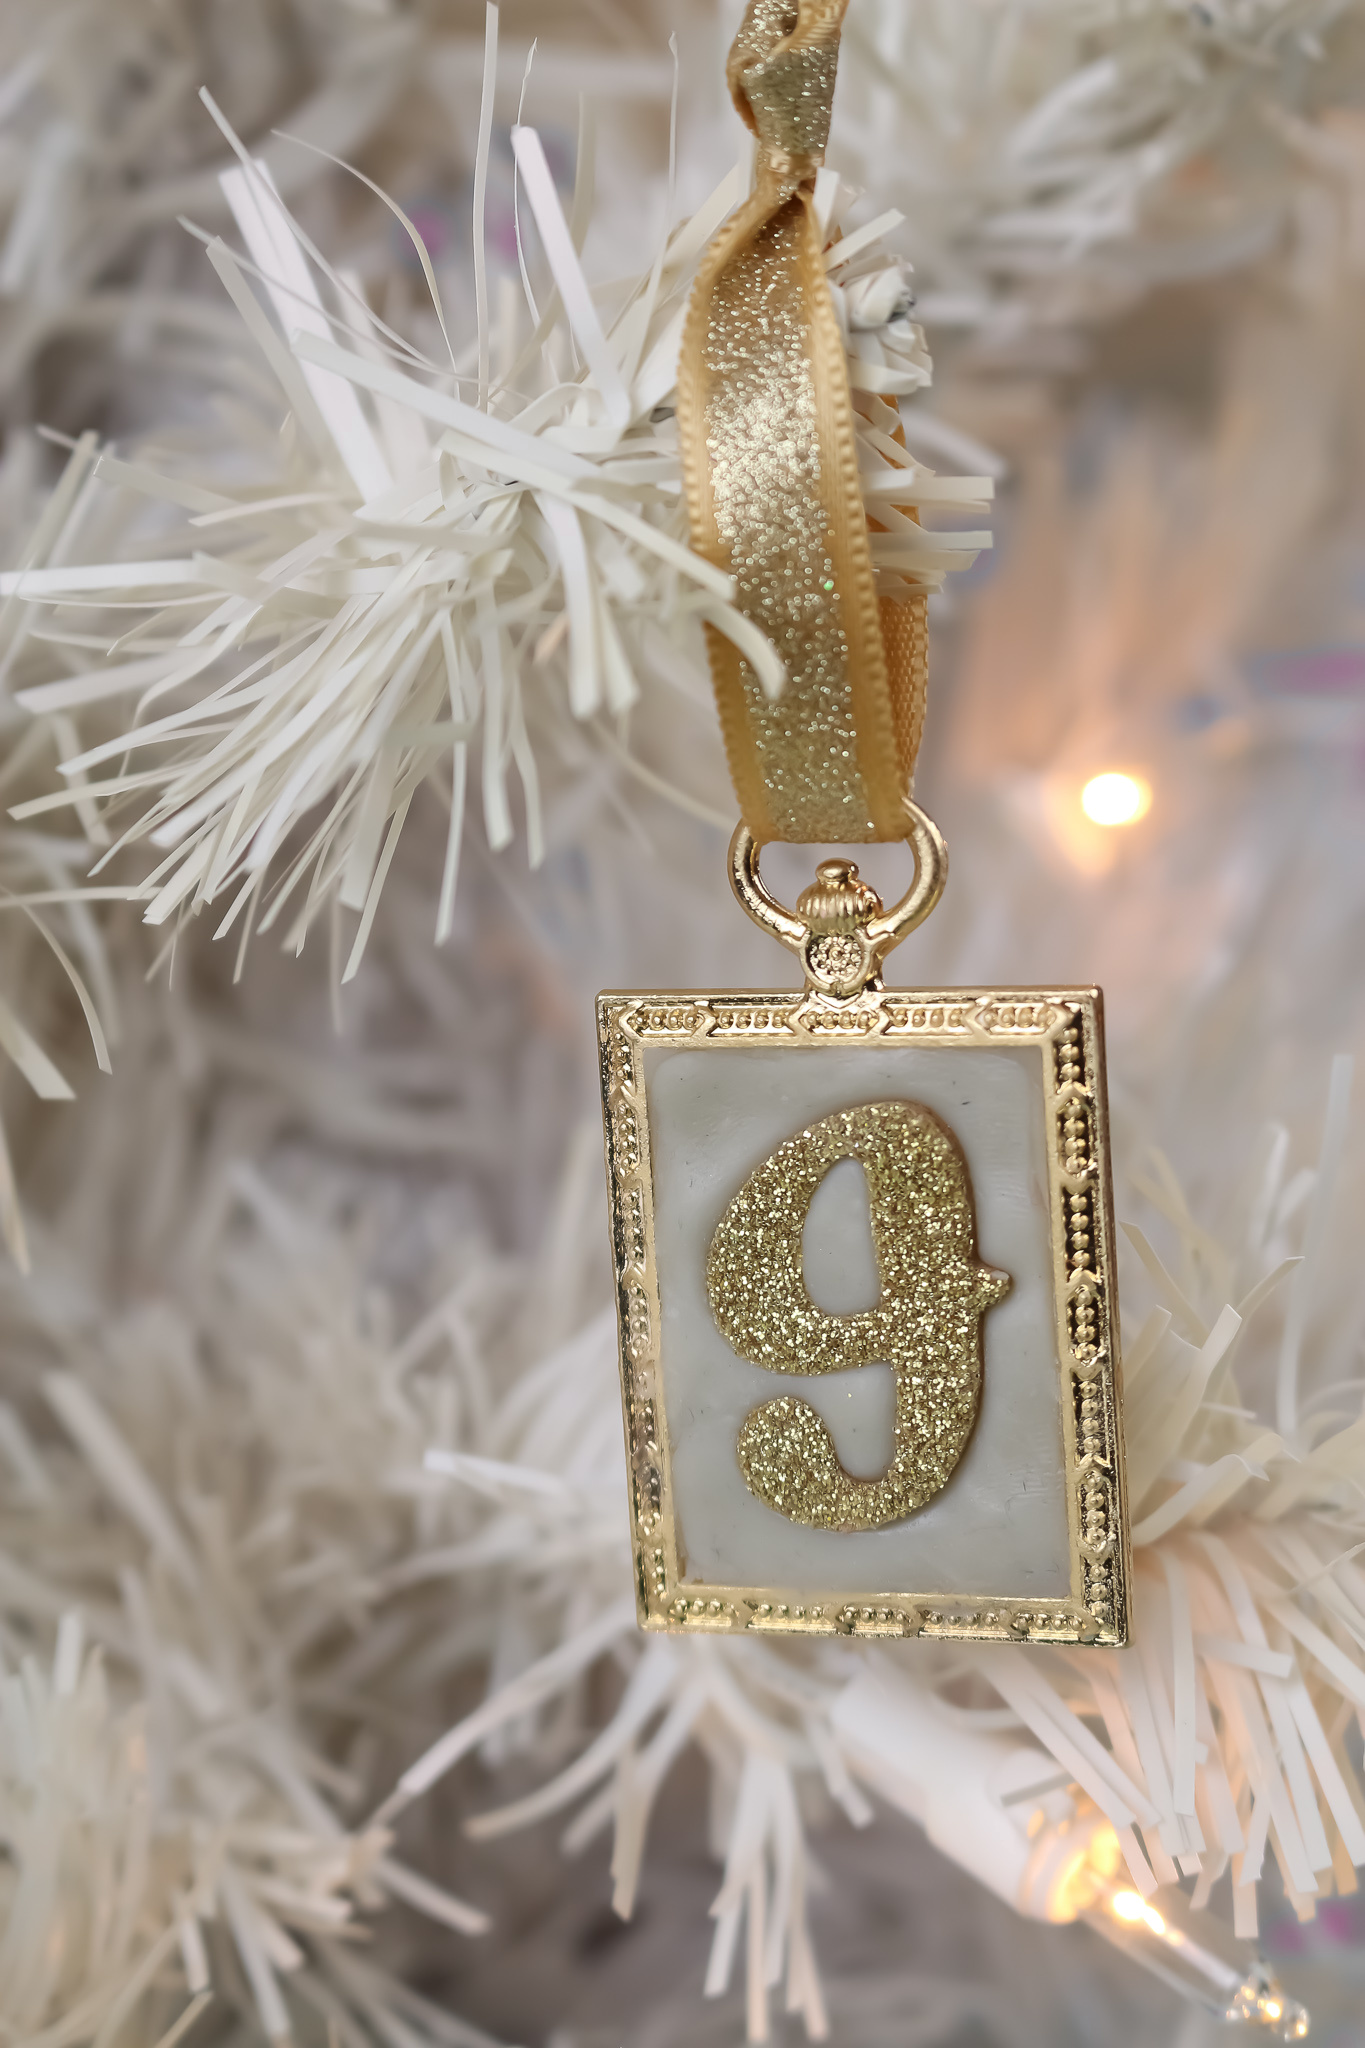
I really like the sparkle that the glitter stickers gives to my finished Christmas decorations. These finished jewelry pieces make lovely ornaments, but that is not the only way to use them. Here are a few more ideas:
- Gift tags
- Key chains
- Stocking markers
- Christmas decor
- Holiday table place cards


