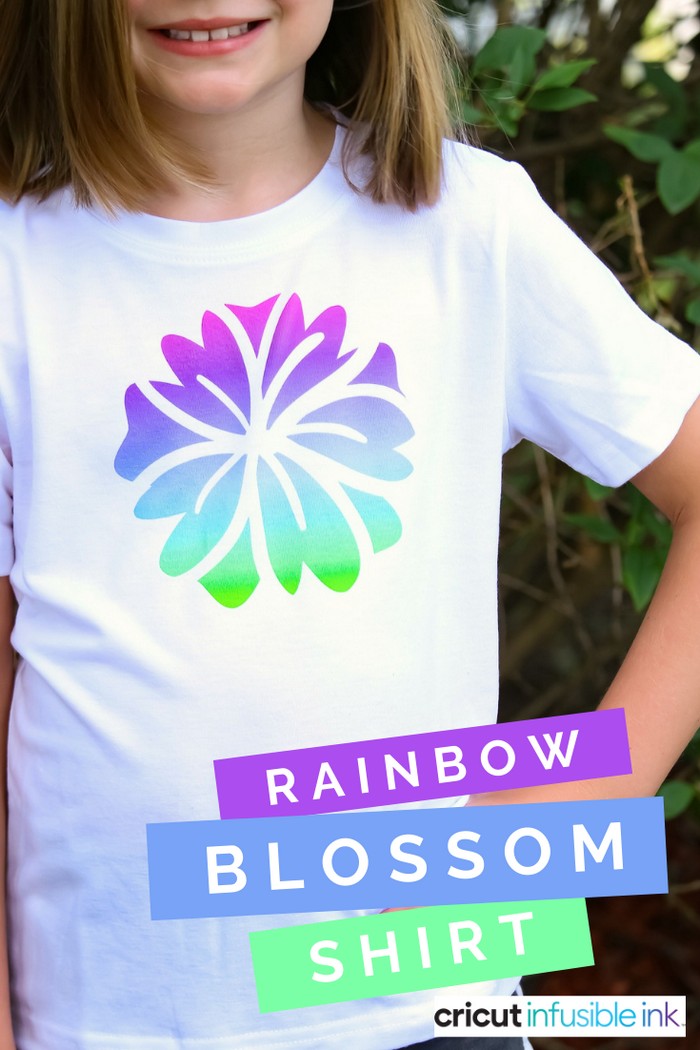
I am kicking off the Summer of Flowers Cricut event with a gorgeous rainbow blossom shirt made with the brand new Infusible Ink transfer sheets! All this week my friends and I will be sharing beautiful flower projects you can make with your Cricut. I created a free flower cut file that really shows off all the awesome qualities of new Infusible Ink. Be sure to read to end of this post for a special surprise as well!
FREE FLOWER CUT FILE TO USE WITH INFUSIBLE INK
WHAT YOU NEED TO MAKE A SHIRT WITH INFUSIBLE INK
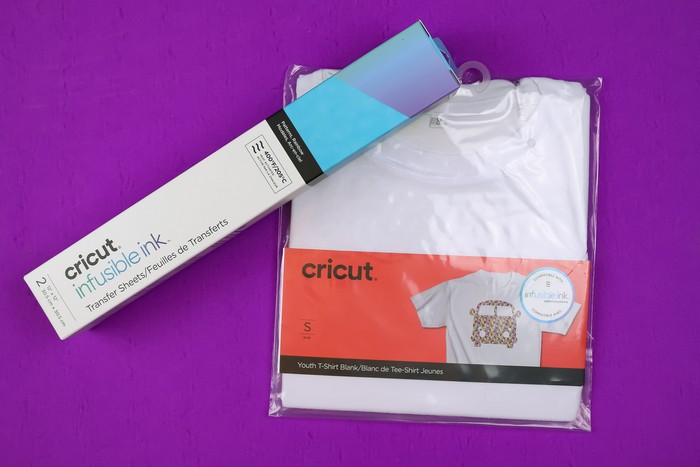
Last summer I made my daughter a t-shirt with Cricut iron-on transfers, and this year I am upgrading to Infusible Ink. These products are currently only available from Michael’s, so load up a coupon on your phone and head to your nearest store!
These are all affiliate links, if you make a purchase (of anything from these retailers, not just these items) after clicking through, I will earn a small commission. Ads and affiliate links are the way I am able to keep this website running and to offer you free tutorials all year long. Thank you so much for supporting me and Mad in Crafts!
- Infusible Ink transfer sheets
- Infusible Ink T-shirt blank
- Cricut
- Cricut mat
- Weeding tools
- EasyPress (or iron that reaches 360 degrees)
- EasyPress mat
- Butcher paper

Want to know which craft supplies I always keep in my craft room?
Visit the Mad in Crafts Amazon Storefront to learn more and to buy your own supplies!
CUTTING INFUSIBLE INK MATERIAL
Cutting Infusible Ink transfer sheets is so simple. If you have cut and weeded vinyl or cardstock before, you are fully capable of cutting Infusible Ink!
- If you are using patterned Infusible Ink transfer sheets, determine which way you would like the pattern to run on your project. Align the sheet on your cutting mat accordingly.
- Place the transfer sheets color/pattern side up on your cutting mat. I used my Fabric Mat, and it worked perfectly. I do not recommend using a Strong Grip mat.
- Choose Infusible Ink transfer in Design Space, and cut your design.
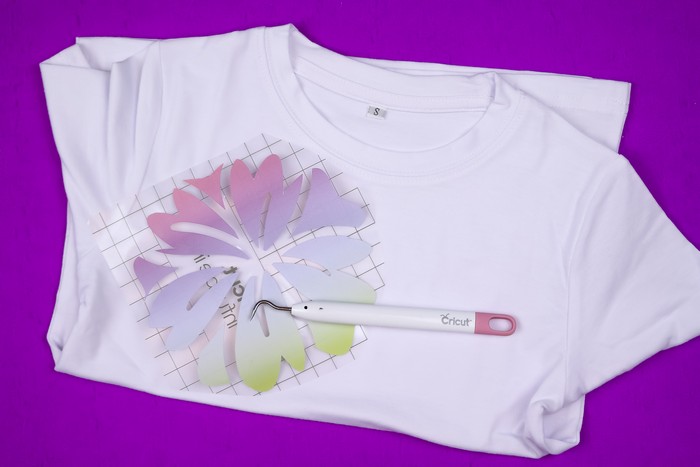
- Weed the excess transfer sheet material. The transfer sheet is more like cardstock than vinyl, so the sheet may tear a bit as you weed. Go slowly and carefully to ensure to you remove all the excess material from the backing.
CAN YOU USE A REGULAR EASYPRESS TO IRON ON INFUSIBLE INK?
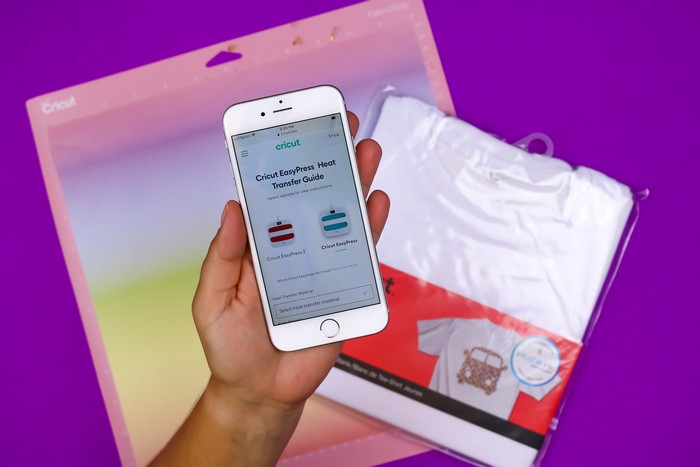
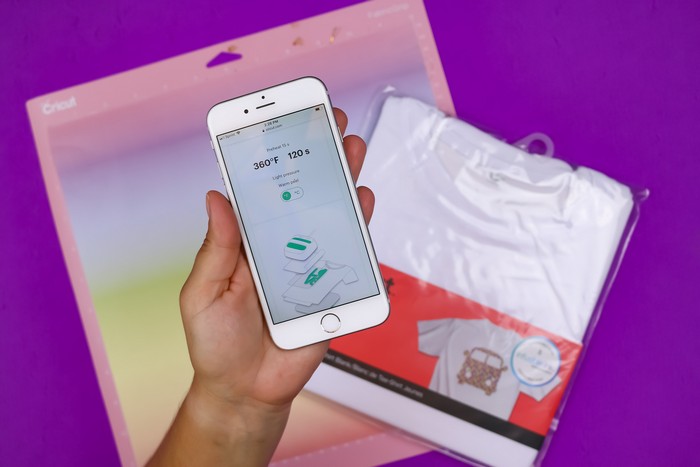
When I first heard about Infusible Ink, I was worried I wouldn’t be able to use it since I have an original EasyPress, not the newer EasyPress 2. While Cricut recommends the EasyPress 2 for best results, I loved the way my project turned out. Be sure to follow the online heat guide that Cricut has provided to make sure your EasyPress is set to the correct temperature and time.
When using the original EasyPress, Infusible Ink transfer sheets, and the t-shirt blank, you should set your EasyPress to 360 degrees (the machine’s maximum setting). Allow the machine to reach full temp before proceeding.
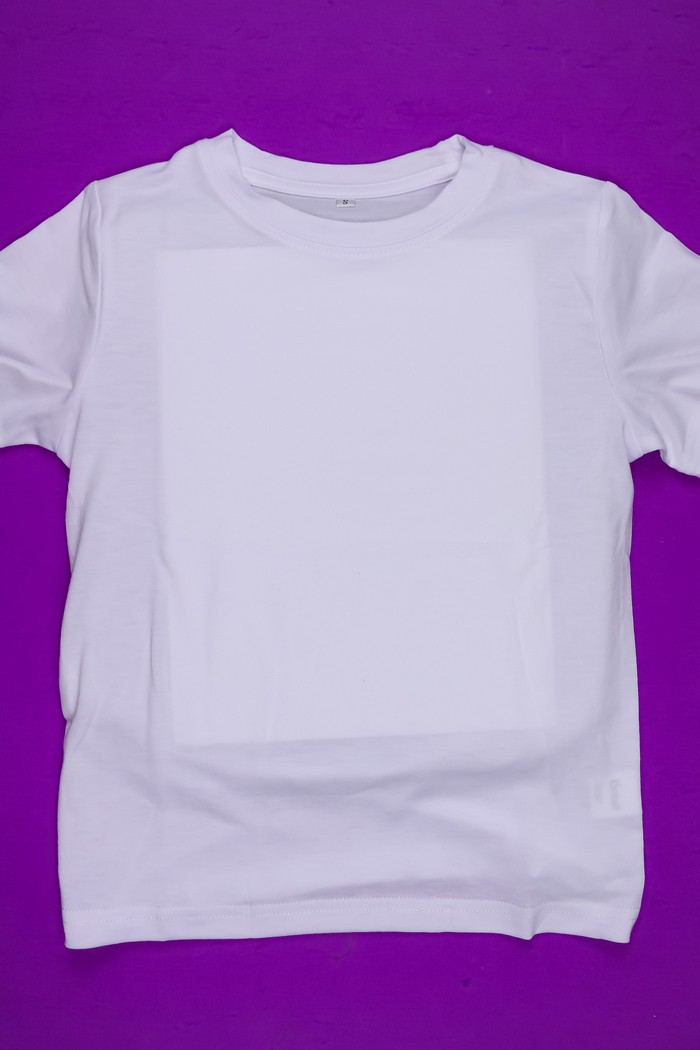
While you are waiting for the machine to heat up, slip a piece of cardstock inside the t-shirt blank to give it stability and prevent the ink from bleeding through to the back of the shirt. Once the EasyPress has heated up, cover the shirt with a piece of butcher paper and iron the shirt for 15 seconds to preheat it.
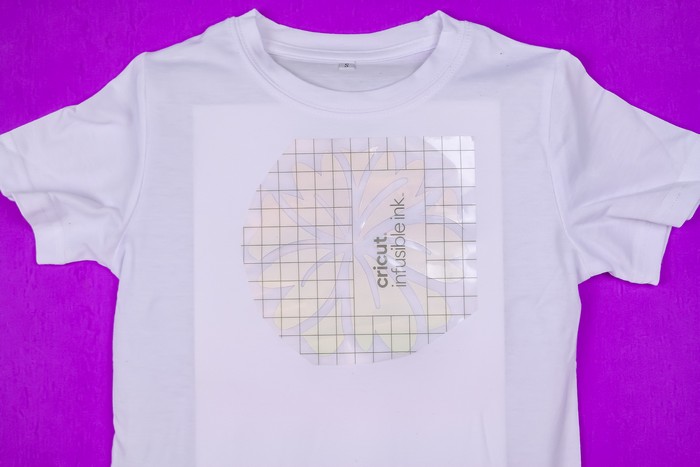
The plastic backing of the transfer sheets already has a transfer tape-like grid, so it is easy to align the sheet color side down on your shirt. Place butcher paper on top of the design and place the EasyPress on top of the butcher paper. Applying light pressure, heat the design for 120 seconds. Slowly remove the EasyPress and the butcher paper, but allow the design to fully cool before attempting to remove the Infusible Ink transfer.
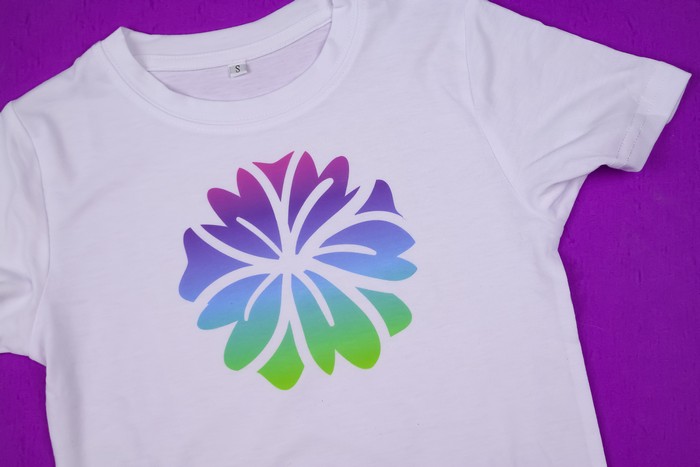
I love how vibrant the colors are once they have been infused onto the t-shirt!
WHY TRY INFUSIBLE INK?
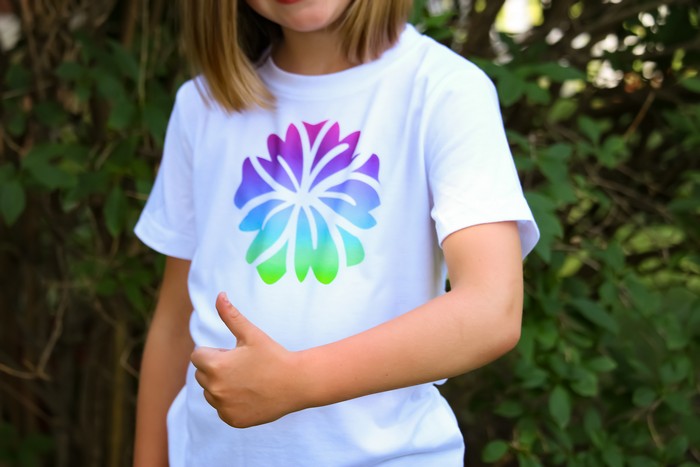
By now I am sure you have heard at least some of the hype surrounding Infusible Ink. Maybe you are asking yourself if it is worth it to invest in the new supplies that are needed to create your own Infusible Ink projects. By the way, this is NOT a sponsored post. I went out and bought the Infusible Ink products with my own money, using my own 40% off coupon. These are what I view as Infusible Ink’s pros and cons to help you make your own decision:
CONS:
- Expense. These projects do require special purchases of the ink, whether it be in the transfers or the pens, and sublimation blanks. While the price is not outrageous, they aren’t cheap either. (Use a coupon or look for sales.)
- Limited use. Infusible Ink only works on sublimation “blanks.” These products have a polyester coating that the Infusible Ink needs to transfer the color. This means you can’t use it on any old t-shirt you have lying around.
PROS:
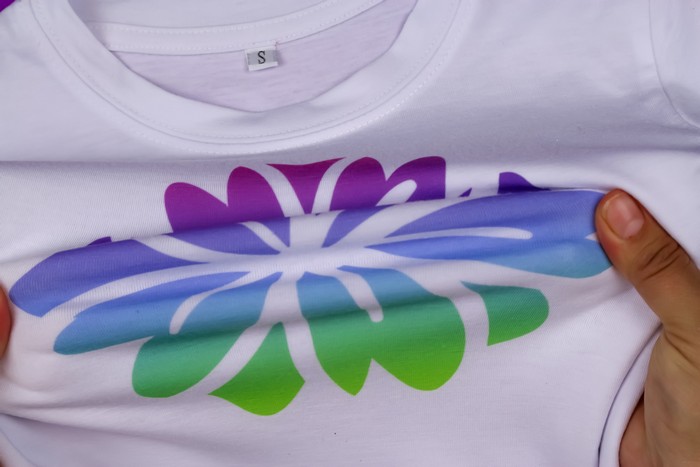
- It’s gorgeous. This is the biggest selling point for me. The finished project looks so beautiful and professional because the ink transfers right into the fabric (or coaster, if that is the blank you have chosen). The colors are crisp and vibrant, and they just look like a million bucks.
- Stretchable. Peel-proof. Flake-proof. Wash-proof. Unlike iron-vinyl, paint, or iron-on photo transfers, Infusible Ink becomes part of the blank’s surface. That means it won’t peel up, flake off, wash out, or wrinkle.
- Light and seamless. Since you are transferring ink into your project, the surface of the shirt, tote, or coaster is completely smooth. There are no edges to the design, nor is any weight added to the project.
- Cut or draw. I tried out the transfer sheets, but Cricut has also released a line of Infusible Ink pens and markers. You can use your Cricut machine to draw custom designs and transfer them to the blanks as well. I haven’t tried them myself, but the photos I have seen show that the pens and markers create vibrant colors just like the transfer sheets.
- Compatible with iron-on. Just because you use Infusible Ink doesn’t mean you have to leave your favorite HTV behind! You can layer Infusible Ink with iron-on vinyl for even more options!
FREE FLOWER CUT FILE
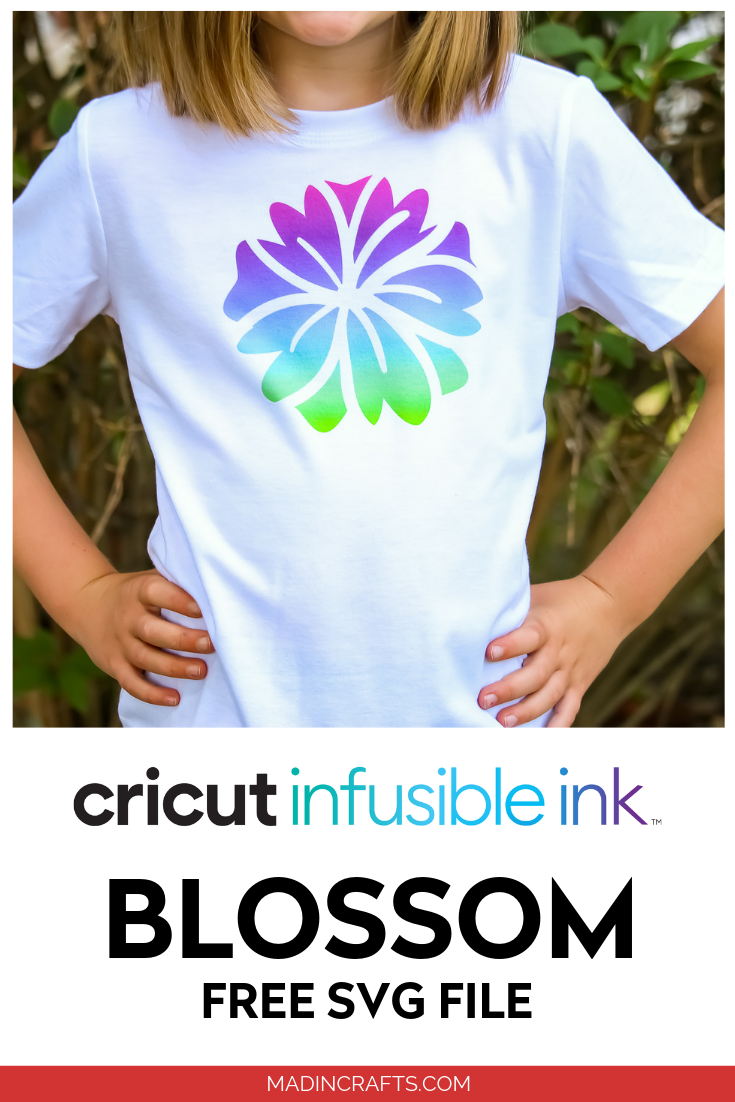
I designed this beautiful blossom design to really show off the rainbow ombre of the Rainbow Infusible Ink transfer sheet. The large petals give plenty of space for the colors to blend from one to another. Would you like this cut file for yourself? Sign up for my SVG Club using the form. This file is for personal use only, so please don’t sell anything you make with this design.



Thank you for the opportunity!!! I haven’t tried infusible ink yet but excited to try! I failed miserably when I tried sublimation so I would love to see if this is the “it” for me 🙂
I think it would be so fun to make a tote/bag! Thanks for the chance!
Great site! Thanks for the giveaway!
Thank you! Can’t wait to try it!
Thank you! Can’t wait to try it!
I’d love the cut file. Thank you.
Thanks
Thank You…I wont to try this for my granddaughter.
Thank you for the Flower SVG! It is awesome!!