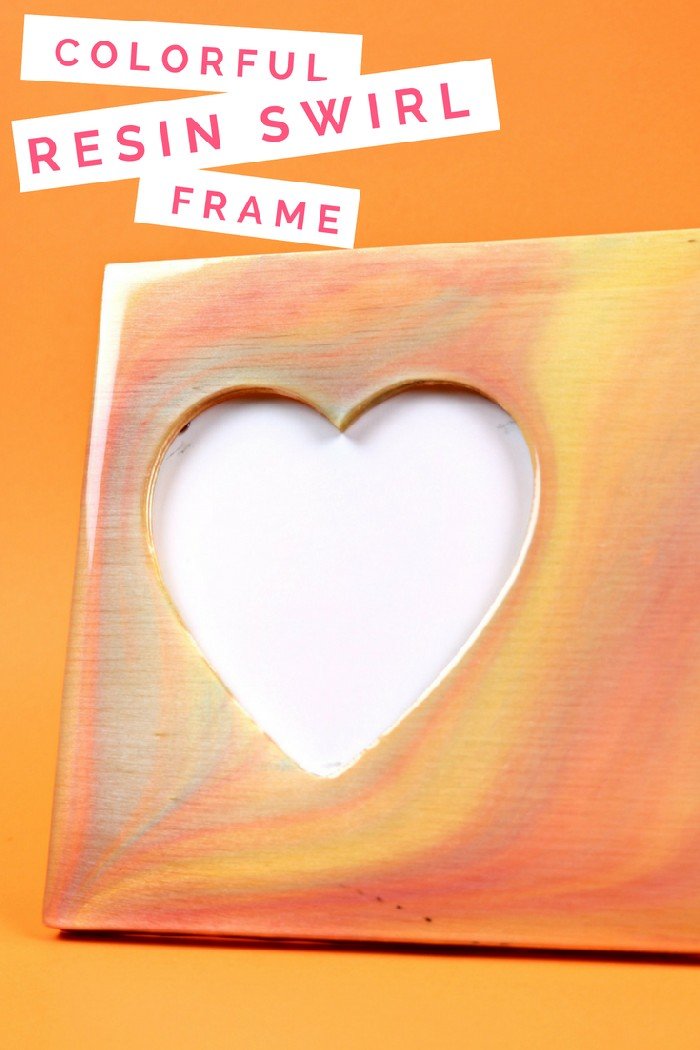
Marbling has been such a big trend in the craft world this year, and I wanted to try marbling with resin again. Earlier in the year, I upgraded a dollar store tray with marbled resin. This time I used transparent dyes to create a colorful resin swirl frame. I partnered with ETI to create this project. Find more of my resin tutorials on their Resin Crafts blog.
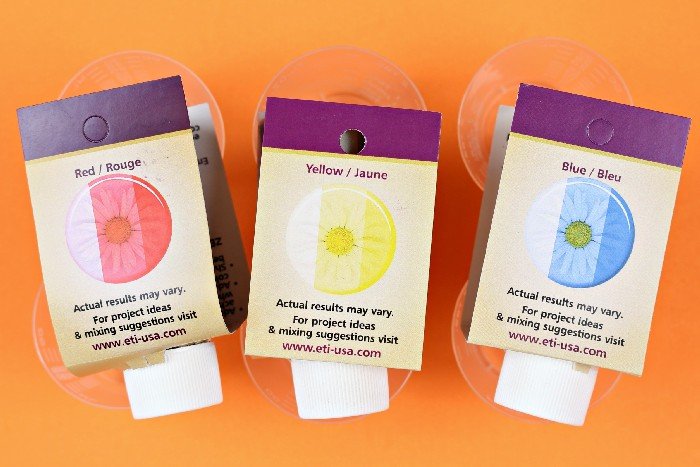
The key to the colorful swirls on this frame are these transparent dyes. They mix into the resin to create a hint of color, while still letting the wood beneath show through.
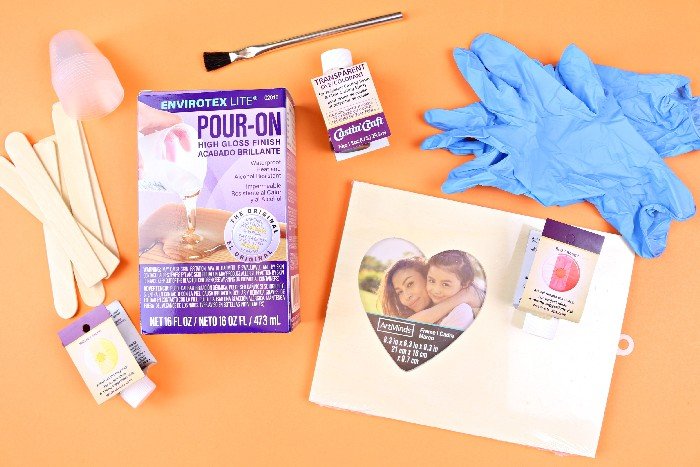
I will link to all the supplies I used at the end of this post. I only used part of my pour-on resin and a little bit of the dyes, so there is plenty left over for another project.
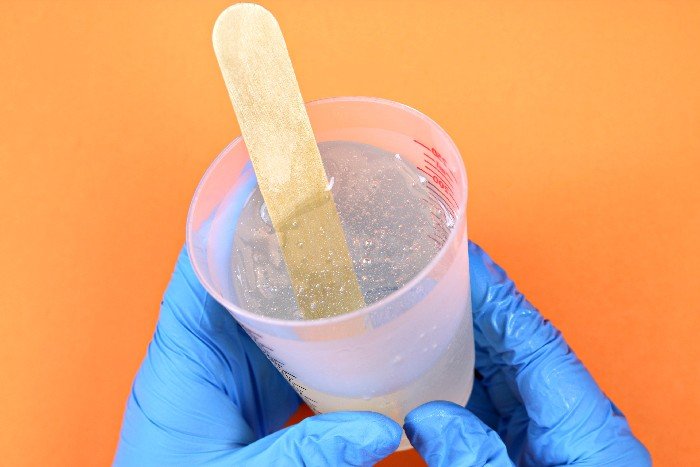
I started by mixing together 3 ounces of resin and 3 ounces of hardener in a mixing cup. I mixed the two parts together for two minutes, scraping down the sides and bottom of the cup. Then I transferred the mixture to another mixing up and mixed for another full minute.
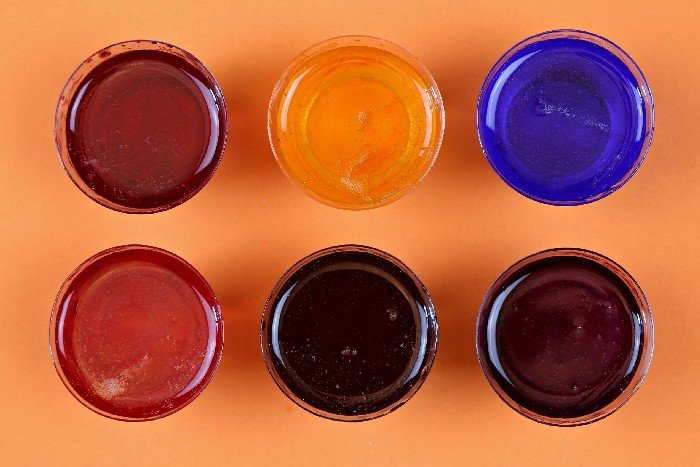
Next, I divided the 6 ounces of resin into 6 small mixing cups. I added a few drops of red, yellow, and blue dyes to three cups to make the three primary colors. Then I mixed red and yellow, yellow and blue, and blue and red in the remaining cups to create the secondary colors. The red and blue dyes are stronger than the yellow dye, so keep that in mind when creating your colors. Although the colors look dark in this photo, these are transparent dyes, so they will be much lighter when poured over your frame.
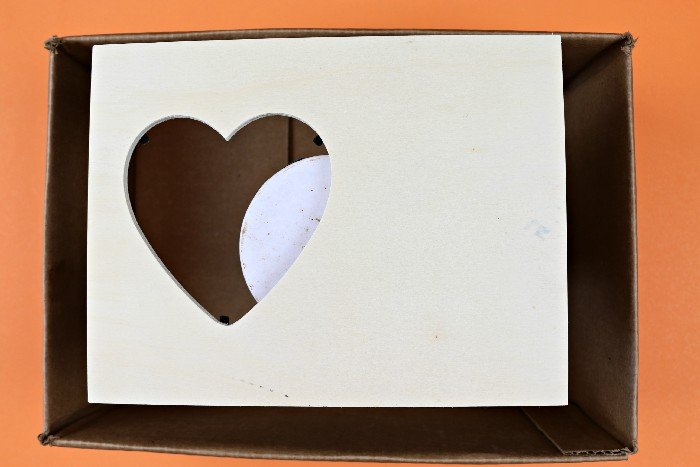
I rigged up a small work station by elevating the frame above a cardboard box. This allows the resin overflow to drip off the frame into the box. It’s best if you do this whole process outdoors — both because of the fumes and the mess.
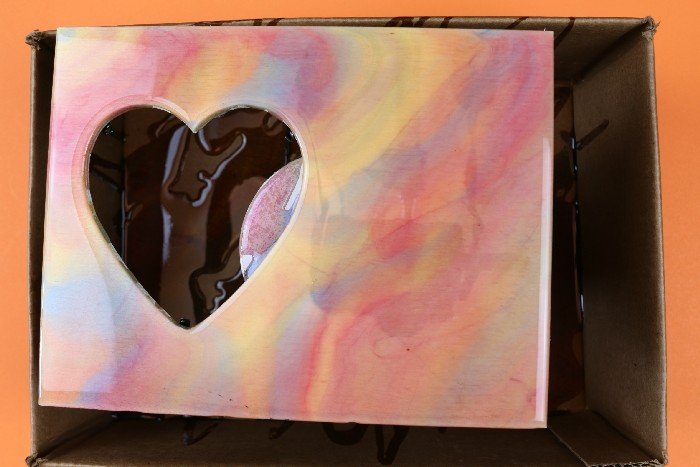
Now comes the fun part! I drizzled the resin over the frame, one color at a time. The resin blended to create beautiful colorful swirls. Let the piece sit for 20 minutes, then check for any obvious bubbles in the resin. These can be removed with a small torch or by blowing through a straw. Be sure your piece is level as it dries. Mine was slightly tilted so the colors slid toward the bottom left corner of the frame. It didn’t ruin the piece by any means, but it is something to keep in mind. Protect the resin from dust and dirt and let it cure overnight.
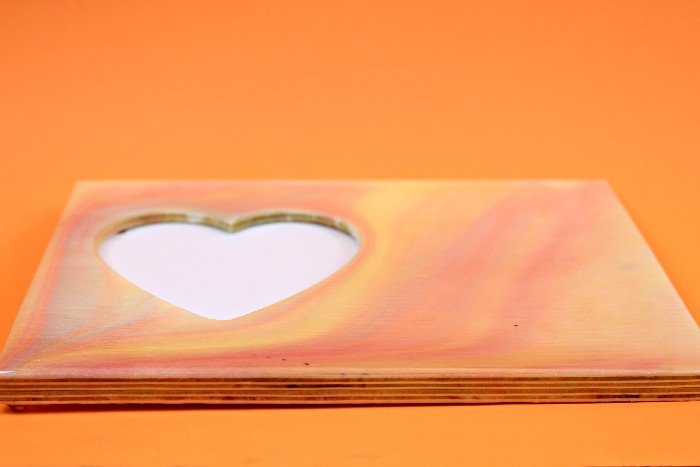
Once the resin has hardened, you will have a glossy raised finish on the wood frame.
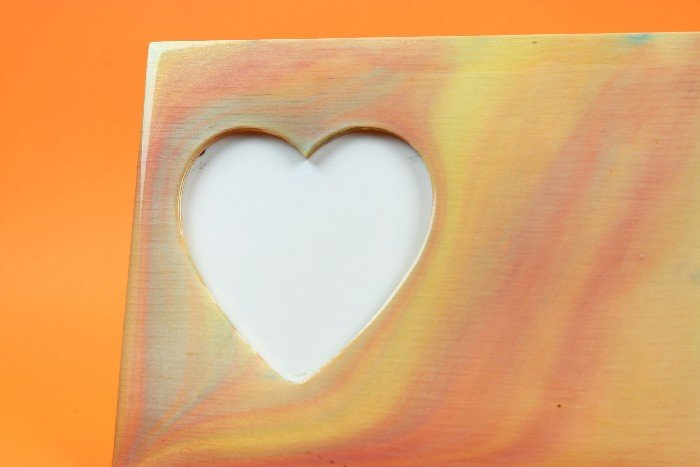
I love the way the transparent dyes allow the wood grain to show through the resin. You still have the hint of color, with the natural grain beneath.
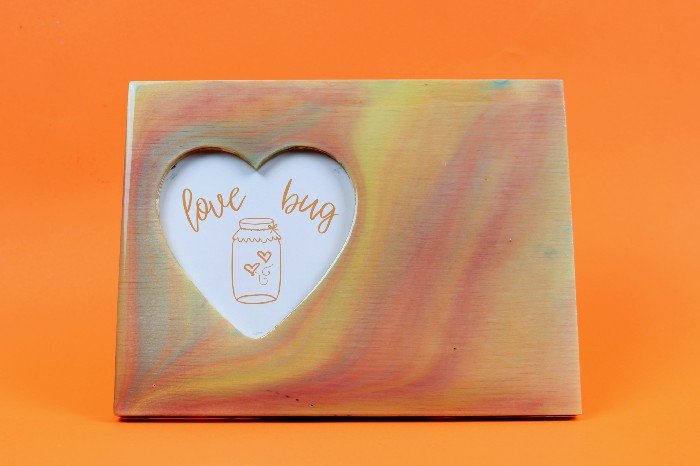
I finished my frame with a cute mason jar printable. You can get this design in a variety of colors HERE. I love providing my designs to my readers for free, so please only use my graphics for non-commercial purposes.

This project is part of Summer Mason Jar Week. Check out Day 1 and Day 2. Be sure to check out the projects from the other bloggers participating in this fun week too!
MASON JAR PAINTING – THE COUNTRY CHIC COTTAGE
MASON JAR RECIPE CARDS & STATIONERY – THE COTTAGE MARKET
These are all affiliate links, if you make a purchase (of anything from these retailers, not just these items) after clicking through, I will earn a small commission. Ads and affiliate links are the way I am able to keep this website running and to offer you free tutorials all year long. Thank you so much for supporting me and Mad in Crafts!
- Envirotex Lite resin
- Universal Transparent Dyes
- Gloves
- Large mixing cups
- Small mixing cups
- Stir sticks
- Paintbrush
- Craft wood frame
- Cardboard box
You might like these other fun frame DIYs:



What a great frame DIY!!! Loving the Swirls!!! Hugs…
I love resin! It works perfectly with Mod Podge. I need to resin a frame! I don’t think I’ve ever done that :0