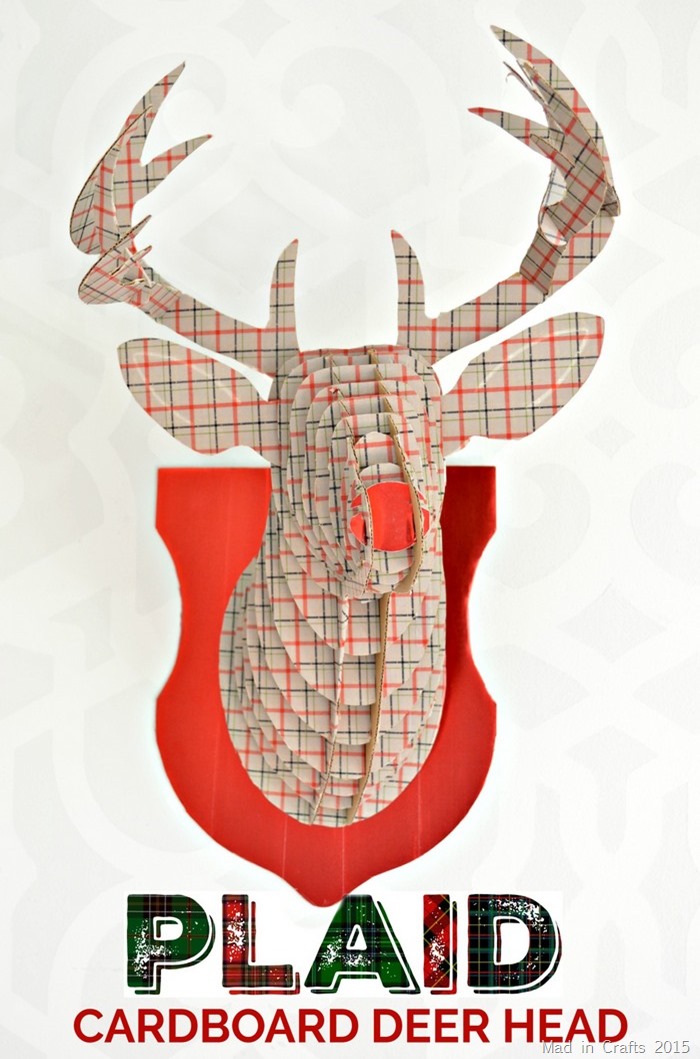
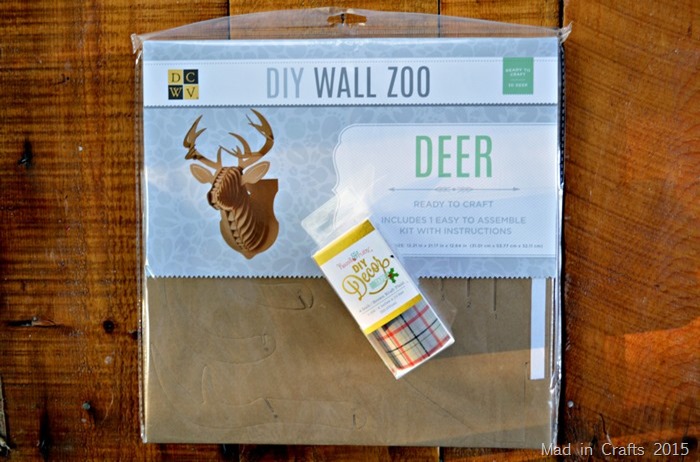
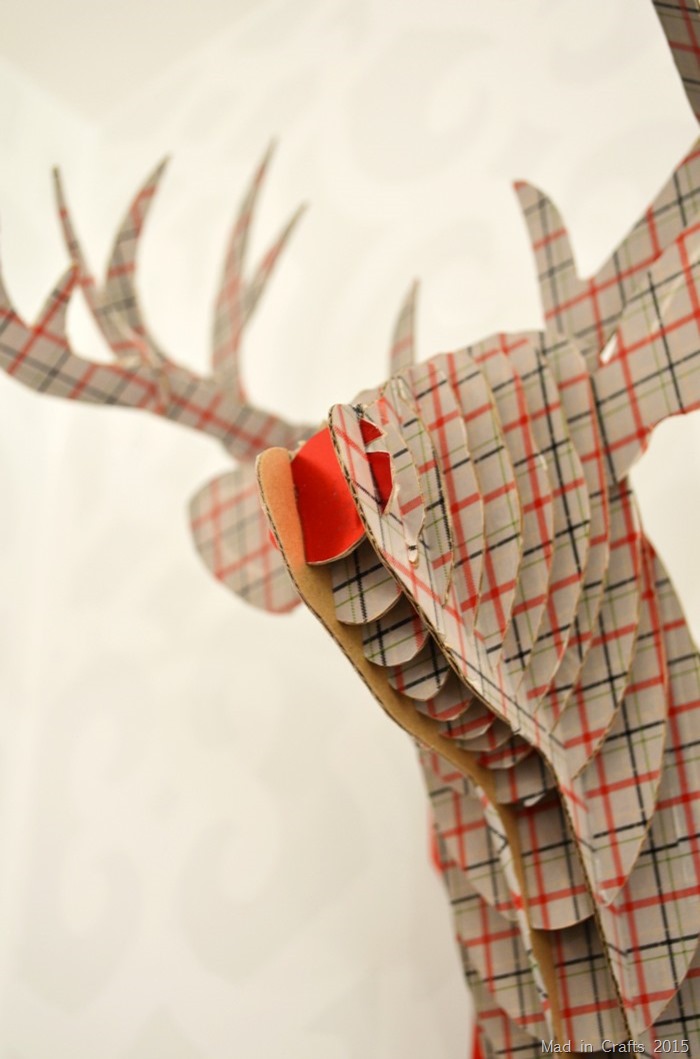
A few weeks back I ran to Joann with a specific shopping list. They didn’t actually have anything I needed in stock, but I still managed to leave with two full bags of goodies. Among that haul were a cardboard taxidermy kit and two rolls of plaid decor tape! People have been making cardboard taxidermy for years now, so I am very late to this bandwagon, but I was excited to add my holiday plaid touch to the standard mount.
This is just the beginning of Mad for Plaid week! I will share a Christmas DIY every day this week, and some of my crafty friends will be getting in on the action as well.
I found my supplies at Joann for a reasonable price — made more reasonable by their weekly coupon.
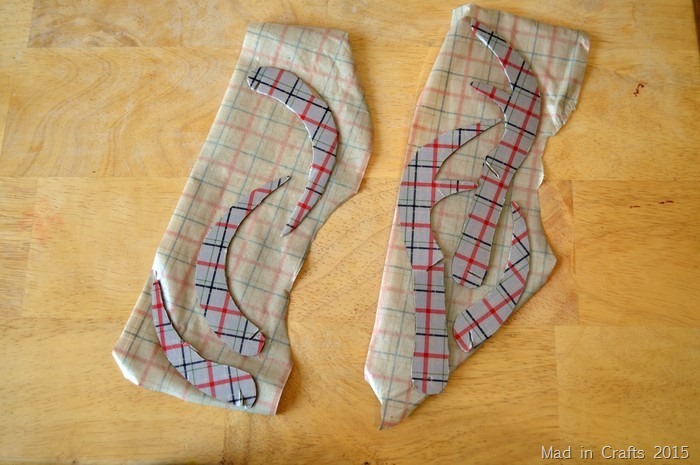
I began by carefully punching all the deer head pieces out of the cardboard. I then got busy applying the tape to each piece, matching the pattern up if I needed multiple strips of tape.
For most pieces, I only covered one side with tape, since the backside would not be visible when assembled. I made sure I was applying the tape to the side of each piece that did NOT have the assembly numbers, so I didn’t have to play a guessing game when it was time to put the piece together. A few of the antler pieces need tape on both sides because they are visible after assembly.
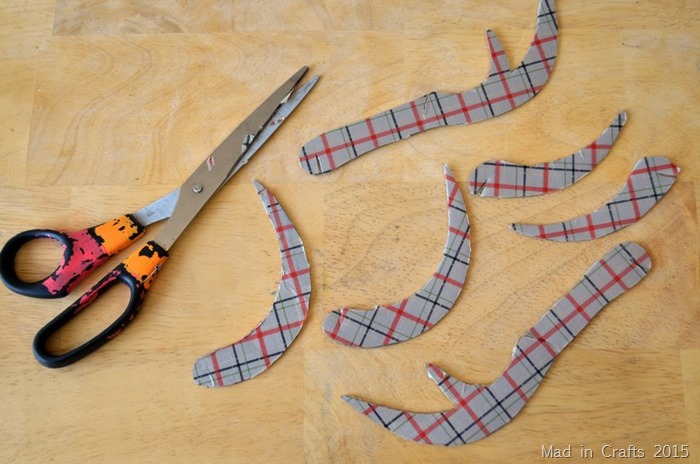
After applying tape to each piece, I carefully trimmed the excess tape away. I think using a craft knife would have been even easier than using scissors, but I was too lazy to haul out my cutting mat. Be sure to cut the tape away from the notches that are used to connect the pieces for assembly.
When all was said and done I used just shy of two rolls of the plaid tape to cover my deer head.
Putting the deer head together was much easier than I was anticipating. The pieces are cut very well and the notches are perfectly placed.
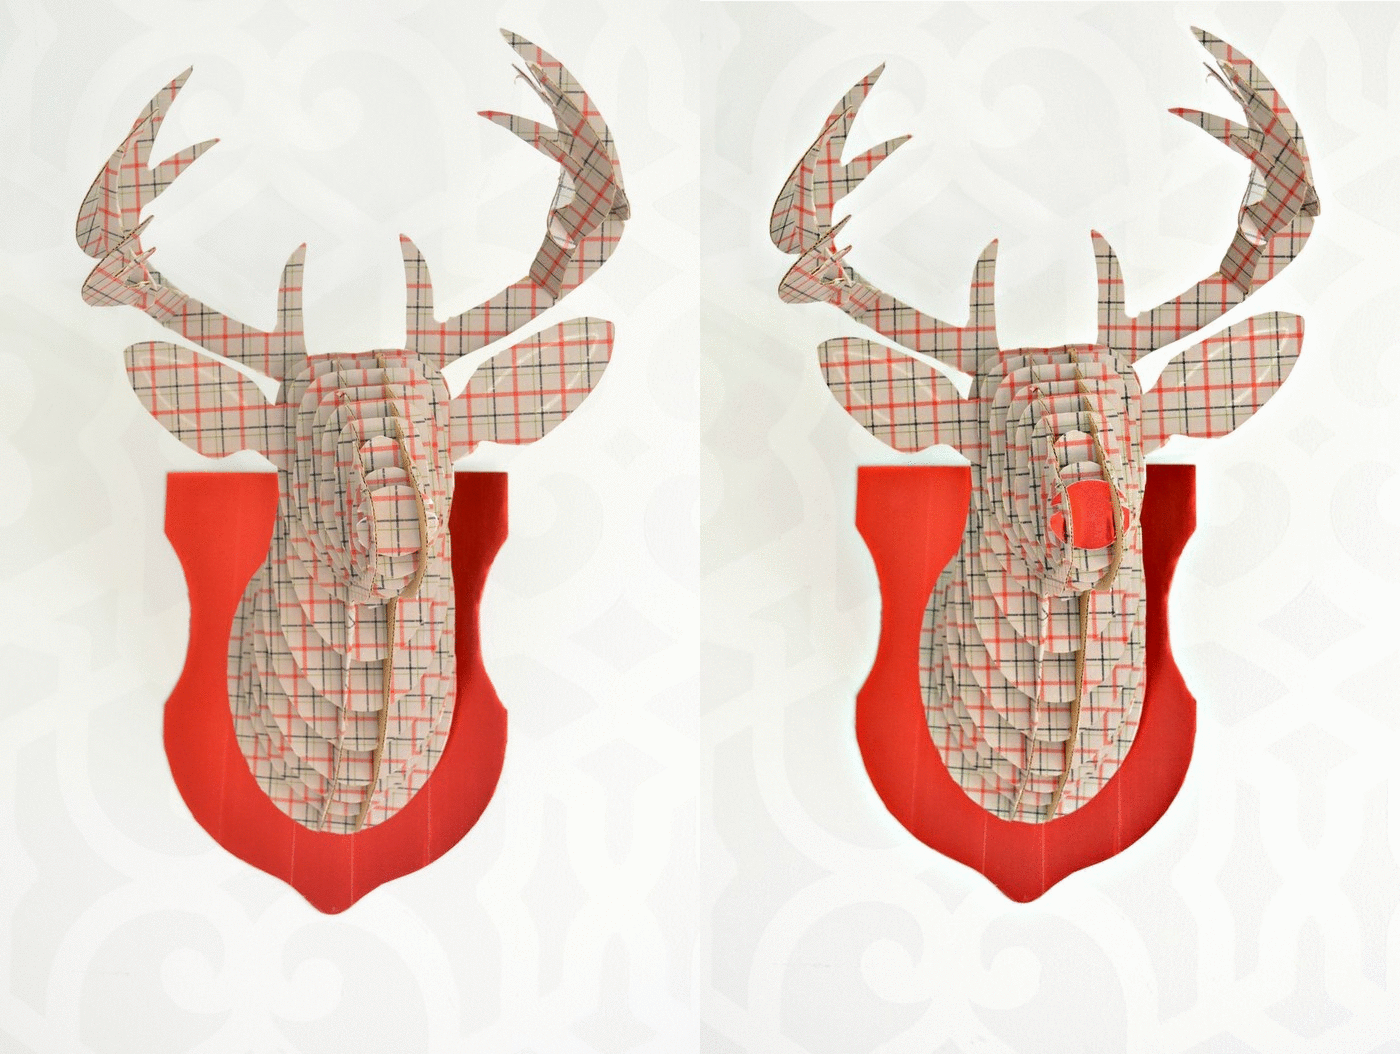
If you are looking at the deer head very closely, from very specific angles, you can see that I didn’t cover every inch of it with the plaid tape. It’s pretty unlikely anyone will notice, and it saved me a lot of taping.
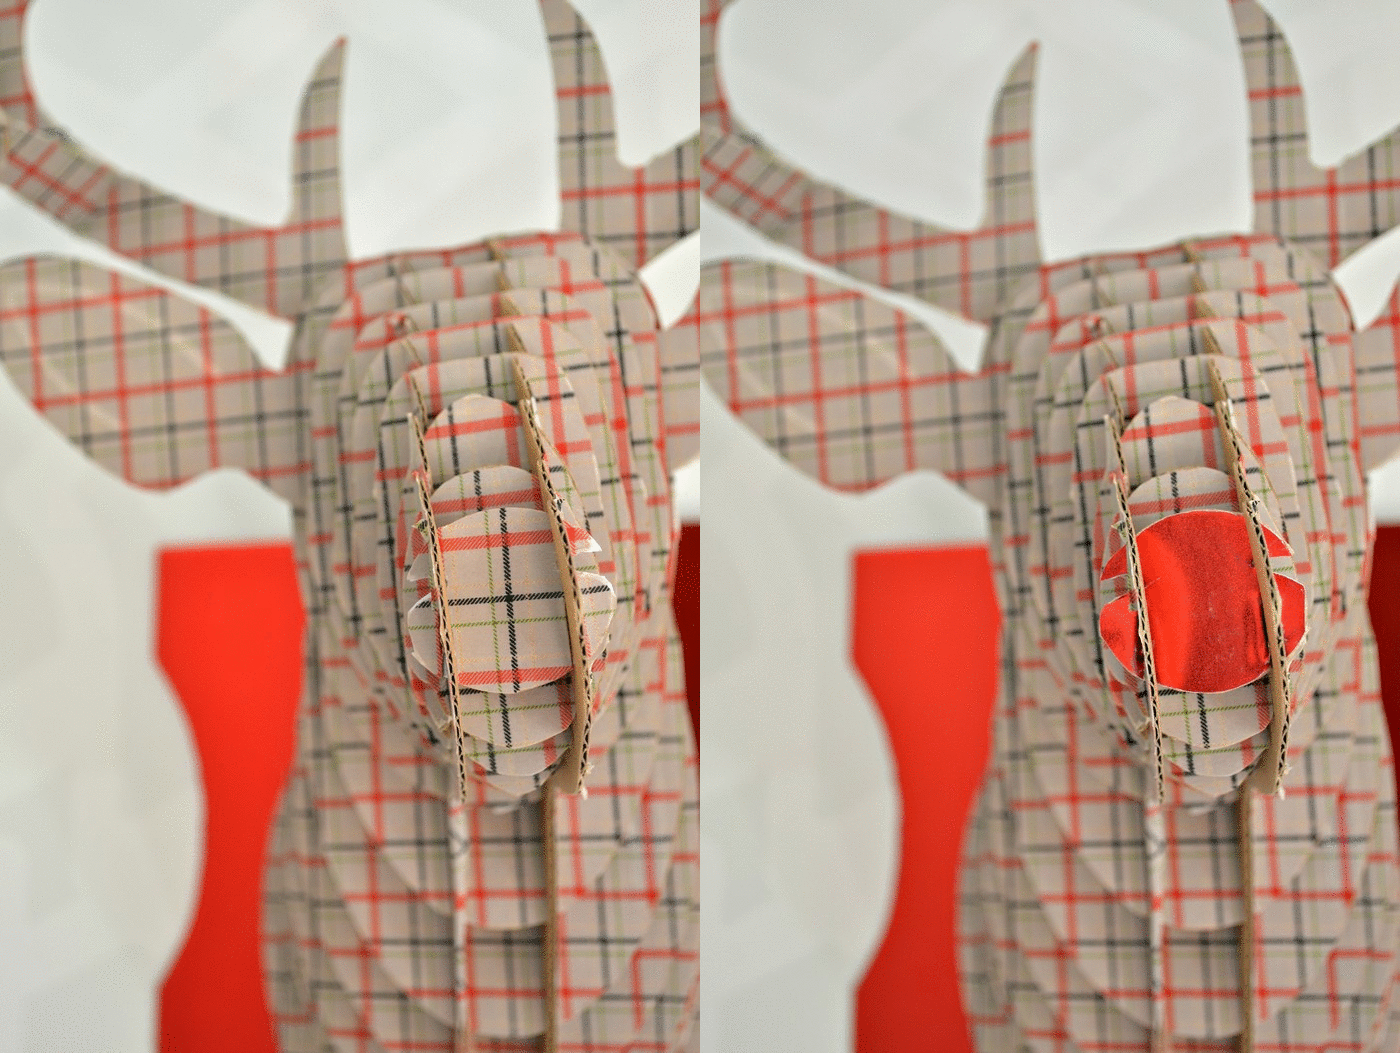
I used the plaid washi tape on one side of the nose piece, and red decorator tape on the other.
Now I can switch him from regular plaid deer to plaid Rudolph just by switching his nose around! I used the same red tape on the “mount” of the piece. I originally covered that with the plaid tape too, but the deer just blended into the mount. I like the contrast of the red and the plaid, and I think he will make a great addition to all my other plaid Christmas decor (that you can find in a the gallery linked in my sidebar >>>).
Stay tuned this week for more plaid tutorials and pop over to these great blogs for their fantastic contributions to Mad for Plaid week!
Becoming Martha
Sweet Rose Studio
The Country Chic Cottage
365 Days of Crafts

