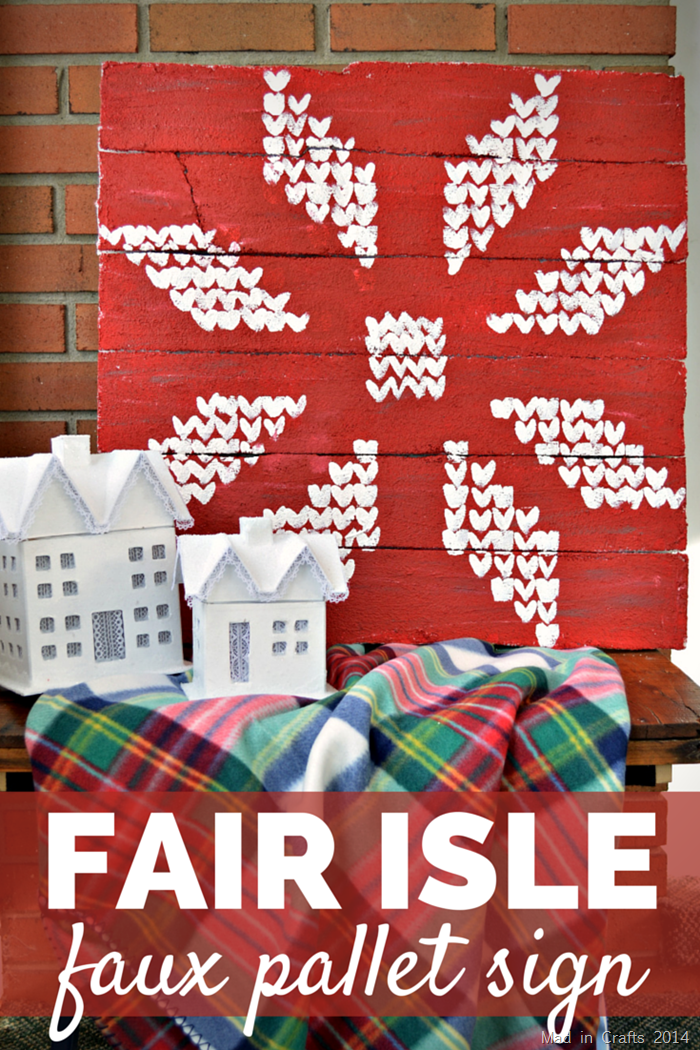
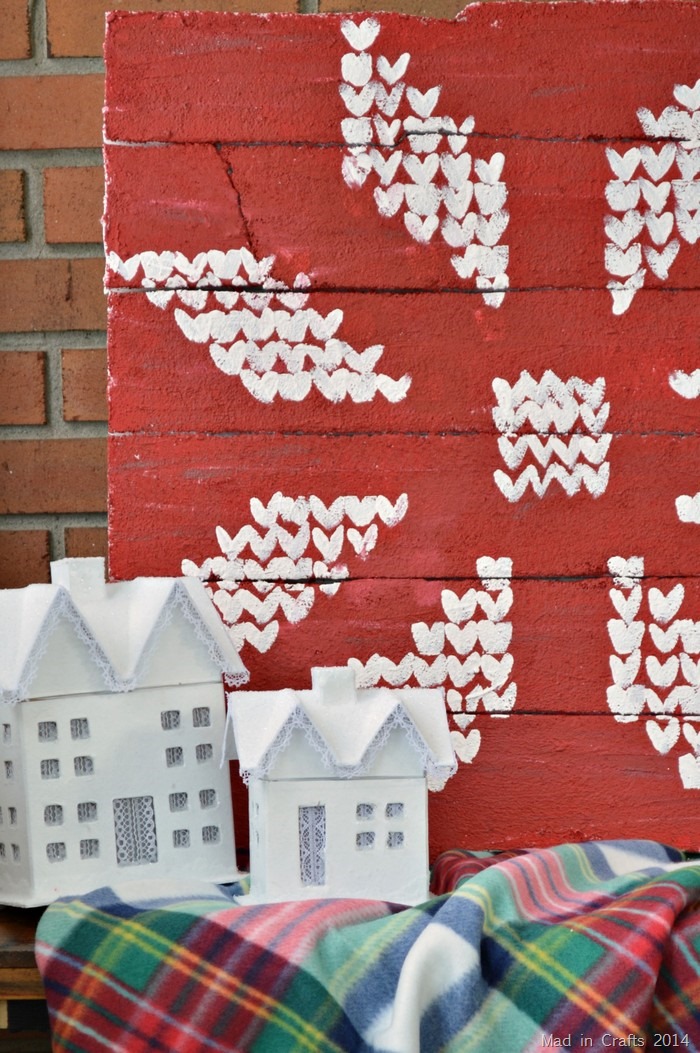
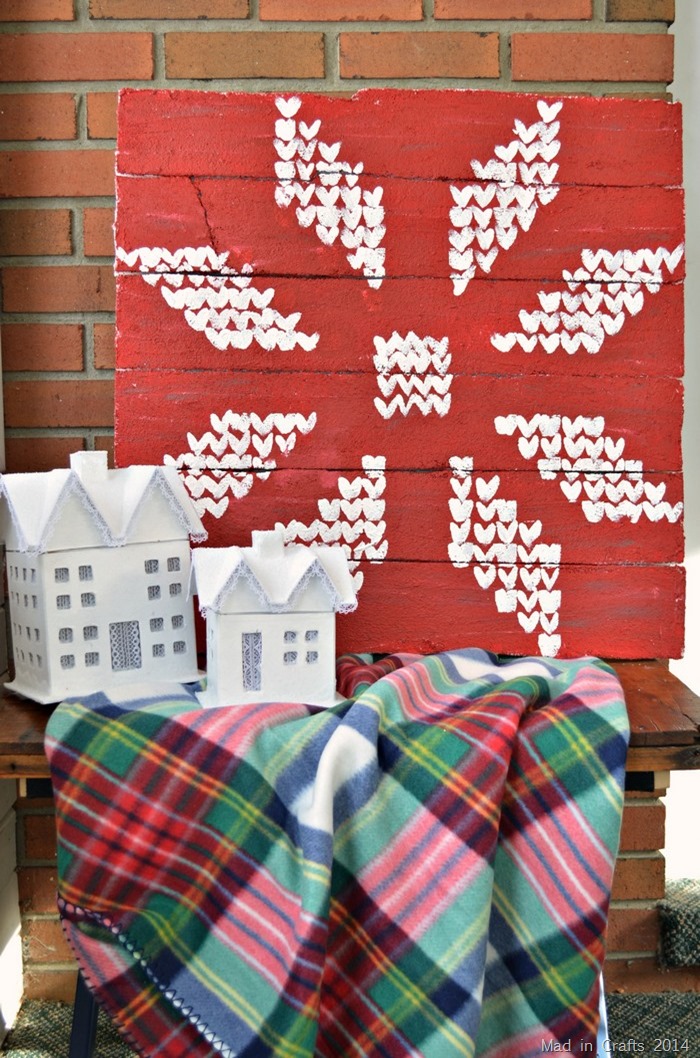
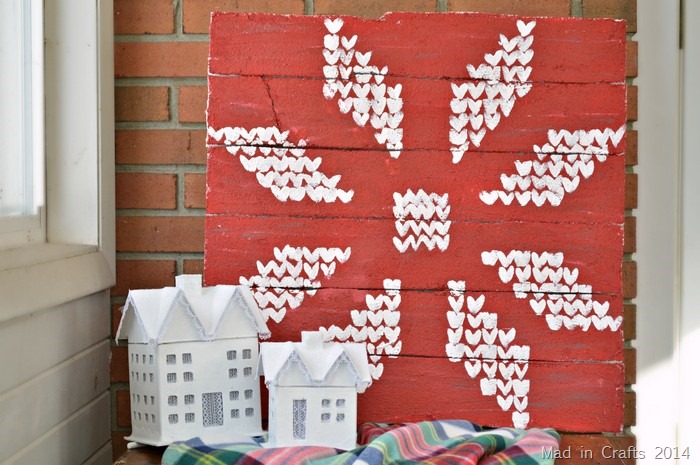
Remember how I told you that I had seen a resurgence of fair isle patterns when I made my most recent trip to Bronner’s? Well, some of that trendy fair isle is popping up in my Christmas décor this year too! I decided to take a common fair isle shape, the poinsettia, and super size it for a big piece of art. Because I took another tip from Bronner’s: When it comes to Christmas MORE is MORE!
Watch this short video to see how I put together this festive sign. Be sure to subscribe to my YouTube channel too; I release fun videos twice a week!
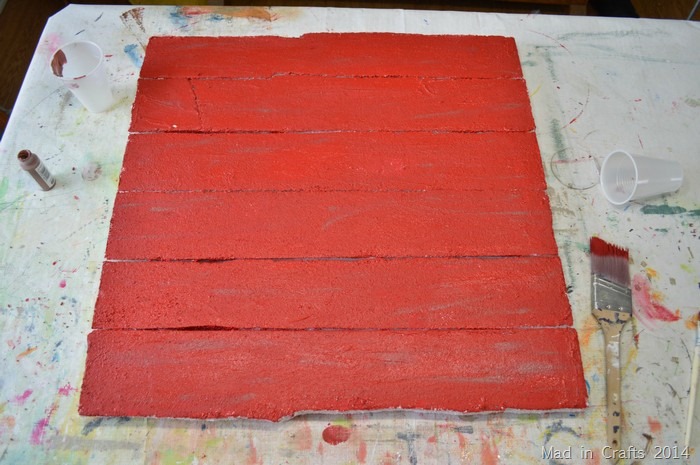
To make the sign, I used the same foam pallet technique that I used for my faux pallet cornice. I started with two 12”x36” Make It Fun: Foam sheets, which I then cut down to 12”x24”. I then cut each of those smaller sheets into 4”x24” pallet slats. I coated the front and outer sides of the slats with Smooth Finish and let it dry for 24 hours. I used toothpicks and duck tape to position the slats into a 24”x24” square. Finally I used a piece of dollar store foam board to give the sign stability.
After the Smooth Finish was thoroughly dry, I applied a coat of red craft paint to the front of the sign. I used both white and brown craft paint to add some texture to the color. Little sweeps of color is all that is needed to age the sign a bit. Finally while all the paint was still wet, I used a soft, dry paintbrush and went over the whole sign to blend the colors together.
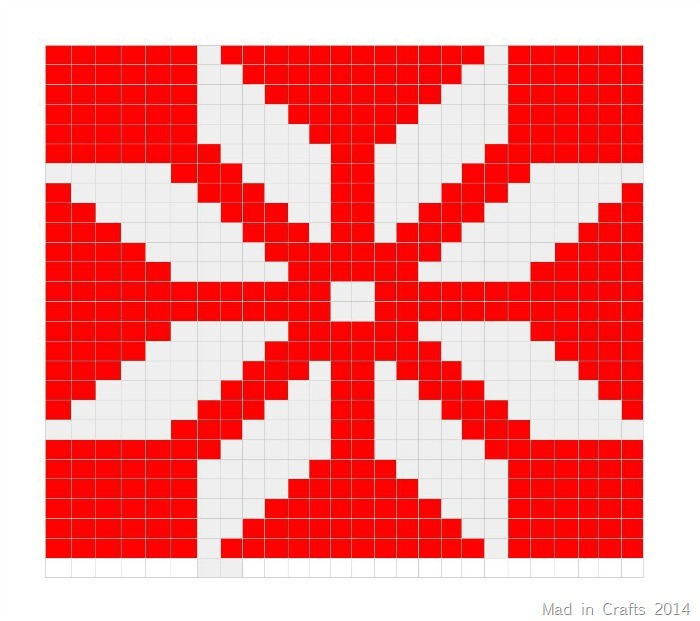
I used a Google Drive spreadsheet to map out my fair isle poinsettia design. It took some finagling to create a pattern that would fit on the pallet, but I ended up with this pattern.
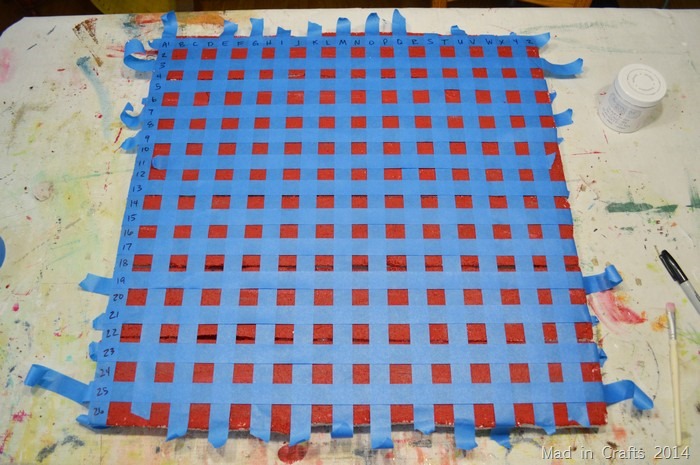
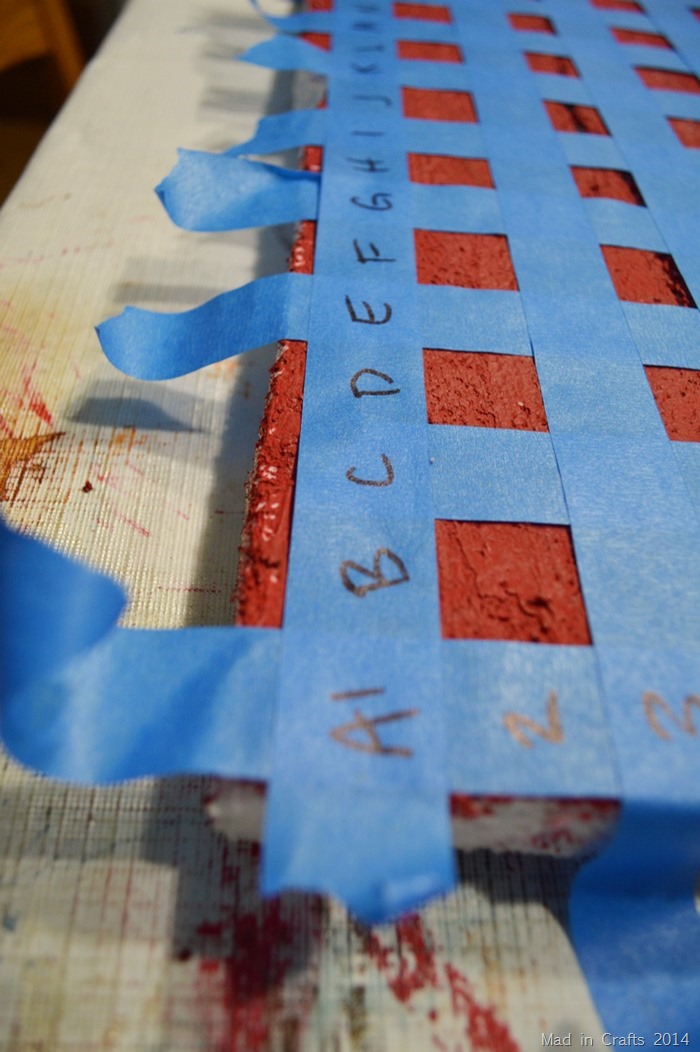
Next, I used painter’s tape to mark off a 26×26 grid on the front of the sign. TIP: You are just using this tape as a guide, so you don’t have to press the tape down onto the sign. Just lay it over the top and secure the sides. If you press it down, you may end up peeling paint up when you remove the tape.
I labeled the columns and rows of my tape grid so I could refer back to my pattern easily.
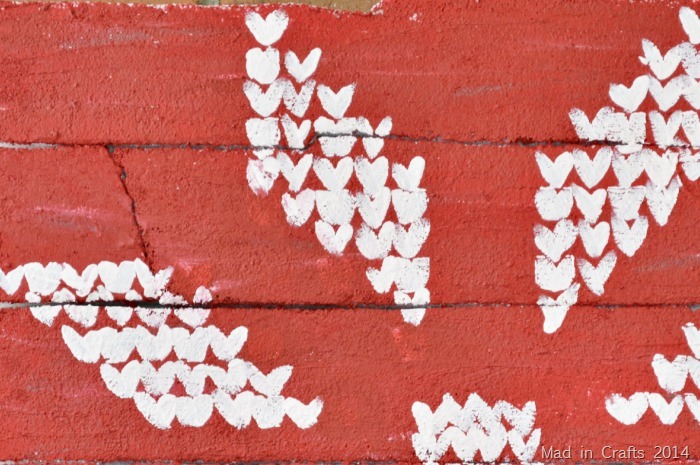
I painted simple V shapes (to represent sweater stitches) in each grid square that corresponded with a white square on my pattern. Then I removed the tape grid and finished the design with more painted Vs. I made a few mistakes along the way, but I just covered them up with red paint and kept going!
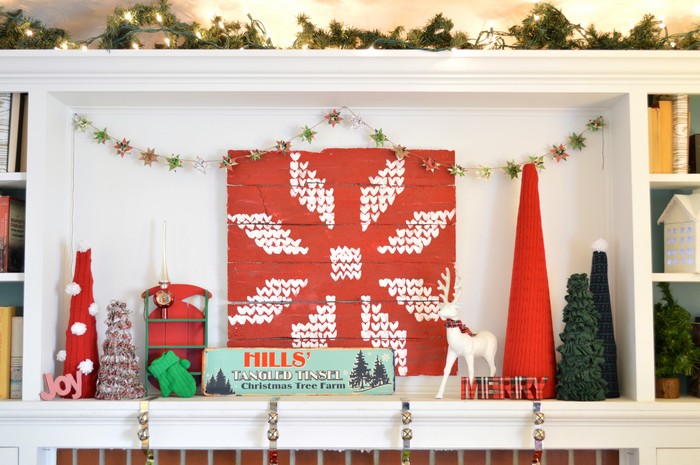
I am really excited about this finished project! I plan to hang the sign up as the focal point above our mantel this year. Since the sign is foam, it can be hung with a few 3M strips that can be taken down after Christmas.
This year I matched up my plaid decorations from last year with a few fair isle touches around the house.
I will be sharing my Christmas mantel with you tomorrow. The fair isle sign is the focal point of the mantel, but there are several other DIY’d features as well. Make sure you check back in to see it!
I’ve gathered links to the materials I used in this tutorial. NOTE: You will also need Smooth Finish to be able to paint the foam, but that product is not currently available on Amazon. Check your local craft store! These are affiliate links, so if you purchase after clicking one of these links, I will receive a small commission. Thanks!



This is amazing, Jessica! I love it!