Have you started thinking about Halloween yet? I haven’t even gotten any Fall decorations up, so I am already behind my usual schedule. When Angie and Carolina announced they were doing a Halloween themed round of Craft Lightning, I knew it would be the opportunity to get moving on some Halloween decor.
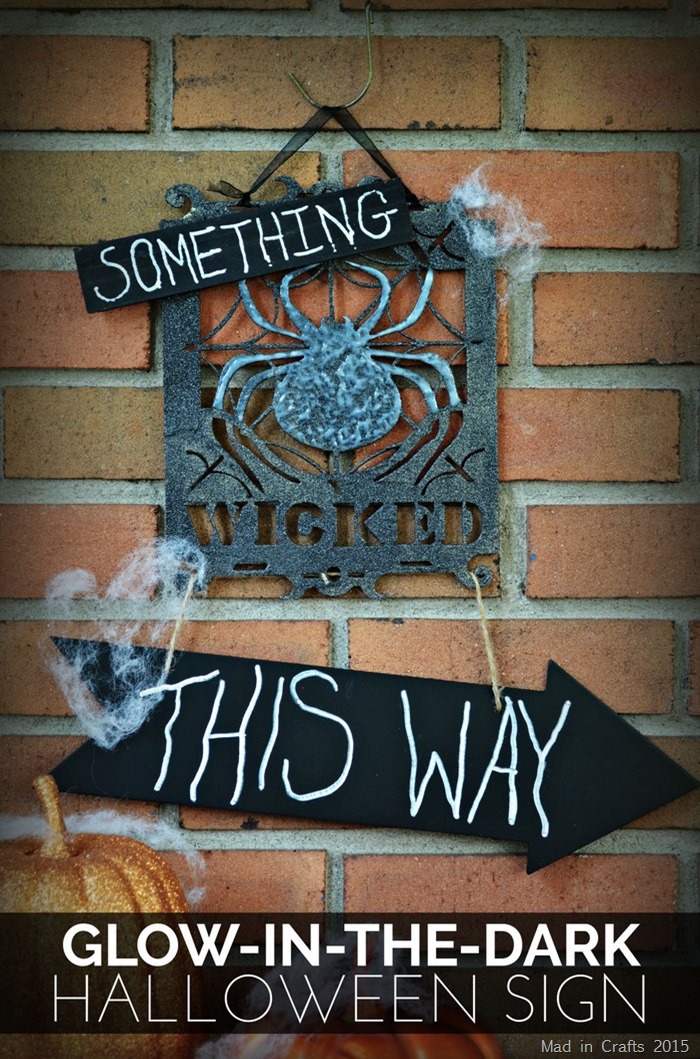
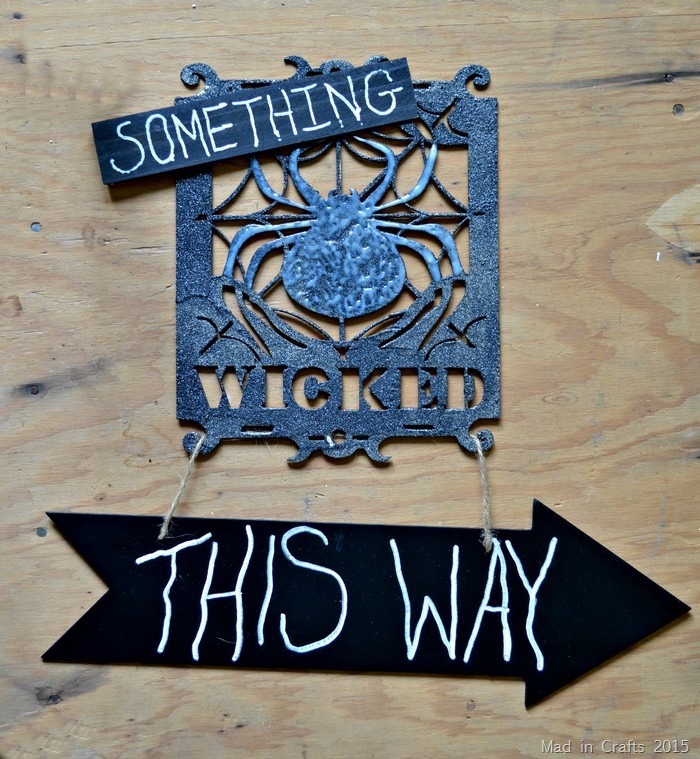
I am not huge on decorating for Halloween, so I was a little stumped as to what I might want to make. Then I spotted a cool laser-cut sign at the craft store. It immediately inspired me to make a Shakespeare-themed Halloween sign, because of course it did. So check out how I made this quick Something Wicked This Way sign. It looks like there are a ton of steps to follow, but each step is fast and easy!
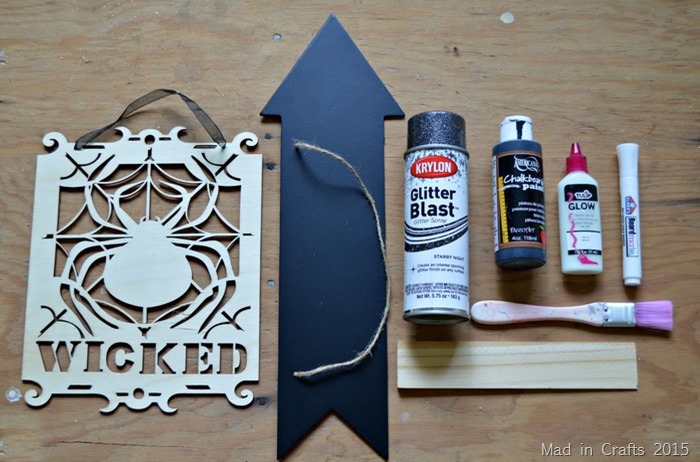
I have gathered links to materials similar to those I used for this project. If you choose to buy after clicking through the links, I will receive a small commission, Thanks!
I found the WICKED spider sign at Michaels with their Halloween decorations. I couldn’t find it online, but I think you should be able to find it in-store.
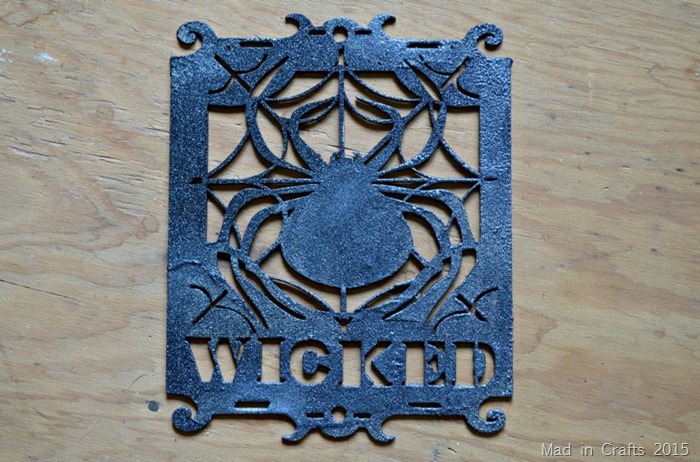
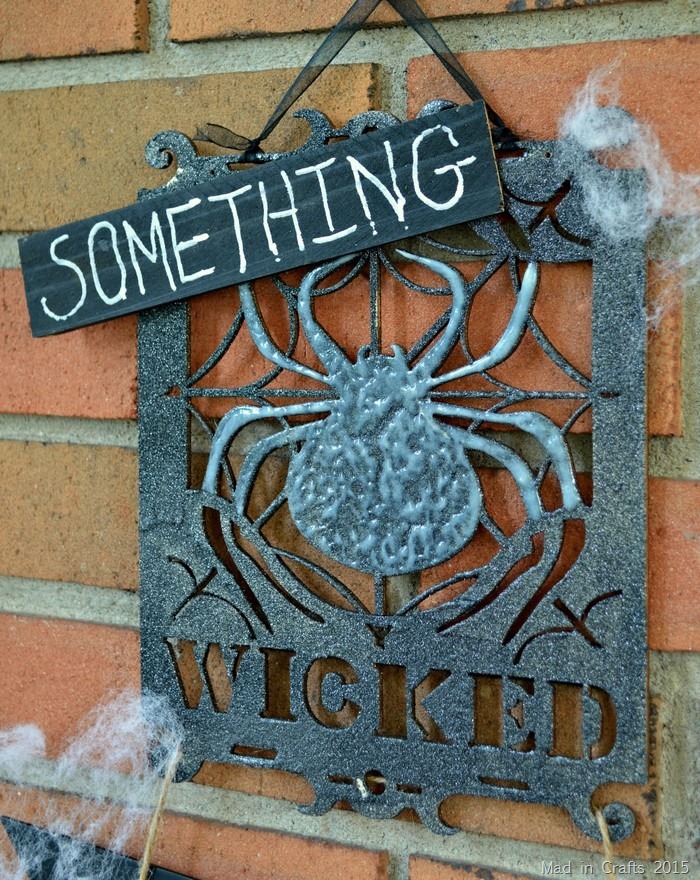
I started by giving the laser cut sign a coat of Krylon Glitter Blast. I have had mixed results with this product in the past, and this time I had moderate success. There were some parts of the sign where there ended up being some bubbling on the surface. You can see some of the bubbles on the top right corner. I don’t know if I was too heavy-handed in some areas or what the problem was.
I left this sign to start drying and put a quick coat of chalkboard paint on my wood shim. Since both of these surfaces are raw craft wood, they accept paint very well and dry quickly.
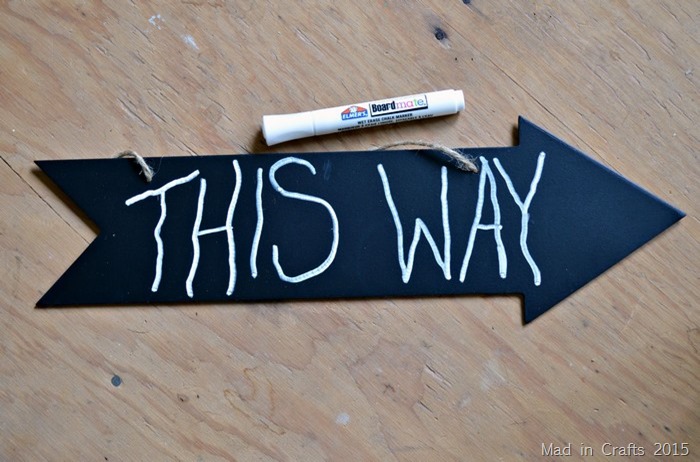
While those two pieces were finishing drying, I used my chalk marker to add the “THIS WAY” message to the arrow sign. To get my Halloween-y font, I held the marker at the very end (farthest from the writing tip) and wrote the letters that way. That resulted in this slightly wavy lettering. I traced over the letters again with the marker (holding it normally) to make sure the writing stood out.
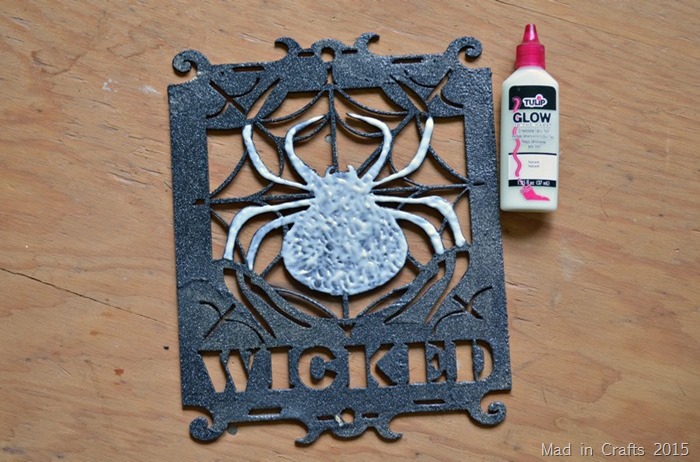
By now, the glitter spray was dry, so I added my glow-in-the-dark paint to the spider on the sign. I happened to have this paint on hand, but any glow paint should work. I used this same paint for two Halloween projects last year: my glowing spider costume accessories and my glowing monster pillows.
Just be sure to be mindful of what color glow paint you use. This paint goes on whitish.
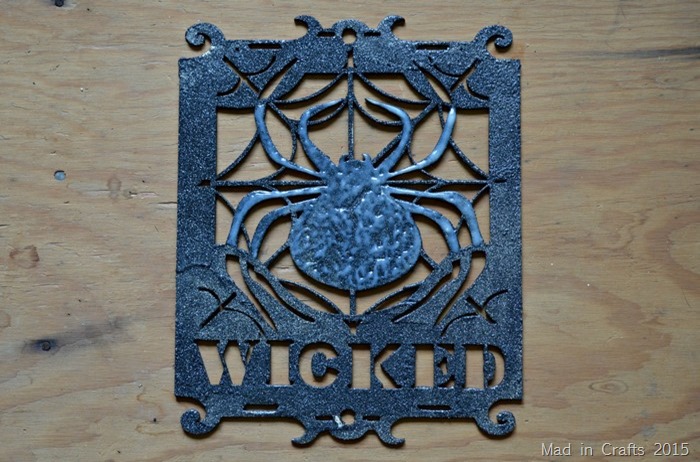
And then it dries mostly clear. Other paints may dry a certain color or glow a specific color. Pick a paint that works best for you.
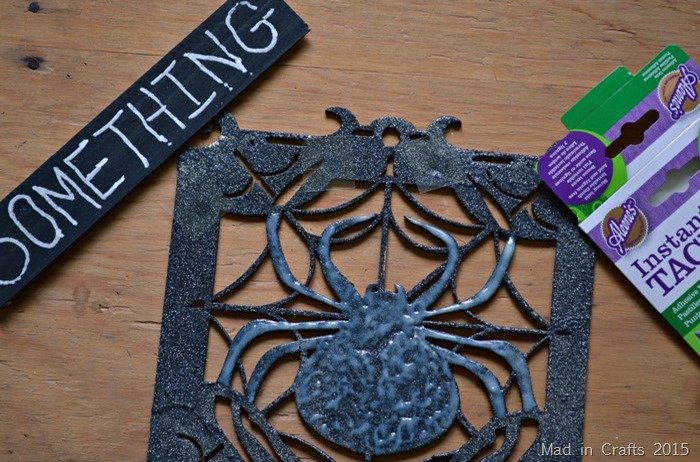
After the glow paint was dry, I added tacky dots to the top left of the spider sign.
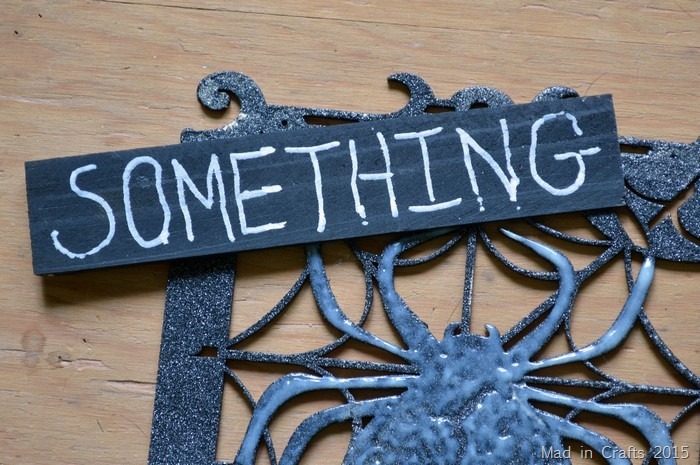
Then I pressed the wood shim onto the dots. I wrote “SOMETHING” using the same technique I did for the chalkboard arrow.
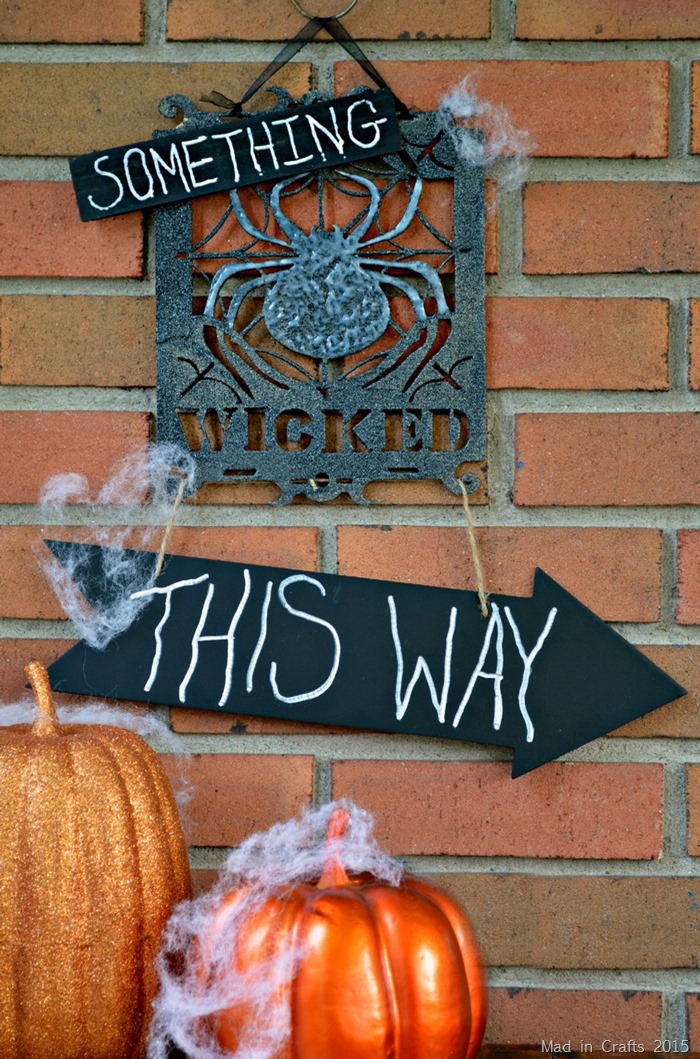
I wrapped the twine string from the arrow around some of the filigree at the bottom of the spider sign and my Macbeth-inspired glow-in-the-dark Halloween sign was finished!
You could add this sign to a Halloween mantel or display or hang it on your front door to let party guests know something wicked awaits them inside.
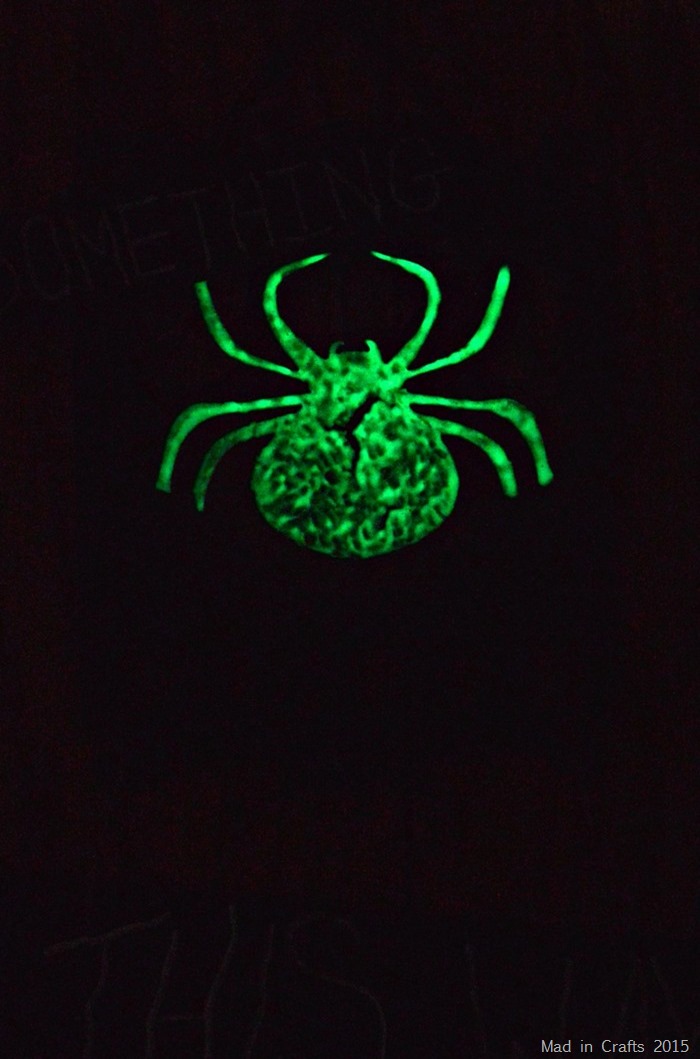
When the sun goes down, the glowing spider comes out to play! I took this picture using a black light because my camera doesn’t read glow-in-the-dark paint as well as the human eye does. The spider does glow well in the dark all on its own.
Make sure you visit the Craft Lightning host blogs this week to see the features of all the other quick Halloween tutorials that have been created this month!






Love it Jess! Thanks for joining!
Love how this sign turned out – and so amazing it’s so quick to make! Thank you for sharing.
Thanks, Jen!
I think that things that glow are my favorite part of Halloween!
Me too!!