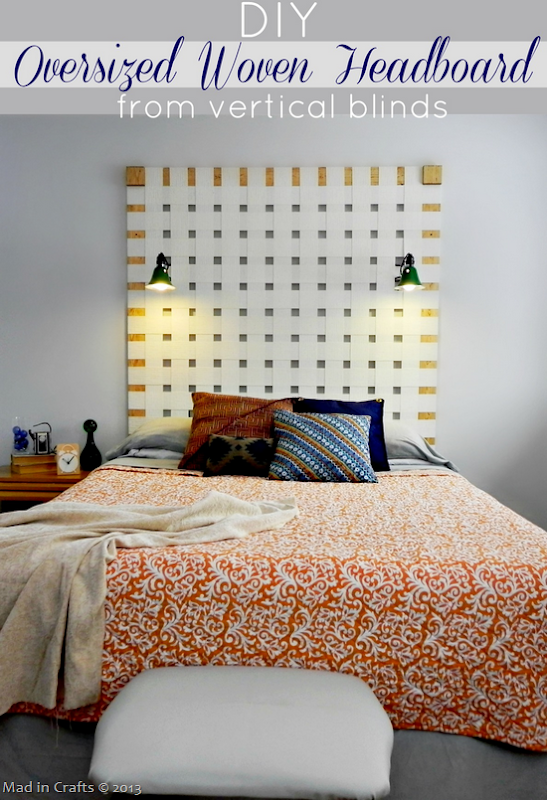
Why is it that the master bedroom is always the last room to get decorated? Almost all the other rooms in The Mad House are decorated, and the master was just a sad blue box. No artwork, no matching furniture, mattress sadly sitting on a cheap bed frame. The only good thing about it was that it was prime for a makeover!
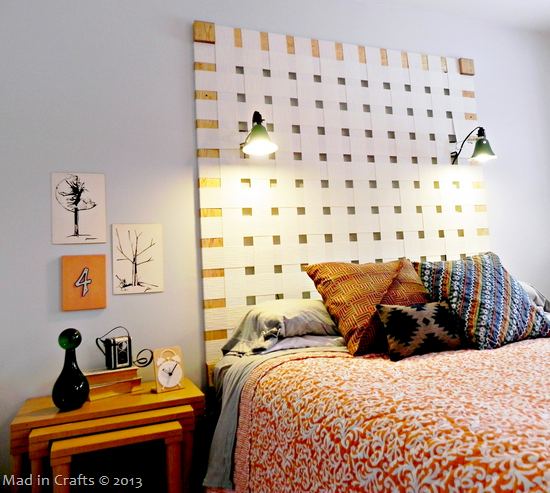
When my parents upgraded their patio doors from vertical blinds to curtains, my mom saved the blinds for me thinking I could “make something with them.” Does this happen to all creative types? But Mom was right, those old, ugly vertical blinds were the perfect material to make an oversized woven headboard for our bedroom. Similar, but smaller, woven headboards can cost over $700, but since I repurposed my materials, this statement-making headboard cost less than 1/10th that much. No more sad, bland bedroom for us!
This was one of the first times I have ever attempted a “build,” and I would never have been able to finish it without my dad. In my head it was simple: screw together a quick frame, staple some vertical blinds to it, hang it on the wall. One, two, three, done. Of course it was nowhere near that easy, and took far more math than I was prepared for. So, a huge thank you to my dad for helping with yet another Mad House project, and my mom for wrangling the kids so we could do it.
To make an Oversized Woven Headboard (Queen Size), you will need:
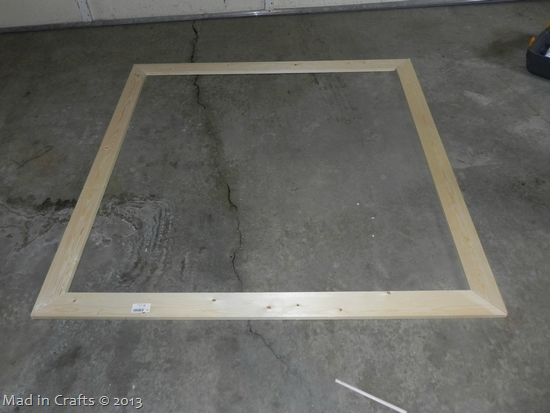
four 1×4 pine boards, 60” long, corners mitered to 45 degrees
two 1×3 pine boards, 53” long (measure the interior of your 60” frame for exact measurements)
four flat corner brackets
four flat straight brackets
screws
four squares cut from 1×4 remnants
finishing nails
foam brush
rag
painter’s tape
measuring tape
vertical blinds
3/8” staples
staple gun
plaster or drywall screws with anchors
drill
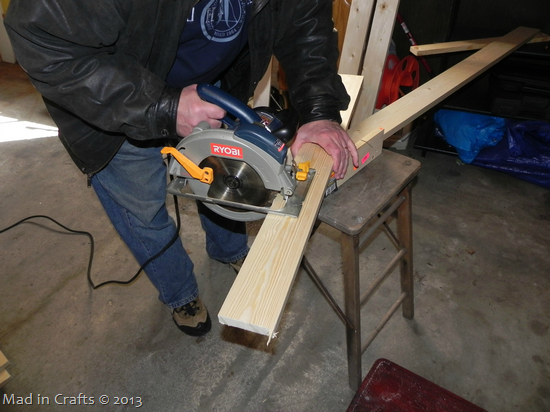
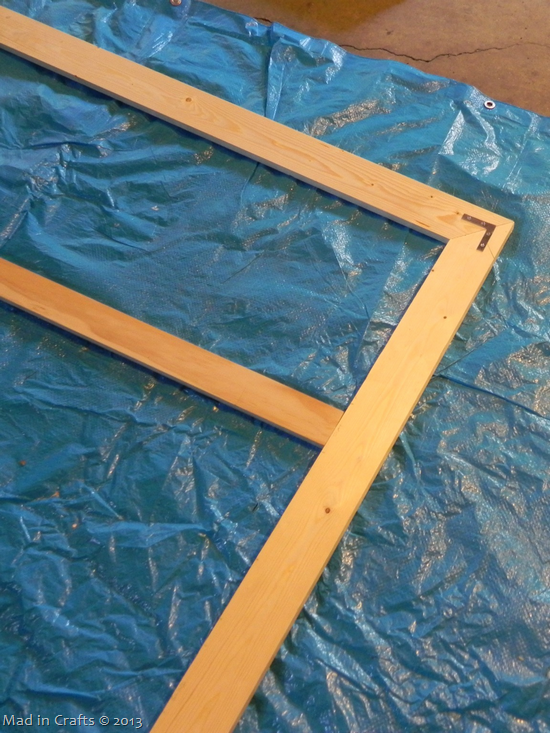
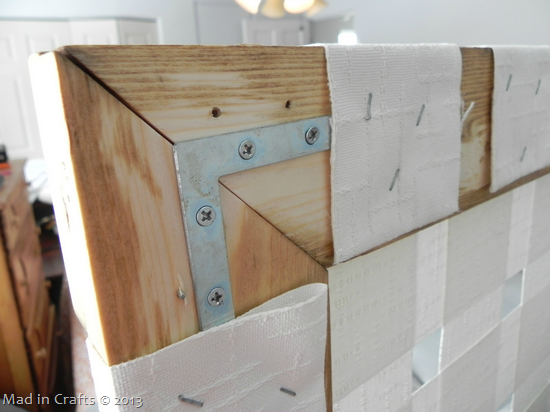
Cut the 1x4s to length and miter the corners. Join the corners with the corner brackets and screws. (If you have wood glue on hand, use that also. We wish we would have had some.)
Positioning the cross supports was a headache. One of the 2 supports needed to be positioned so that the reading lamps could eventually be clamped onto it, and BOTH supports needed to be positioned so that they would be hidden by the woven vertical blinds.
I sat down with a pen and paper to determine the exact spacing of the blinds so that they would be evenly spaced AND cover the brackets. After a few minutes of adding and subtracting unlike fractions, I calmly handed the paper to my dad and let him figure it all out while I curled into the fetal position and hummed quietly to myself.
When all was said and done, the cross supports were positioned in what we thought were the right places (one wasn’t… and had to be moved later). Figures.
Once you have your supports in (the correct) places, secure them with the straight brackets.
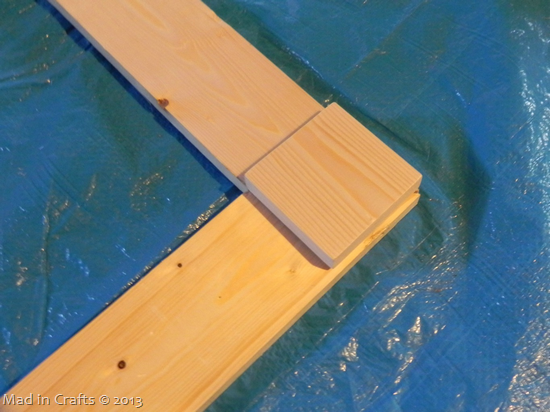
We were concerned that the corner brackets might not be enough to keep the frame sturdy, so we added some pine squares to each corner. They also added a nice detail to the headboard.
Nail the squares down with finishing nails. Apply the wood stain of your choice, wipe off, and let it dry.
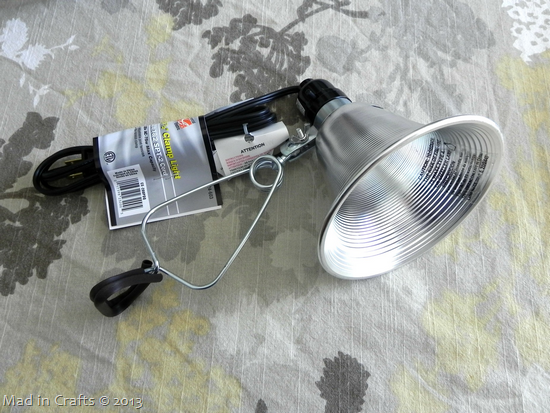
While the stain is drying, you can work on the reading lights. These clamp work lights sell at Home Depot for less than $8 each, and can take bulbs up to 75 watts!
The parts of the lamp unscrew, so you can remove just the aluminum “shade” for spray painting.
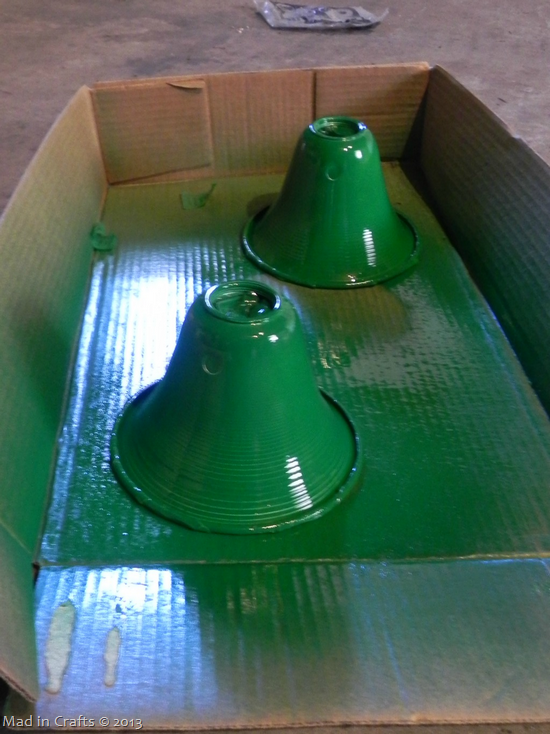
I wanted the inside of the shades and the ring around the bottom to stay silver, so I taped off the holes in the shade the ring with painter’s tape and stuffed the inside with plastic bags.
Give the shades a few coats of spray paint. I used Rustolem Meadow Green, and I love the color!
It’s finally time for the fun part… using the staple gun! Well, almost time. More math, first. Wah.
Starting from the center of one side of the frame, measure and mark where each of your vertical blinds will go. Make sure they are evenly spaced! NOW you can start stapling. I suggest having one person be in charge of making sure the blinds are straight and one person in charge of stapling. Continue across the whole width of the frame.
Flip the headboard frame 180 degrees and finish stapling those blinds in place. Pull the blinds as taut as you possibly can and check frequently to make sure your blinds are straight and evenly spaced.
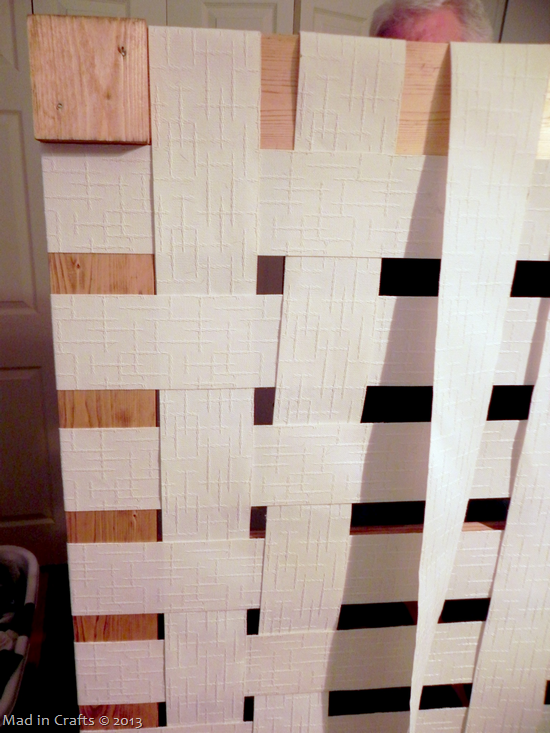
Staple the third side of the headboard the same way you did the first: 1) measure and mark, 2) straighten, and 3) staple. Weave these loose blinds in and out of the completely stapled blinds.
Flip the headboard frame 180 degrees again. Pull the woven blinds taut and straight, and staple them in place. Looking good!
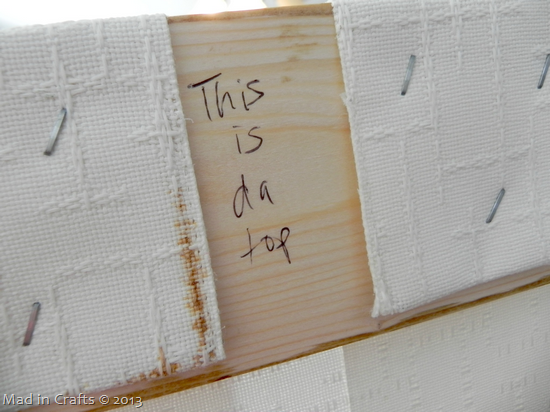
If there is one side of the headboard that you really want to be the top of the final piece, you might want to leave yourself some handy notes like this, since you will be flipping it around so many times.
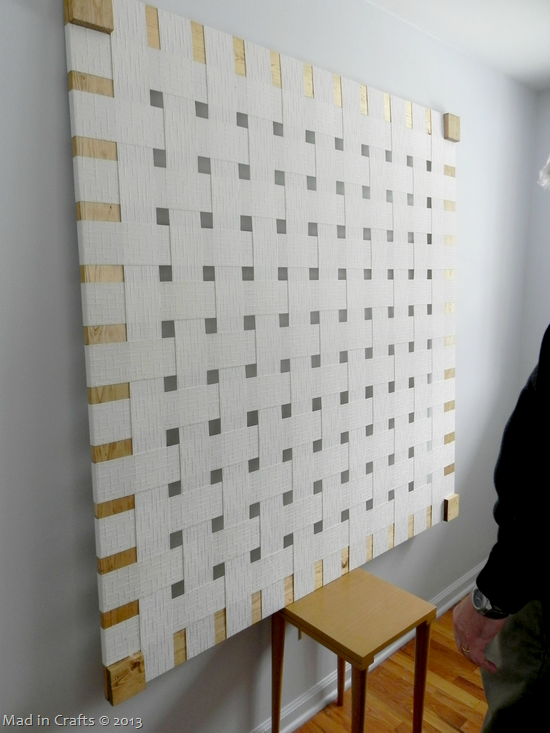
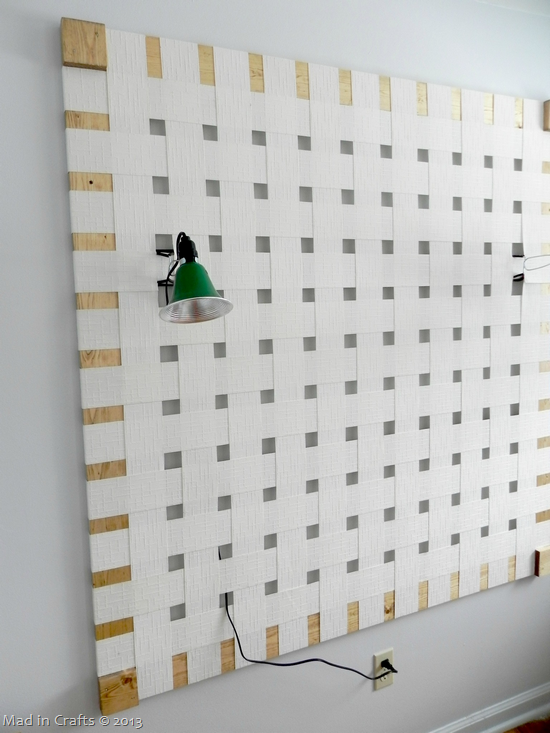
Hanging the headboard on the wall is a three person (or two people and a short table) job. The headboard is not very heavy, so we were able to hang it with just two screws screwed into plaster anchors.
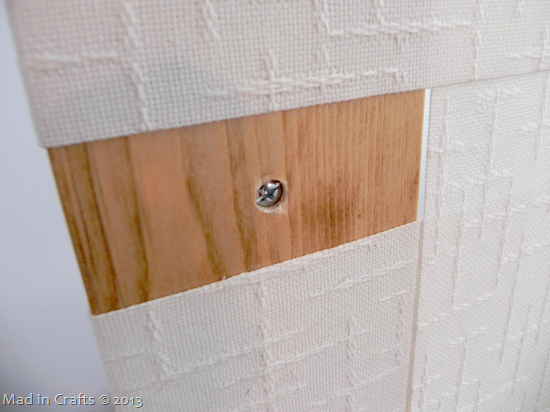
To make sure the screws are recessed into the wood, drill the hole for the screw and then, with a larger drill bit, make a wider hole one half inch into the headboard frame. When you mount the headboard to the wall, the screws will nestle into this spot. The holes can then be plugged with wood plugs or wood filler, if you choose.
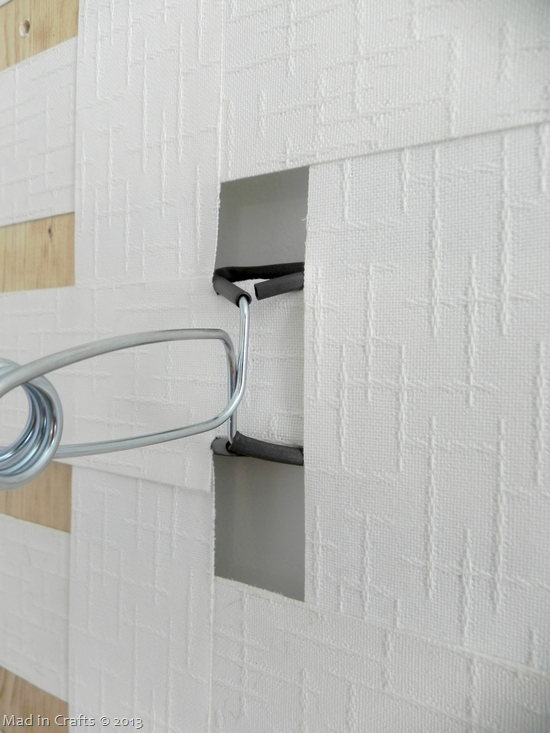
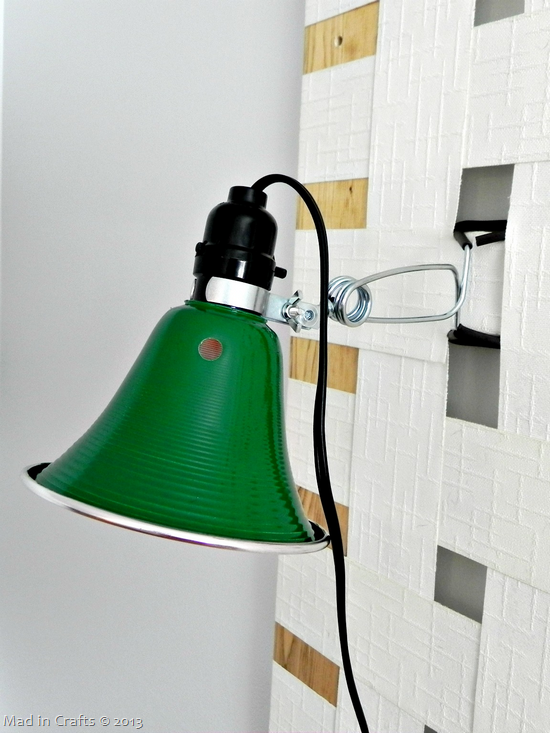
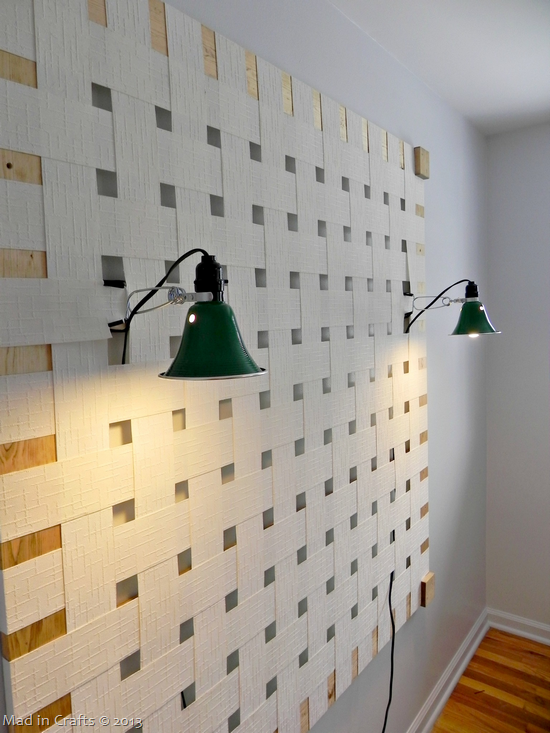
Installing the reading lights is VERY simple. Reassemble the work lights after the shades are dry. The clamps should squeeze right onto the top headboard frame cross support. I had to make a few small cuts in the blinds covering the cross pieces, since the blinds were wider than the wood.
I love the surprise of that Kermit the Frog green paint!
Just thread the cords behind the woven blinds and plug into an outlet.
Be sure to choose fluorescent or LED bulbs for the reading lamps. Regular incandescent bulbs get so hot that you would be very sad if you bumped against one while you were relaxing in bed! I used 40 watt fluorescent blubs that are made to look like incandescent (swirly bulbs just aren’t as pretty). Switch the lights on to make sure everything is working!
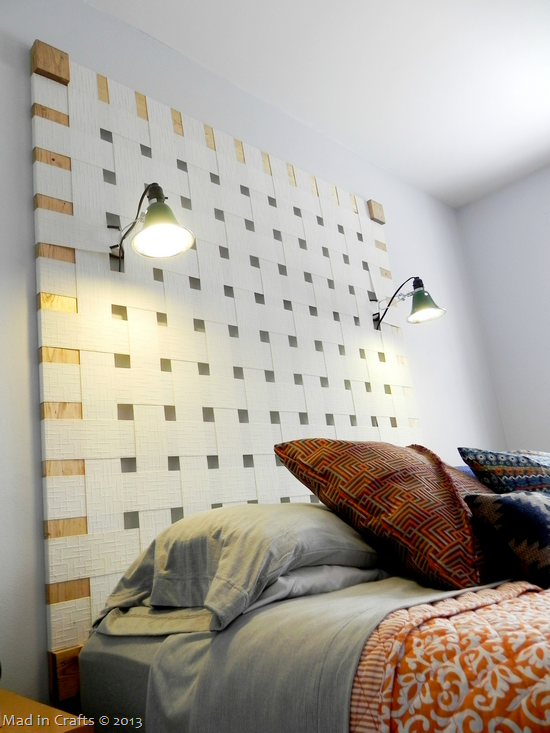
All that is left to do is to push the bed up against your dramatic new headboard and settle in with a comfy blanket and a good book!
The old vertical blinds really are perfect for this project. They are sturdier than fabric and didn’t have to be hemmed at all. Plus, you can’t beat the cost. Can you imagine how much it would have cost to make a headboard of this size using leather?
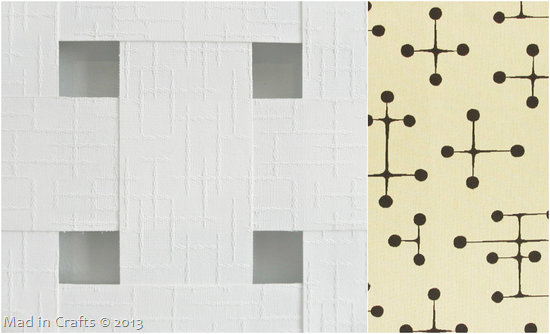
Is it just wishful thinking or is the texture on the old blinds even a little Eames-ish? I like.
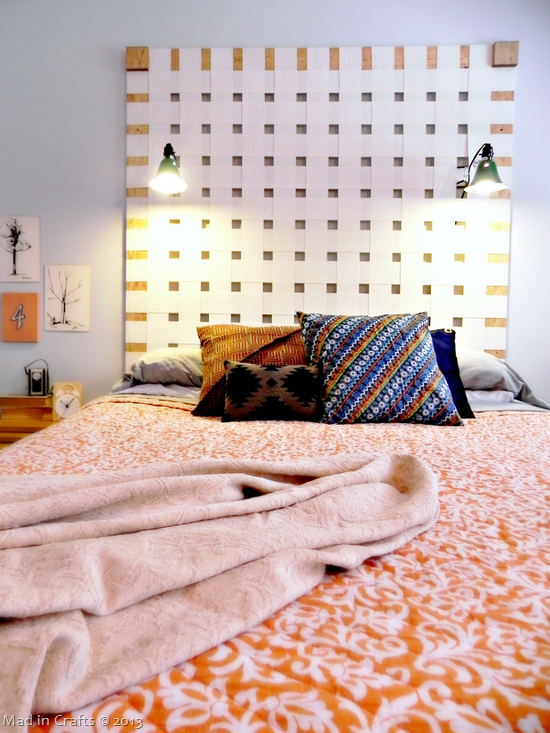
I styled up the room with some new throw pillows and a newly revamped bench to sit at the foot of the bed. Those tutorials will be coming up later in the week.
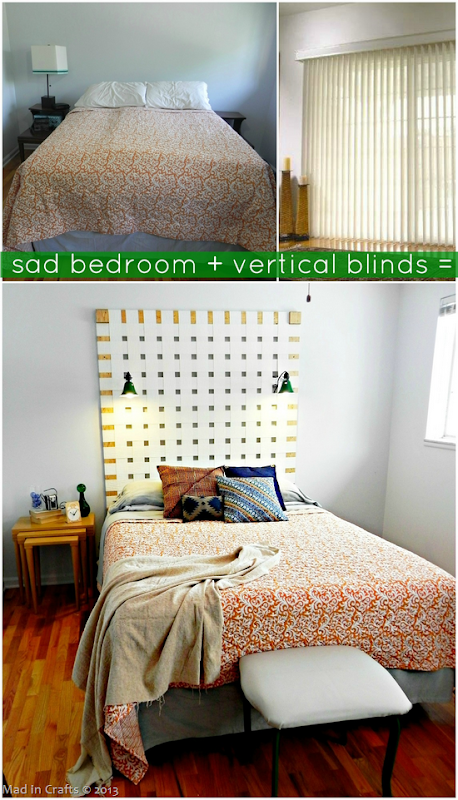
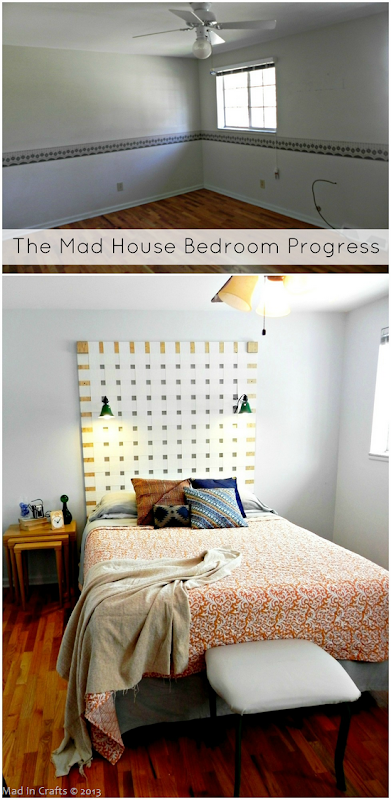
And so I can prove that we have made SOME progress on The Mad House master, here are the before and now pictures for comparison.
The nice Hunter ceiling fan that we removed from the dining room found a new home in here. And then I promptly broke it with a blanket. I don’t want to talk about it. We are trying to sell the white fan that was in here. Anybody want it? Selling it for cheap!
We still need to hang some things on the walls and add window treatments, but the headboard was the big impact project for the room. It makes the ceilings look higher and makes it look like real adults live in the house. Which probably isn’t entirely accurate, but I won’t tell if you won’t.
Again, thank you everyone who voted in the Creating with the Stars competition. I had a great time working on this project and am very proud of how well it turned out.
You can find all of my home décor tutorials here.
My NEW ebook is now for sale on E-Junkie. Find out more about it HERE!
Did you like this post? Think it’s worth sharing? Please share with your friends using the social media share buttons on the toolbar at the bottom of the page!
Thanks, Jessica Hill

