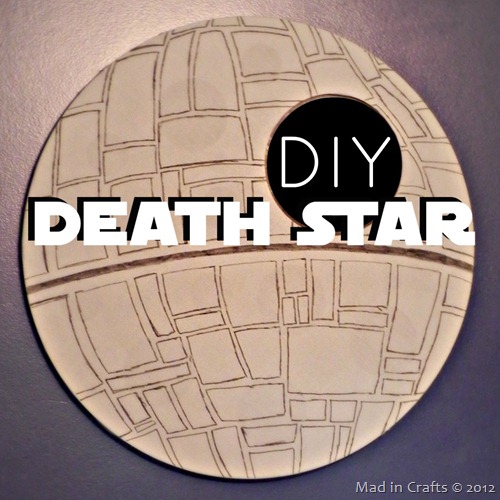
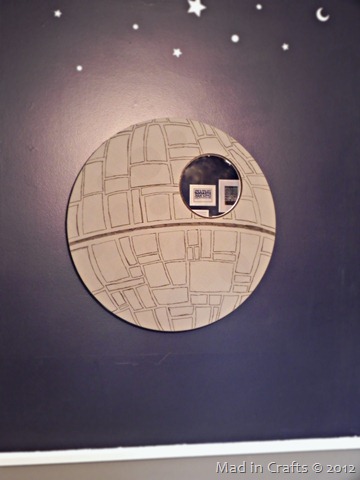
One of my favorite elements in my son’s Super Space Geek Bedroom is his new Death Star mirror. I was able to repurpose a piece of décor from his nursery to fit his new room’s theme.
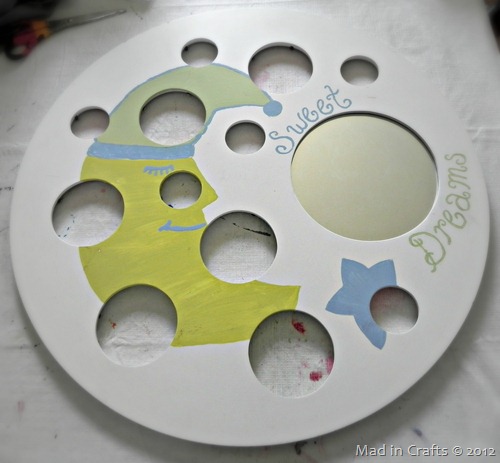
This mirror/frame was originally a gift for our wedding, and at first I had no idea how we would ever use it. Turns out, the frame has gotten more use over the years that many of our other wedding gifts!
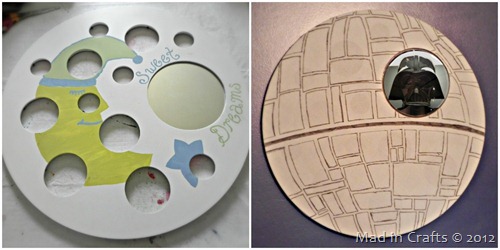
I was pregnant with my son before I started this blog; before I really became “crafty.” But I did include a few hand-painted items into his nursery. I made everything match his bedding exactly. (This was before I was comfortable with décor pieces “going” with each other. I though it all had to MATCH.) Everything was painted pastel blue, yellow, or green with moons and stars, including this circular mirror/picture frame.
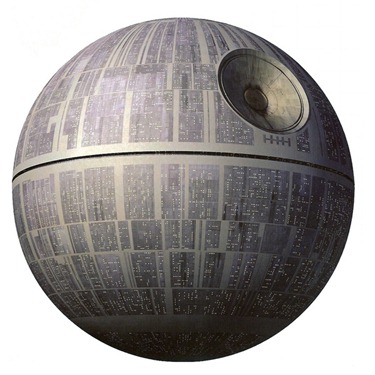
Maybe I’ve spent too much time living with Star Wars fans, but when I unpacked this frame after the move into The Mad House I no longer saw cutesy, nursery décor. I saw this:
A “moon-sized Imperial military battlestation armed with a planet-destroying superlaser.” (Thanks, wookiepedia!) And I knew I was on to something. With inexpensive materials, and very little time, I turned a wedding present into the Death Star.
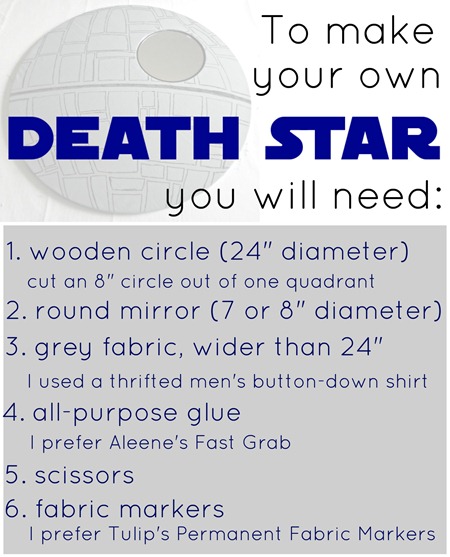
I know not all of you have circular frame/mirrors lying around your homes, but if you are handy with power tools I am sure you can cut something similar for yourself. My frame is about 2 feet wide and the mirror hole is 8 inches in diameter. You can obviously make yours as big or little as you would like.
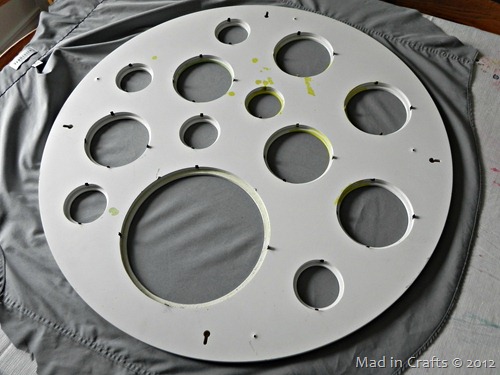
I began by laying his nursery mirror on top of the wrong side of the shirt. The shirt still had wrinkles and bubbles in this picture, but I smoothed them out before moving on.
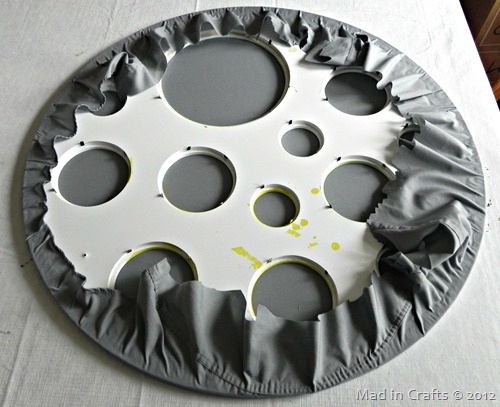
I began gluing the fabric to the back of the frame. At first, I tried using hot glue and IT DID NOT WORK! Don’t even waste your time. I dug through my craft stash and found my bottle of Aleene’s Fast Grab Tacky Glue.
Lemme tell you, Aleene’s knows their adhesives. The glue is nice and thick and held the fabric fabulously. I am not being compensated for this post, I just was really impressed with the glue!
I found the best way to work was to glue one section and then work on the section directly opposite to it. That way I could pull the fabric taut, without causing wrinkles. I kept working until the entire perimeter had been glued down. Then I trimmed off the excess shirt fabric.
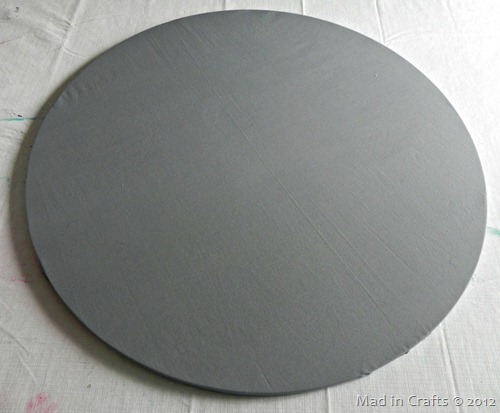
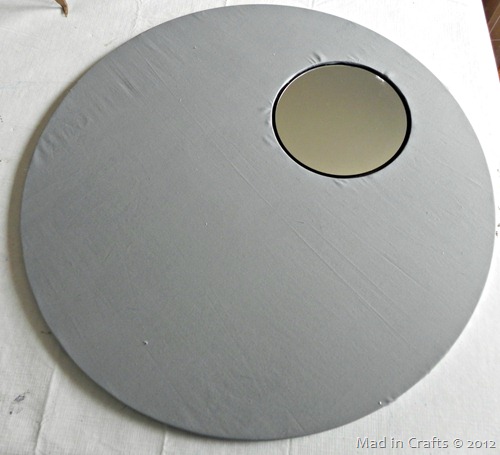
When I was finished, I flipped the frame over. Looking pretty good! I carefully placed a heavy box on top of the frame and let the glue fully dry.
The next step was to cut the hole for the mirror. I cracked the original mirror trying to remove it because I am an incredibly careful and deliberate crafter. Not so much. Fortunately, Michaels had round mirrors in stock for cheap.
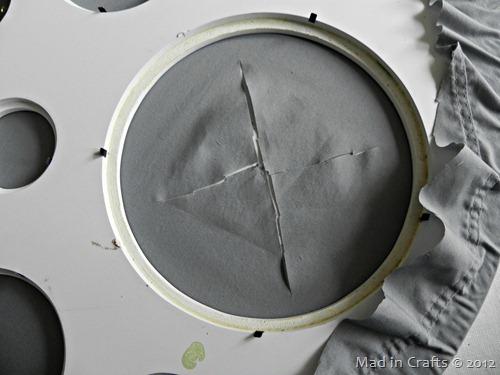
I cut the fabric in the middle of the mirror hole, cutting each wedge into smaller sections until I could pull it taut with the edge of the circle. I busted out my Aleene’s Fast Grab again and got gluing.
I glued a piece of black cardboard into the mirror hole and then glued the new round mirror into place. There are a few wrinkles along the mirror’s edge, but nothing I was too worried about.
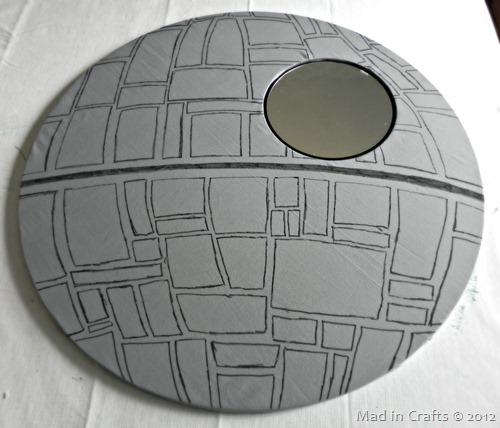
I opened up my laptop and used a few Google images of the Death Star to help me create the design of the ship’s exterior. I used Tulip’s Fabric Markers to draw on the design. The markers work so smoothly; much easier than using a Sharpie or other kind of marker not made for fabric.
The design isn’t perfect, obviously, but I think anyone familiar with Star Wars would be able to recognize it as the Death Star. It’s a pretty far cry from its cutesy, nursery beginnings, huh?
My son asked me to put Darth Vader in the Death Star, so the photoshopped collage is as close as I could get. 😛
I have one more Space Geek tutorial to share with you tomorrow, so be sure to check back!



This is absolutely fantastic, you’re so creative! May I ask how much time did it take to make this? Would love to try it myself.
This is awesome and I have a perfect place to put it in our Star Wars bathroom.