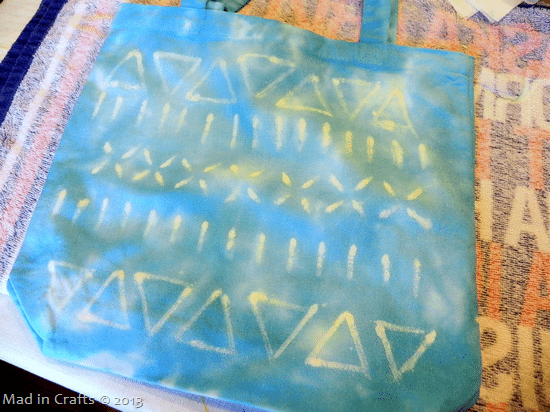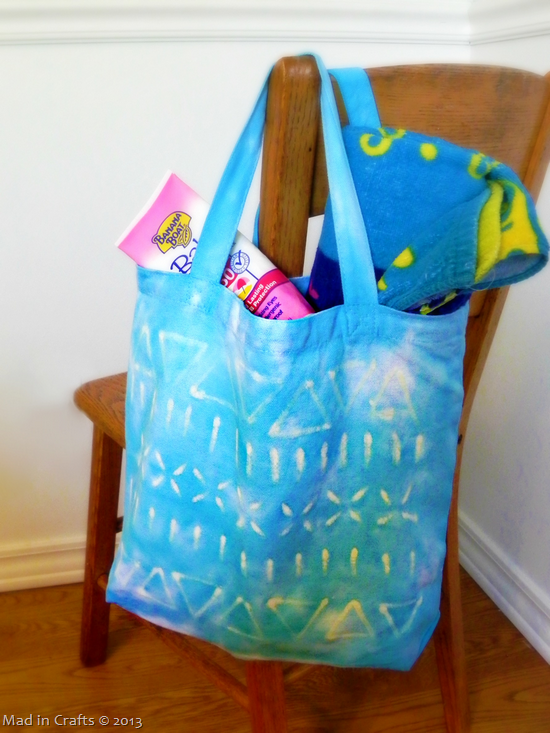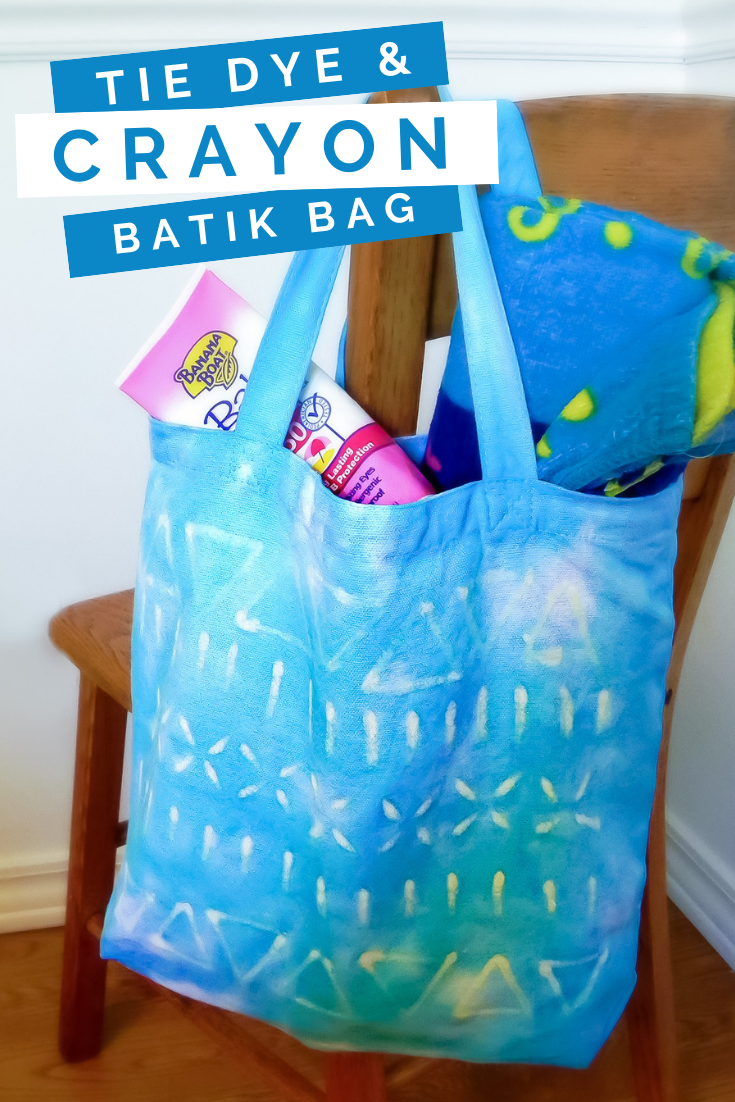
Summer is prime tote bag season. I am constantly grabbing tote bags when we head to the lake, a baseball game, or the park. I wanted to make a tote bag with a breezy, summer vibe, so I created this easy tie-dye and crayon batik bag. Today I am going to share how to get the look of traditional batik, using familiar craft supplies!
Tie Dye and Crayon Batik Bag
What is Batik?
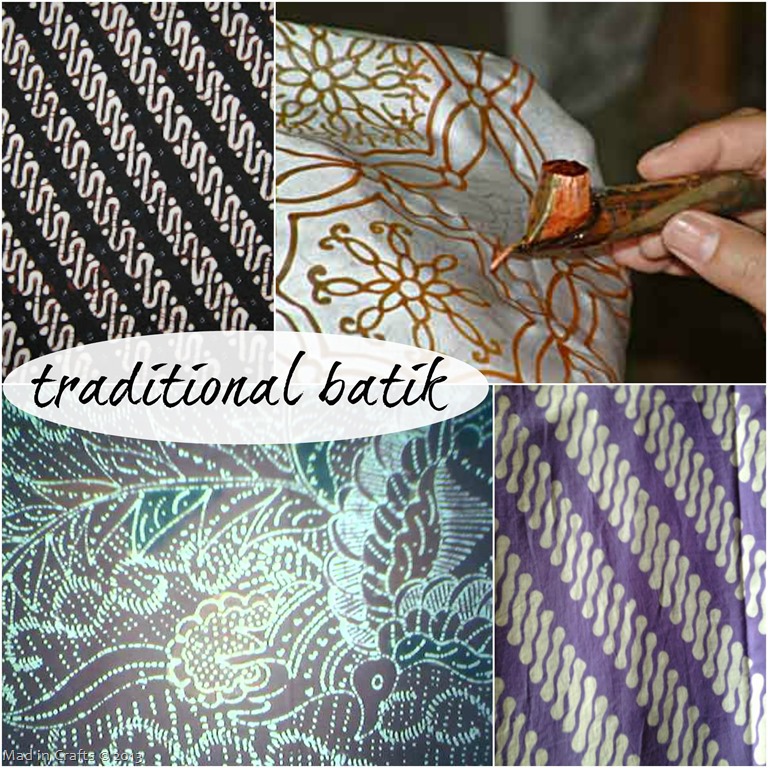
Batik is a type of textile that originated in Indonesia and that is created using dye and wax. The wax acts as a resist to the dye to create beautiful and intricate patterns. Batik artists use canting (the tool seen in the top right of the image above) to draw the wax patterns onto the fabric. Batik prints tend to crop up in spring and summer fashions because of the wide range of colors and patterns possible with the technique. Its island origins probably have something to do with it too.
How Do You Make a Faux Batik Bag with Tie Dye and Crayon?
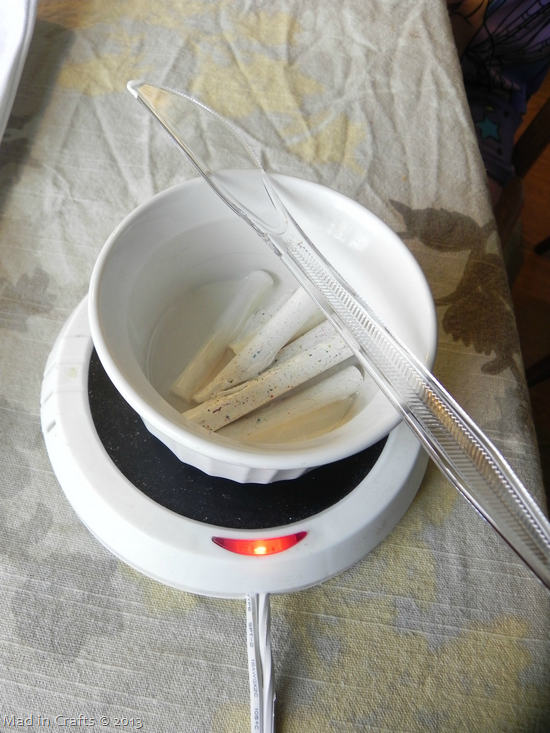
Break up a few white crayons (the white ones are pretty much useless other than for this project, right?) and put them in a heat-safe bowl. Set the bowl on a candle warmer and let them melt. The candle warmer will keep the wax melted while you batik the tote.
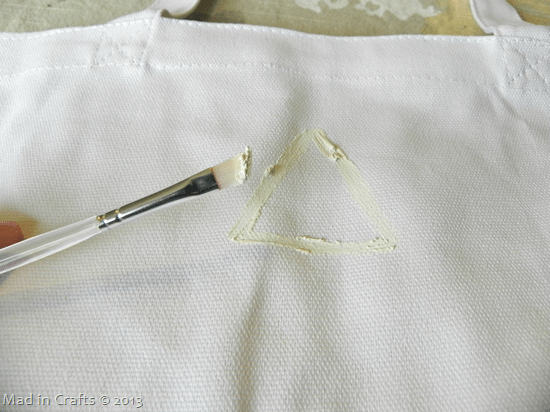
Using a paintbrush that you are willing to trash after this project, begin painting designs with the melted wax. The wax acts as a dye resist, so any areas that you cover with the wax will remain white after you dye the tote.
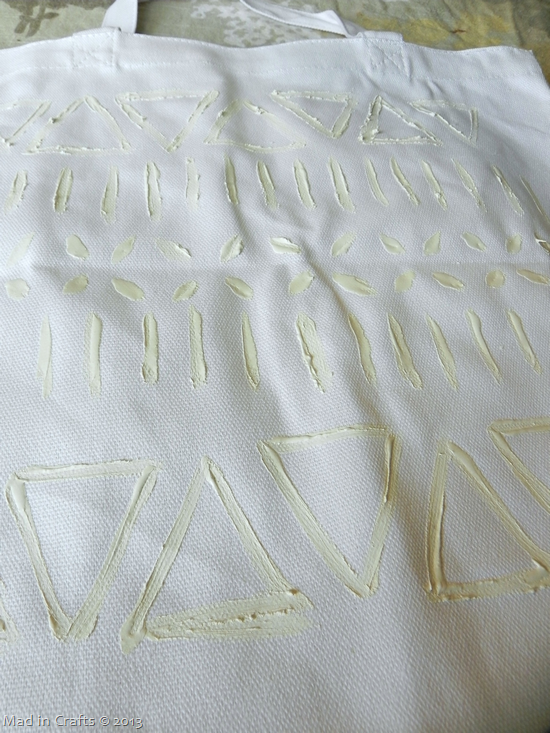
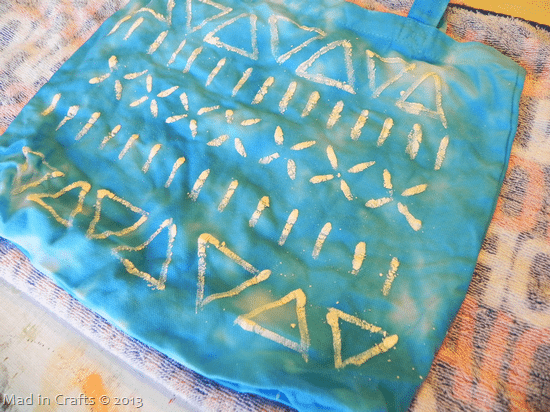
I created a kind of tribal pattern all over one side of the tote and then flipped it over and repeated the pattern on the back of the tote. The heavier you apply the wax the more defined the resist areas will be, and vice versa.
Dyeing the Tote Bag
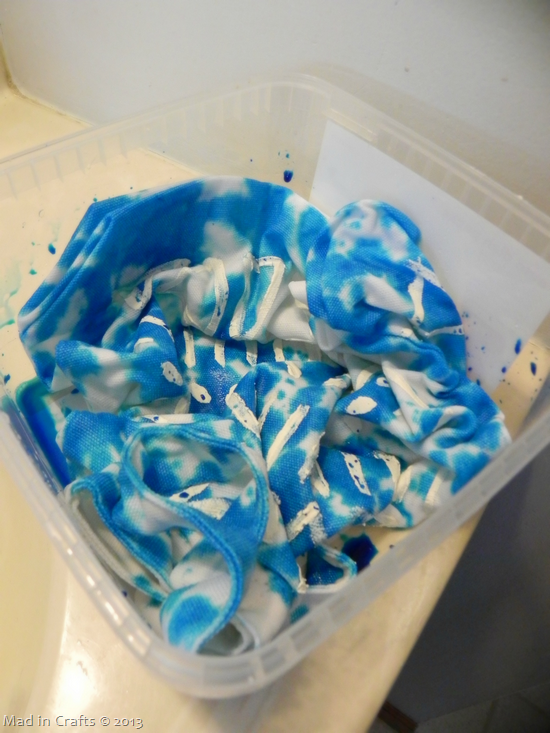
Soak your tote in water and place it in a bucket or tub. I used Tulip Tie Dye for my project because I love the fact that you mix the dye in squirt bottles, so you only use as much dye as you need. I wanted a painterly look for my bag, so I didn’t completely saturate the bag with dye.
Let your tote sit in the dye according to the manufacturer’s instructions.
Remove the tote bag from the dye and rinse it until the water runs clear. Don’t put it in the washer! Let the tote air-dry.
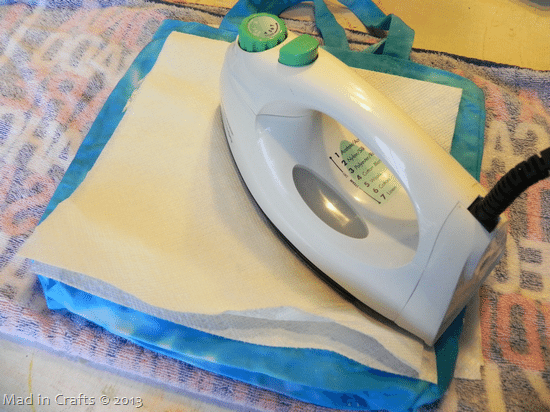
Lay the tote on your ironing board (or a makeshift ironing board like mine). Place a piece of paper towel inside the tote bag and a few sheets on top of the bag. If you created a wax pattern on both sides of the tote, place a sheet or two under the bag as well.
Turn the iron on medium to medium-high heat and slowly run the iron over the paper toweling. Adjust the heat of the iron to avoid scorching the paper towel.
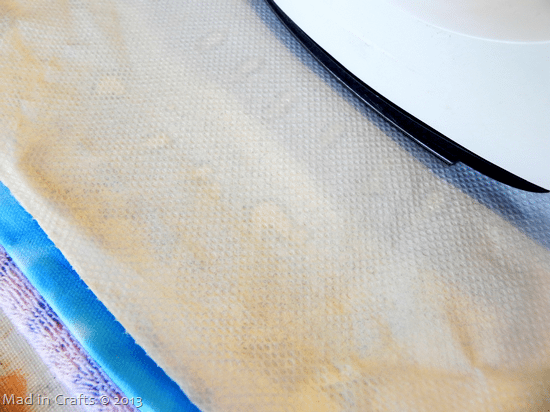
The heat of the iron will melt the crayon wax, and the paper towel will absorb the melted wax. If the paper towel becomes too saturated with wax, switch it out for a new sheet. Remove the wax from the first side of the tote, flip the tote over, and repeat on the other side of the tote bag.
After the wax is removed, you will be able to see your finished batik pattern emerge!
What You Need to make a Faux Batik Bag
I think this tote bag has a great, beachy vibe to it but done in a different pattern or dye color, and it would be an entirely different bag. The possibilities are endless!
These are all affiliate links, if you make a purchase (of anything from these retailers, not just these items) after clicking through, I will earn a small commission. Ads and affiliate links are the way I am able to keep this website running and to offer you free tutorials all year long. Thank you so much for supporting me and Mad in Crafts!
- plain canvas tote
- paint brush
- white crayons
- heat safe bowl
- candle warmer
- fabric dye
- tub or bucket
- iron
- paper towels
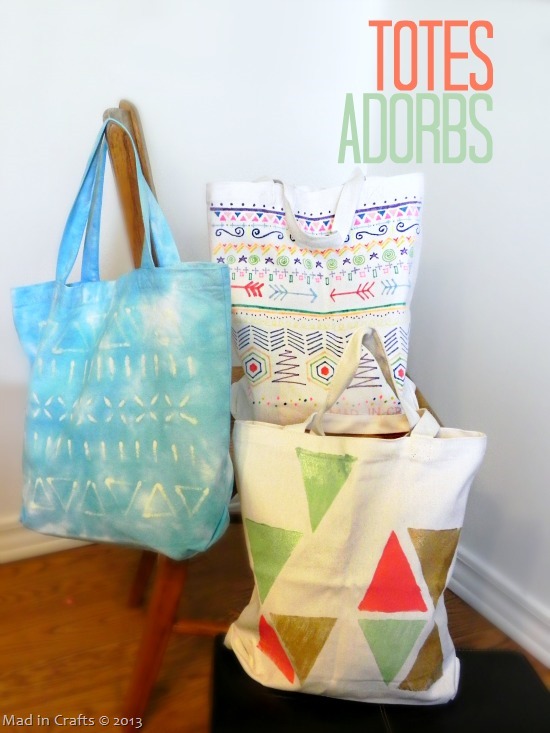
Check out these other tote bag DIYs:

