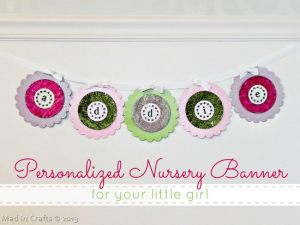
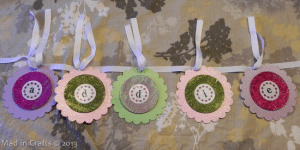
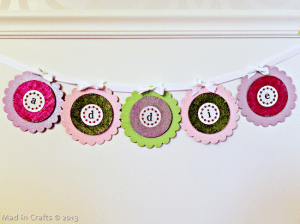
Personalized name signs that are bought from a store can be VERY pricey! By making your own, you not only save quite a bit of money, but you can customize every aspect, from the colors to the shapes. I made a name banner for my daughter’s Fairy Garden bedroom using a chipboard album from the dollar bins at Michael’s and some items that I already had in my craft stash!
I am part of the PSA Essentials design team. I received complimentary PSA products in exchange for creation of project ideas.
To make a Personalized Nursery Banner, you will need:
Some of the following links are affiliate links, and I will be compensated if you choose to make a purchase after clicking through.
cardboard or chip board circles
craft paints (satin and glitter)
paintbrushes
white paper
letter stamps and ink ( I used PSA’s Vanilla letters and Hello Kitty Garden Club border)
Follow these steps to create the flowers for each letter of the child’s name:
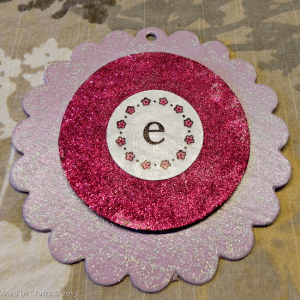
- Paint the chipboard flowers with craft paint in colors that coordinate with the room décor. Let dry.
- Use a light color glitter paint and paint over the first coat of craft paint. Let dry.
- Paint a medium coat of Mod Podge on the cardboard circles (the circles can easily be cut from old cereal boxes to save money). Pour on glitter in coordinating colors. Shake off the excess. Let dry.
- Mix together two parts water, one part craft glue. Coat the top of the glittered circles (this keeps any glitter from rubbing off later). Let dry.
- Stamp the letters of the child’s name onto white paper. Color in any details with a permanent marker.
- Cut the letters out with a circle cutter.
- Spray the paper circles with clear sealant (to prevent the ink from smearing).
- Mod Podge the letter circles to the glittered circles. Let dry.
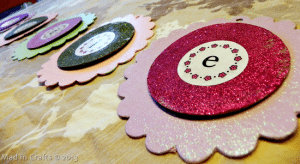
- Attach the glittered circles to the painted flowers with foam dots.
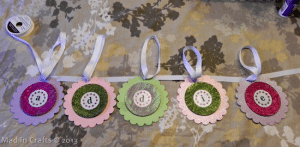
Lay the flowers out in order and space them out as far as you would like.
Thread a loop of grosgrain ribbon through the hole of the chipboard flowers, from back to front. Keep the flowers spaced out.
Snip through the middle of each ribbon loop.
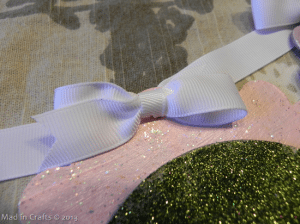
Tie the ribbon into a small bow at the top of each chipboard flower. Trim off any excess ribbon.
Hang the banner up in the little girl’s room and admire your work! You could make name banners for boys using the same general process. Chipboard albums come in a wide variety of shapes, so you can customize the name banner to fit with any nursery theme!
My NEW ebook is now for sale on E-Junkie. Find out more about it HERE!
Did you like this post? Think it’s worth sharing? Please share with your friends using the social media share buttons on the toolbar at the bottom of the page!
Thanks, Jessica




Leave a Reply