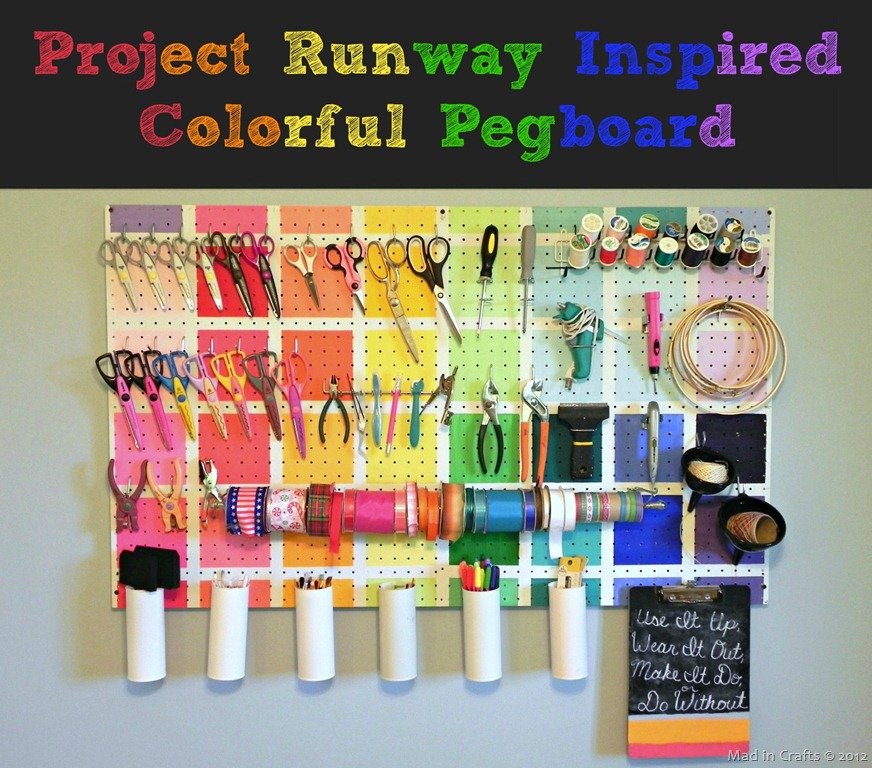
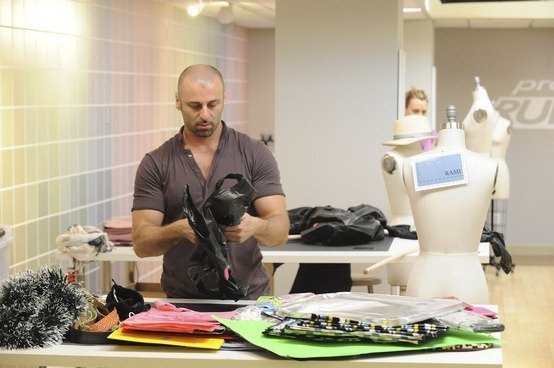
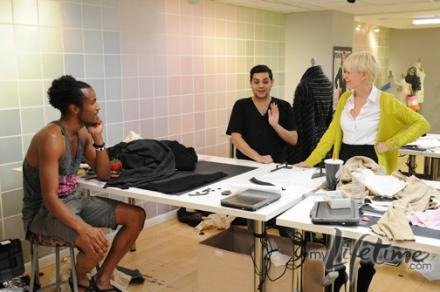
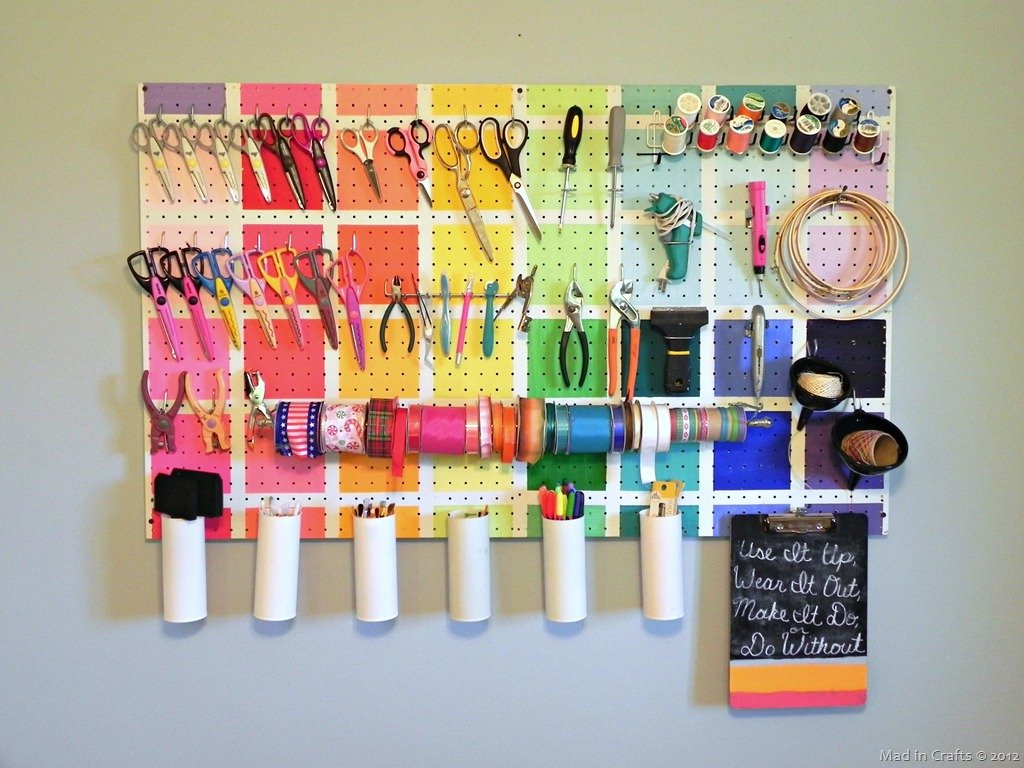
I am a big Project Runway fan. Last summer I loved watching the All-Stars season (although I did REALLY miss Nina, Michael and Tim… Heidi not so much). I loved having the best of the best competing against, and fighting with, each other. I loved the fabulous, outlandish fashions. And I loveLOVED the workroom. So much so, that I created my own Project Runway inspired colorful pegboard based on the walls of the workroom.
Project Runway-Inspired Colorful Pegboard
Inspiration from Project Runway

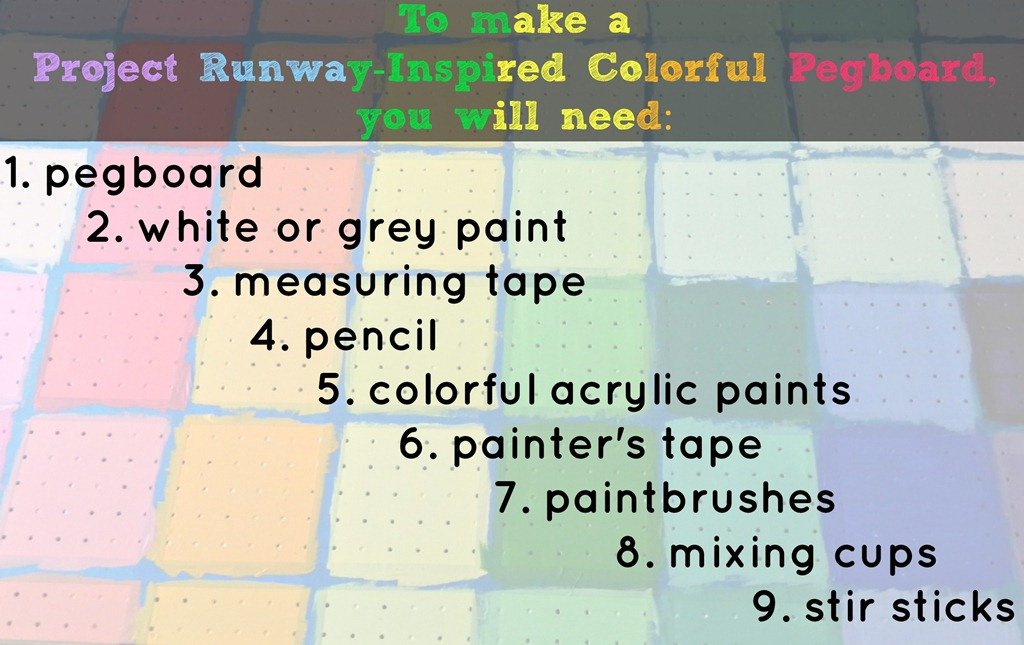
What You Will Need to Make a Colorful Pegboard
Basic Color Theory
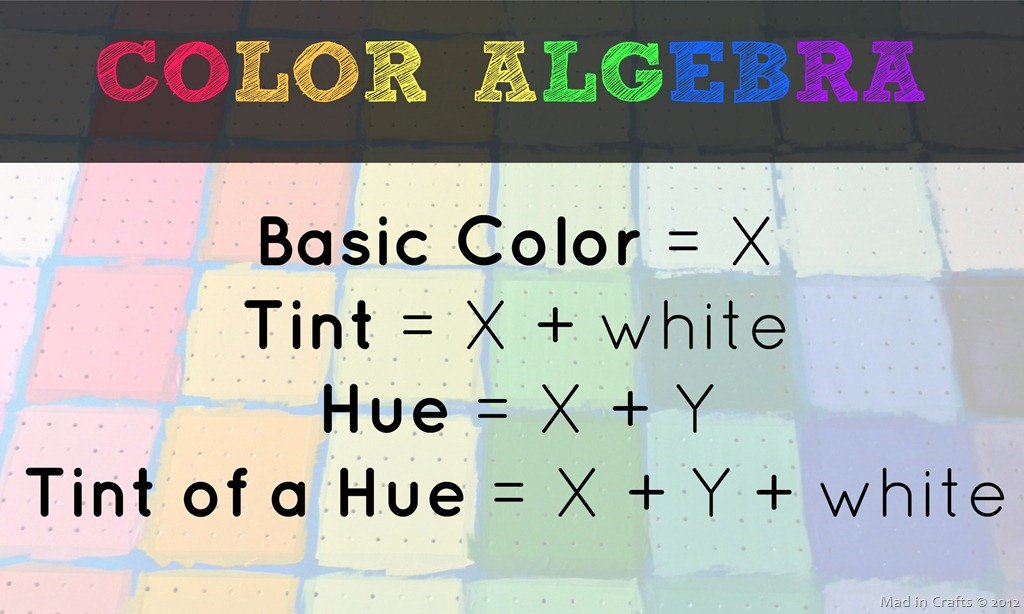
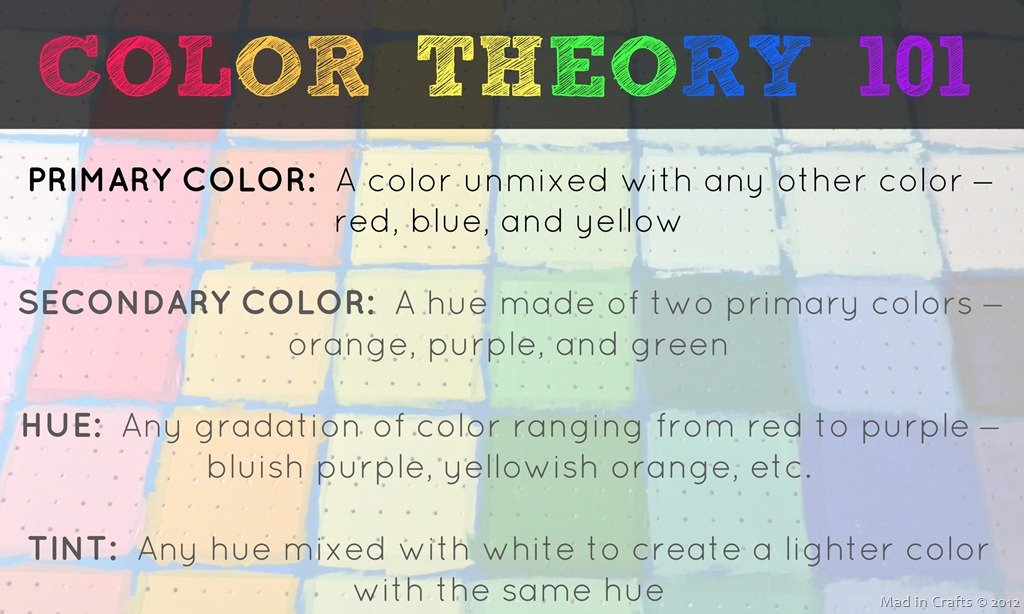
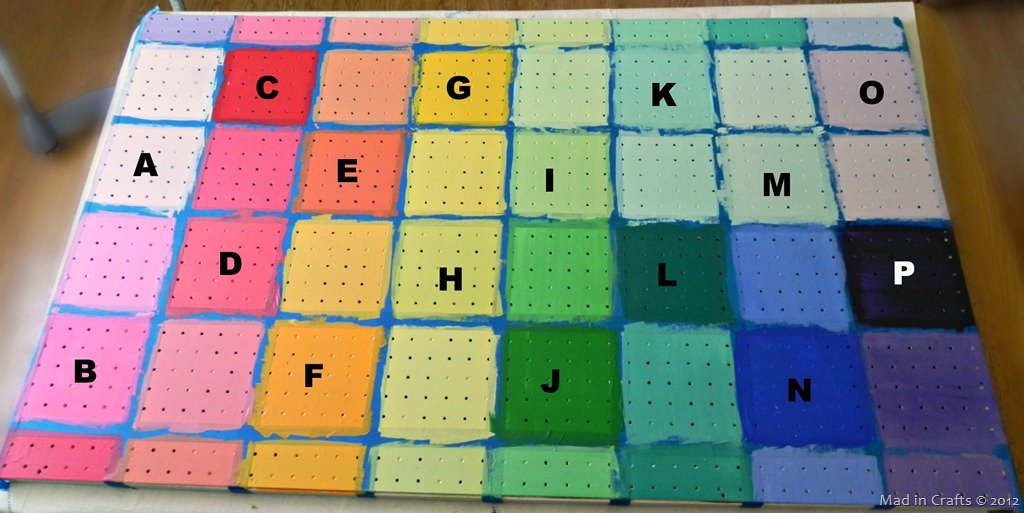
The painting process took a bit of patience and planning. I wanted to create a layout that had colors, tints, and hues much like the Project Runway workroom that originally inspired this idea. But before I tell you how I painted the pegboard grid, we need to review a little ART 101.
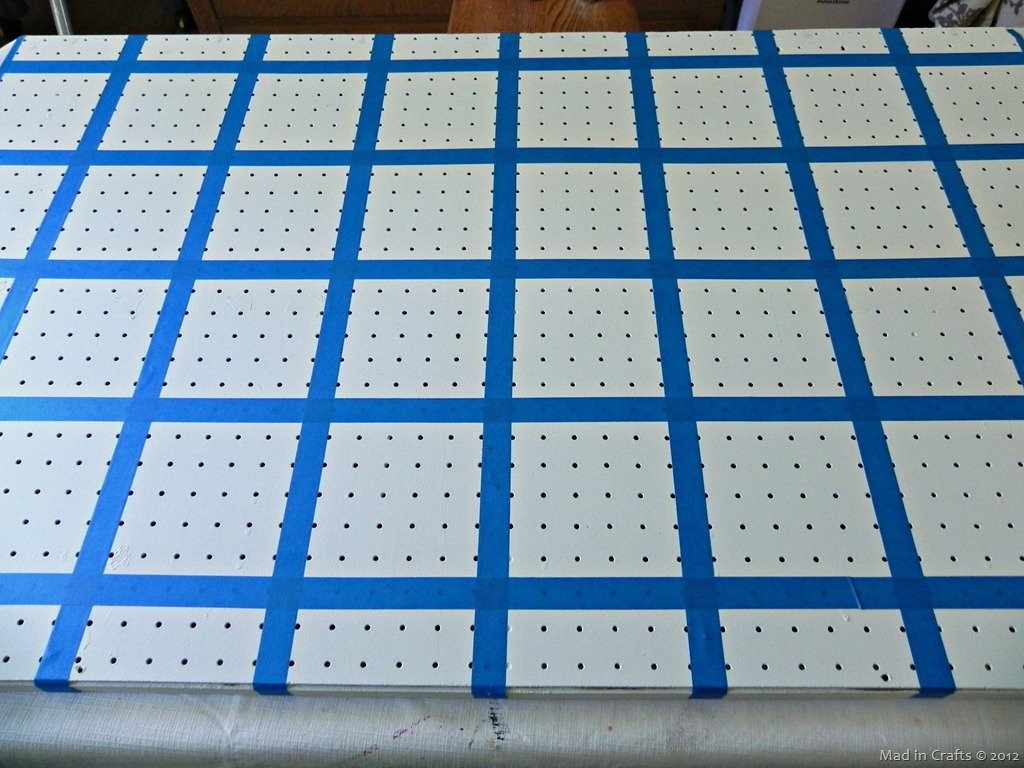
Creating a Gradient Color Pattern on a Pegboard
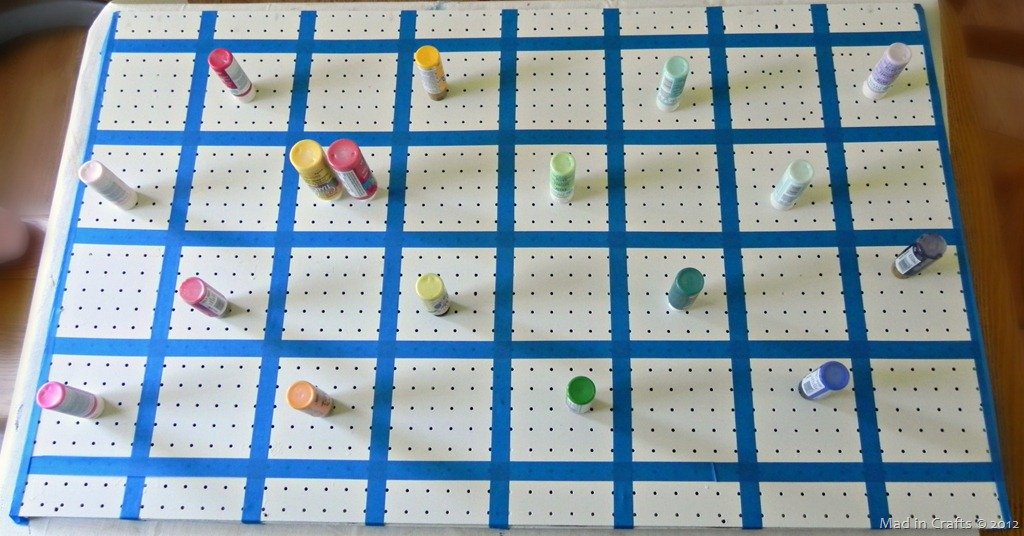
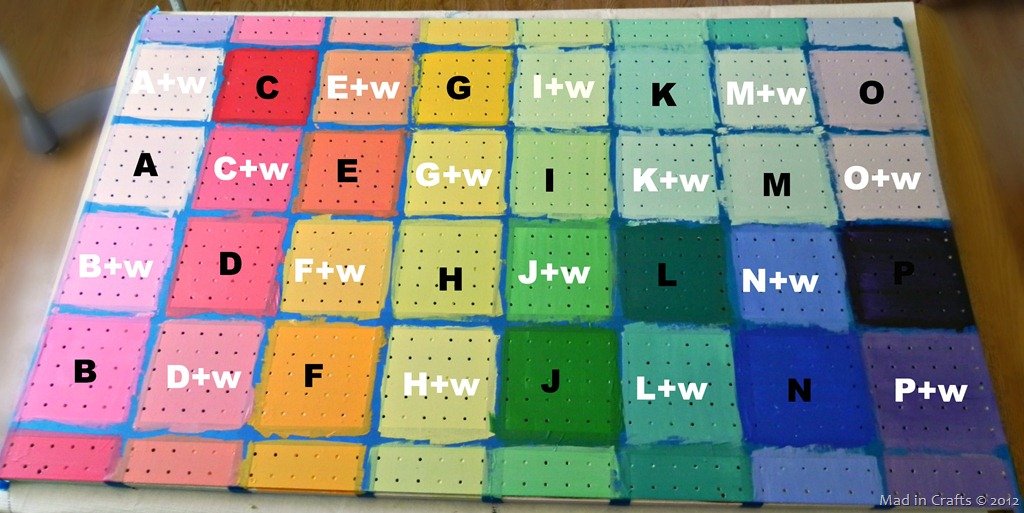
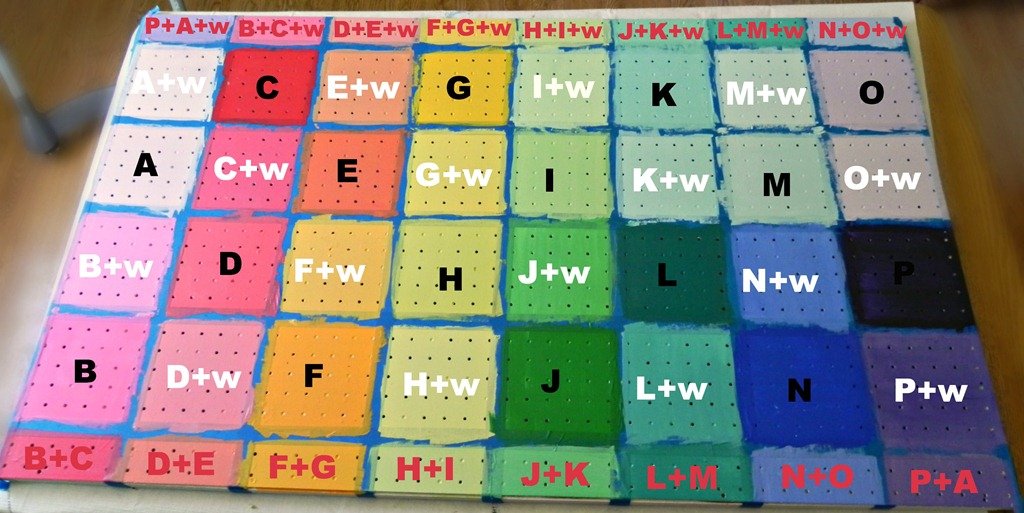
For the top row of the pegboard, I created a tint of each of these custom hues. Remember tints are made from mixing a color with white. EXAMPLE: For the top of the second column, I mixed the hue from the bottom of the first column (B+C) with white (B+C+w).
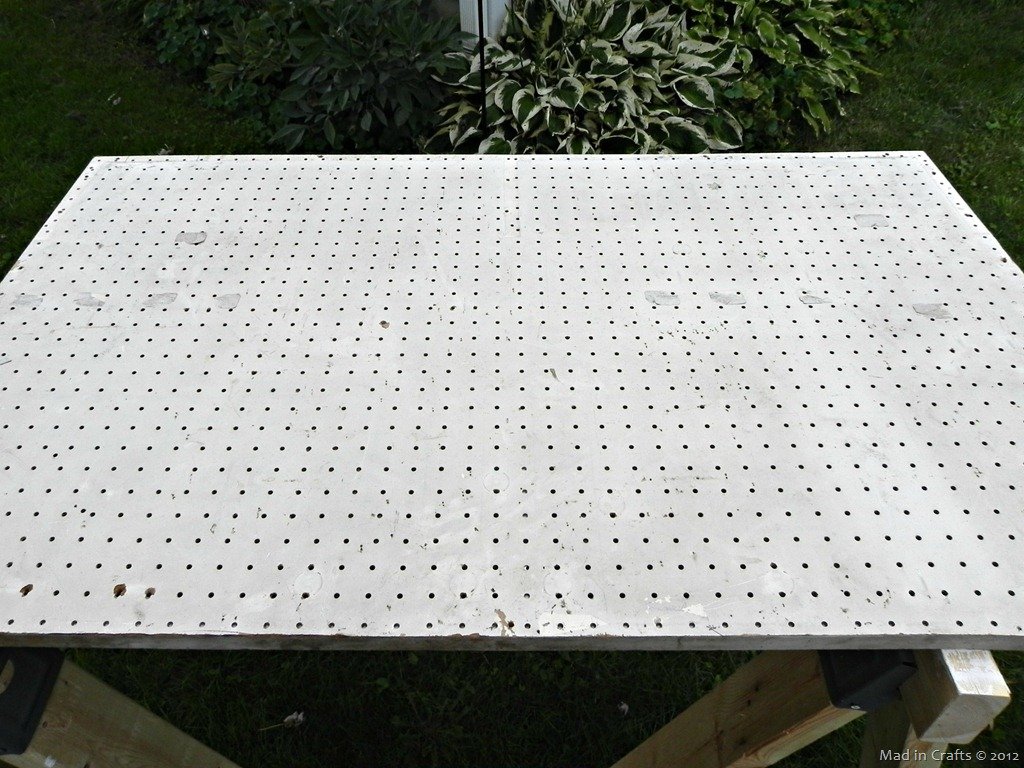
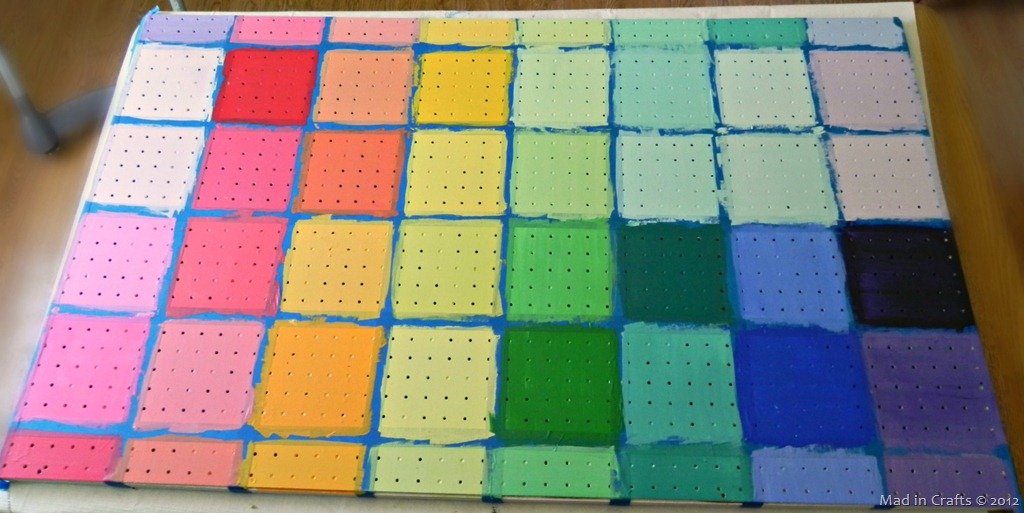
This is what my pegboard looked like with all my colors, hues, and tints all in place. PS I just got a heck of a lot of use out of that one photo.
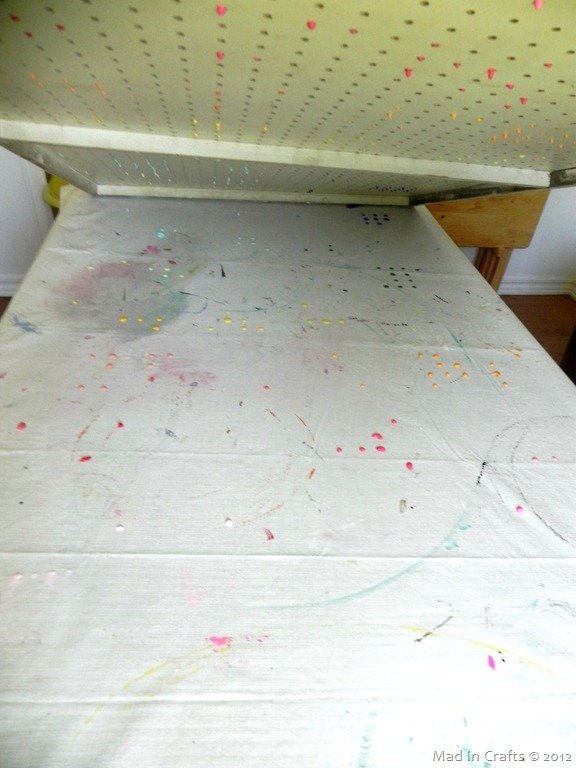
If you put a big piece of poster board or a canvas under your pegboard, you could turn it into an unintentional masterpiece!
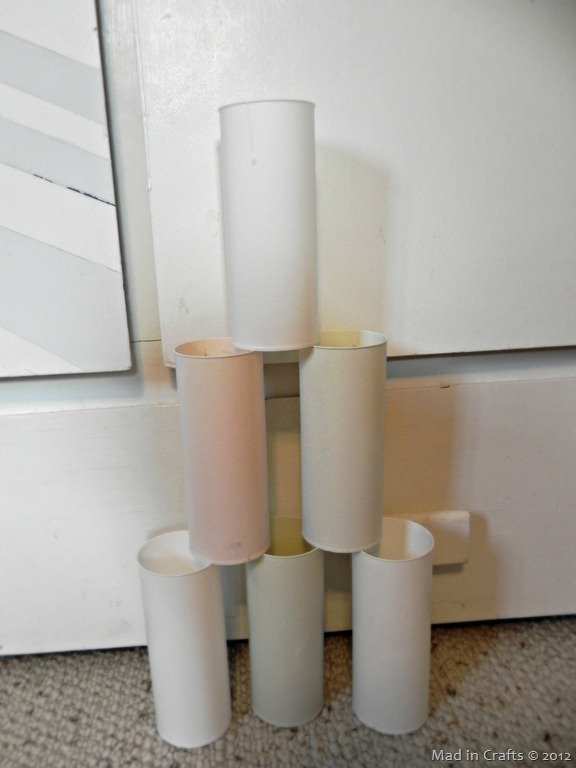
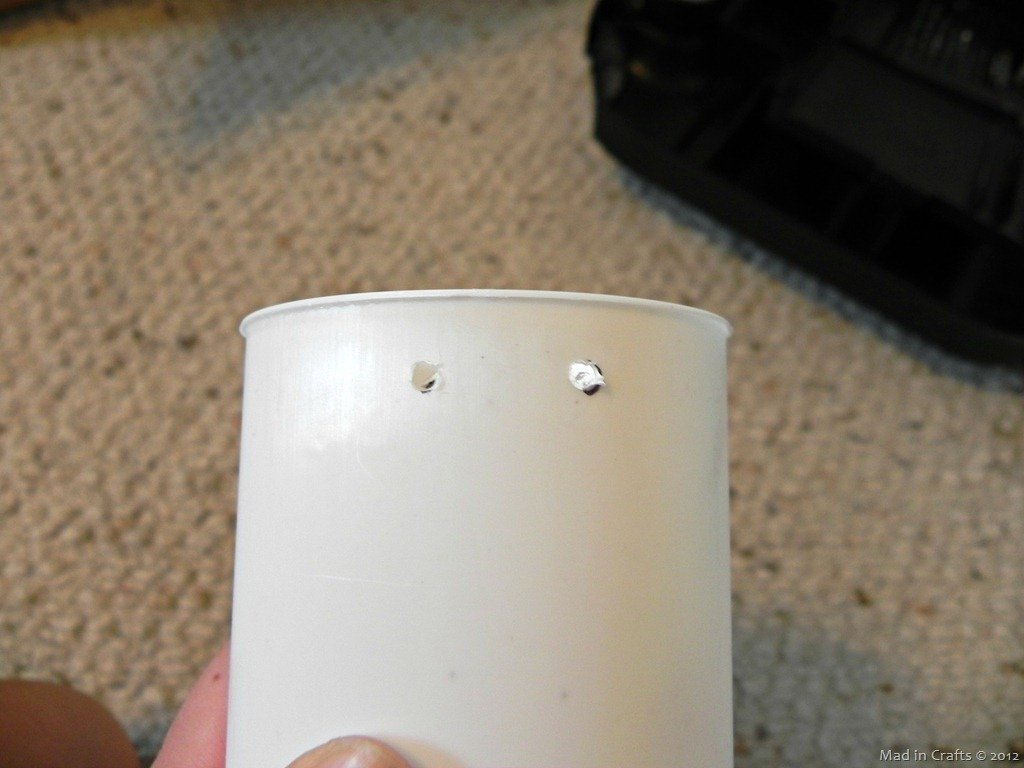
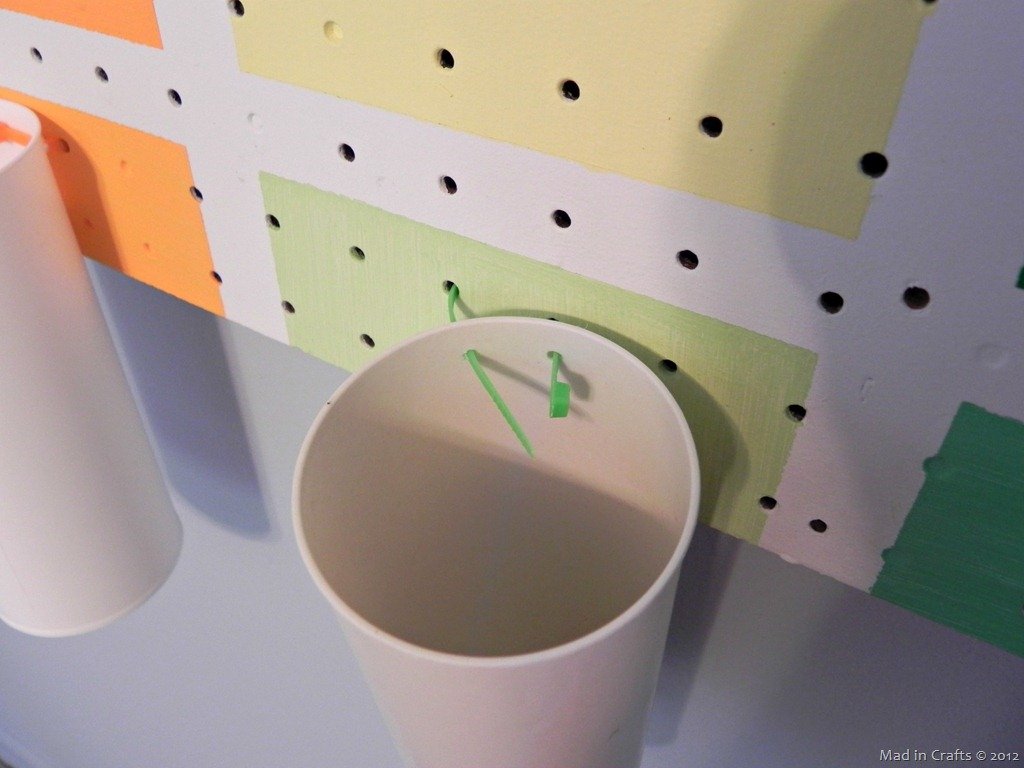
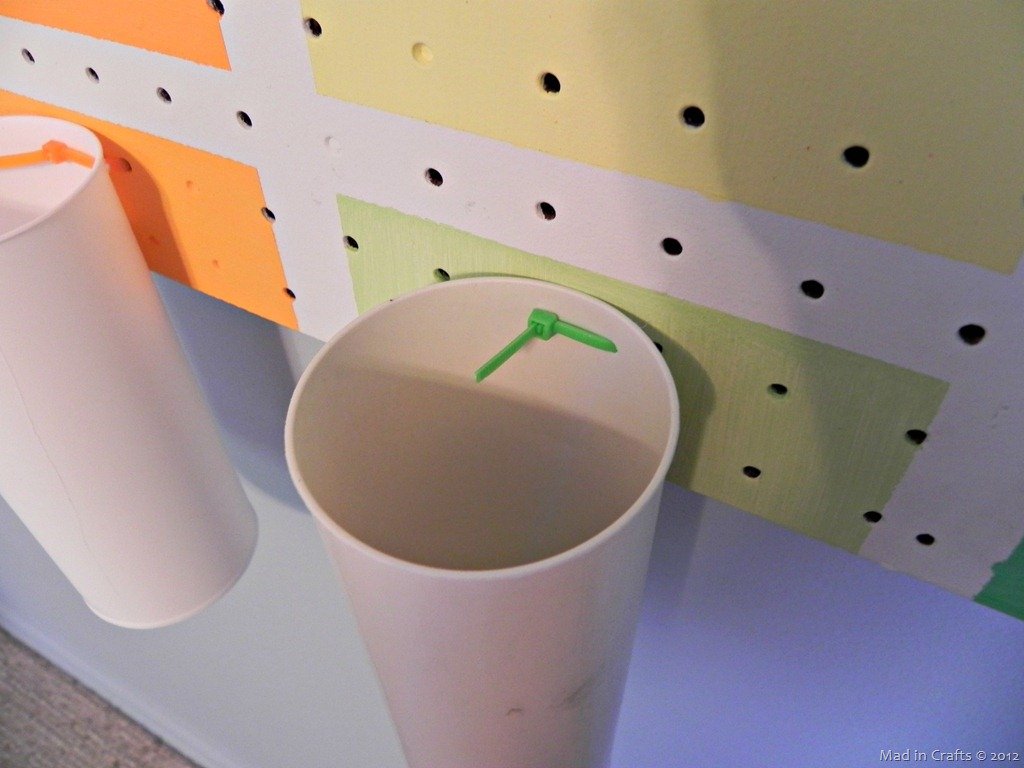
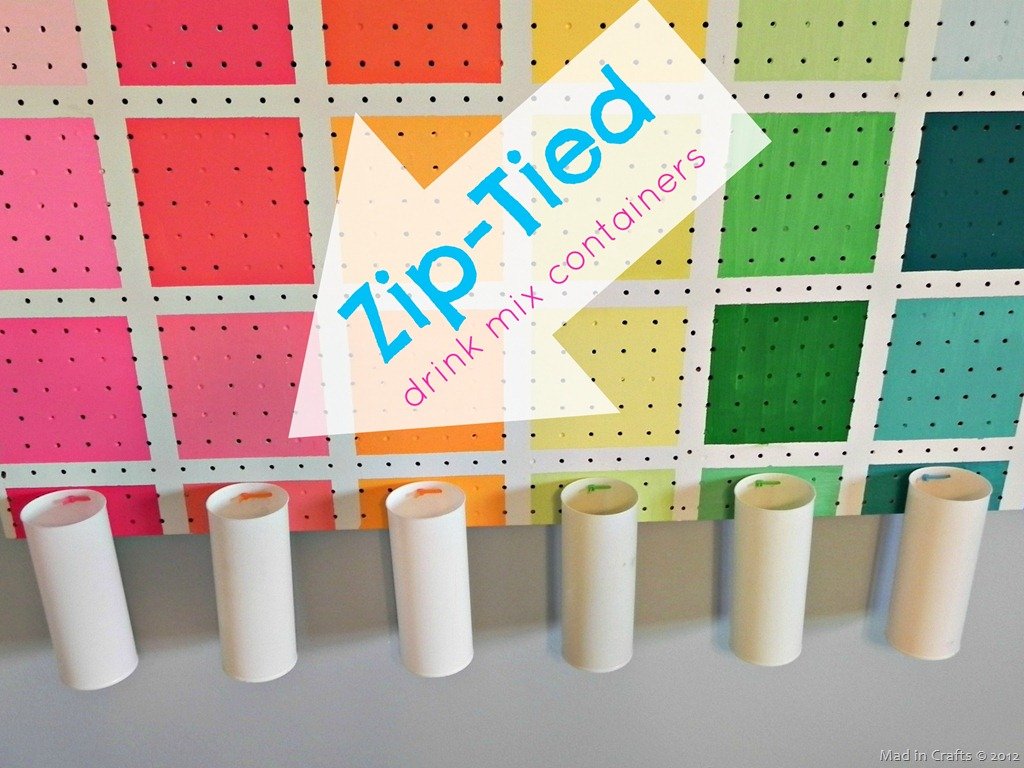
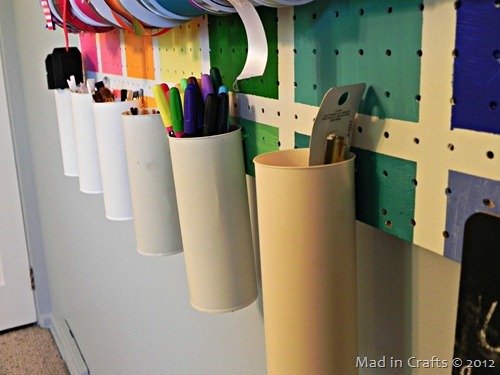
Using Powdered Drink Mix Containers as Pegboard Storage
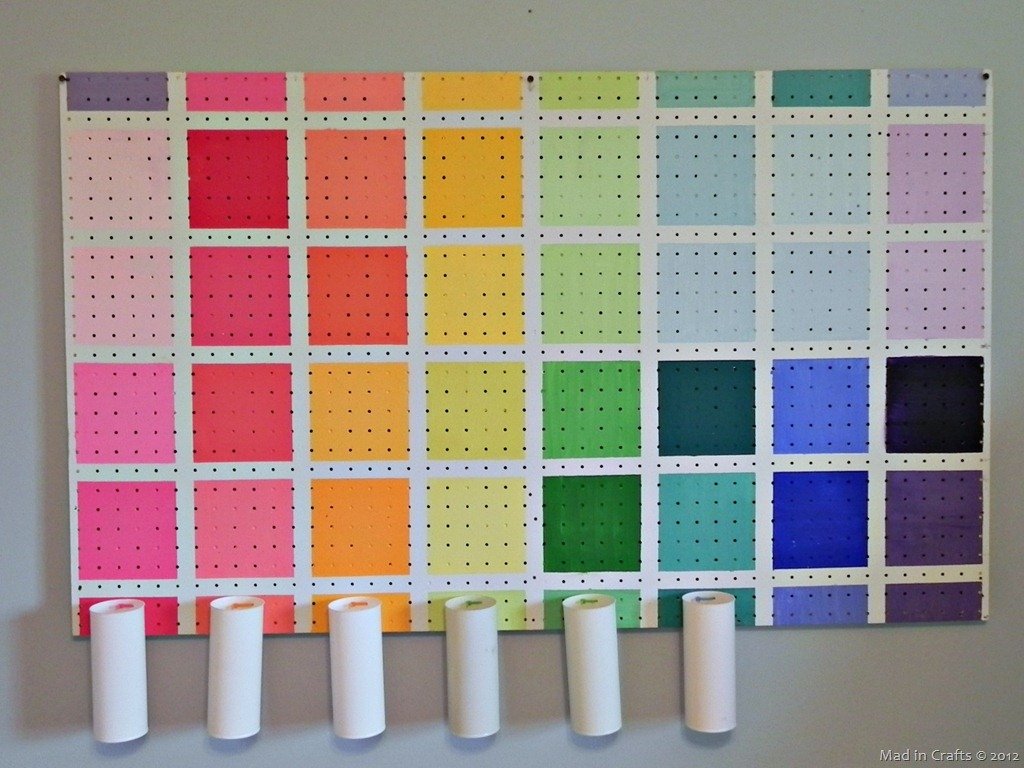
The drink containers hang securely from the pegboard for additional storage.
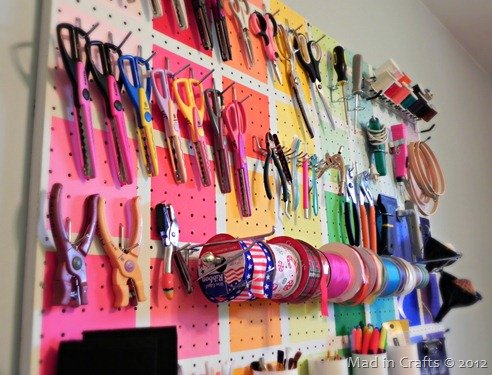
Project Runway-Inspired Colorful Pegboard
I am so pleased with my pegboard makeover. It adds so much color to my craft room, and it will help to keep me organized and (sort of) sane while I am working on my projects. What do you think of the colorful makeover? Is it too busy for your taste or is it just bright enough?



that was such a great project well worth sharing. thank you
I love the crap out of this pegboard. Absolutely gorgeous. I’ve never seen a pegboard I really liked – they’re so useful, but never actually pretty. THIS one is pretty. Great great great idea!
I love your peg board, I have been thinking about trying a peg board for my jewelry ( I make jewelry), it would sure help keep me organized, lol
It’s called a Pantone wall
hi,
could you please help me?
i want to know the specification of pegboard..
thankyou you took a photo the back of pegboard so now i know the back side of this thing hehehe..
i really curious about how people stick it on the wall..
(sorry my english are so bad)
really pleased if you send me an e-mail 🙂 thanks..
Rani, the pegboard was installed by screwing cleats (2x2s of wood) onto the wall and then hanging the pegboard on the cleats. Then we screwed the pegboard down from the top into those cleats. Hope that helps!
Hey, I’m so glad I found this post! This was a great idea with gorgeous execution, and your tip on using cable ties is a life saver.
However, when I try to pin these images using your pin me buttons, the photo won’t show up in the pin preview or on Pinterest. It just shows the tiny jpg icon and when I try to view my pin, it says there was an error and redirects me. I haven’t had any problems pinning anything else, so I think it has to do with your images/pin button somehow.
Please let me know if you’re able to get it fixed.
Thanks for the heads up! I will look into it. In the meanwhile, if you use either the Pinterest Chrome extension or the share buttons at the top of the post, you should be able to pin this project. Thanks so much!
Great tutorial and your math on the colors was easy to follow. One suggestion regarding the zip ties would be to thread them from the back first and then through the can. That way, the “knot” is in the back instead of in the can where it could snag items when they are taken out of the can.
That’s a super smart suggestion. Thanks!
I love it! Using things you have on hand and getting creative with the design is very inspiring. Thank you for sharing this great idea!
Thank you so much for your kind comment!