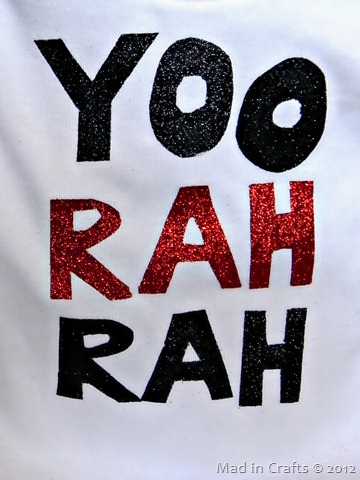
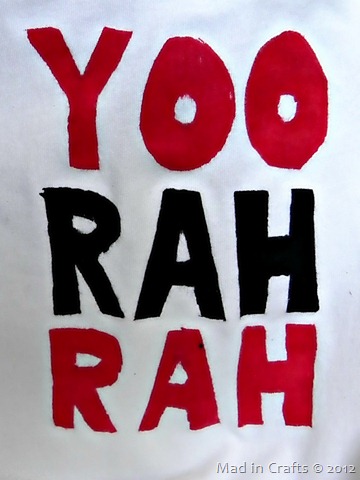
College football is rapidly approaching, and the season of school spirit and the “old college try” is upon us. Each summer my family gets together with a group of my dad’s friends who all went to the same college. We have a big potluck, dress up in school colors, and the guys group up to sing the school’s Alma Mater and fight song. Unfortunately, their college was closed almost 20 years ago, so any school gear is out of production.
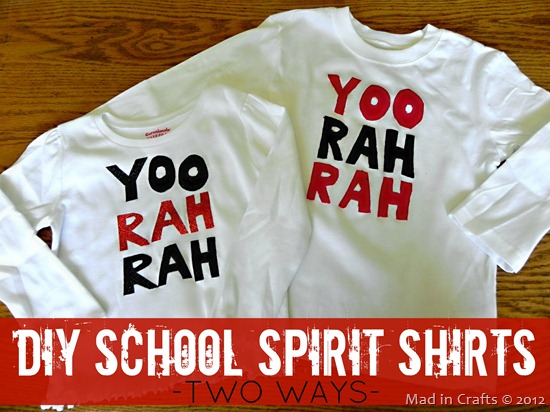
In order for my kids to be able to join in the festivities, I made them each a shirt in the school colors with the cheer from the school’s fight song. If you are looking to DIY some personalized school gear to support your favorite school, try out one of these two VERY simple shirt decorating techniques. Whether you shout “Roll Tide!” or “Hook ‘Em, Horns!” DIY shirts will help you show your true colors!
TULIP GLITTER SHEETS
Last Winter I had the chance to try out Tulip’s Glitter Shimmer Transfer Sheets on behalf of Décor Hacks. I really liked working with the product and had quite a bit left over after making my Blinged Up Throw Pillow. When I got the idea to make a School Spirit Shirt for my daughter, I knew the sheets would be perfect for the project.
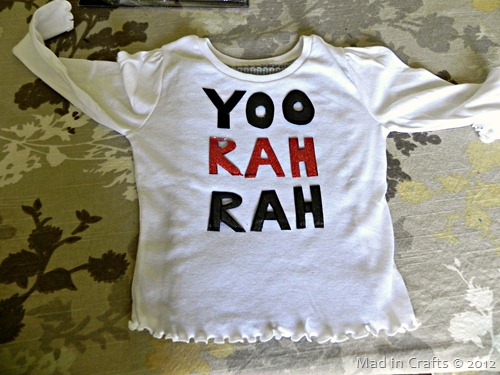
Cut your letters out of the transfer sheets using a die-cutting machine or by hand (like I did). Place some cardboard or a towel inside the shirt to protect the back from any leak-through. Arrange the letters on the shirt and make any adjustments to spacing and alignment.
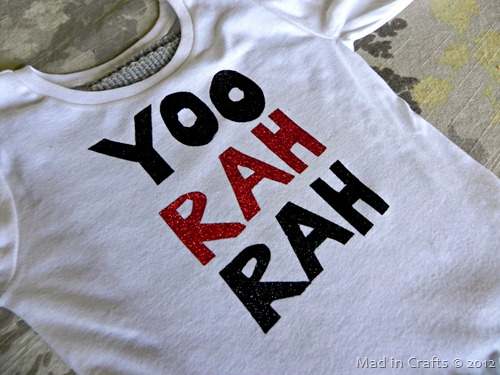
Peel the plastic backing off the glitter sheets and place them carefully back onto the shirt. Cover with a clean towel and iron for 40 seconds. The glitter sheets will adhere to the fabric leaving behind a fantastic shimmer.
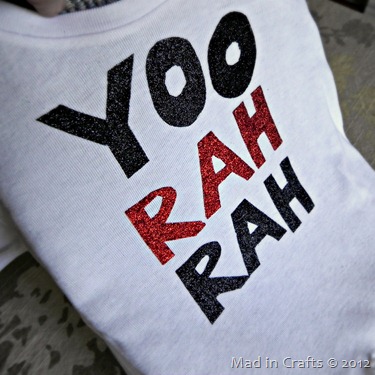
When the light hits the glittered letters, you can see that the glitter sheets have a much more concentrated glitter look than plain glitter paint provides.
FREEZER PAPER STENCIL
I used a freezer paper stencil for the first time when making my daughter’s Pumpkin Birthday Outfit, and I was instantly hooked. The process is so easy and nearly fool-proof. The technique all hinges on the fact that freezer paper, when placed shiny side DOWN, can be ironed onto fabric and then perfectly pulled back off again.
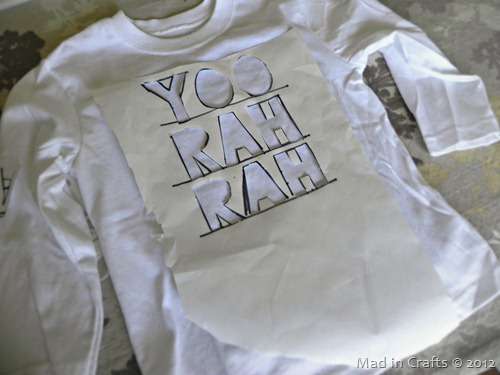
Cut a piece of freezer paper to fit the front of your shirt. If you will be drawing or cutting your letters by hand, place the piece shiny side DOWN and sketch out your letters. If you are using a die-cutting machine run your paper through shiny side DOWN!
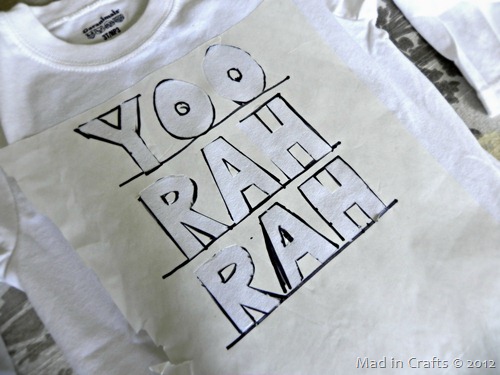
Be sure to save any internal hole pieces when you are cutting the letters and replace them in the correct position on the shirt. Iron the entire piece of freezer paper onto the shirt.
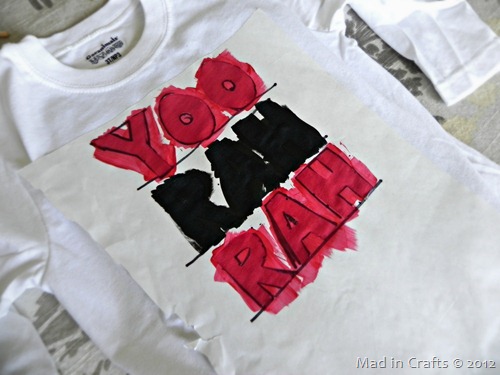
Slide a piece of cardboard inside the t-shirt to prevent paint bleed-through. Using fabric paint (or regular craft paint mixed with fabric medium), paint over the stencil.
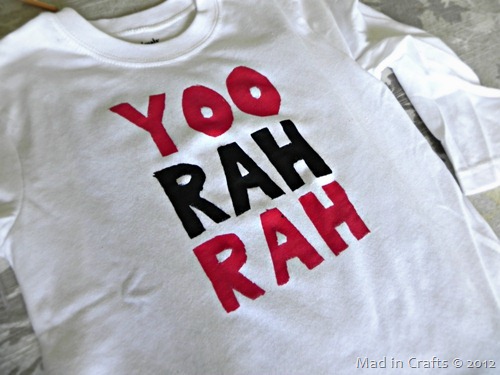
While the paint is still wet, peel back the freezer paper to reveal your finished lettering.
My daughter’s shirt has a fantastic shimmer to it and looks great, even though the second “O” took a bit of a dive when I was ironing it.
My son’s shirt is bold and graphic, and the paint is soft, not stiff. I was bit heavy-handed with the paint which resulted in some of it leaking beneath the freezer paper. Use a lighter touch for crisper lines.
The kids’ shirts were a big hit at the potluck, and they are excited to wear them all Fall. Now get out there and show your team spirit with customized shirts for your whole family!
Do you have a college team you support? What is their battle cry?

