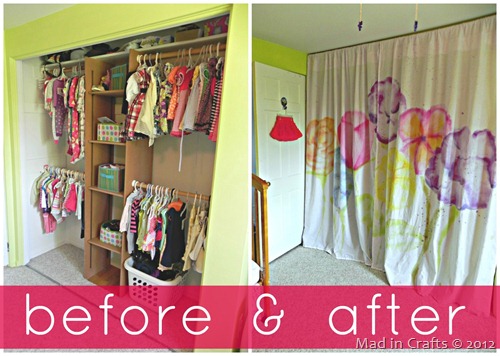
My daughter’s new bedroom has a nice closet, with a really useful organizer inside. The only problem is that it had no doors. There are tracks for bi-fold doors, but I don’t really like them to begin with, and I think they are an accident waiting to happen in a kid’s room.
When I was given the opportunity to use Tulip’s One-Step Tie-Dye Kit to create a home décor project, I knew I would use it to make curtains to camouflage her closet safely. The question was how to use the tie-dye but still make the curtains fit in with her Fairy Garden room.
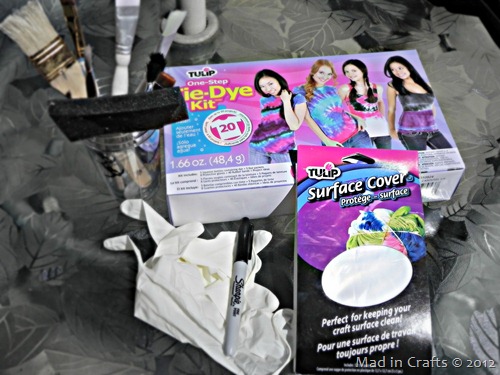
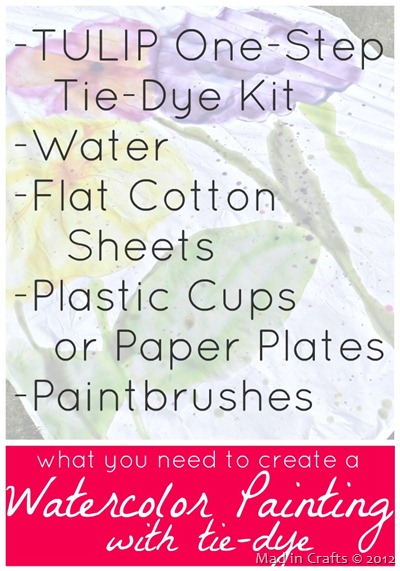
Tulip sent me a large One-Step Tie-Dye Kit, a Surface Cover, and latex gloves. Kits like these are sold at Walmart, Walmart Canada, Michaels, JoAnn, A.C. Moore, Hobby Lobby, Hancock Fabrics, and Meijer. Your tie dye kit contents and colors may vary depending on the store.
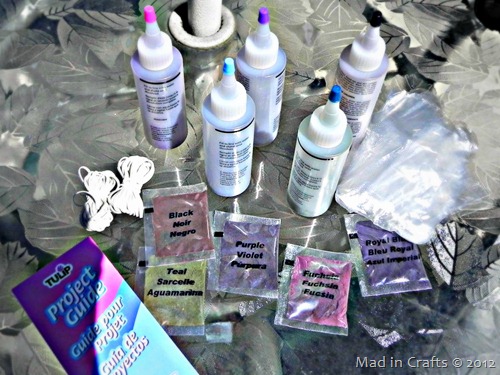
The large kit I received from Tulip contains 5 colors of dye in the bottles (ready to mix), 5 refill packets, plastic gloves, rubber bands, and a project guide that tells you how to achieve several popular tie-dye techniques.
I, of course, couldn’t leave well enough alone and decided to come up with my own technique. I was intrigued by the painting technique shown on I Love to Create’s website, but I wondered if it could be expanded beyond simple lines and solid shapes.
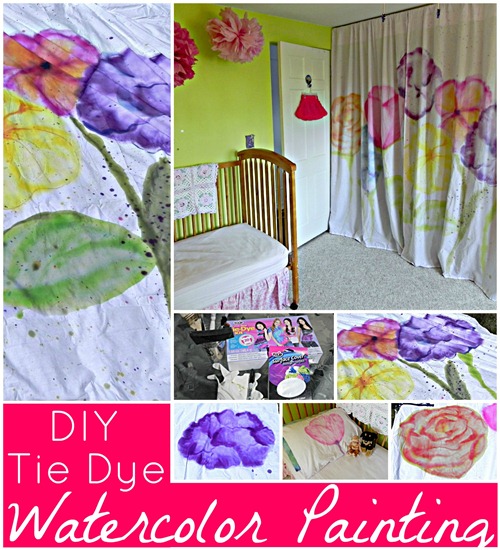
I wanted to try to watercolor with tie dye. I am NOT a watercolor painter, but I was inspired by several images I found online of artists’ beautiful abstract watercolor flowers. Since I was using a Fairy Garden theme for my daughter’s bedroom, I thought it would be really cool to make a giant watercolor garden to hide her closet.
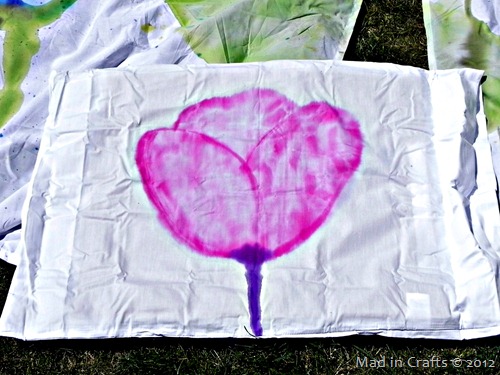
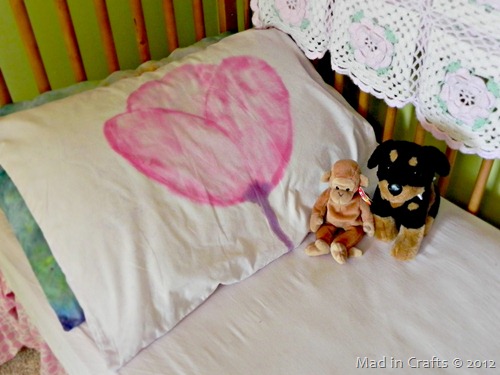
I tested my technique on a pillowcase first (which I obviously did NOT iron) to be sure it would work. I was pleasantly surprised with how well it turned out. Now on to the much bigger experiment.
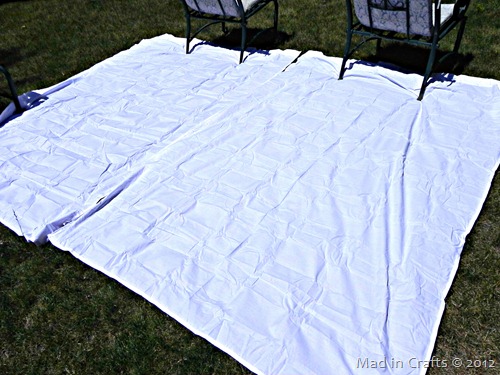
I bought two flat, white sheets from Wal*Mart for $5 each and laid them out on my lawn. It was crazy windy the day I was doing my painting, so I had to weigh down the edges with patio furniture. After mixing up a few colors according to the package directions, I got to work.
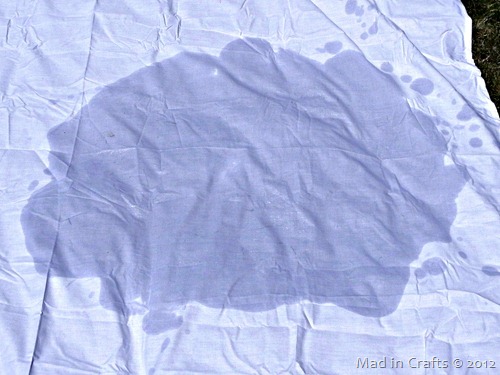
First, I used a foam brush to wet an area of the sheet in the general shape of the flower I was going to paint. I think using a spray bottle full of clean water would have been even easier and faster.
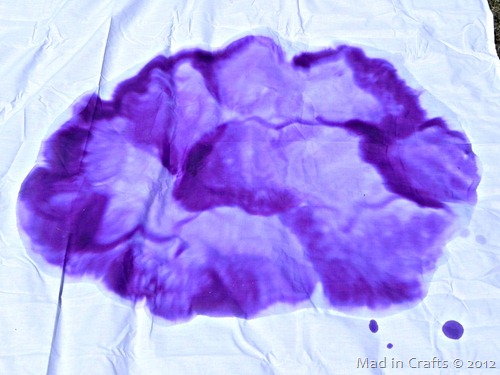
While the sheet was still wet, I began painting in a rough shape of a flower. By squirting some of the purple dye into a plastic cup, I was able to dip a paintbrush into the dye and paint just like I was using watercolors!
Since the dye wicks through the material, it isn’t possible to paint sharp lines. But for my abstract, watercolor garden, that was just fine.
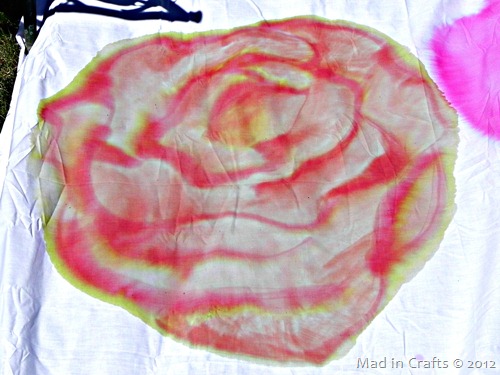
For this purple flower, I painted the petal edges first and then brought the dye in with each stroke. This technique leaves the edges dark and makes the center lighter.
You CAN mix dyes to create new colors, just like paint. Just be aware that different dyes wick at different rates. So, although I mixed up an orange dye for the rose, the red dye pretty much stayed where I put it, the yellow dye wicked much farther out. I LOVE how that looks, but be prepared in case it’s not a look you want.
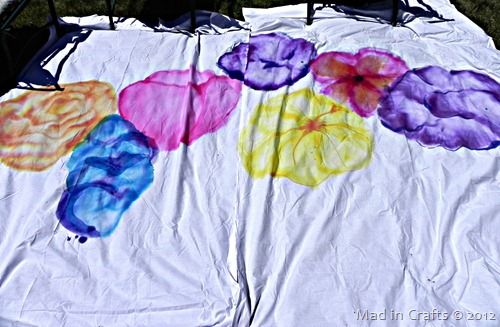
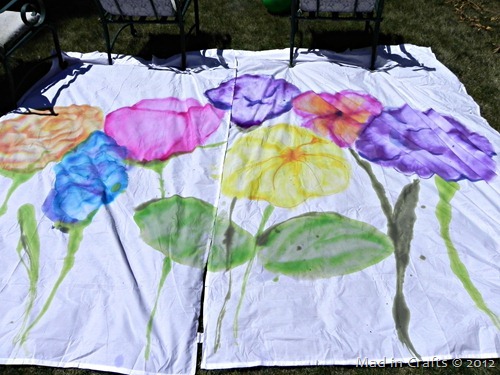
Using the same process, I painted the rest of the fairy garden. You can see that after each flower dried, I went back and layered additional colors of dye onto each flower.
You can create strong, dark lines by painting straight dye onto dry fabric. The flower on the far right is a good example of that. If you look at the next flower to the left, you can see that the orange color blended into the pink. I did this by applying orange dye to the dried pink flower and then wetting the fabric again so the dye wicked outwards.
TIP: When you are painting, make the colors darker than you think they need to be. Some of the dye will wash out when you rinse, and the colors will dry lighter than they appear when wet.
Once I was satisfied with the flowers, I added in stems and leaves.
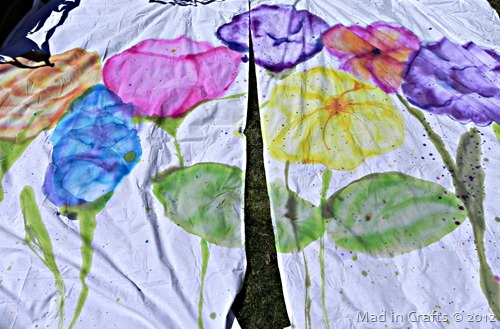
Some of the inspiration paintings I found online had lovely splashes of color all over the canvas. After I was finished painting the garden, I dipped my brushes in pure dye and splattered different colors all over.
This step is totally optional, but I like the way it looked. If you don’t, you can hang out with my four-year-old son, who told me, “It looks messy now.” Thanks, kid.
Let the dye sit for at least 6 hours, rinse until the water runs clear, and wash the sheets by themselves (no other laundry in the machine). The tie-dye is set and you can hang your masterpiece in your home!
I used Stitch Witchery to create a hanging pocket on the sheets to make curtains the height of my daughter’s bedroom. By hanging a curtain rod as close to the ceiling as I could, I basically created a giant watercolor mural for her room.
The sheets camouflage all her clothes, and I don’t have to worry about her pinching her fingers in a set of nasty bi-fold doors.
I rinsed and washed my test project too, so now she has a matching pillowcase for her big girl bed.
The most exciting thing about this tie-dye technique is that the possibilities are endless, not just for what you can paint but for what you can DO with the painted fabric. I know your creative brains are already spinning with ideas.
You could:
- Mount the fabric and hang it on the wall like any painting.
- Make a backdrop for a party photo booth.
- Custom paint an entire set of bedding: sheets, pillowcases, and duvet.
- Design your own watercolor print fabric and turn it into clothing.
I am sure there are plenty more ideas that you could develop with a little time and inspiration. Tie-dye kits are great for more than the typical bull’s-eye t-shirt. Just let those creative juices flow!
If you are not quite ready to jump into “advanced” tie dye methods, come back on Friday for some Tie Dye 101.
Be sure to check out I Love to Create on facebook and twitter, and Tulip on facebook!
Find my full disclosure HERE.







These look terrific! Great job!