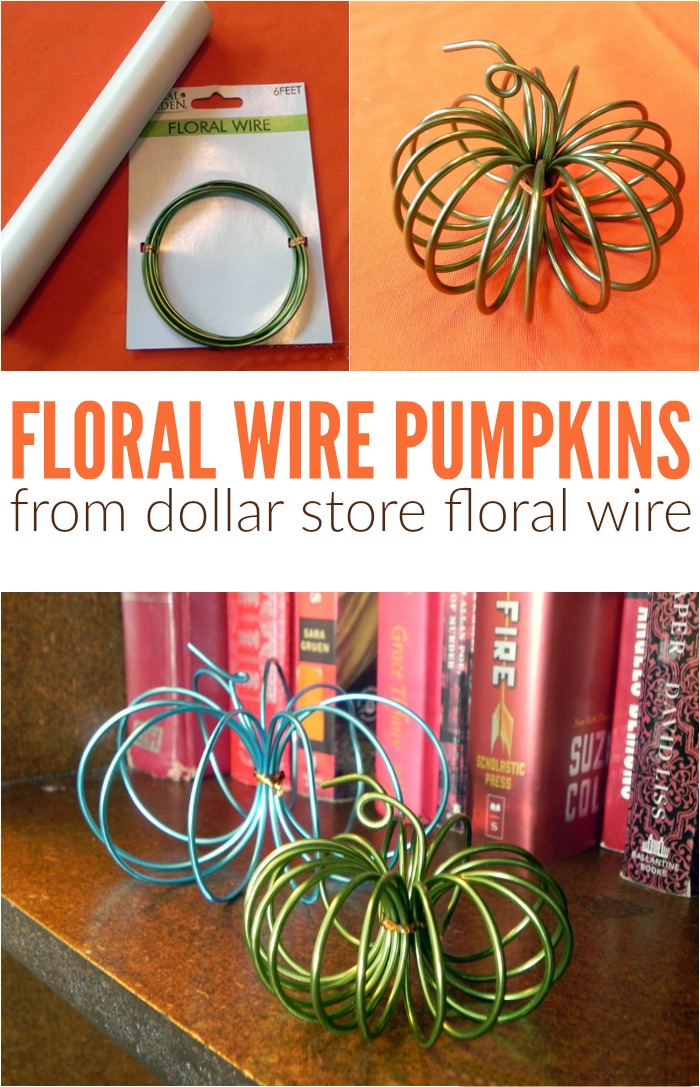
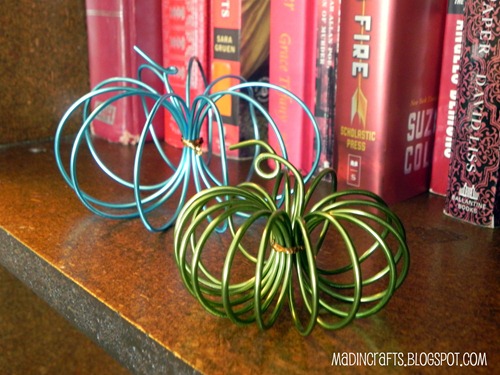
I have seen DIY wire pumpkins all over blogland, and I wanted to make some for my fall décor too! I want my house to be FILLED with pumpkins, after all. You can go to the hardware store and spend a pretty penny on copper wire, OR you can go to your nearest Dollar Tree and get some floral wire.
They are currently selling this higher gauge wire in 4 or 5 colors. You only get 6 feet for your buck, but for this project that is all you need.
Watch this quick video to see how easy this project is. Continue scrolling for the step out instructions. Be sure to subscribe to my YouTube channel for creative videos twice a week!
To make floral wire pumpkins, you will need:
dollar store floral wire (SAVE THE TWIST TIES)
a cylinder
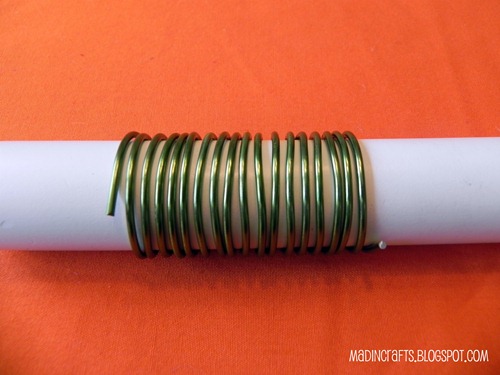
Begin by coiling the floral wire around the cylinder. The smaller the circumference of the cylinder, the smaller the smaller, but fuller, the pumpkin will be.
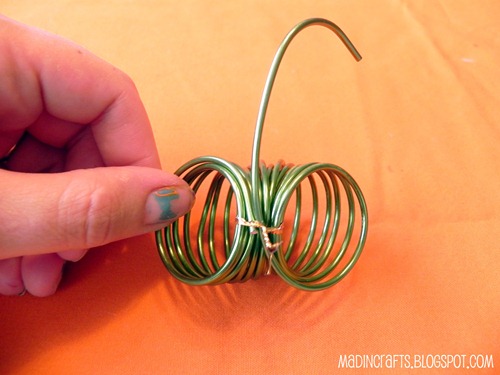
Remove the wire from the cylinder and twist tie the coil together. Leave an inch or so of wire sticking out to serve as the pumpkin’s stem.
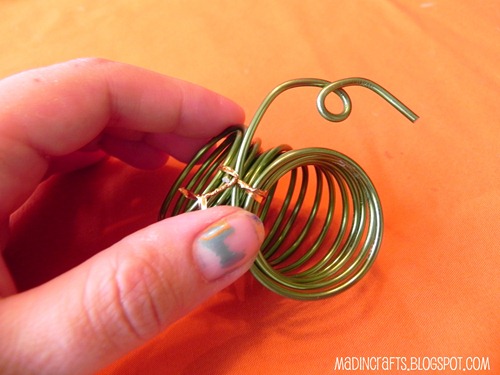
Make a tiny loop in the stem of your pumpkin.
Can you tell I don’t get regular manicures? Unless you count splashing acrylic paint in the direction of my hands. Those I get ALL the time.
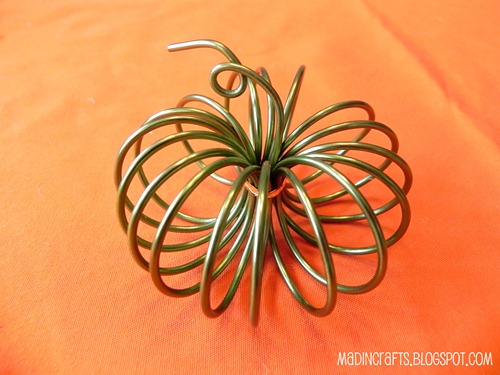
Gently round out the coil to form a pumpkin shape. Ta da! You’re done!
You can make wire pumpkins in a variety of colors and sizes in a matter of minutes. It’s a fun and easy way to add little humor to your space.

