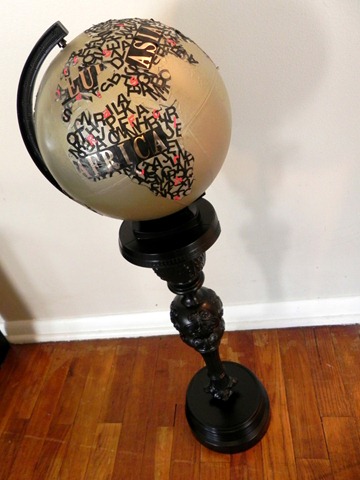
Taking second place again means I get to share the tutorial for my project here for you! I put my love of typography into full gear with my funky globe revamp.
Typographical Globe with Upcycled Pedestal
Please note: This page may contain affiliate links. If you click a link and choose to make a purchase from the partnership site, I will earn a commission. Thank you for supporting Mad in Crafts!
Did you see all the thrift store projects submitted for the second round of So You Think You’re Crafty? They were amazing! I was so happy to take second place again with such great competition.Celeste’s fun floor poufs (made from one tired beanbag) got the most votes in the round. Keep an eye out for the tutorial on SYTYC.
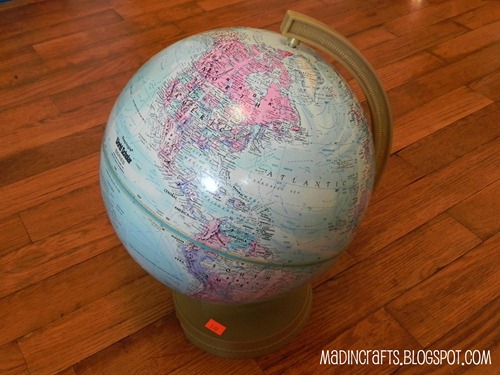
I was super stoked to find this plastic globe at a local thrift store for $2. Globes are timeless accents in home décor, and designers are reimagining them in really creative ways right now.
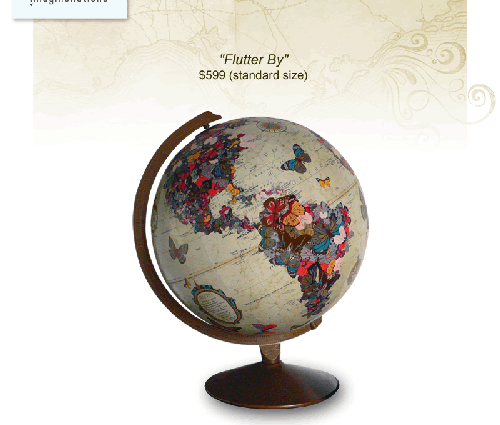
I love Wendy Gold’s work with her ImagineNations decoupaged globes. I don’t have the time, patience, or skill to painstakingly cut paper to turn globes into artwork like she does, so I tried to figure out a way to create an artistic globe using my skill set.
To make a typographical art globe and upcycled pedestal, you will need:
a globe
a lamp base, including the metal rod
hex nuts
spray paint – I used Krylon’s champagne nouveau and oil rubbed bronze
letter stickers in various sizes, fonts, and colors
packing tape
wax paper
marker
scissors
clear protectant spray
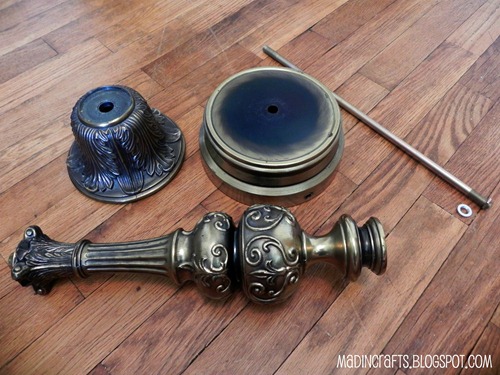
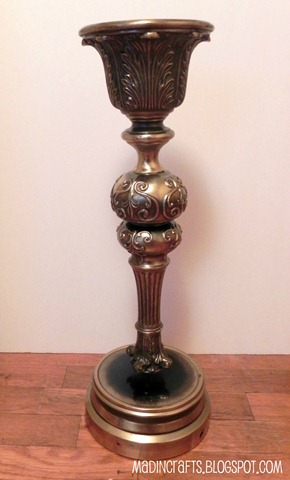
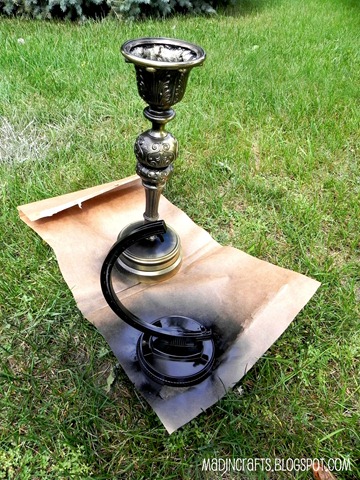
Did you know that most lamp bases come apart into several pieces? They are all stacked onto a central rod which is bolted at each end. When you take the lamp apart, all those pieces that can be rearranged in whatever configuration you want!
You can use this same process to make a pedestal that can be used for just about anything. Put a plant on top of it – instant plant stand. Glue a tray to the top of it and have yourself a new side table. Use your imagination!
As it happened, my thrift store globe fit nicely right on top of my new pedestal. But it definitely didn’t match it.
That was nothing a little spray paint couldn’t fix. Really, the stuff is like magic.
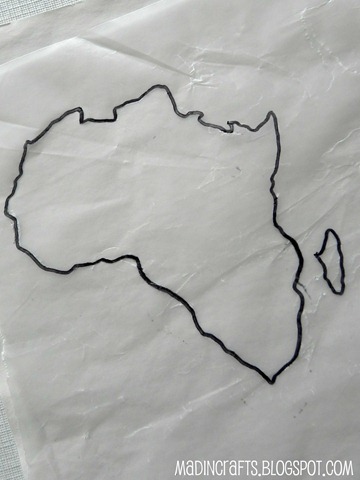
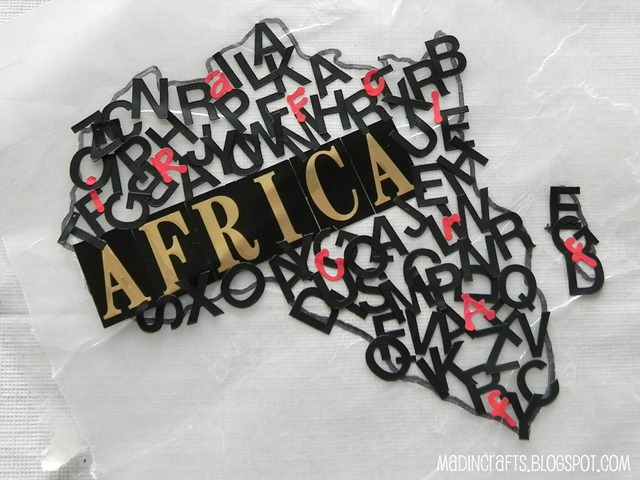
Now that the pedestal was underway, it was time to get working on the art globe. I traced each of the continents onto wax paper.
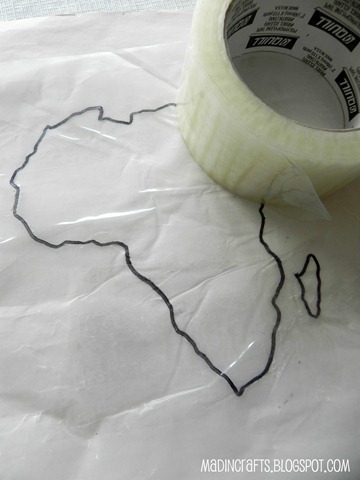
Then I covered the area of each continent with packing tape. This will all make sense eventually.
I bought letter stickers at an office supply store to create the typographical element of the piece.
‘
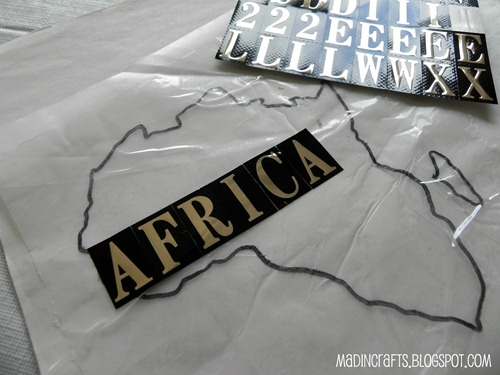
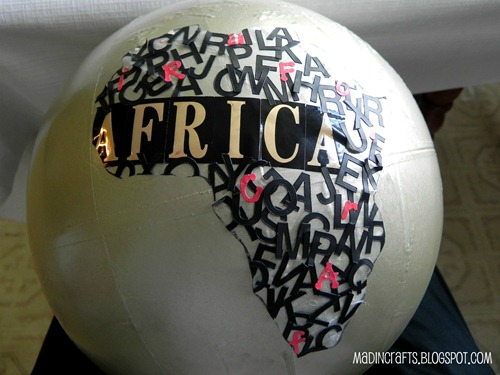
I spelled out the name of the continent using the largest letters. For some continents, like Australia, the name was too big for the space, but I actually like how that added to the design.
Then, I applied letter stickers in the other 2 fonts and sizes all over the area of the continent, making sure to overlap the border in places.
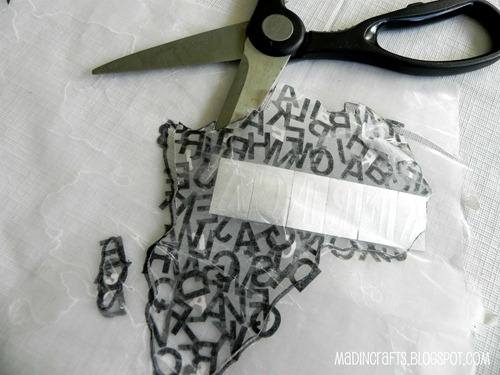
Next, I flipped the wax paper over and cut the continent out along the borders. See how I cut through the letters that overlapped the border?
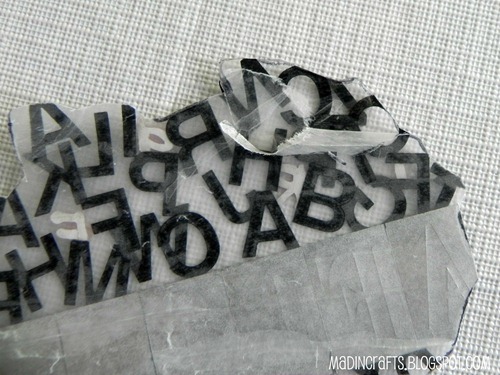
With just a bit of picking, I was able to peel the wax paper off of the packing tape.
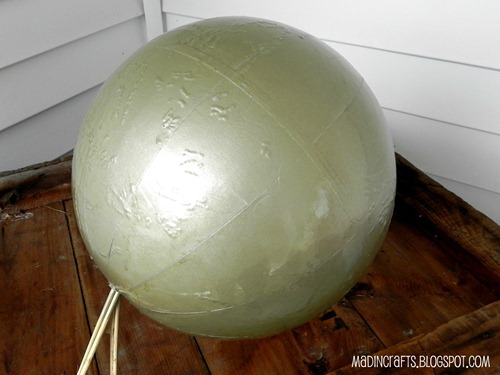
Meanwhile, I spray painted the globe itself a shimmery gold color.
When the wax paper was peeled off the tape, I was left with a continent-shaped sticker made up of letters! All I had to do was stick all the continents on, smooth them out, and seal the whole thing with a protective coat of clear paint.
Assembling the globe and now-dry pedestal took no time at all!
I am more than modestly pleased with how this project turned out. For WAY less than $20, I was able to make a pretty high-end looking piece for our home.


