One of my most popular fall projects is my dollar store floral wire pumpkins. These pumpkins are quick and easy to make, and you can get the supplies at the dollar store. The floral wire you can find at Dollar Tree is great for a wide variety of home decor projects. I used the wire to make some two-minute napkin rings that coordinate with the floral wire pumpkins perfectly!
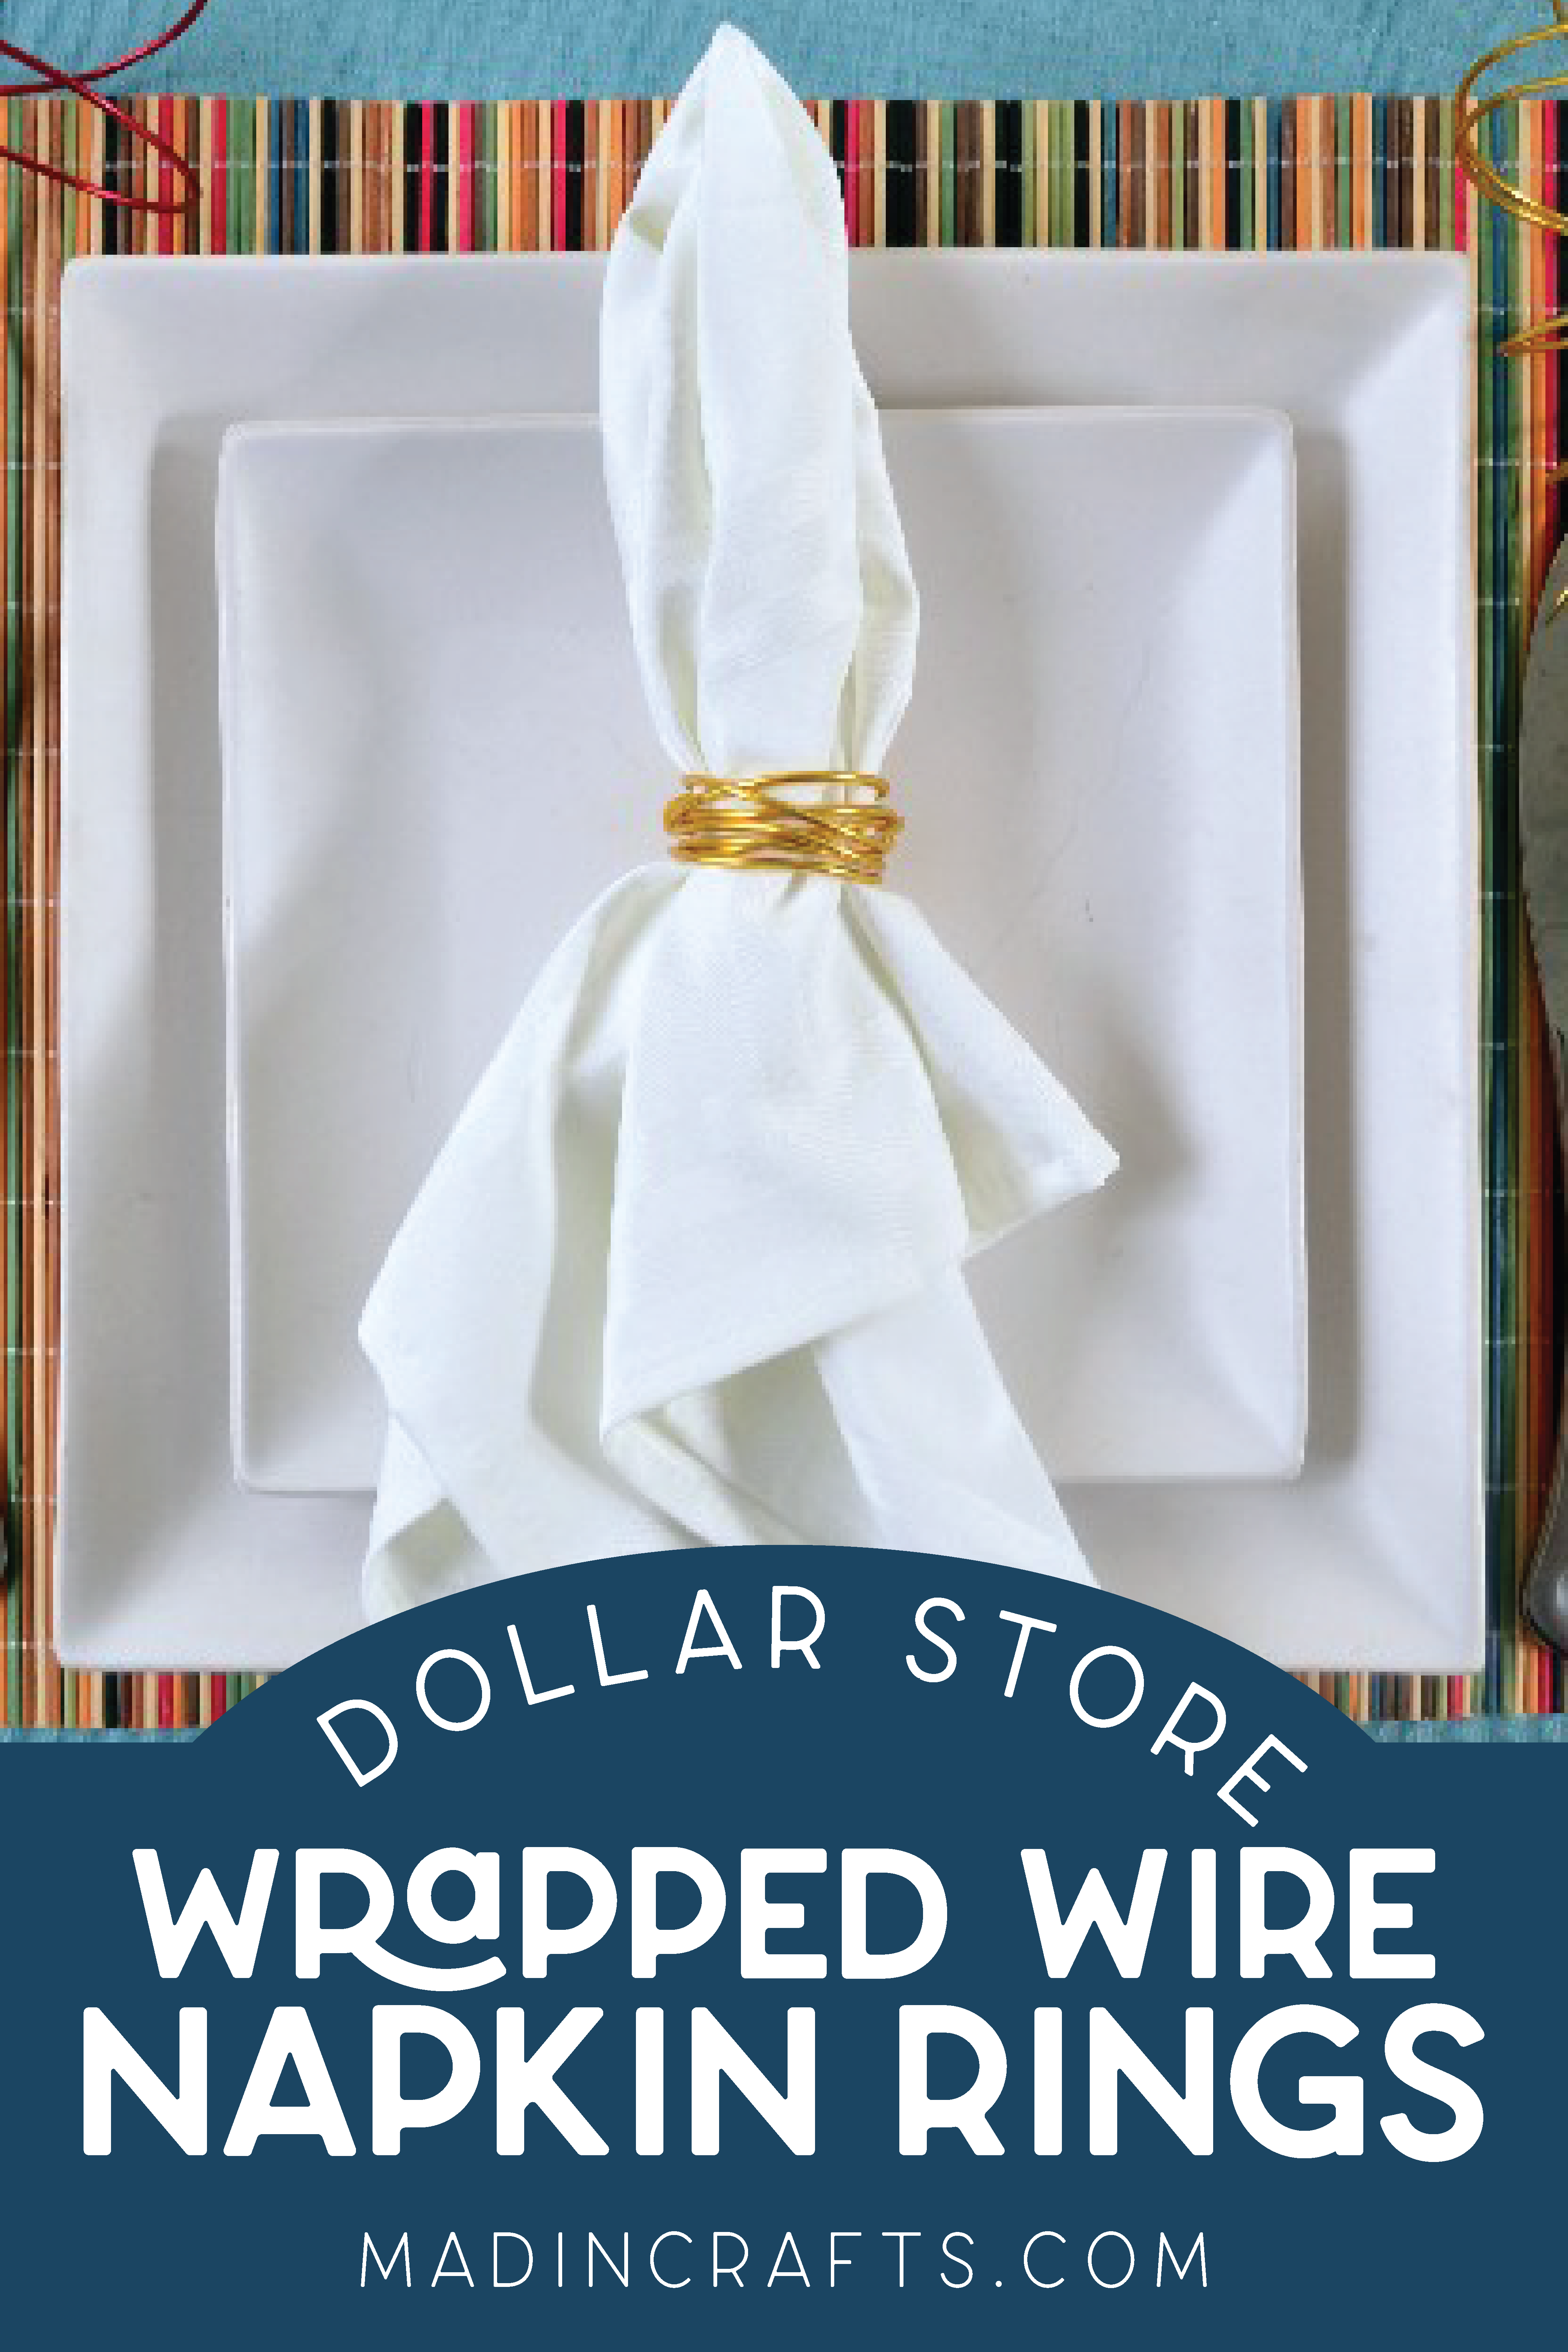
TWO MINUTE DOLLAR STORE WIRE NAPKIN RINGS
DOLLAR TREE SUPPLIES YOU WILL NEED TO MAKE TWISTED WIRE NAPKIN RINGS
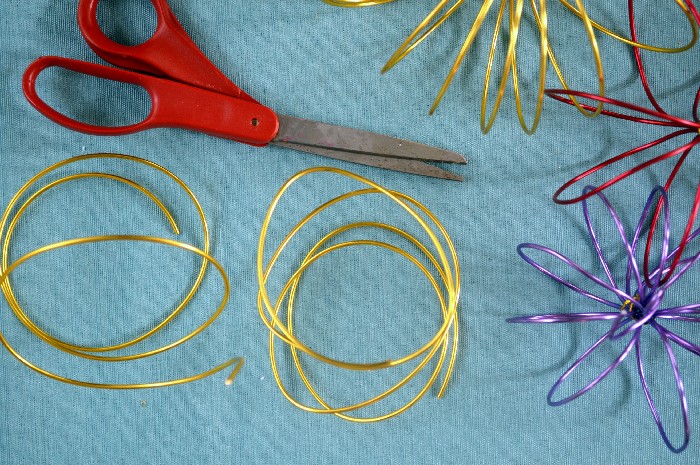
Dollar Tree almost always stocks this colored floral wire in either the floral department or the craft aisle. It is one of my favorite dollar store supplies because holds its shape well, but it is still easy to manipulate and cut.
These are all affiliate links, if you make a purchase (of anything from these retailers, not just these items) after clicking through, I will earn a small commission. Ads and affiliate links are the way I am able to keep this website running and to offer you free tutorials all year long. Thank you so much for supporting me and Mad in Crafts!
- floral wire
- scissors or wire cutters
- small cylinder (like a 2 oz. bottle of craft paint)

Want to know which craft supplies I always keep in my craft room?
Visit the Mad in Crafts Amazon Storefront to learn more and to buy your own supplies!
HOW TO MAKE DOLLAR TREE NAPKIN RINGS
Using cloth napkins as part of your tablescape immediately elevates any dinner party. Buying your own napkin rings can be pricy, especially if you are having lots of loved ones over for a holiday. This simple DIY project lets you create easy DIY napkin rings for your dinner table without spending much money at all. I’m certain your guests will admire how they look on your Thanksgiving or Christmas table.
You can make a set of these simple DIY napkin rings by wrapping dollar store floral wire around small cylinders. Once the napkin rings are finished you can embellish them however you would like. This tutorial shows you how to create quick, basic napkin rings, but you can add whatever embellishments you would like. String on beads or pearls, glue on faux flowers, small sprigs of greenery, or ribbon with a hot glue gun, or tuck in fresh flowers or feathers. Then add your pretty napkin rings to any simple place setting to make the meal feel extra special!
Dollar Store Wire Napkin Ring Instructions
- Wrap the floral wire.
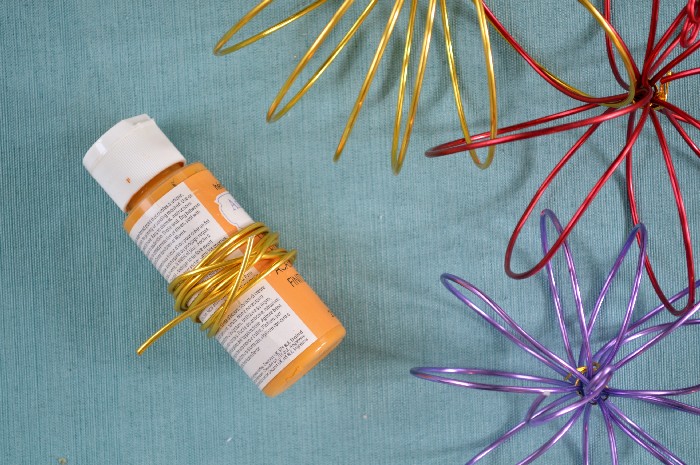
Unravel the floral wire and cut the wire in half with scissors or wire cutters. Each piece of wire should be roughly three feet in length. Wrap the wire around a small cylinder. I found that bottles of craft paint are the perfect size for this project. Overlap the wire as you wrap to give it more dimension.

- Tuck in the ends.
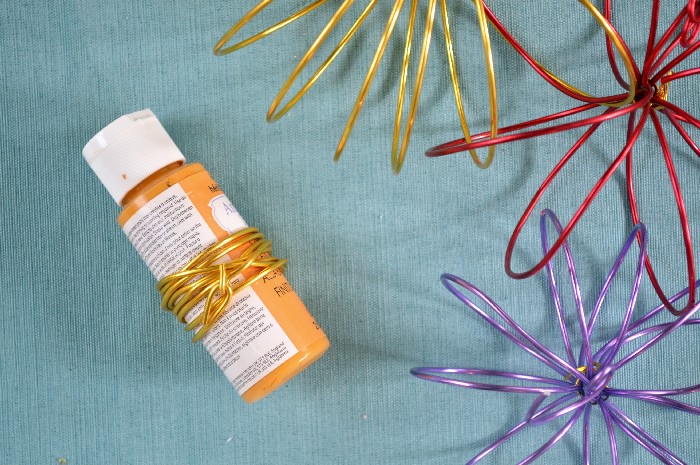
Twist the two loose ends around each other, and bend the sharp ends in.

- Remove the wire.
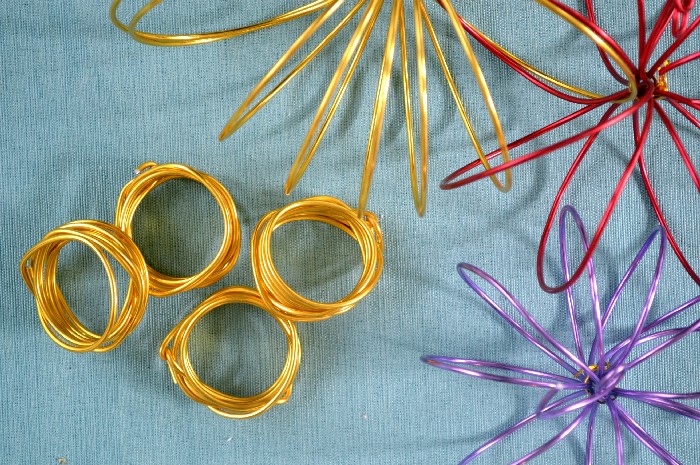
Slide the wire off of the cylinder and your napkin ring is done!

- Use in a table setting.
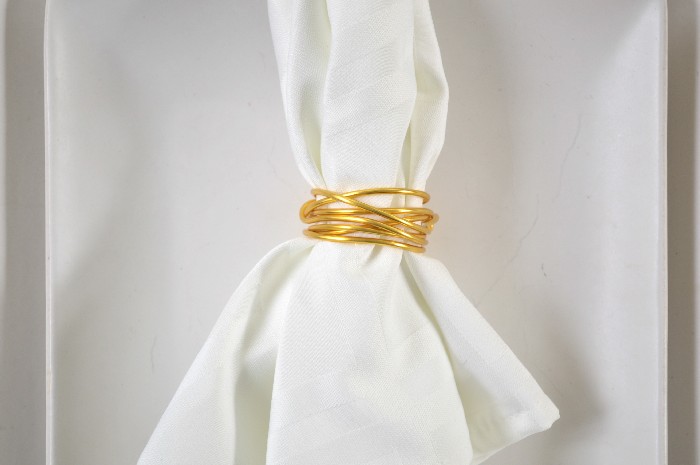
Pick up a cloth napkin by its center point and feed the napkin through the ring.

USING THE NAPKIN RINGS FOR THANKSGIVING
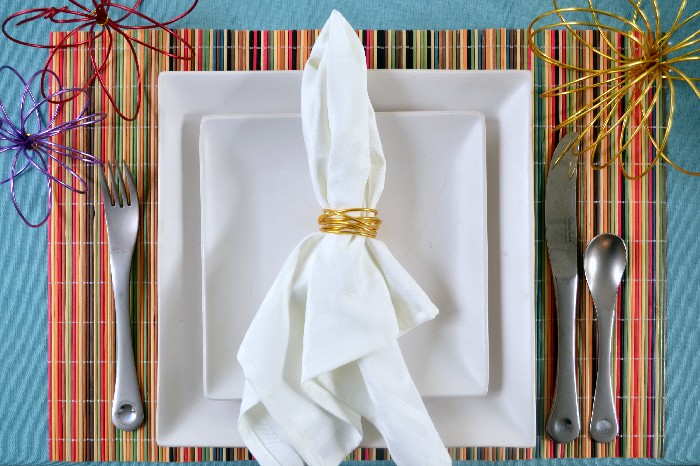
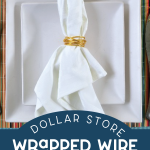
I simply pulled a cloth napkin through the ring, since my table setting was fairly informal looking. You can also roll the napkin and slide it through to create a more formal look.
The inexpensive napkin rings add a functional and beautiful element to your place settings. Each ring will cost you only 50 cents to make, and you can make plenty of napkin rings in half an hour. Wouldn’t these be the perfect addition to your Thanksgiving holiday table decor?
THREE WAYS TO PUT A NAPKIN IN A NAPKIN RING
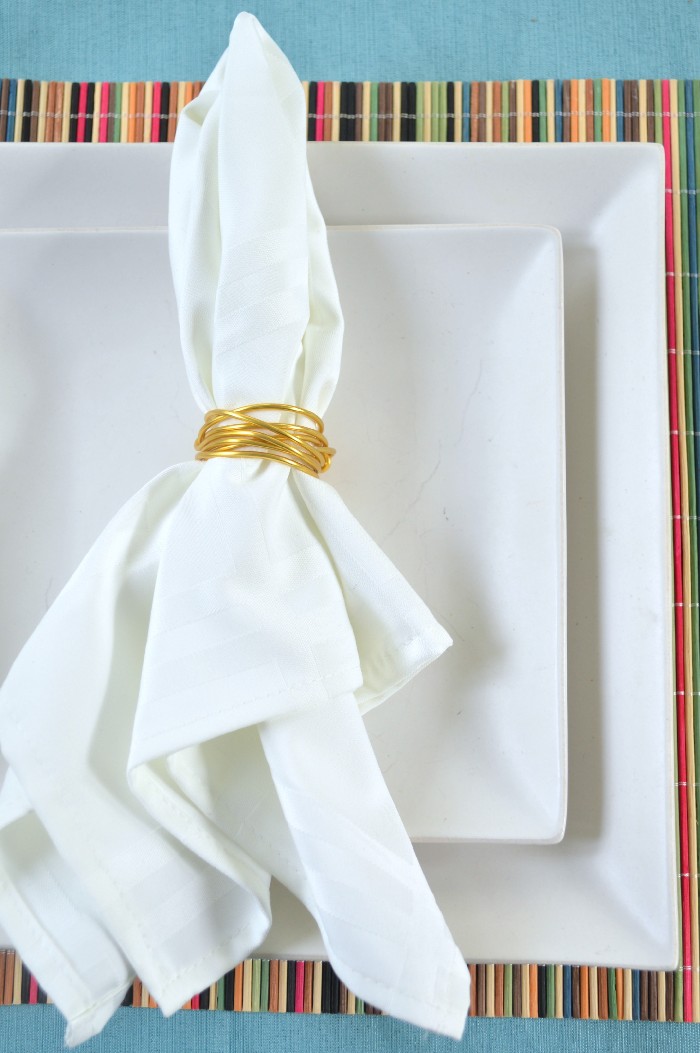
There are several pretty ways to insert a napkin in a napkin ring. I used a very casual method in the pictures above. I found the center of the napkin and pinched the fabric there. I then pulled the pinched napkin through the ring, so the napkin is fuller at the bottom than at the top.
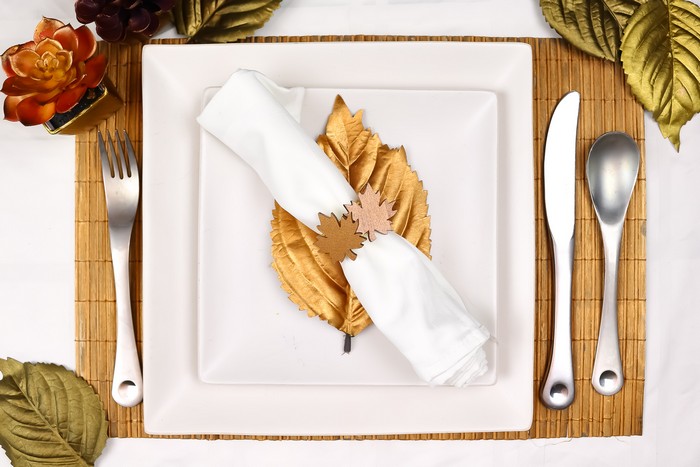
A more traditional method is to fold the napkin in half once. Then roll the napkin up from one end to the other. Then slide the napkin ring over the rolled napkin.

A fun, but slightly more time-consuming method creates a pretty bow from the napkin and ring. Fold the napkin in half once on a diagonal. Place the napkin on your work surface with the point of the triangle pointing toward you. Roll the napkin up from the point up to the long edge. Fold the two sides of this rolled napkin down and cross them. This should give you a loop and a tail of the bow on the right and the left. Slide the napkin ring over the tail and loop on the right side of the napkin to form the center of the bow. Fluff out the bow.

