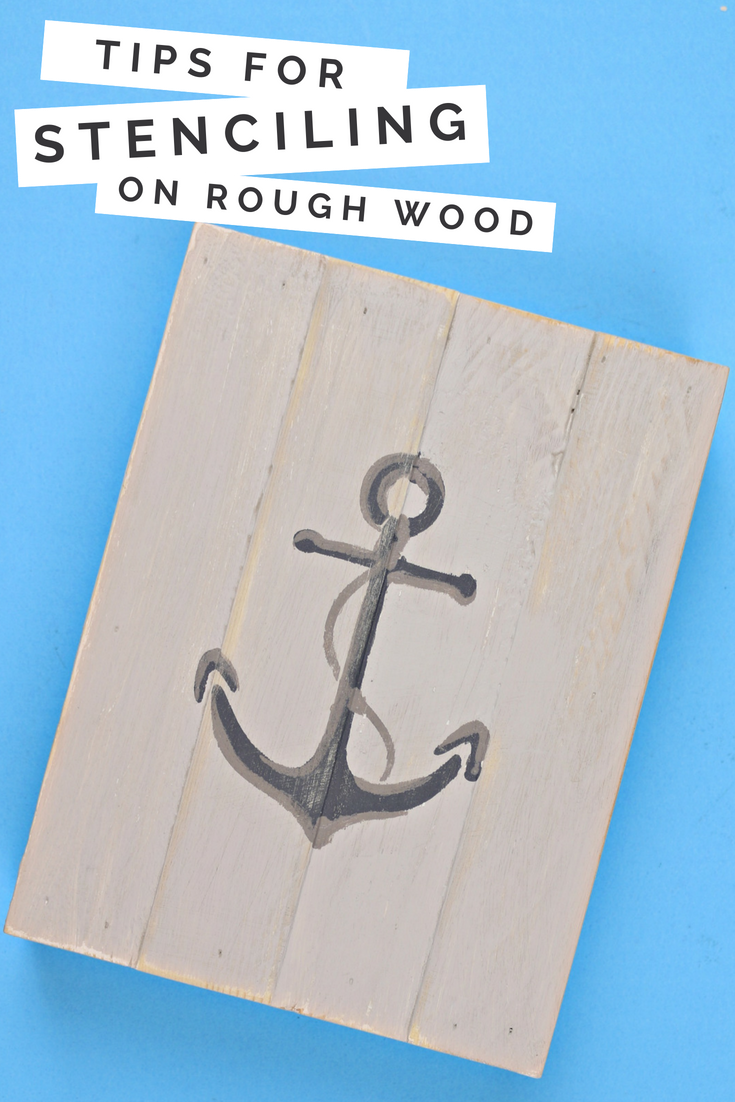
I love the look of stenciling on rough, weathered wood but it can be really difficult to get crisp lines on surfaces that are less than smooth. If you would like to create your own weathered wood stencil projects, I have some tips for stenciling on rough wood. There are a few products and techniques that can help you get that vintage look at home!
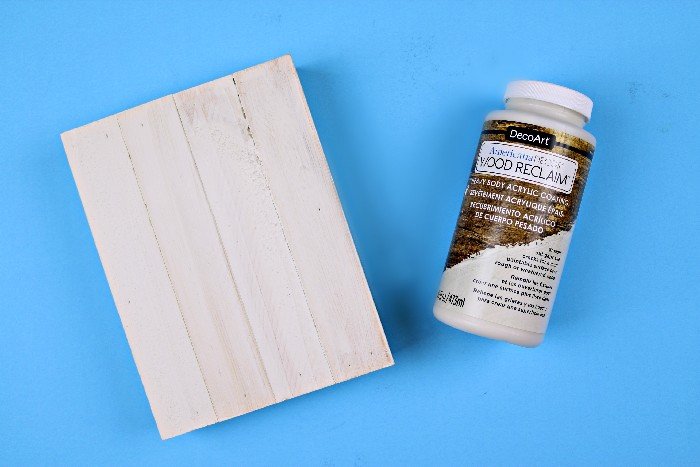
If you are working with rough raw wood, I suggest using a product that helps to fill in the uneven surface of the wood. This Wood Reclaim product creates coating on the wood that can be sanded down to create a smoother surface.
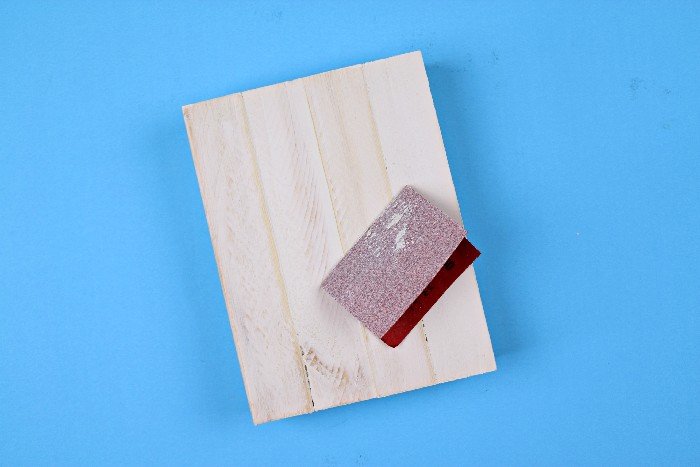
Use a small piece of sandpaper to work the rough spots of the wood down. If you want to reinforce the sandpaper so that it lasts a bit longer, cover back of the sandpaper with duct tape.
As you can see the Wood Reclaim is not clear, but since this will be a painted piece that is just fine. If you want to retain the raw look of the wood, you can get a smooth, clear surface by using a water-based sealer like Polycrylic. I don’t recommend using an oil-based sealer and then trying to paint over it with craft paints.
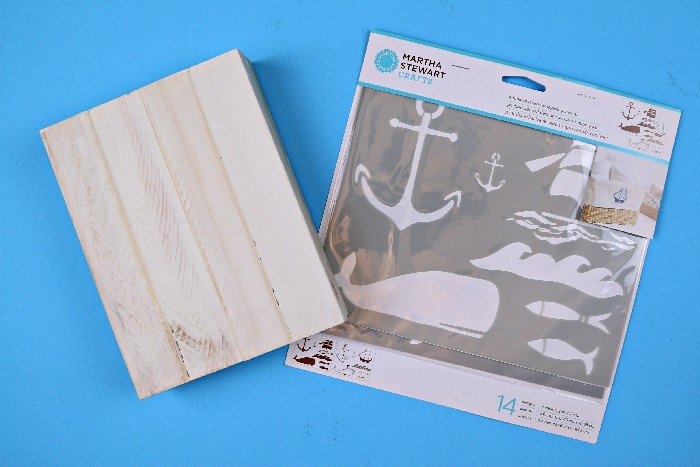
To really put these tips to the test, I decided to use a two-layer stencil. This stencil set comes with a base layer stencil, and a top layer stencil that adds more detail.
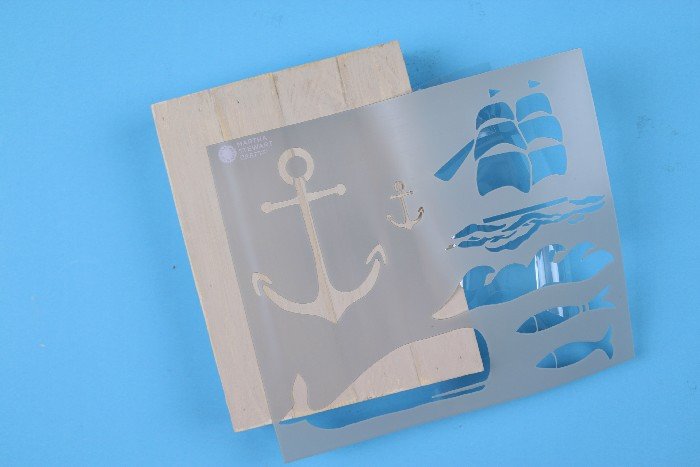
I generally prefer using adhesive stencils like this for most of my projects. You can get great contact with the surface to be stenciled, which reduces the chance of paint bleeding under the stencil. If you do not have an adhesive stencil, I recommend buying a can of stencil adhesive. Just spray the back of your stencil with a good coat of the spray, let the spray dry for a few minutes, then apply the stencil to your project. A third option would be to create your own stencil out of removeable vinyl.
No matter which kind of stencil you are using, make sure to run your fingers all around the stencil design to make sure it is stuck well to your project. Since I was using a pallet-style piece, the surface wasn’t 100% smooth even after using the Wood Reclaim and sanding, so I had to really press the stencil down well.
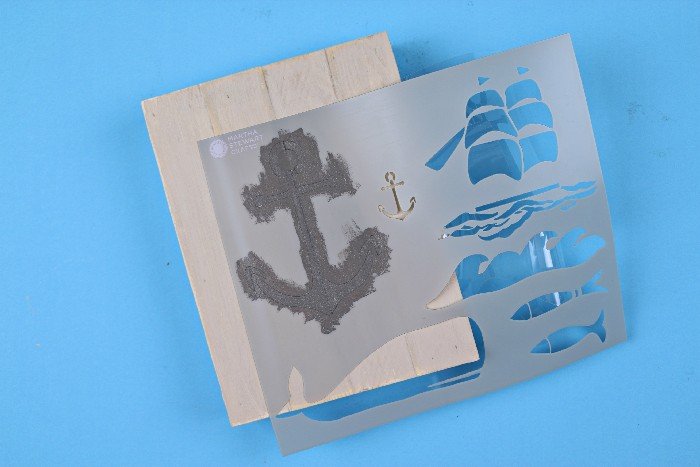
Next, use a good quality, thick craft paint. I really like the Martha Stewart Crafts acrylic paint. This paint has a thicker-than-pudding texture, making it perfect for stenciling projects. I also recommend using foam brushes, rather than traditional paintbrushes, to pounce the paint onto the stencil. Use only as much paint as you need to fill the stencil in. The more paint you use, the greater the risk of bleeding.
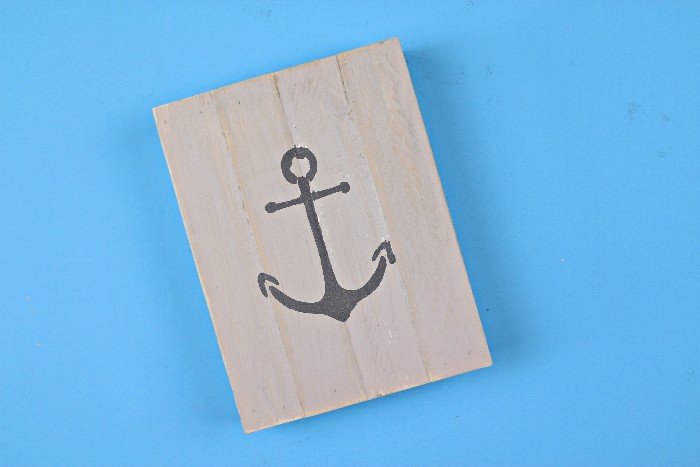
Be sure to peel back the stencil while the paint is still wet to avoid peeling the paint.
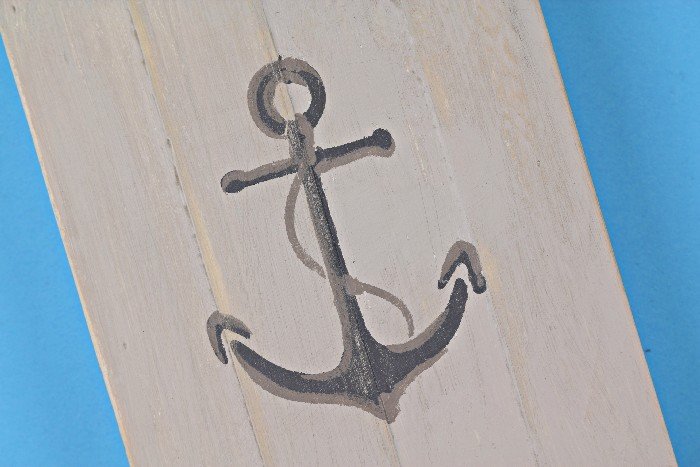
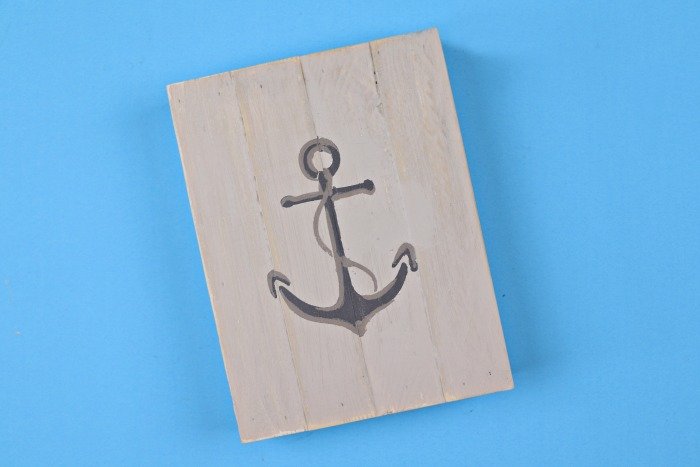
After the paint dried, I carefully lined up the top layer stencil using the guide marks on the stencil. I repeated the same process I did with the bottom stencil, just using a different color craft paint. You can see there were a few areas along the middle “seam” of the pallet pieces where there was a bit of bleeding. This is pretty minimal for a project that started with extremely rough wood!
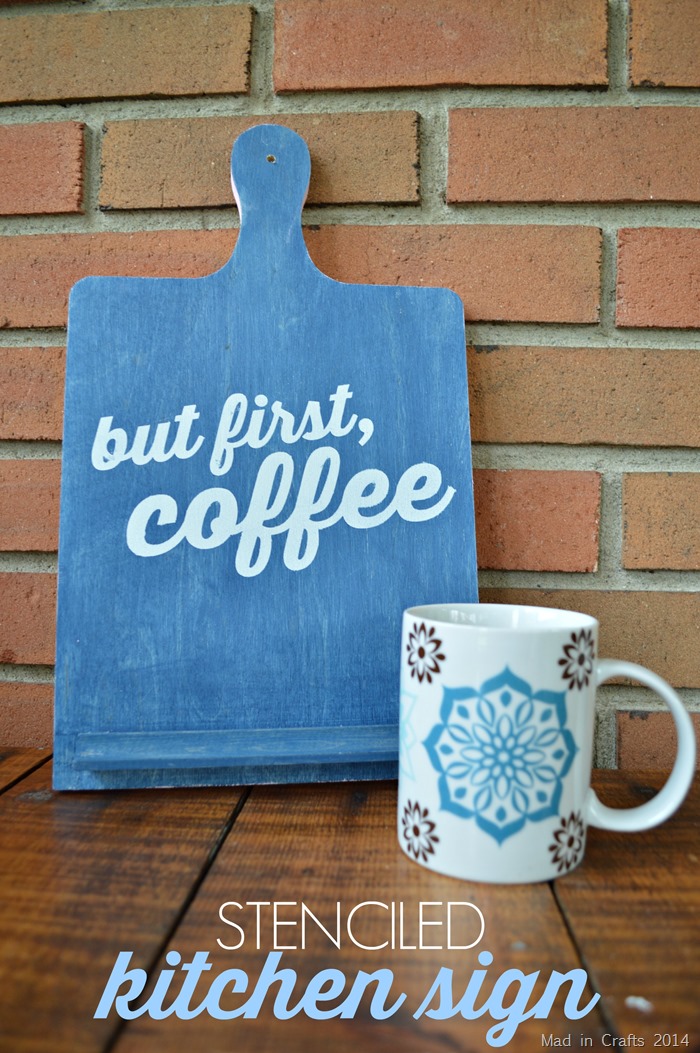
You can use these same tricks to get nice crisp lettering on weathered wood signs too! If you try out any of my suggestions in a future project, make sure to take a picture and tag me on social media. I would love to see it!
These are all affiliate links, if you make a purchase (of anything from these retailers, not just these items) after clicking through, I will earn a small commission. Ads and affiliate links are the way I am able to keep this website running and to offer you free tutorials all year long. Thank you so much for supporting me and Mad in Crafts!
- pallet sign
- Wood Reclaim
- Polycrylic
- sandpaper
- duct tape
- foam brushes
- Martha Stewart Crafts paint
- adhesive stencils
- stencil adhesive spray
- removable vinyl
You might like these other stencil projects:


Leave a Reply