There are so many ways to use tie-dye, and it seems like people are constantly coming up with new and unique ways to create trendy tie-dye projects. But sometimes you just want some good, old-fashioned rainbow tie-dye, you know? Tulip’s kits make it SO easy! Today I am going over the simple Tulip tie-dye instructions so you can see just how simple the process is!
Tie-Dye 101: Techniques from Tulip
WHAT DO YOU NEED TO TIE-DYE WITH A TULIP KIT?
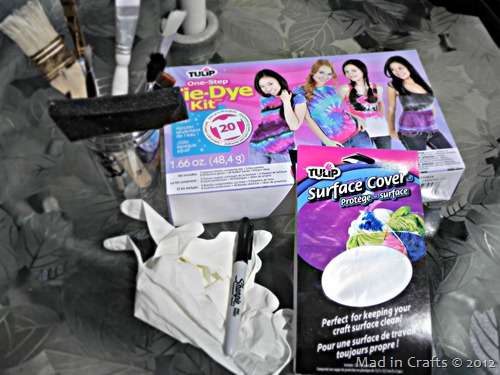
All you need for some easy tie-dying is a one-step kit from Tulip. The dye sets contain dye powders in squeeze bottles. Just add water. No vinegar, no soda ash, no buckets, no fuss!
These are all affiliate links, if you make a purchase (of anything from the site, not just these items) after clicking through, I will earn a small commission. Ads and affiliate links are the way I am able to keep this website running and to offer you free tutorials all year long. Thank you so much for supporting me and Mad in Crafts!
- fabric (t-shirts, socks, bed sheets, etc.)
- Tulip tie-dye kit
- plastic wrap or plastic bag

Want to know which craft supplies I always keep in my craft room?
Visit the Mad in Crafts Amazon Storefront to learn more and to buy your own supplies!
WHAT FABRICS WORK BEST FOR TIE-DYE?
While you can use fabrics that have a polyester mix, tie dye always works best on 100% natural fibers. You will get much more intense colors on these fabrics.
- 100% cotton
- rayon
- silk
- hemp
- linen
HOW TO USE TULIP TIE DYE
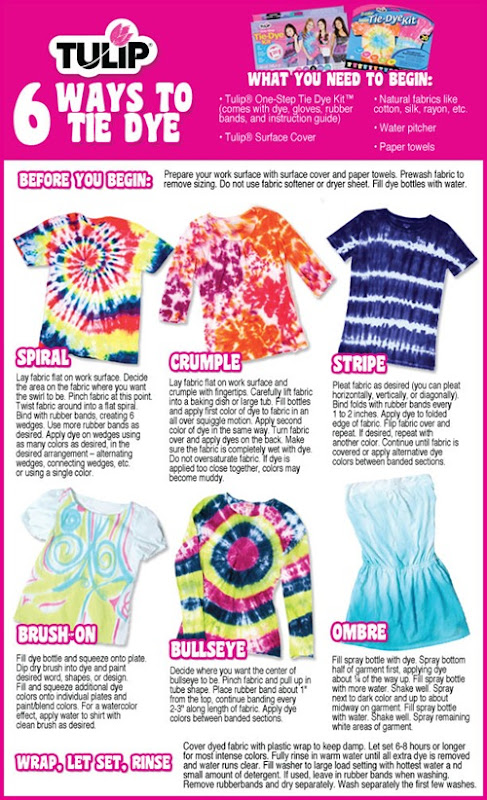
Tulip Tie Dye Process
- Choose your fabric.
While you can use fabric with some polyester in it, using natural fibers like cotton and rayon will give you better, more vibrant, results.
- Prewash your fabric.
- Prep your workspace.
Protect your work surface with a plastic tarp. Place plastic wrap between your layers of fabric, if you do not want the dye to bleed through.
- Put on rubber gloves, then fill the dye bottle to the fill line with water. Replace the cap and shake to mix dye.
Room temp tap water is fine.
- (Optional) You can mix a custom dye color by adding two or more mixed dye colors into a new bottle and shaking to mix.
- Wrap the fabric with rubber bands to create patterns.
Read on to see how I completed some of my tie-dye patterns.
- Squeeze the dye onto the fabric.
You don’t need to use a crazy amount of dye because the Tulip dye is very saturated.
- Cover or wrap the dyed fabric with plastic wrap to keep it damp.
- Let the project sit for at least 6 hours (up to overnight).
- Cut off the rubber bands and rinse the garment in warm water until the water runs clear.
This will remove the excess dye before washing to avoid getting too much dye in your washer.
- Wash the finished project in the washing machine separately for the first few washes.
CREATING WITH TULIP ONE-STEP TIE-DYE KIT
While I went outside the box with the dyes for my daughter’s Watercolor Flower Curtains, I had so much dye left over that I decided to do some more traditional techniques as well.
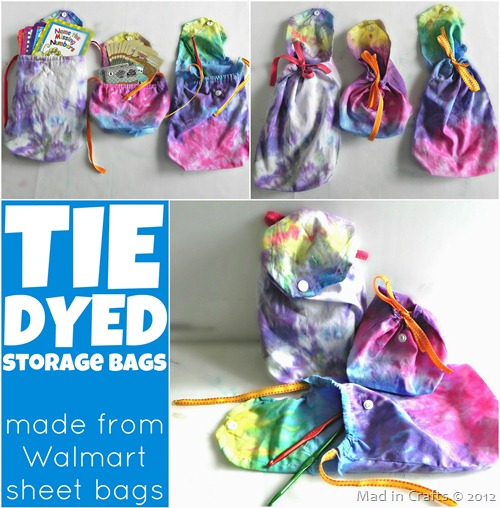
I used Walmart flat sheets for those curtains. While they are not the best quality sheets, they each come in a handy little cotton bag with a snap closure. I always save these bags because they are great for small storage. Since they are cotton, they are also perfect for tie-dyeing.
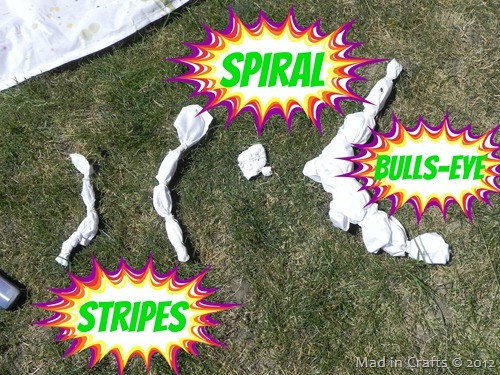
I tied the small pillowcase bag and one of the two sheet bags (the two farthest left) using the stripe technique. I tied the other sheet bag using the spiral technique. Finally, I tied the spare pillowcase in the classic bulls-eye technique.
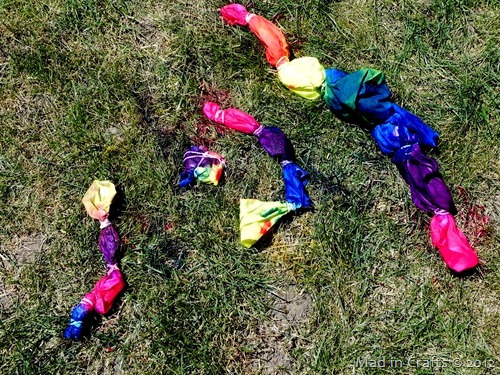
The beauty of the Tulip kits is that there is no messy dunking involved. I just squirted the dyes onto the fabric where I wanted them. It took more time to wrap the bags in rubber bands than it did to dye them!
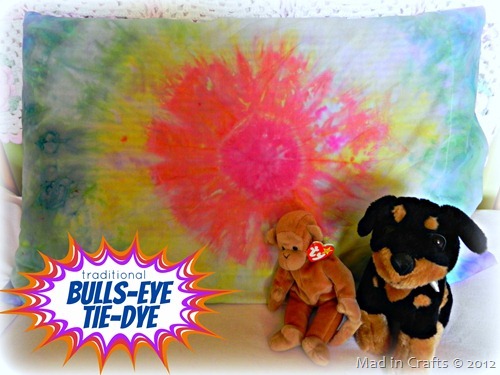
Could this pillowcase have a more classic bullseye tie-dye look?!? I love the perfect circles and graduated colors. It’s retro but in the best possible way! Pillowcase, check. Now on to the sheet bags!
MORE TIE DYE PROJECTS
Once the sheet bags had been rinsed, washed, and dried, I used a short length of ribbon and a safety pin to thread a quick drawstring through the hem at the top of each bag. The snap still closes, but the drawstring provides extra security against things falling out.
These bags are great for keeping small toys or playing cards together or for storing craft supplies like crochet hooks. You could even use them for snacks to throw in your purse (the tie dye will make them easy to spot). If anything spills, you can toss the bags right into the washer and dryer!
Which tie dye team are you on: traditional or innovative?



Leave a Reply