First, I want to thank you for the response to my bathroom makeover reveal. The fact you think it is as pretty as I do makes me happy. You guys have super good taste, you know. The bathroom took a long time to finish, mostly because the actual process of redecorating was not as streamlined as my project tutorials make it seem. I’m not saying the instructions are unreliable, you should definitely follow those instructions if you are going to try the projects yourself. It’s just that in real life all sorts of extra crap happened along the way that you do not want to repeat yourself. In other words, I made all sorts of mistakes so you don’t have to. Sit back and hear the story of just how wrong things can go.
CHAPTER 1 – FAULTY FAUCETS
I mentioned in my reveal post that there had been an issue with not having the correct faucets to install in our bathroom sinks. That mistake was totally the result of me not having any plumbing experience whatsoever. But, in my defense, I think it was a pretty honest mistake.
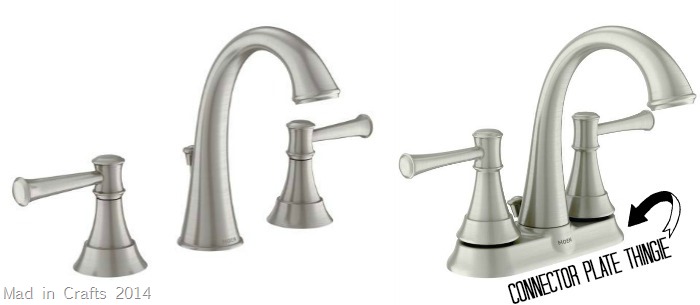
I thought that there were two kinds of sink faucets: ones with little connector plate thingies and ones without. The faucets that were in our bathroom didn’t have the connector plates, so when I ordered the new faucets from Moen I ordered the Ashville faucet without the plate. When my dad tried to install them, it did not work. At all.
Turns out there ARE two kinds of sink faucets: 4 inch centerset faucets and wide set faucets. If the holes for your faucets are set four inches apart measuring from the center of one hole to the center of the other (“centerset,” get it?), then you need 4” centerset faucets. Wide sets will not fit a 4” centerset sink. The More You Know™.
Moen was so, so nice about sending us the correct faucets and mailing labels to return the faucets that didn’t fit the sinks.
CHAPTER 2 – HOLY HOLES, BATMAN
It’s been pretty obvious during our time in The Mad House that many of the things around the house were fixed or installed by a previous owner who was just looking to get the job finished. I can’t count how many drywall screws I have found around the house. Part of the linoleum peeling up under the washer? Drywall screw. Need to put the hinge back on the doorframe? Drywall screw. Hanging curtain rods in the spare bedroom? Drywall screws.
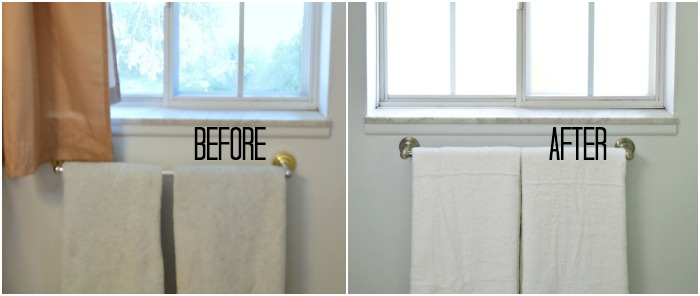
That good-enough-for-government-work kind of attitude cropped up in the bathroom too. Our towel bar had always been a little wonky, and when I took it down we saw why. There was a hole in the wall that had been covered up by one of the towel bar medallions. My dad carefully reinforced and fixed the hole, and installed the new towel bar. And it was still wonky. Took the new towel bar off, to find that the wall where the OTHER end of the new towel bar was installed was crumbling because it too had been previously patched up.
He patched up all the holes (again) and installed the towel bar two inches higher than it had previously hung, where it would at least be sturdy.
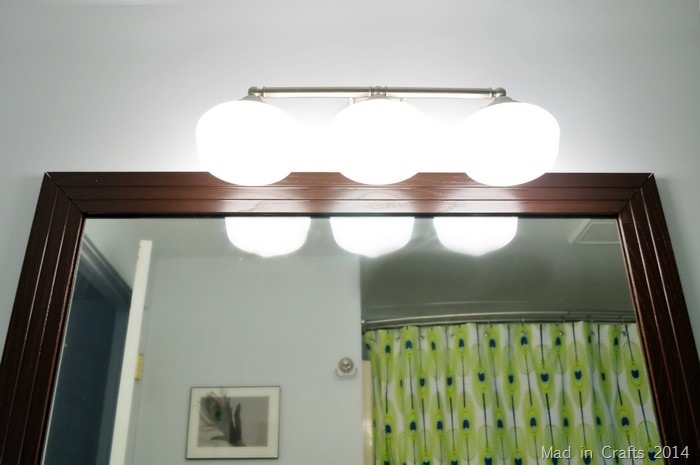
Once that was done we took down the old light fixture to replace it with my new schoolhouse fixture, and guess what we found? Another big hole that had been covered up by the fixture’s base plate. Seriously.
CHAPTER 3 – COLOR CRISIS
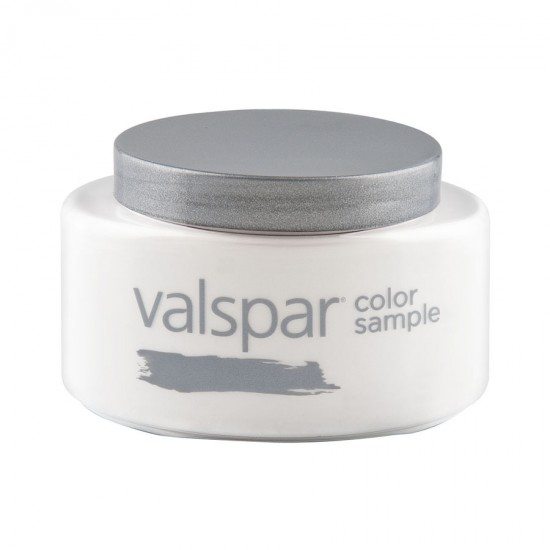
Once the holes in the wall had been patched up, I had to paint over those patches, of course, which meant getting paint to match the existing wall color. It seemed simple enough, since I still had the name of the paint and the color code to bring with me to store. I was hoping to get either a sample size or a pint of eggshell paint because there was so little I had to cover. No use in spending a bunch of money on a gallon of paint that’s just going to harden in the garage, right? I headed to the locally-owned hardware store where I bought all our house paint two years ago. They had sample size paint base in eggshell , but they couldn’t mix MY paint color in a sample size because it would require a half of a unit of blue pigment, which their computer couldn’t do.
Okay, I drove over to Menard’s. They could look up my paint’s color code and make it in a sample size, BUT they only had flat or gloss, no eggshell.
Before heading across town to the other home improvement stores, I was smart and called ahead. Yes, Home Depot had sample sizes in eggshell. No, they could not look up my paint’s code, but they could color match a chip. Ran home, peeled a piece of wall paint off the wall, and drove over to HD. Paint chip was too small to color match. For the love.
Finally, headed over to Lowe’s. Yes, they had sample sizes. Yes, they had eggshell finish. Yes, they could look up my color code. Yes, they could mix my color in a sample size. Hallelujah.
Oh, and did I mention that all of this took place the Saturday of Labor Day weekend, when every store was offering sales on house paint and the lines were all ridiculous? Yeah, that happened.
That was the day that we started working at 9 AM and when we finally gave up at 5 PM, all we had managed to accomplish was to install the toilet paper holder.
CHAPTER 4 – UNFIXABLE FIXTURE
Thankfully the sample paint matched the wall color perfectly, so the patches below the towel bar and next to the new light fixture are almost invisible. As I stood back admiring the fresh paint and new light, I noticed something.
The light isn’t centered over the mirror. Or over the sinks. Or on the wall. It has no logical relationship to anything else in the room. The only option for fixing it would be to tear open the wall, move the junction box, and repair and repaint the whole wall. It’s staying where it is.
CHAPTER 5 – CUMBERSOME CABINET
Here’s a fun challenge. Find a 35 pound cube. Draw two small X’s on the wall above your toilet. Pick up the cube and stand on your toilet. Hold the cube against the wall with one hand, lining the edges of the cube up with the X’s and keeping the cube level, and use a power drill to attach the cube to the wall with your other hand. Don’t lose your balance. Don’t cuss.
CHAPTER 6 – TILTED TOILET
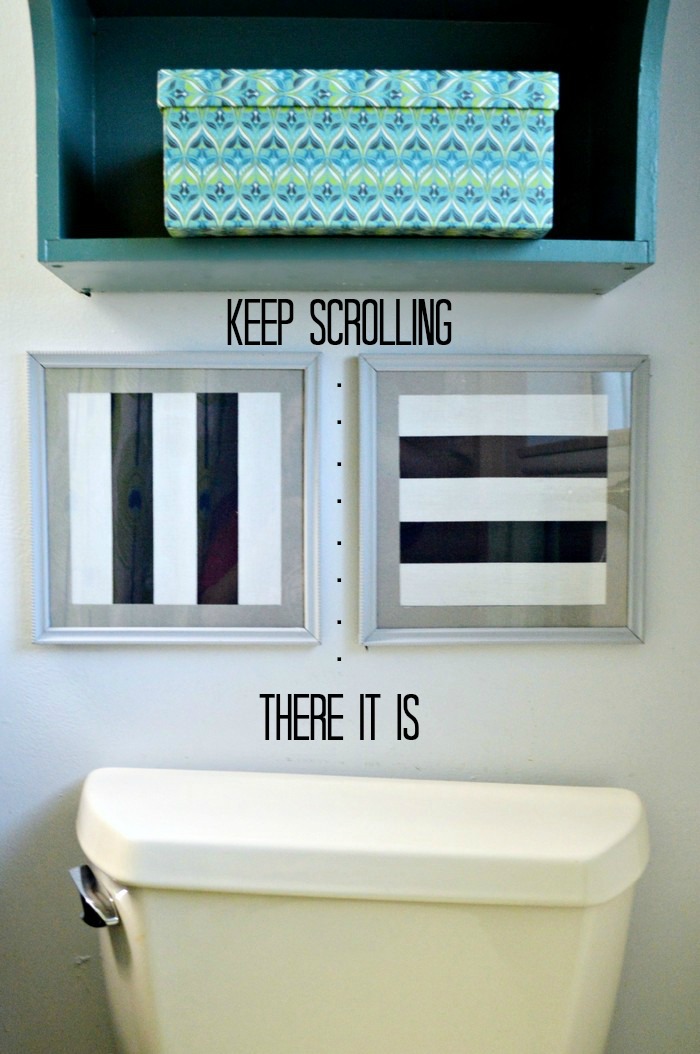
After we finally got the ridiculously heavy cabinet safely hung on the wall, we checked it for level. It was perfect, thank heavens, but something looked… off.
What the…? Apparently our toilet is crooked. The floor is level, the cabinet is level, the frames are level. The toilet is crooked. Hanging striped fabric over the back of the tank did not help matters.
I hope this makes you feel better about any setbacks you have when you are working on your homes! There is no such thing as a perfect renovation or makeover, and screw-ups happen to all of us. The real happiness comes from making the best of what you have and learning to laugh when your best is still a little crooked.




Hello Jessica,
I just stumbled across your blog from “Hometalk” about organizing. I LOVE to organize and your tips are great! Plan on visiting more often.
Jess, so funny and not. I, too, have had some these things happen during projects. Most notably, I have tile that is straight but doesn’t look it. The time line is level , the stove is level, but the central panel wasn’t installed straight on the stove. Nothing to do but not look at it.