Oh, coffee. I love the smell, I love the taste. I require coffee before my brain functions properly in the morning. True story: When I was teaching, we teachers weren’t supposed to have coffee in the classroom. Some ridiculous rule saying that because the students weren’t allowed, the teachers shouldn’t be allowed either. (I know, right?) Yeah, that didn’t fly with me. If I didn’t have my morning cuppa, there was no way I was getting through teaching 16-year-olds about American Transcendentalism at 8:15 in the morning. Come to think of it, that class might have been more successful if the students had been allowed to have a strong cup of coffee too.
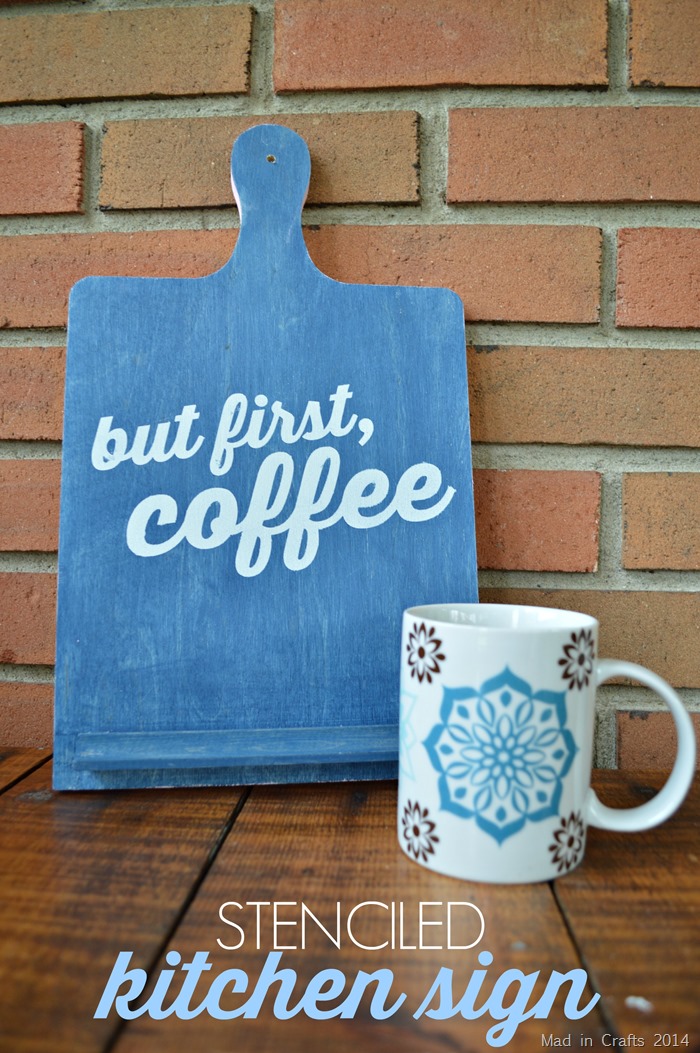
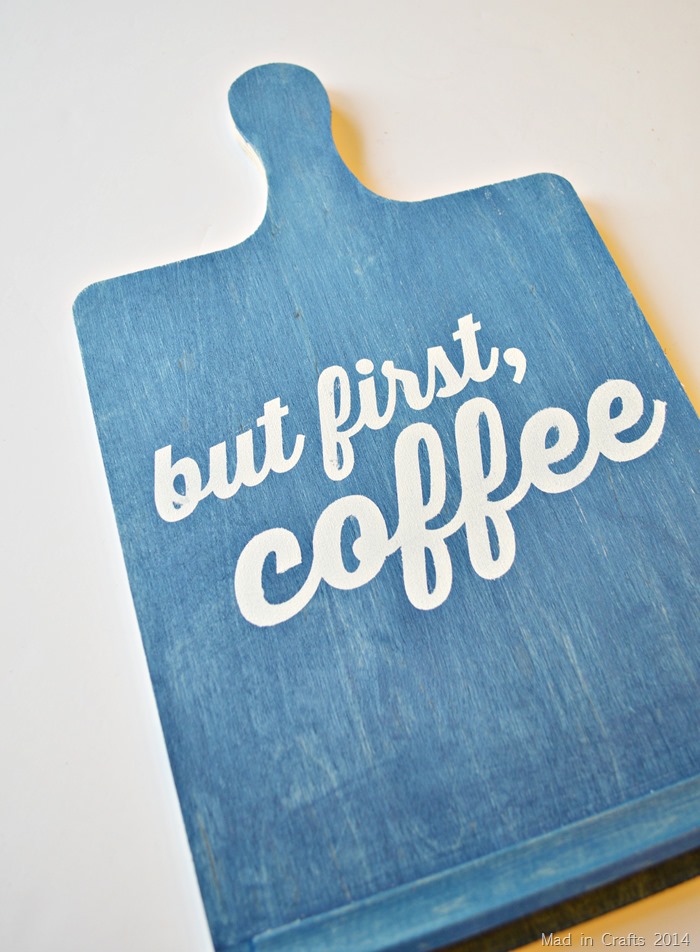
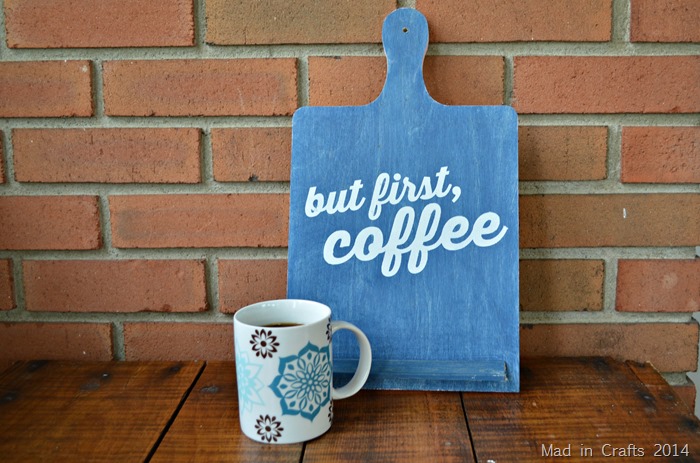
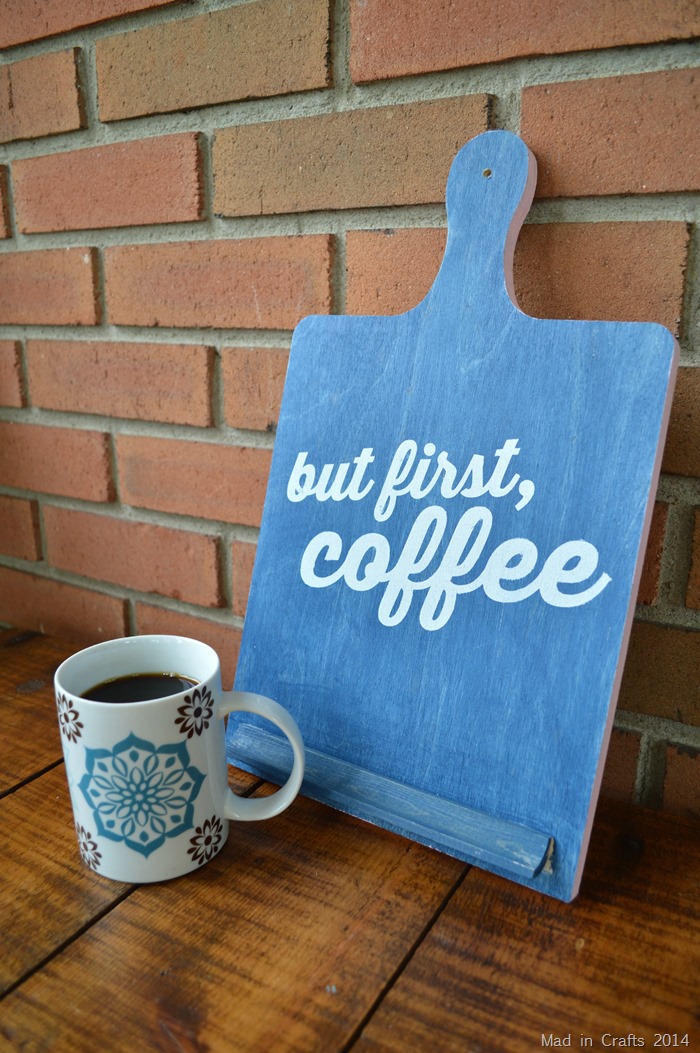
When I decided to turn this stained cutting board into a piece of wall art, it was only fitting for me to stencil on my personal motto: But first, coffee. This staining and stenciling technique can be used to make any kind of wooden sign, whether you are as coffee-obsessed as I am or not.
At SNAP! Conference we were able to try out Minwax’s Express Color stains in their booth. It took me about two minutes to wipe this beautiful indigo stain onto the cutting board with a paper towel. I just squirted the stain from the tube onto the paper towel and wiped it on. No mess at all. I picked the board up the next day, and the stain color was as vibrant dry as it had been when I first wiped it on. Seriously. It took just one quick coat to achieve that gorgeous color. This is definitely a product I will use again.
I knew that the stained cutting board would make a great addition to the other Vintage-Style Decorations in our kitchen with just a bit of creativity. I broke out my cutting machine and got to work designing a simple stencil for the board.
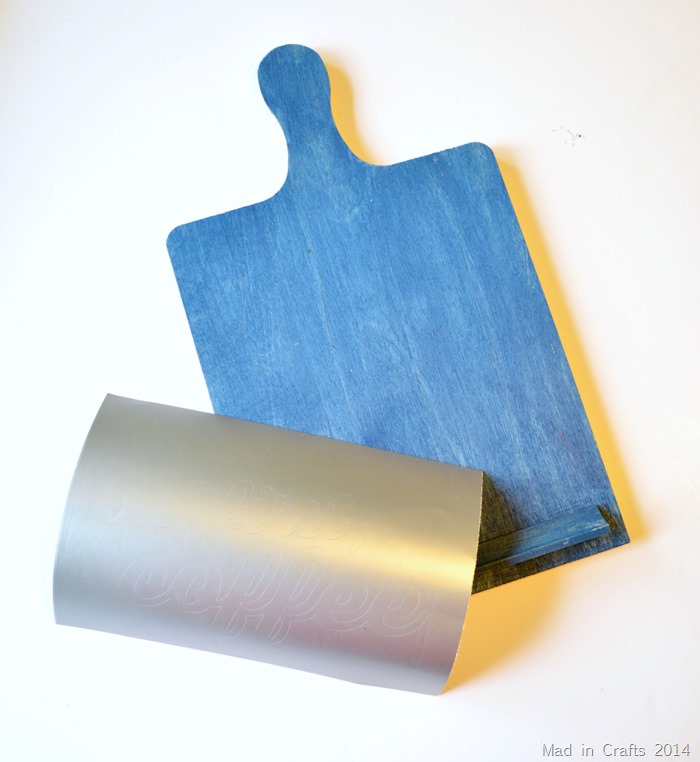
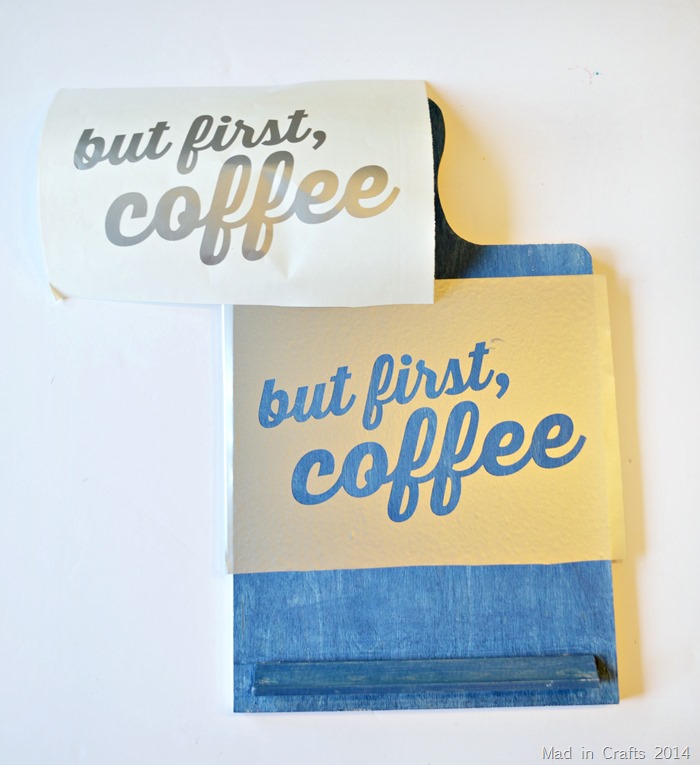
I love the phrase “But first, coffee” because even though it is a short sentiment, it completely sums up how I get through my mornings. I downloaded the font Thirsty Script Bold onto my computer and designed a simple layout in Silhouette Studio. I cut out and applied the vinyl stencil in the same way that I did for my Michigan Christmas sign. As you can see, I still have the negative space of the lettering left over to make a second stenciled sign, if I choose to.
If you don’t have an electronic cutting machine, you can still use this technique. Print out your sign design and trace it on to vinyl or contact paper. Then carefully cut the design out with a craft knife. It will take more time and patience, but it can be done!
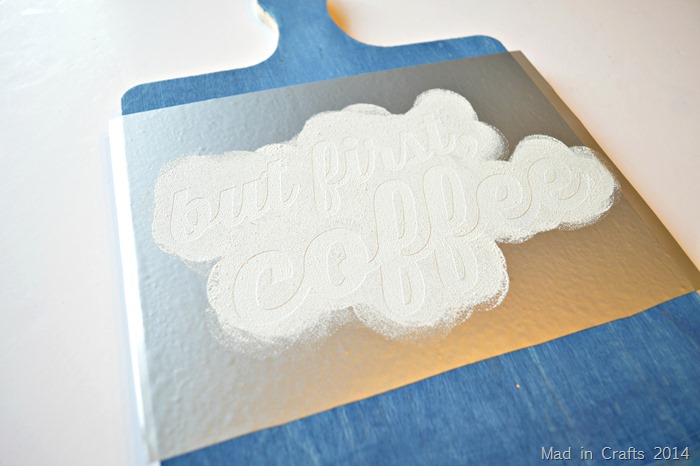
After smoothing the vinyl down to the wood, I pounced on some light blue acrylic paint. Whenever you are stenciling, make sure you are using a straight up and down pouncing motion to avoid bleeds under the stencil.
I peeled back the vinyl to reveal the crisp, clean lettering. It is an incredibly fast and fool-proof technique.
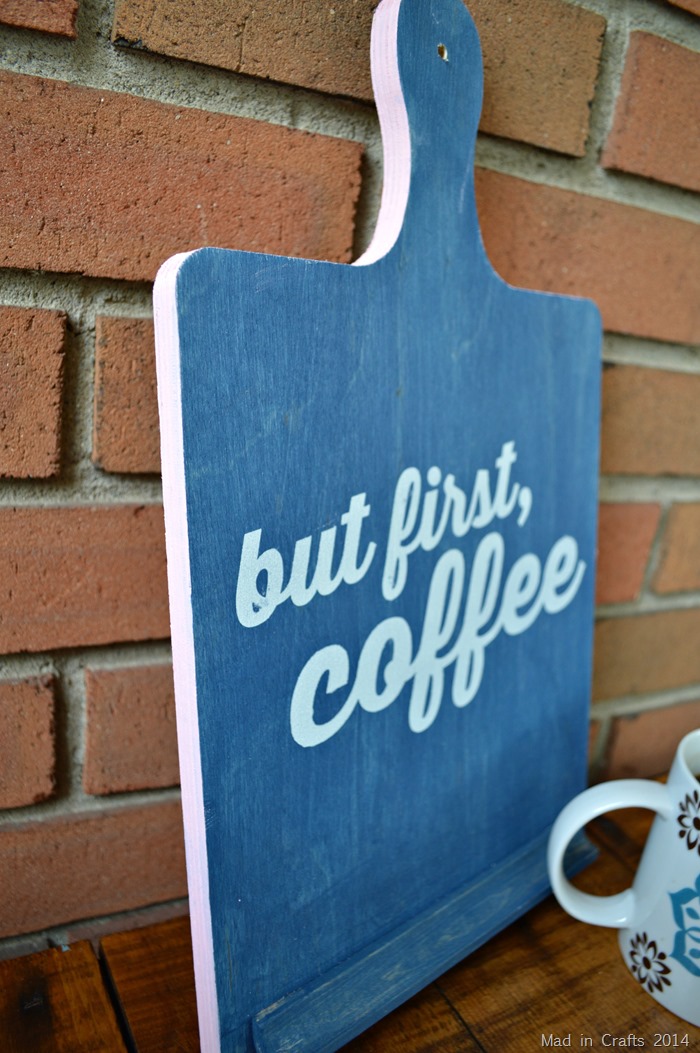
I finished the sign off by painting the edges a pale pink for a little bit of contrast.
Whether you are a coffee fiend like I am or not, you can use this staining and stenciling technique to easily make signs that fit your home’s decor.
The last thing I did was to drill a small hole in the cutting board handle so that I can hang it on the wall as part of my gallery of vintage-style decor. I might even do that today. But first, coffee.
I’ve gathered links to the materials I used in this tutorial. If you purchase after clicking one of these links, I will receive a small commission. Thanks!
Did you like this post? Think it’s worth sharing? Please share with your friends using the social media share buttons at the bottom of the page!
Thanks, Jessica



I found your stenciled sign on craftgawker and think it is so darn clever! We are having a Linky Party here http://bit.ly/1jxIYiI. We are choosing 3 of our favorite projects, and those chosen will get $5 in Blitsy credits. Hopefully we see you at our party! 🙂
Meghan
I love it! However, I don’t have a cutting machine or patience so I might just have to buy a stencil