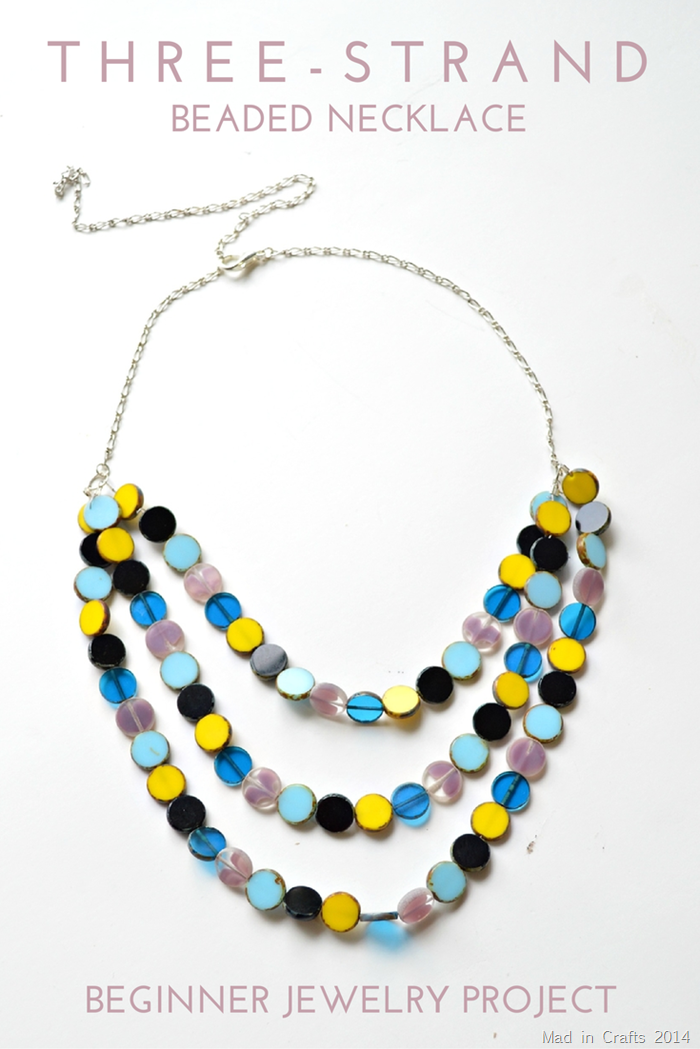
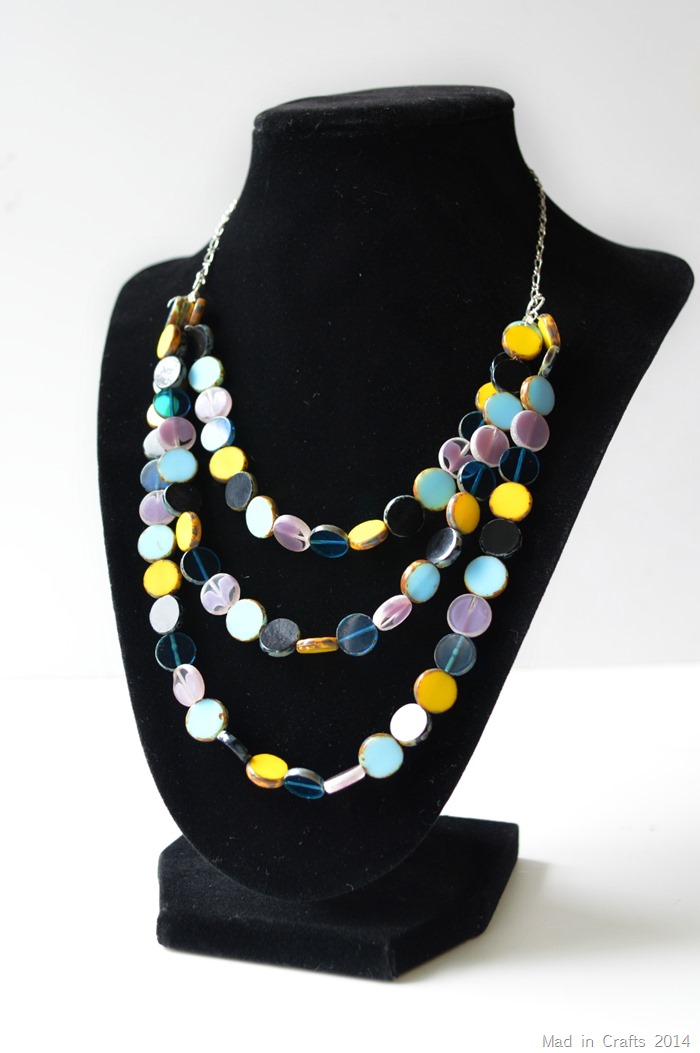
When it comes to crafting, I am the epitome of “Jack of all trades, master of none.” I have tried my hand at everything from oil painting and polymer clay to screen printing and crocheting. I have tried jewelry making in the past, but I usually give up in frustration before I end up with decent results. My failure was directly linked to the fact that I wasn’t using the right materials. I was trying to use findings salvaged from broken jewelry, pliers meant for home improvement, and embellishment made from whatever I could find lying around. However, I found that using the right tools made making this simple three-strand necklace easy AND fun!
This is a sponsored post. I was compensated and given free product in exchange for my work, but my opinions are 100% my own.
When I was given the chance to choose jewelry making supplies from Consumer Crafts for this Crafty Hangouts series, I decided that it was time to try making jewelry with honest-to-goodness jewelry supplies. And, what do you know, crafting my own jewelry is much easier than I was making it out to be!
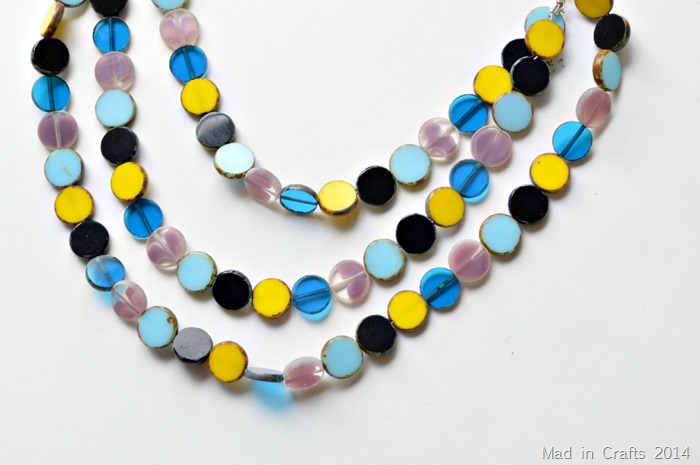
I decided to make a layered necklace after spotting the Czech Glass Bead Strand, on sale for 97 cents a strand! I could not believe Consumer Crafts’ amazing prices. The bead colors were slightly different from those shown in the picture online, but I think I prefer this color combination. I used a total of four strands to make this necklace.
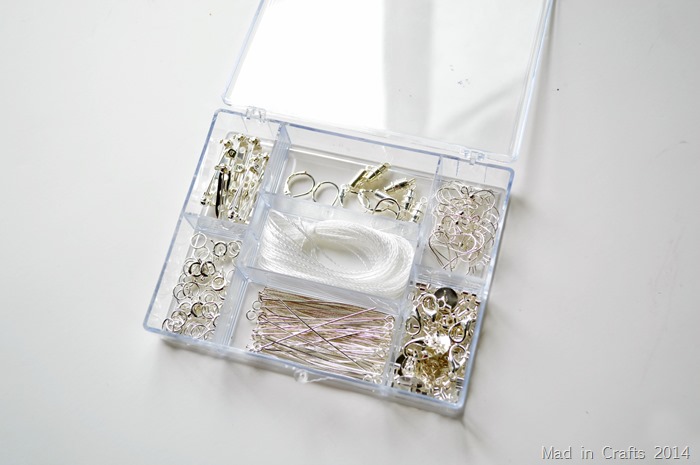
Since I am a beginner jewelry crafter, I don’t have much of a jewelry finding stash. Consumer Crafts sells this Darice® Finding Starter Kit in Caddy which was perfect to get me started.
To create the layered necklace, I threaded the disc beads on to three lengths of Silver Bead Wire. I designed each strand to be slightly longer than the strand above it, so that the necklace would drape properly. I wasn’t sure how to attach the lengths of beaded wire to each other, but a quick search through Flamingo Toes’ jewelry tutorials gave me the answer.
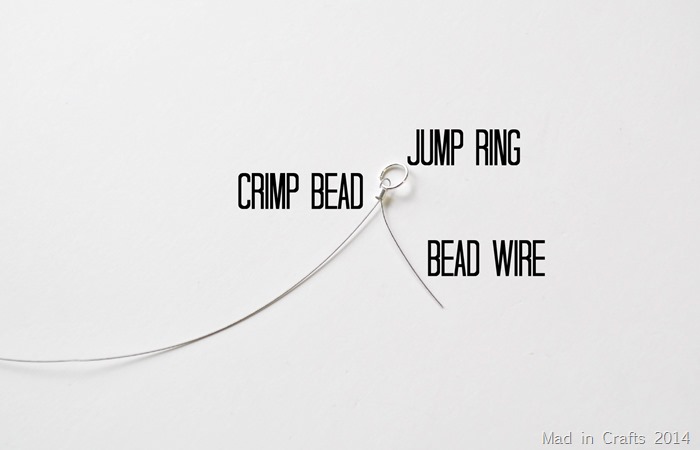
I threaded one strand of wire through a crimp bead, looped it around a jump ring and threaded it back through the crimp bead in the opposite direction. Then I used jewelry pliers to crimp the bead closed. I used this same technique to add all three strands of beaded wire to the same jump ring. Then I attached the opposite ends of all three strands to another jump ring.
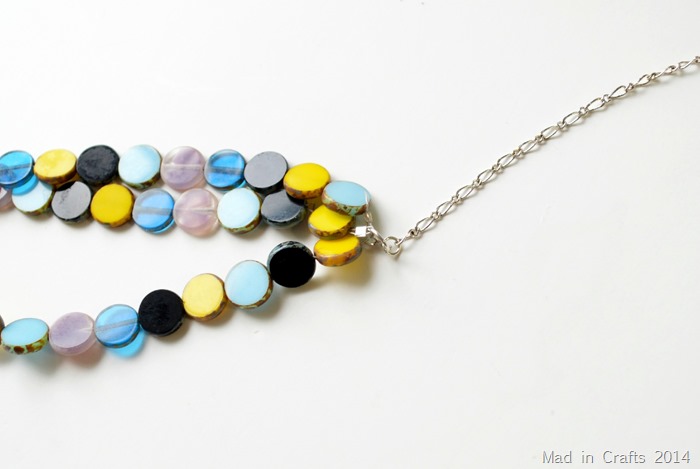
Here you can see how all three strands are attached to the same jump ring. I then opened a smaller jump ring and used it to connect a length of silver chain to the larger jump ring. Next, I used my pliers to close the small jump ring, securing the chain. I repeated this step to add chain to opposite end of the beads.
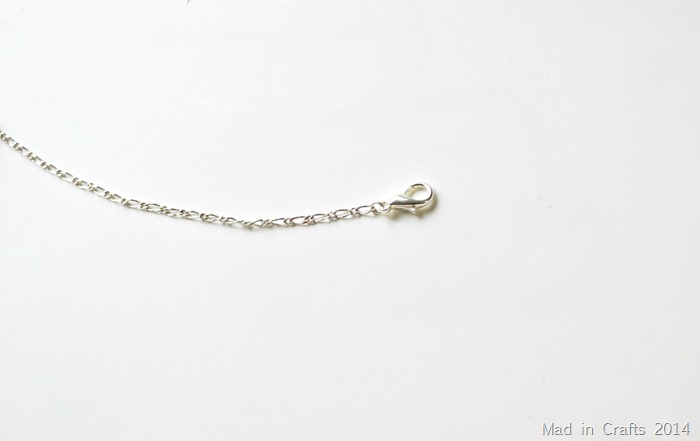
Finally I added a lobster clasp to the end of one of the chains. I didn’t add a corresponding jump ring to the end of the other chain because the links on my chain are large enough for me to secure the lobster clasp on any of the links. This way I can adjust the necklace’s length to suit what I am wearing.
I am pretty proud of my finished necklace. It didn’t take long to make and it looks much more expensive than the 4+ dollars it cost to make. For more inexpensive craft projects, visit Crafty Hangouts to see all the other projects in this series!
You might like these other simple jewelry tutorials:



I love the necklace you made – looks so easy!