This post is sponsored by DecoArt. I received free product and compensation to create this tutorial, but the opinions are 100% my own.
If you read craft and home blogs or have visited Pinterest in the past year, you have probably already heard of chalky finish paints. Chalky finish paints are popular for furniture makeovers because the paint makes the process quick and easy. The paint generally covers in one coat, distresses easily, and can be customized countless ways with waxes or varnishes. DecoArt has recently released a line of Americana Decor Chalky Finish paint and painting tools, and I was excited to give them a try.
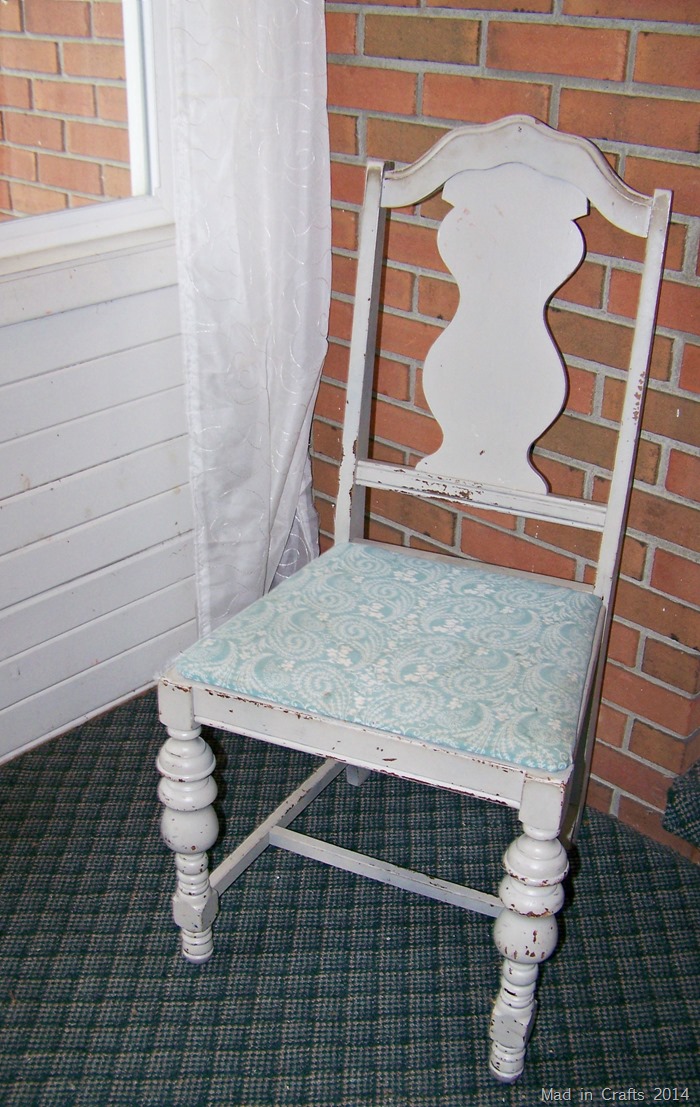
I spent $2 on this chair at a garage sale four years ago. I eventually gave it a few coats of light grey spray paint and recovered the seat with paisley fabric. It served us well as additional seating in our living room, but it was showing signs of wear. The intentionally distressed paint finish had gone past chic and cottage-y to the point of looking junky. My kids had also added some stains and pen ink to the fabric. It needed a makeover.
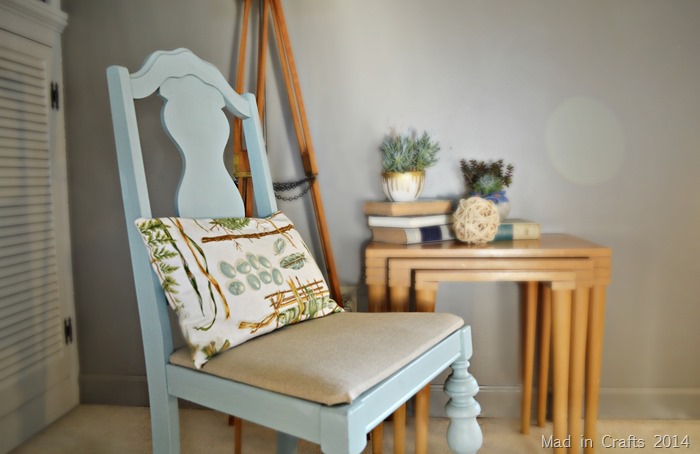
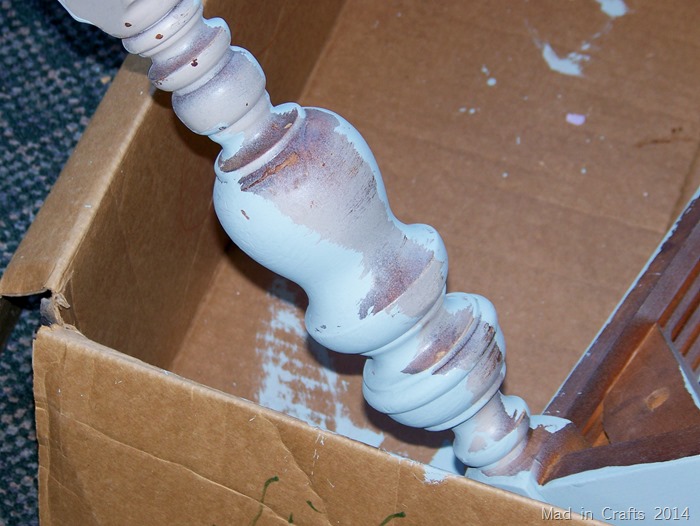
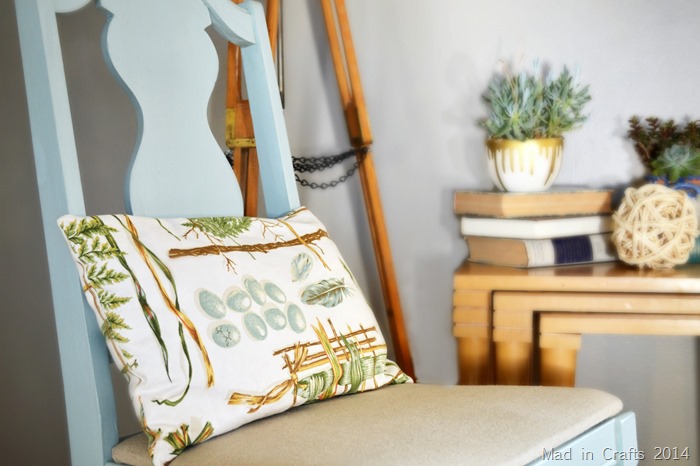
DecoArt sent me some of their new chalky finish paint to try out, so I braved the not-quite-Spring temps and got painting. I used the color Vintage, which is a very pretty blue-grey-aqua color. I barely used any of my pot of paint to do the entire chair. The paint covered impressively well, and I didn’t end up needing to apply a second coat. After the paint was dry, I added a coat of DecoArt’s clear wax to protect the paint from wear and tear. I applied the wax with DecoArt’s wax and finishing brush, but you can also just a clean, lint-free cloth.
DecoArt’s line features several different wax colors which will slightly change the appearance of the chalky paint color when applied. I loved the Vintage color so much that I didn’t want to change it at all. You can see all of the chalky paint colors and finishing options on DecoArt’s website.
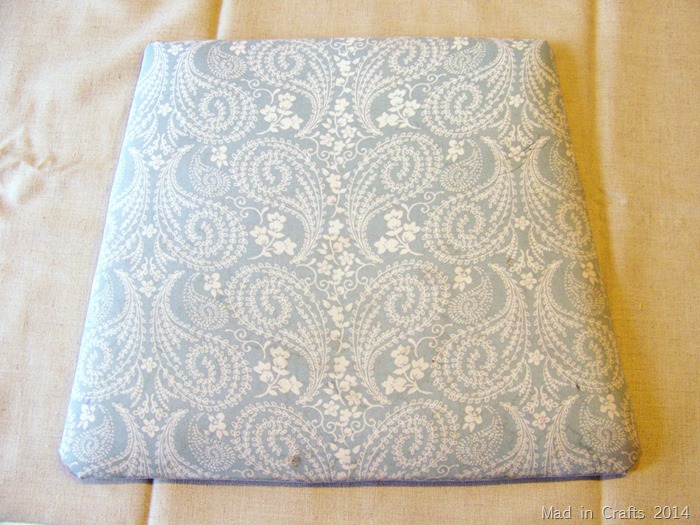
The paint color actually matched the old seat fabric dead-on, but I wanted a bit of contrast between the paint and the fabric. I picked out some pretty beige linen from my stash to use.
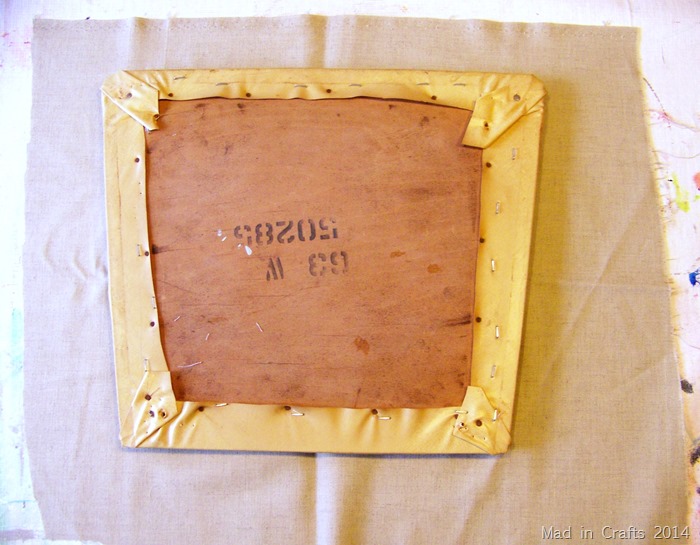
I removed the screws holding the seat in place and took off the old fabric. I laid the seat on the linen and cut the linen so that it was several inches wider than the seat on all four sides.
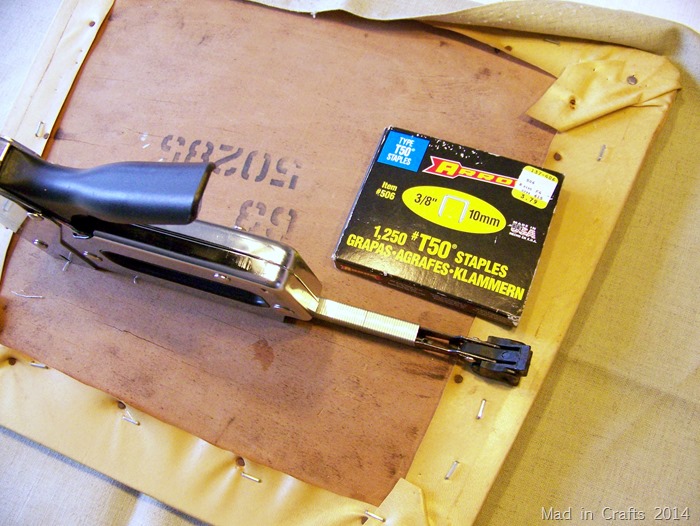
Using 3/8” staples, I carefully stapled the fabric to the underside of the seat.
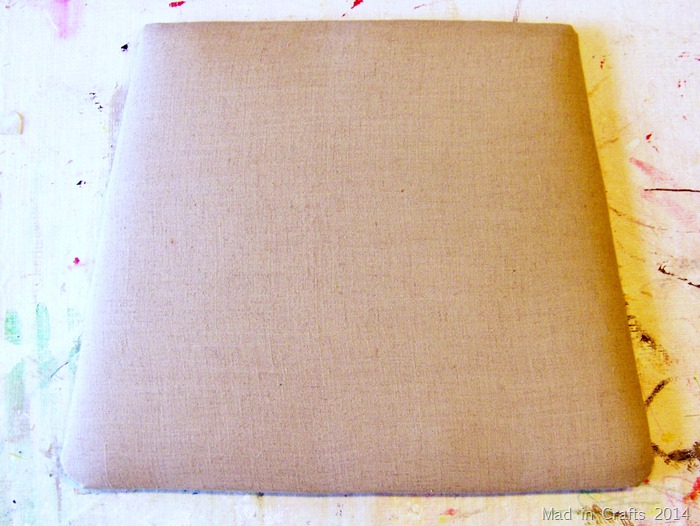
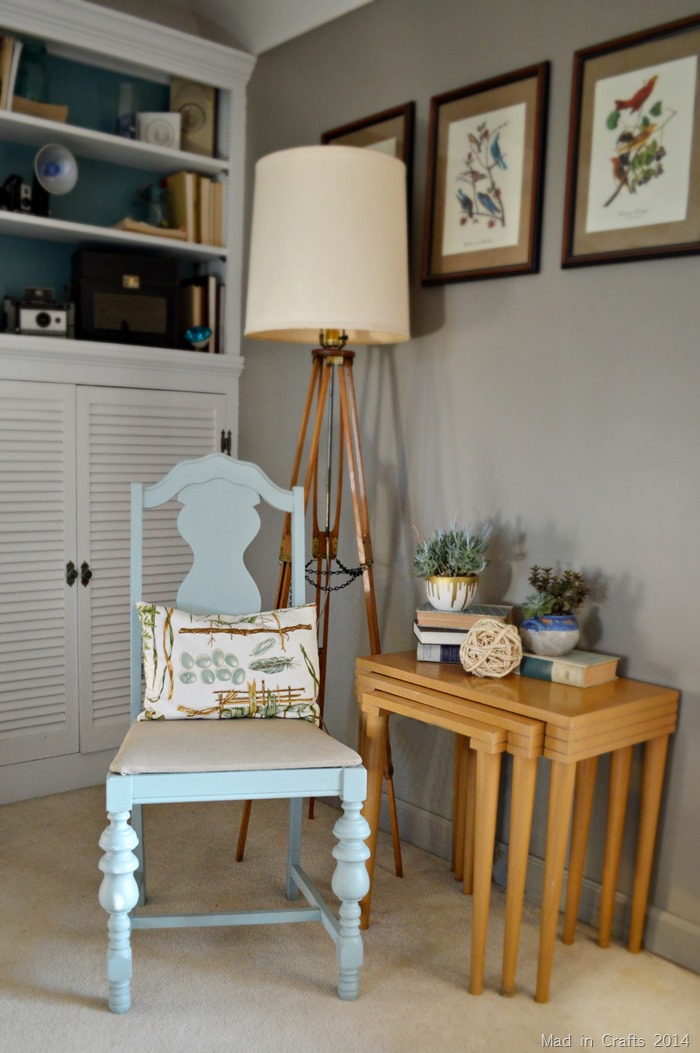
Now I had a new clean seat to match my newly painted chair!
The chalky paint color looks light and fresh in our living room. The chair is still functional since the chalky finish paint and wax combination holds up well to use.
You can find DecoArt’s Chalky Finish paints and waxes at Home Depot and Michael’s. If you are looking for more inspiration, check out DecoArt’s Chalky Paint project gallery. You find dozens of pretty project ideas!
Did you like this post? Think it’s worth sharing? Please share with your friends using the social media share buttons at the bottom of the page!
Thanks, Jessica



Love this transformation! Great job 🙂
Loving the different craft rooms!
Love your makeover. The chair looks amazing. I also really like the color of the paint you picked…pretty.
KC
Such a lovely makeover ~ I can't wait to try these paints ~ I've been wondering about them but now I know I need them!
Gorgeous! I love that color too! What a fabulous makeover and I love the new seat fabric and pillow! This Chalky paint looks so fun to use!
Pretty chair! Cool product!