DIY projects aren’t always easy. Pinterest and HGTV and blogs like mine sometimes gloss over the obstacles and mistakes that inevitably happen during any large project. This post will not do that.
I have added some affiliate links to the products we used in this project in case you are crazy enough to take on this DIY yourself!
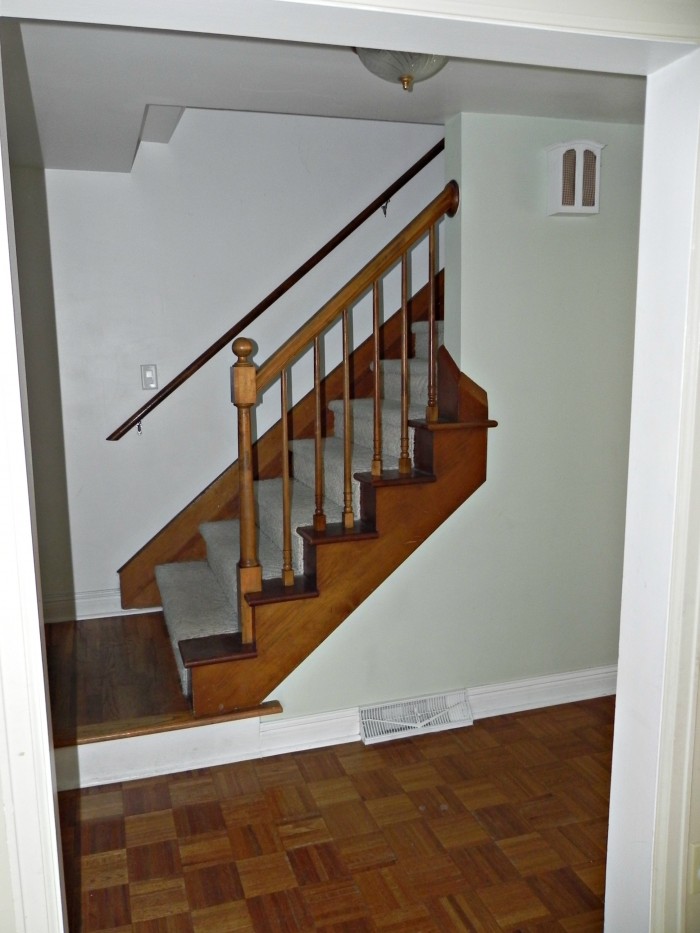
When we bought The Mad House the staircase looked like this. With the exception of white wall paint and some furniture and new lighting, the stairs have stayed pretty much the same. One of the items on my long to-do list for the year included removing the dirty berber carpet from the steps and refinishing the wood underneath. It all seemed so simple in my head. Little did I know.
Did I mention that this stairs project was on my to-do list… for the year of 2014.
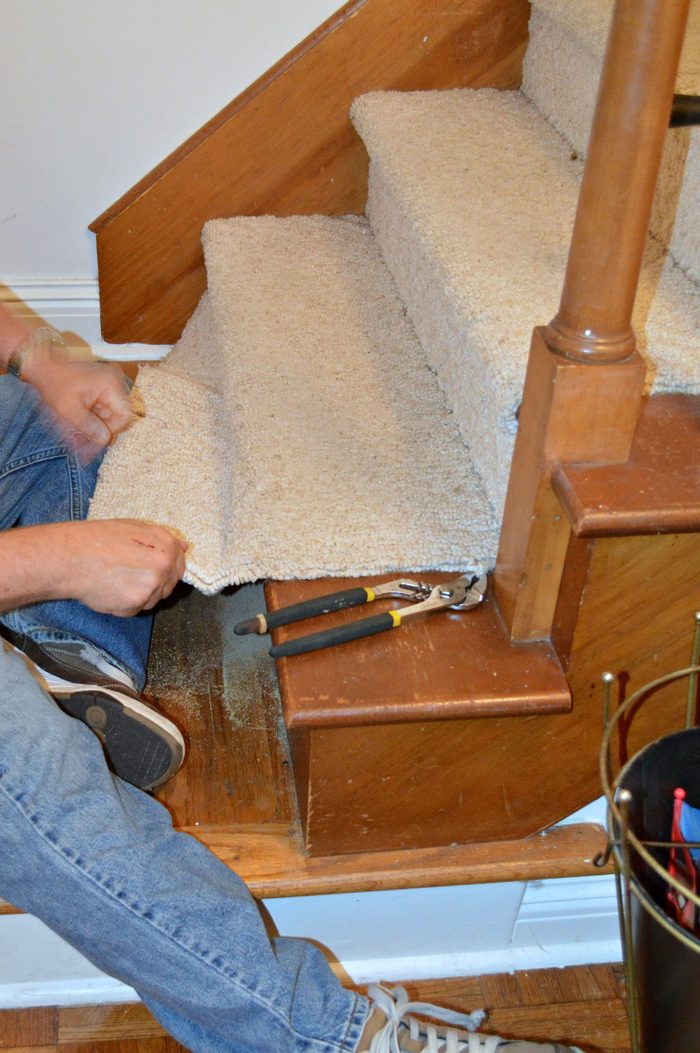
The first step was straightforward enough. My husband and I had ripped out the same carpet from our daughter’s room, so I sort of knew what we were in for when removing it from the stairs. What I wasn’t prepared for were the vast amount of staples holding the carpet down and how stinkin’ sharp those staples would be! You can see the first of many battle wounds on my dad’s hand in the picture above.
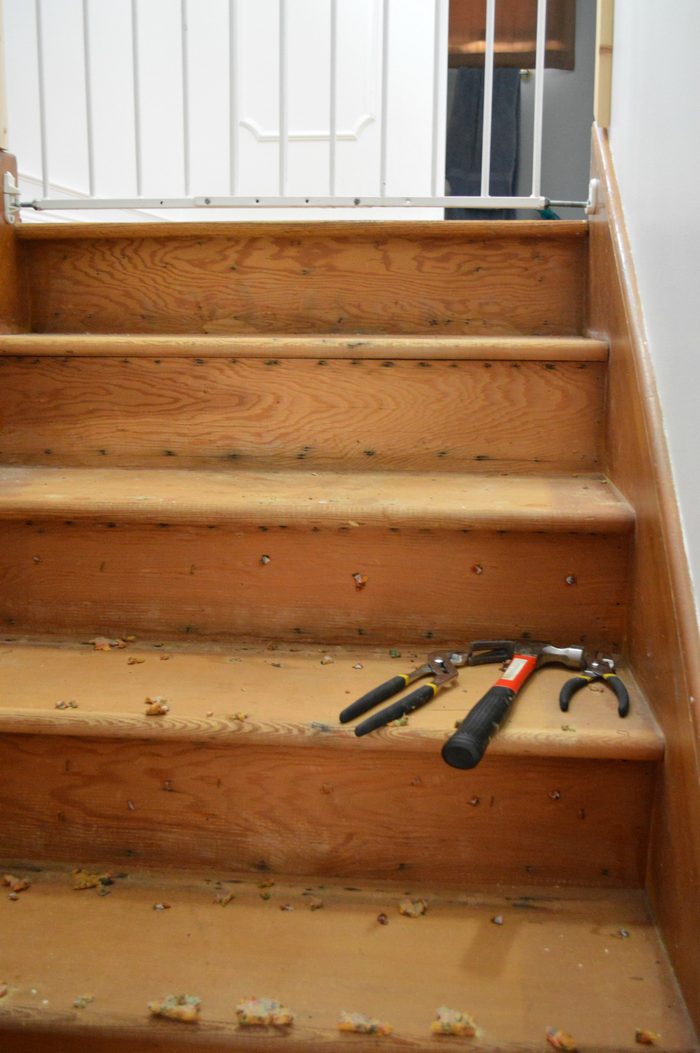
After yanking up the carpet and padding, we bundled it all up in duct tape to be put out on trash day. It felt good to have the carpet gone, but there was still a long way to go. Next up was nail and staple removal. Armed with hammers, pliers, and small plastic containers, we pried and pulled up all the remaining hardware and disposed of it. That took 12 days and 12 nights… or at least it felt like it.
Once we had all the staples and nails out of the wood, we got a better sense of the condition of the stairs themselves. We guessed that the wood was either pine or fir, not hardwood but not bad either. The wood that had been covered by the carpet was unfinished, but some parts of the stairs and trim were stained and polyurethaned.
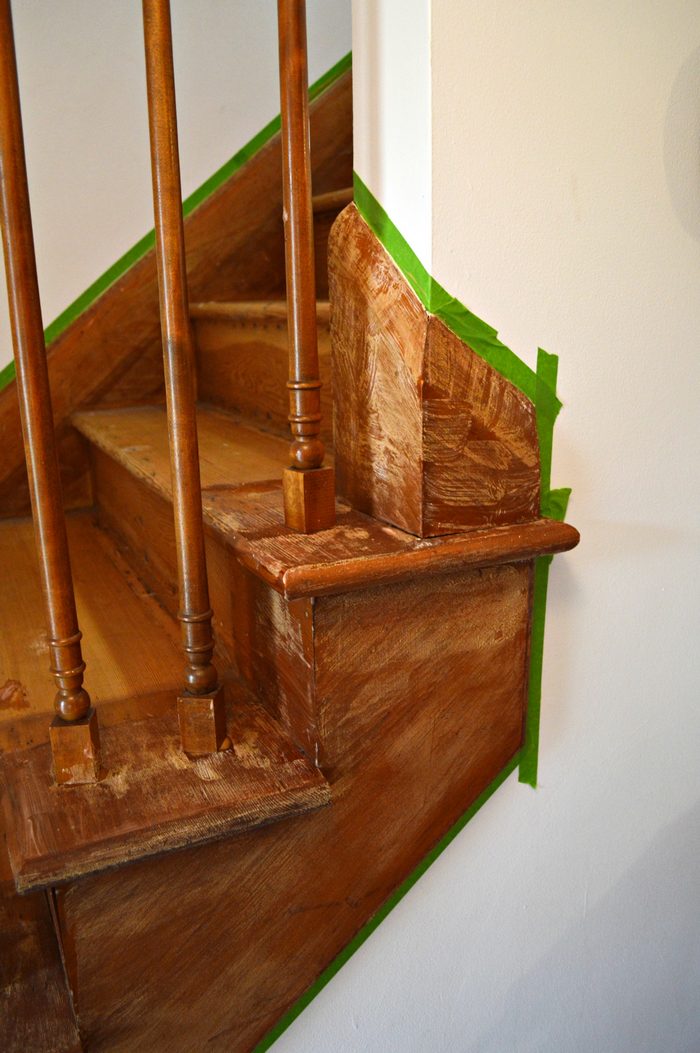
To remove the finish on the wood, we chose to use Citristrip stripper. I had read good reviews from other bloggers who said that it worked very well and was less stinky than other wood strippers. Here you can see the Citristrip going to work on the stair trim.
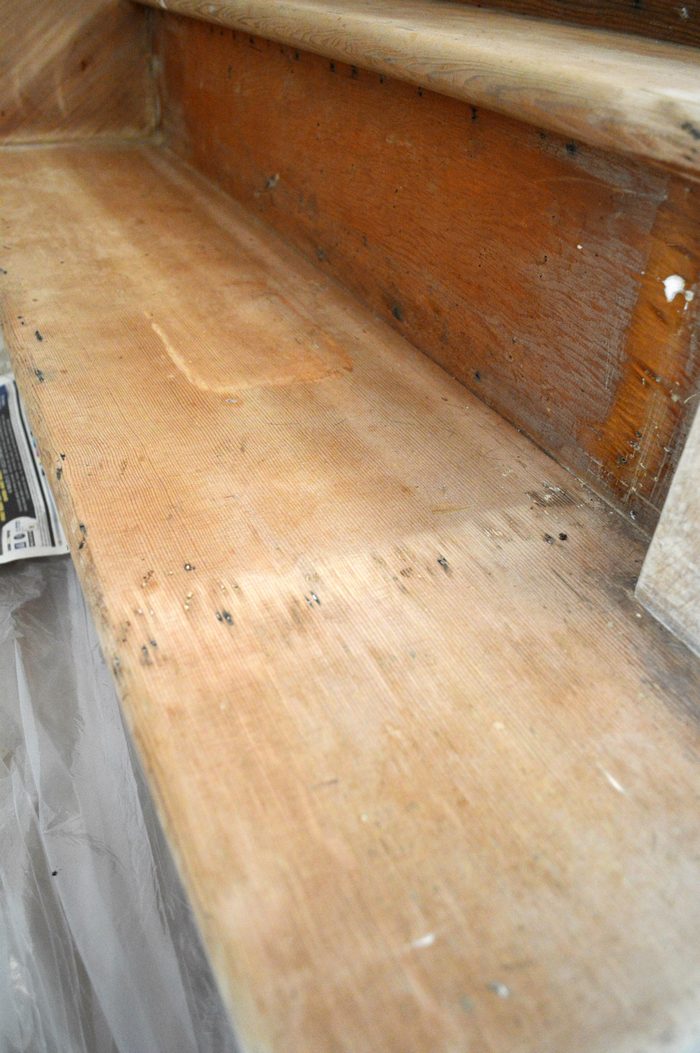
I feel like one picture doesn’t do justice to the stripping and sanding process. There is a reason why DIY shows always show sanding floors and stairs in a montage scene. It is boring and takes FOR. EV. ER. It turns out that I am not a very happy camper during these kinds of projects. I want results quickly, and sanding steps does not provide that. Dad kept telling me to “find the zen” in the process, but all I found was irritation.
All in all, my dad and I put in two good eight hour days stripping and sanding down the stairs. And the dust. So much sawdust. We taped up plastic drop cloths to keep the mess contained, but our orbital sanders still put out an impressive amount of sawdust. Also, did I mention that I am allergic to pine? Good luck with all that, sinuses.
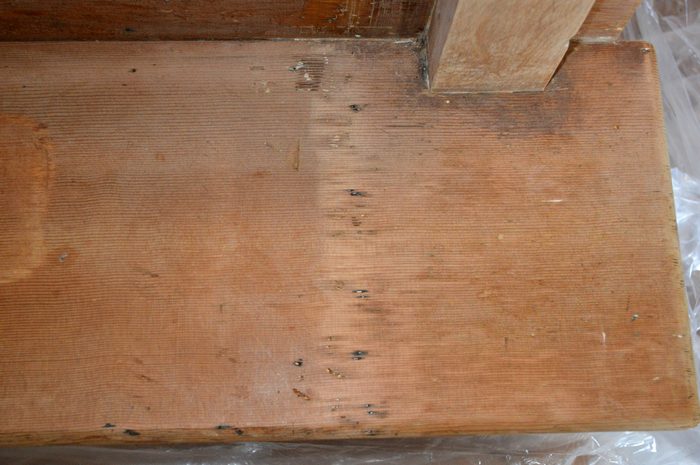
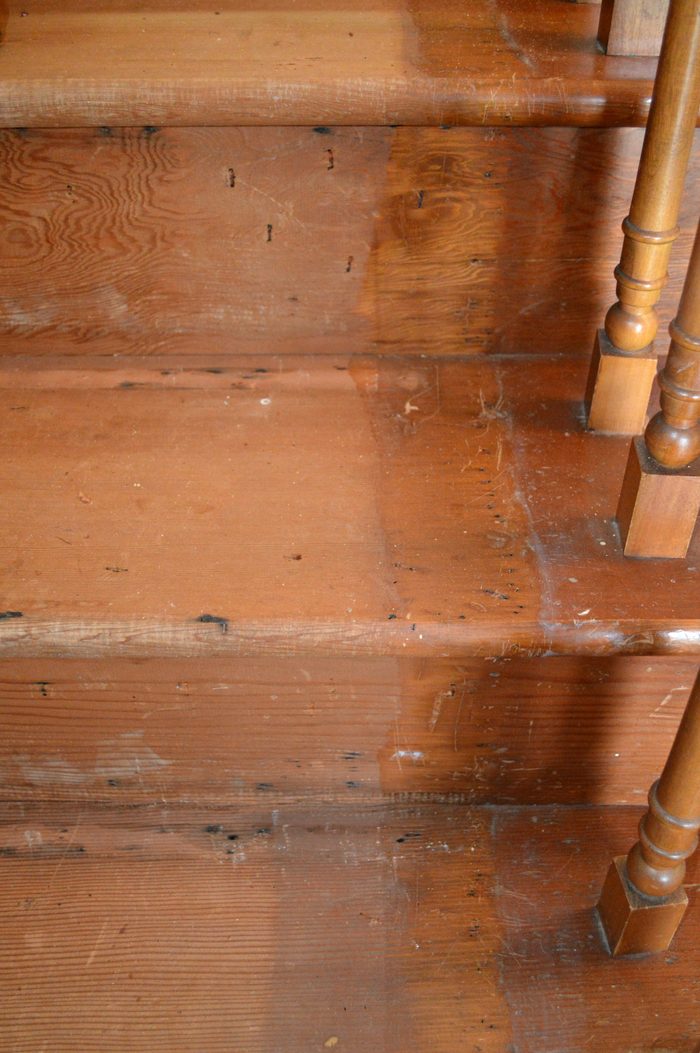
After I had used the shopvac to suck up the majority of the mess, I could finally see the results. The steps did look significantly better, and they felt smooth to the touch. Unfortunately, there were a few weird stripes in the wood where the carpet had been nailed down. I am not sure if the installers used some kind of solvent or adhesive under the carpet or what, but we wanted to take care of the uneven coloration before we stained the wood.
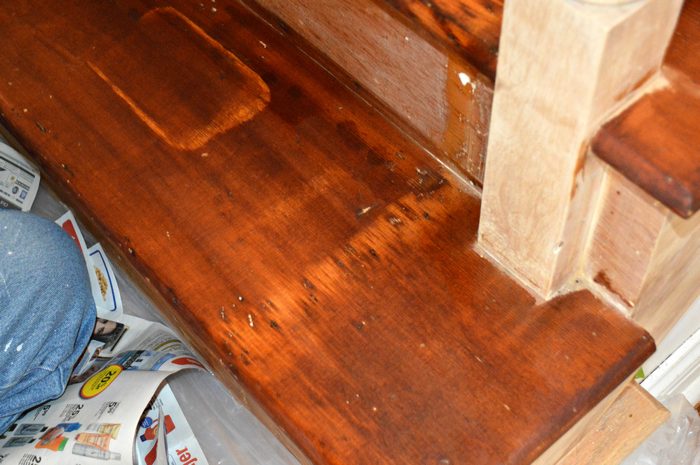
My dad talked to a worker at the home improvement store who suggested using wood bleach. Neither of us had ever used it before, but the product is made by Zinsser, so I took that as a good sign. The wood bleach is a two part solution that is meant to lighten and even out the color of wood. One solution is wiped on first, followed by another solution 5-10 minutes later. We let it sit overnight and then sanded the surface of those steps again.
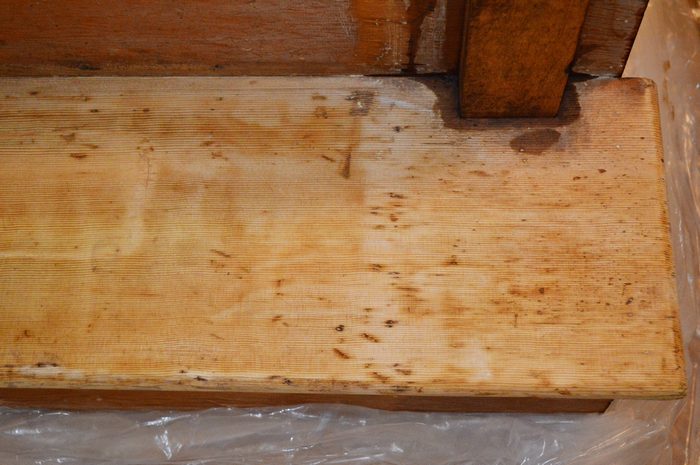
It really did help! The wood is not completely evenly colored, but the light stripes are much less noticeable. There was still one more step between us and stain, though. Since the stairs are made from either pine or fir, which are porous woods, we decided to use wood conditioner to help the wood take stain more evenly. Minwax’s conditioner directed us to apply the product and wait no less than 15 minutes and no more than 2 hours before applying the stain.
Things were moving along pretty well, we thought. What we didn’t know was that we were still TWO YEARS away from finishing the project. Come back tomorrow for the rest of the crazy story!

