You don’t need a fancy alignment tool to make a custom shirt with a design on the pocket! I am sharing my simple trick for positioning HTV for a pocket design that will give you great results in no time. Once you learn the secret, you will want to make stylish shirts for everyone you know!

POSITIONING HTV FOR A POCKET DESIGN
WHAT YOU NEED TO PUT A POCKET DESIGN ON A SHIRT
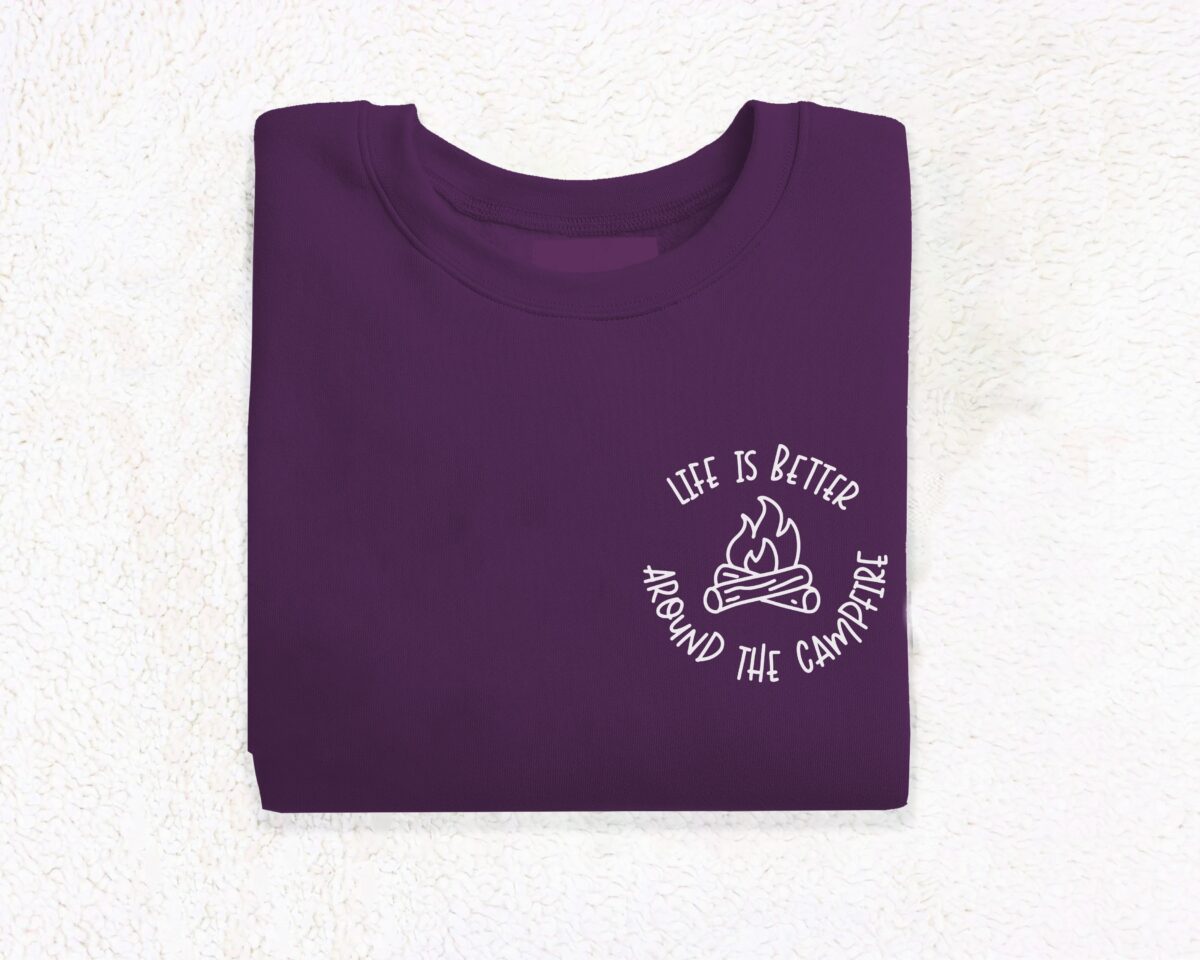
With this simple technique, you do not need any tools other than your standard equipment for applying HTV to clothing! No fancy alignment tools needed. You can even skip the ruler if you are feeling like a rebel.
These are all affiliate links, if you make a purchase (of anything from the site, not just these items) after clicking through, I will earn a small commission. Ads and affiliate links are the way I am able to keep this website running and to offer you free tutorials all year long. Thank you so much for supporting me and Mad in Crafts!
- Iron-on vinyl
- Digital cutting machine: Cricut Maker, Cricut Explore, Cricut Joy
- Cricut mat
- Cricut tools
- EasyPress, heat press, or iron
- Ruler or measuring tape (optional)

Want to know which craft supplies I always keep in my craft room?
Visit the Mad in Crafts Amazon Storefront to learn more and to buy your own supplies!
HOW TO PROPERLY POSITIONAL AN HTV POCKET DESIGN
This simple trick will let you create a trendy pocket design on your shirt quickly and easily. You can even eyeball the placement if you don’t feel like busting out the measuring tape. I won’t tell.
HOW TO DO AN IRON-ON VINYL POCKET DESIGN
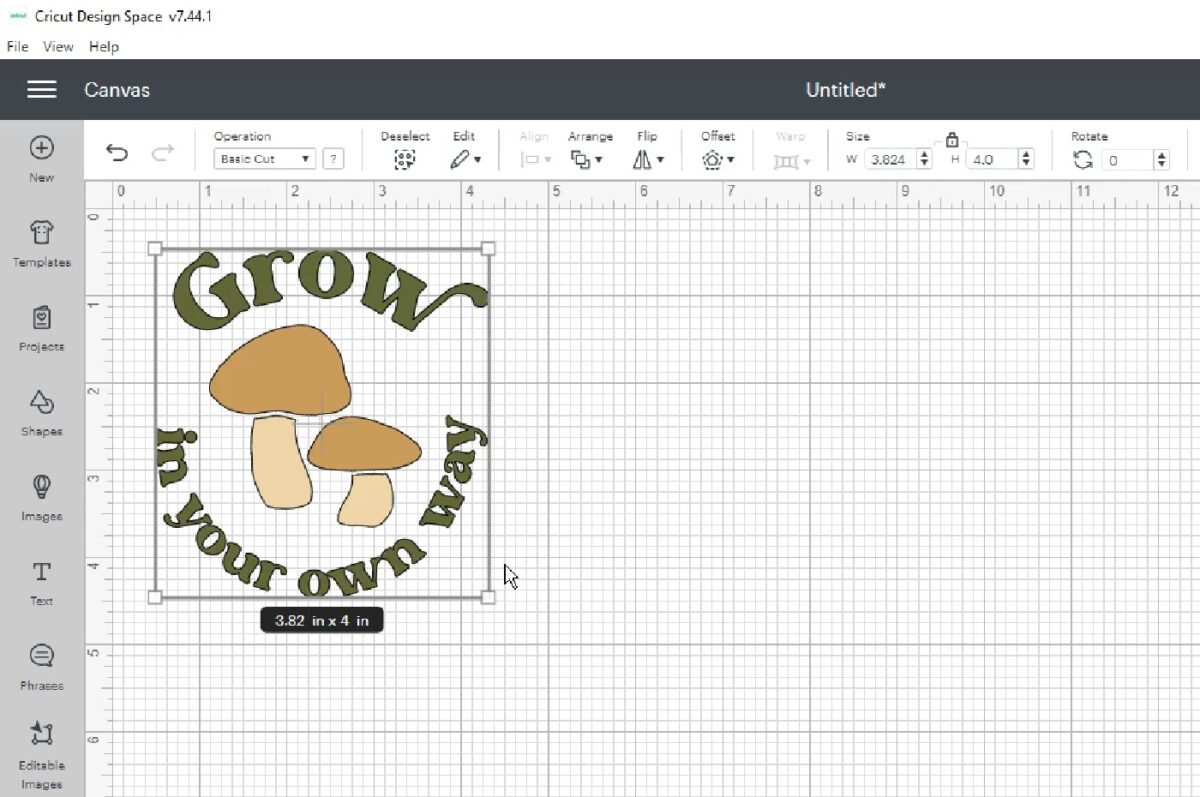
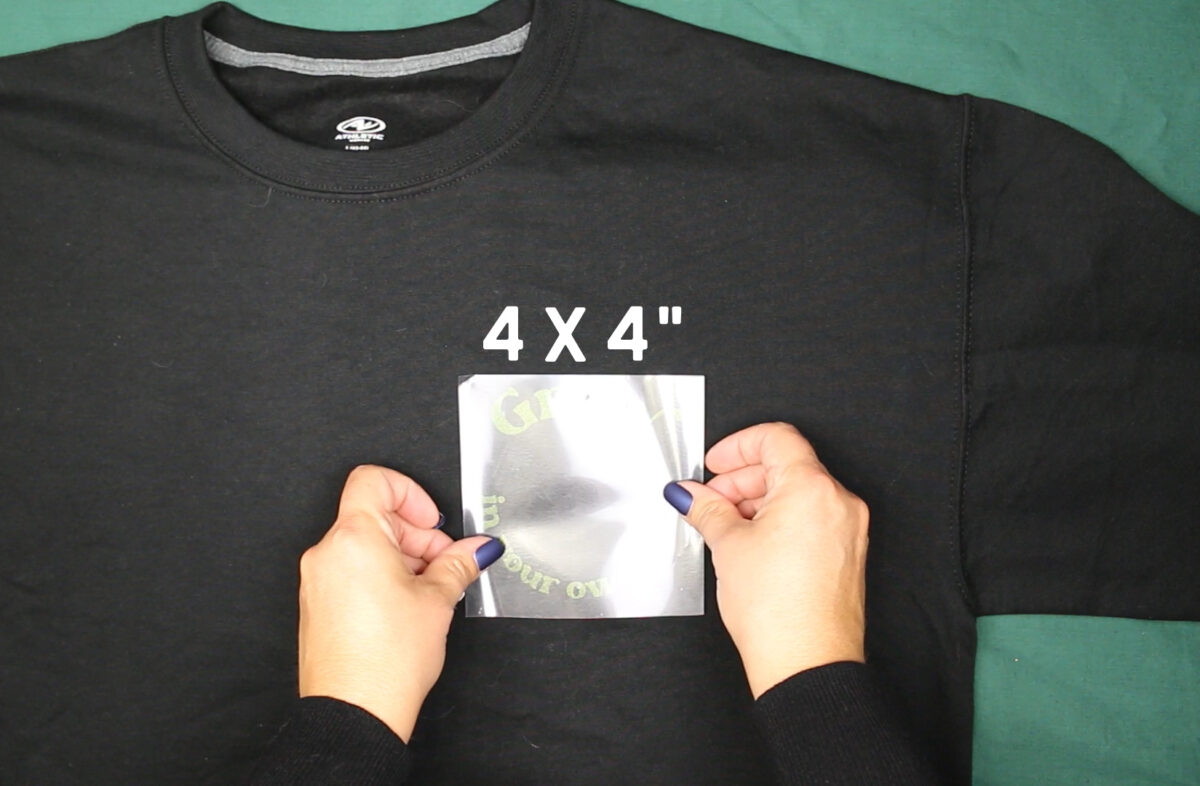
- Resize your SVG to measure 4 inches on its longest side.

- Cut and weed the HTV design.
Make sure to mirror your design!
- Measure the center point of the HTV design.
I chose to eyeball my center point. You could also mark the center point on the design on the top of the carrier sheet with a pen or by making a small hole in the carrier sheet if there is no vinyl beneath the center point.
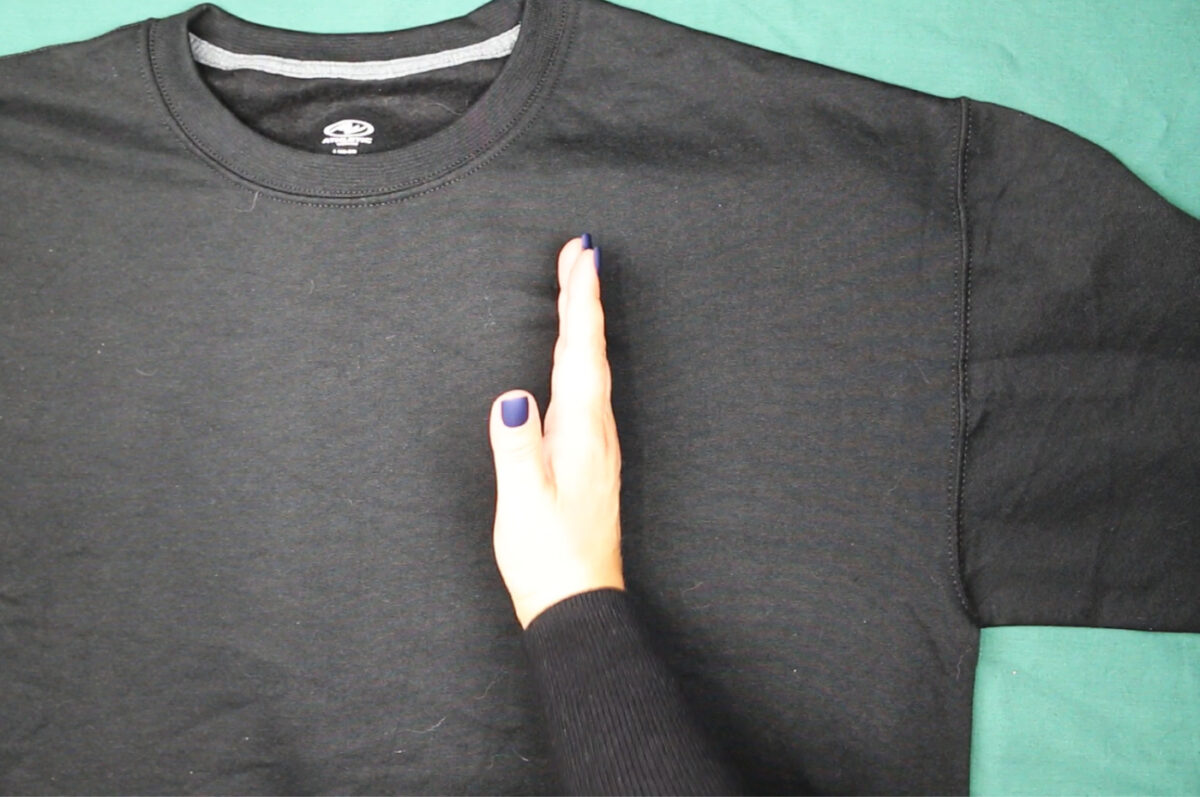
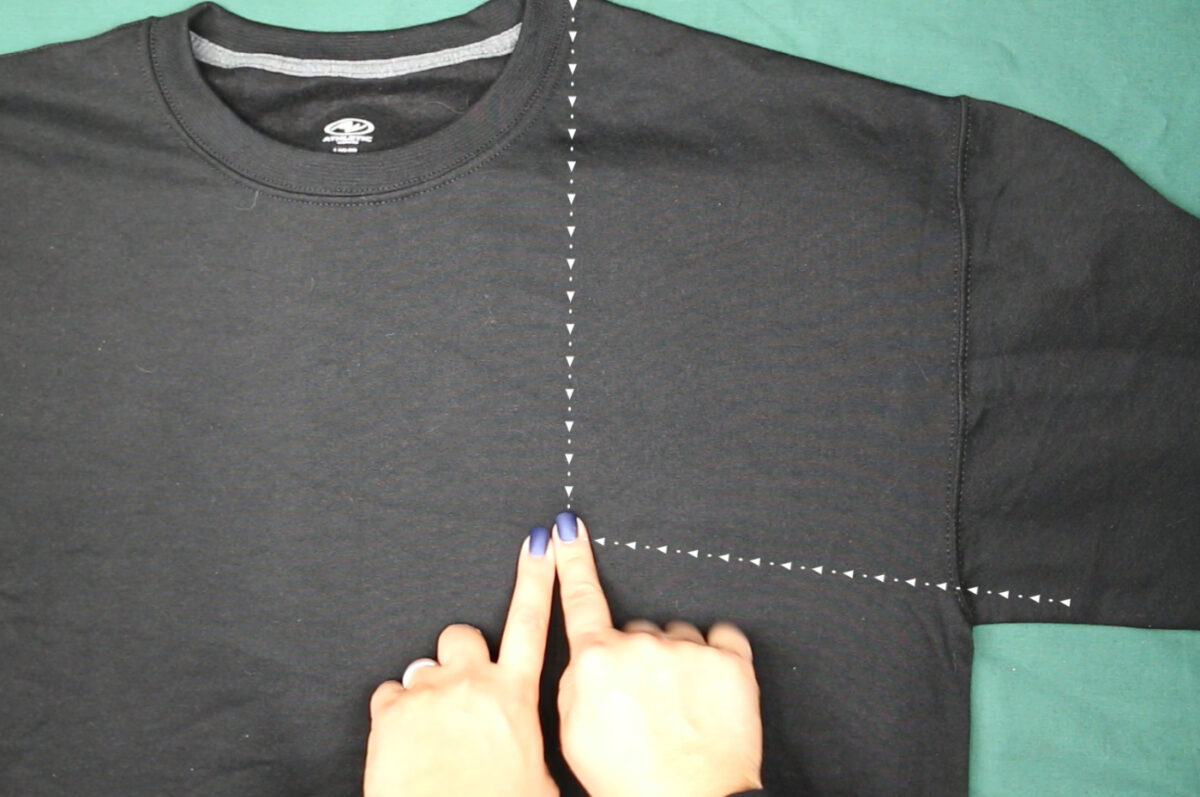
- Mark a straight line down from the left side of the neck hole (the left side as you would be wearing the shirt – the right side as you are looking at the shirt).
You can mark this with your finger or a straight edge.

- Mark a straight line over from the bottom of the left sleeve’s armhole. Mark where these two straight lines meet.

- Center your HTV design on the point where those two lines meet.

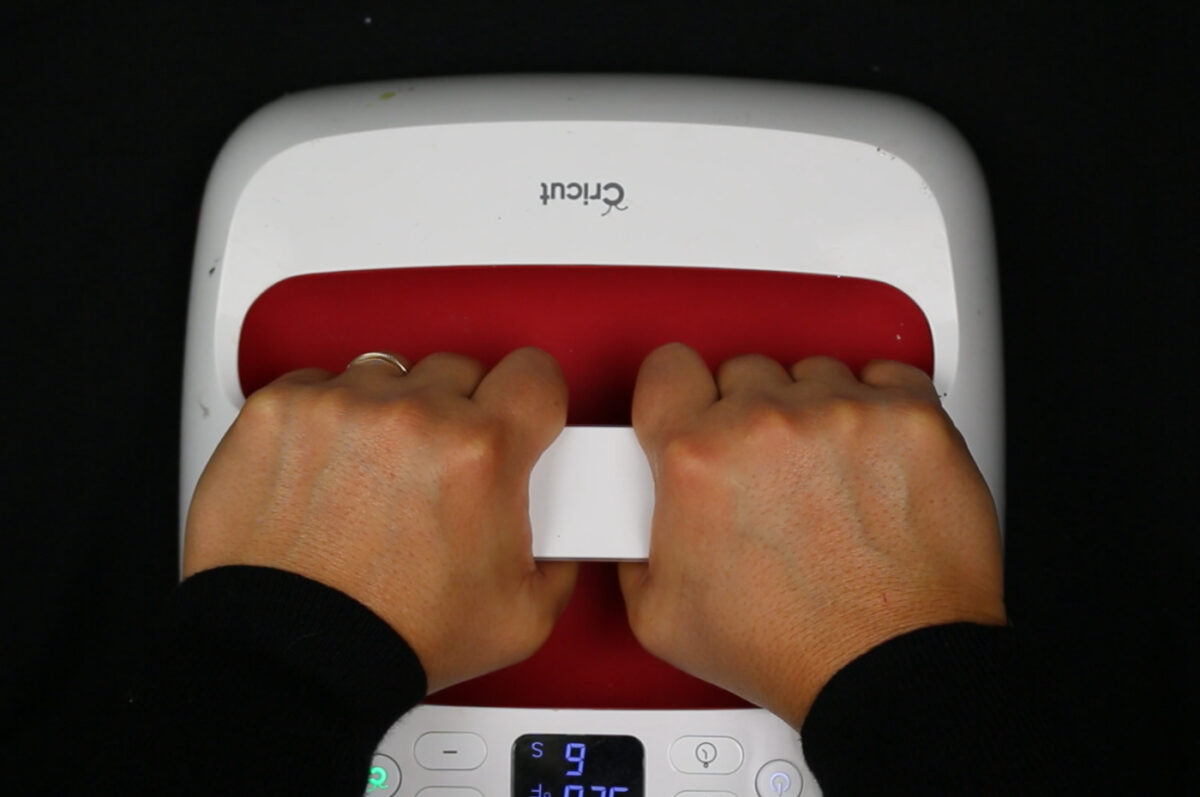
- Iron the HTV in place according to the correct settings for the vinyl.

- Peel back the carrier sheet to reveal your design.

WHAT SVGS WORK BEST FOR POCKET DESIGNS?
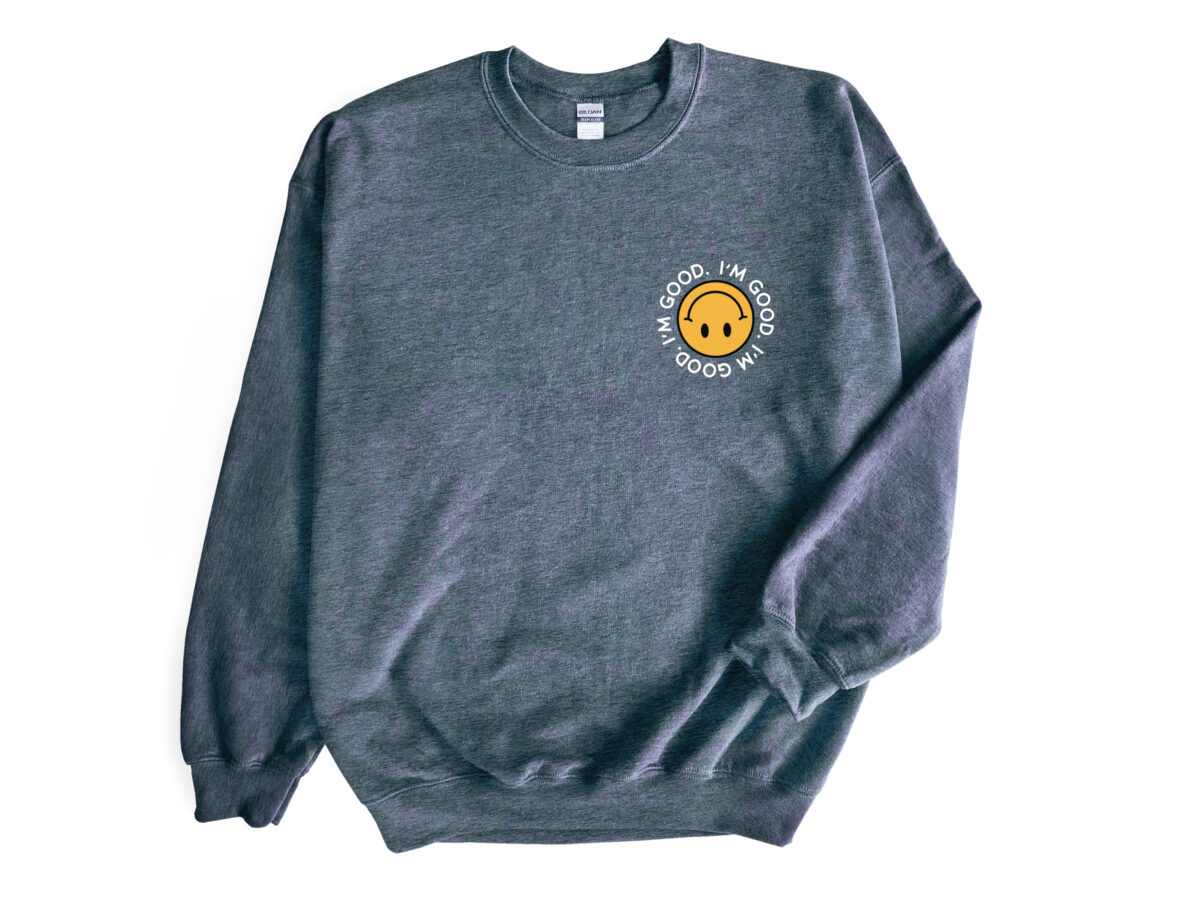
Not all SVG designs work well as pocket designs. First, I recommend choosing a design that is square or near square. Horizontal designs can sometimes work as well. Vertical designs don’t look as good as pocket designs.
Next, choose an SVG with limited details and linework. Remember that the entire design will only be 4 inches by 4 inches. Small fonts and intricate linework will be hard to weed and will not show up well on the finished shirt. If you have your heart set on an SVG with fine lines, consider using Cricut Design Space’s offset feature and creating a layered SVG design to help it stand out more.

Are you looking for high-quality SVGs to use in your craft projects? I sell my original designs in my Mad in Crafts shop! You can find single SVG files and bundles — all for great prices.





Leave a Reply