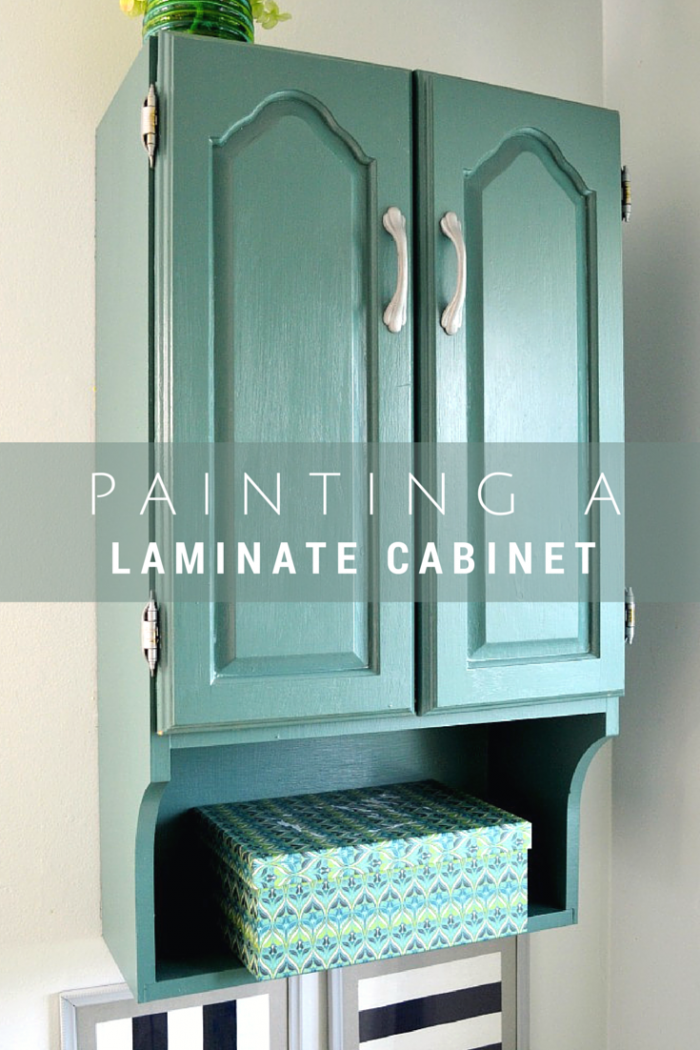
The old metal shelves that we used for extra storage in our bathroom were a shaky nuisance. The bottom shelf stuck out so that the toilet seat couldn’t be lifted properly, things were always falling through the shelf openings, and all of our toiletries were out in the open – making the room look cluttered and messy. It was clear that our bathroom makeover had to include replacing the shelves with prettier, more usable storage.
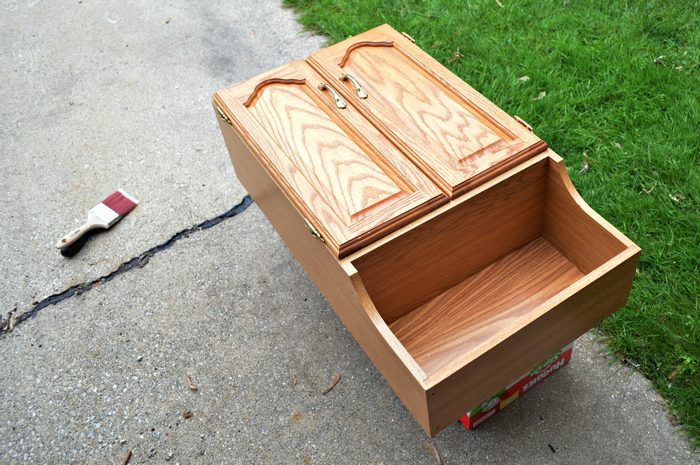
My parents had been storing this bathroom cabinet in their garage for a while, and then we stored it in our garage for a while. Finally, when the gears started moving for our bathroom update, I brought it out to give it a new color. The cabinet is made of plywood and laminate, so not only is it crazy heavy but it is tricky to paint.
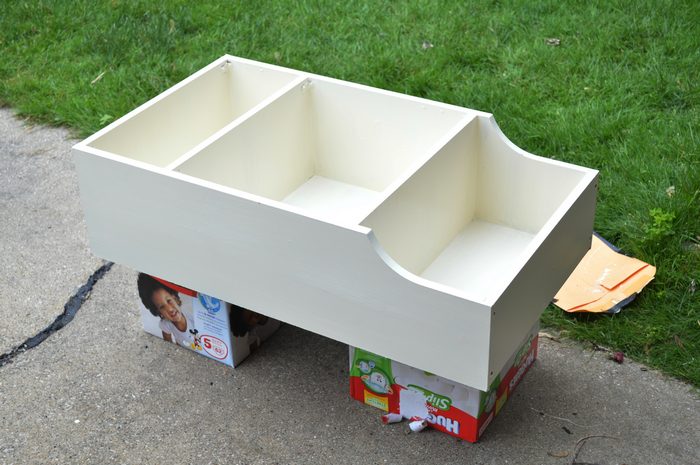
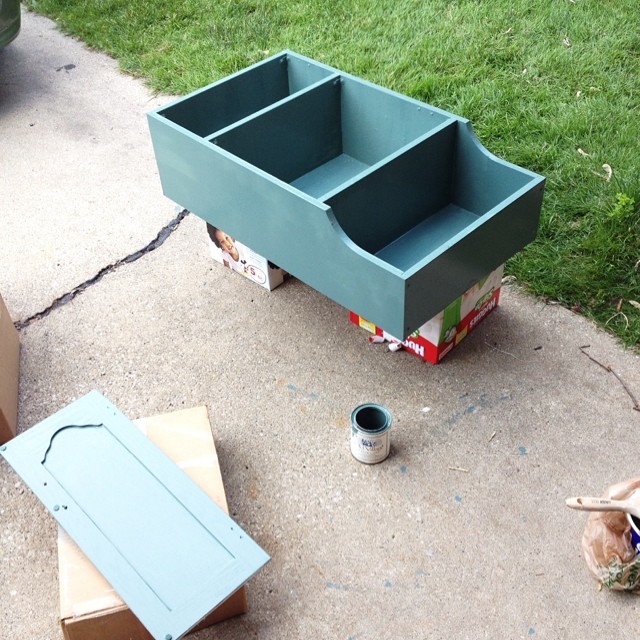
I have some experience painting laminate furniture after dealing with my son’s bed four years ago. The real trick is using a good quality primer, like Glidden Gripper or KILZ Adhesion. These primers stick to the laminate very well and provide a durable surface for the paint color to stick to. I removed the hinges and hardware and gave the cabinet and doors a coat of KILZ and let the primer dry according to the directions. Did you know that diaper boxes make excellent impromptu sawhorses?
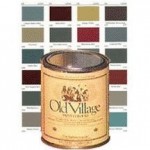
I had been wanting to try Old Village Paint since they had sent me some of their colors a year or so ago. This cabinet finally gave me a chance to do it. I tested out a few of the colors and settled on Cabinet Makers Blue, an emerald color leaning toward blue.
The paint has a really nice thickness to it and covers very well. I was pleased with how easy it was to work with, especially since I was working with laminate. After I finished painting, I let the paint cure before replacing the hardware (which I had spray painted with a brushed nickel finish) and putting the doors back on.
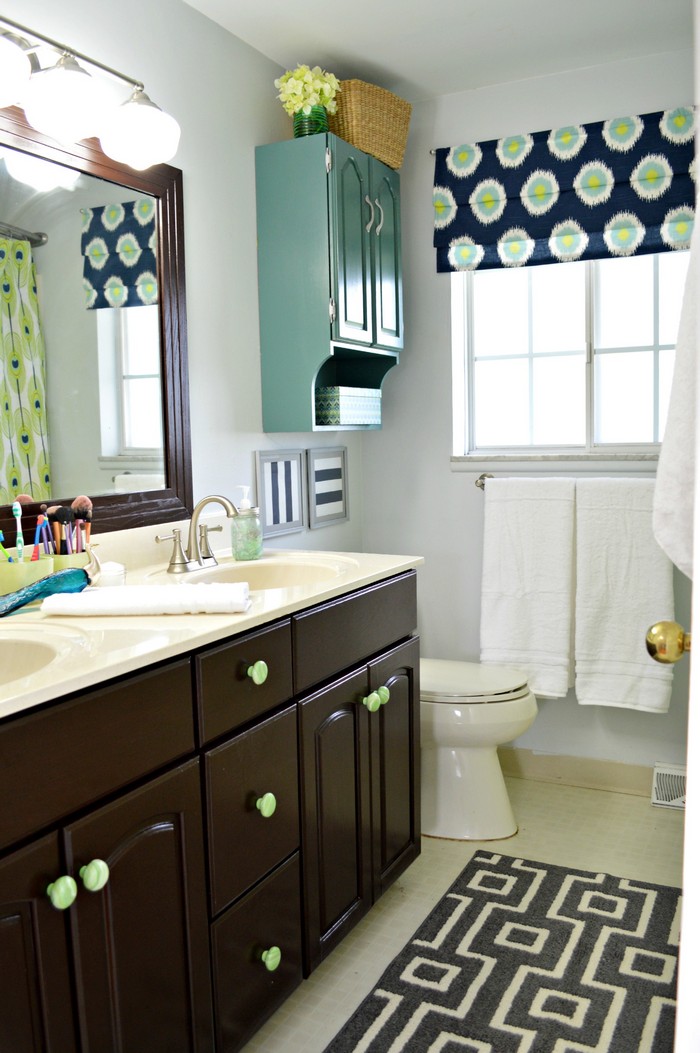
Since the cabinet is so heavy, it needed to be mounted to a wall stud so that it would be secure. The additional screws went into wall anchors to make sure the cabinet doesn’t coming crashing down on us!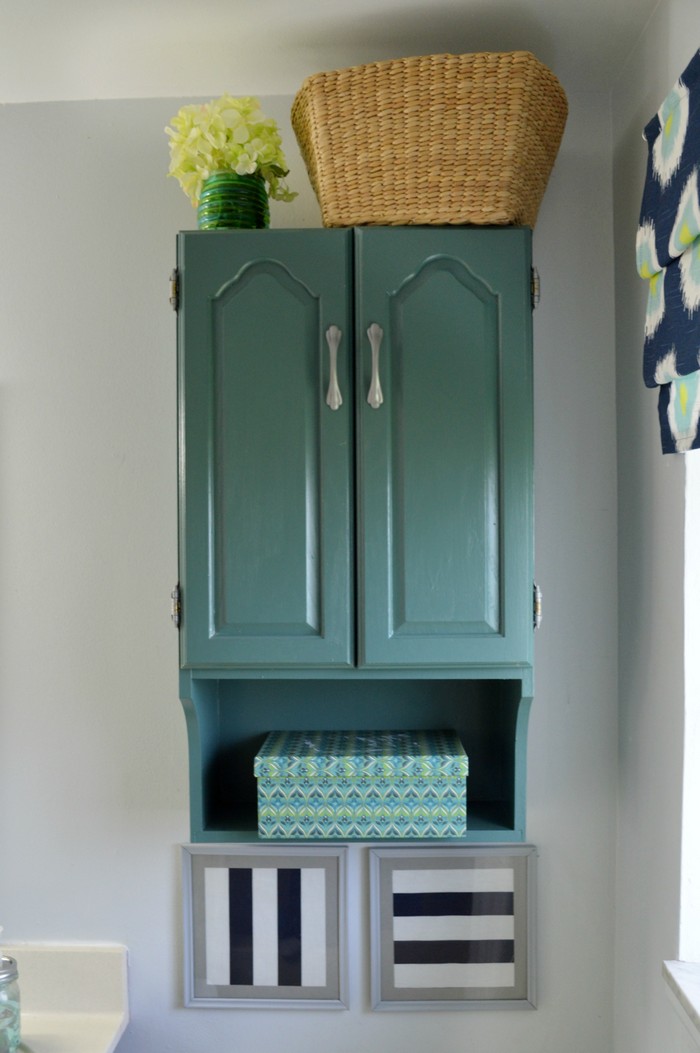
The paint color was inspiration for the whole color scheme in the bathroom, so I am so glad it started with such a great color!
I’ve gathered links to the materials I used in this tutorial. If you purchase after clicking one of these links, I will receive a small commission. Thanks!
Did you like this post? Think it’s worth sharing? Please share with your friends using the social media share buttons at the bottom of the page!
Thanks, Jessica



I absolutely LOVE this cabinet makeover! I’d love to redo my laminate kitchen cabinets even though they’re not very old at all! They’re the in-stock ones from Lowes… How well does this hold up to washing?! Also, you said you used “Kilz Adhesion” but your product list shows Kilz General Purpose, is there a difference? Thank you for sharing! 🙂
Thanks, Susan! I used standard KILZ because I had it on hand, and so far it has held up just fine. Products like Glidden Gripper and KILZ Adhesion are meant to help the paint stick to the tricky laminate surface. If you were painting a project that was large or an item that would see a lot of use (like your kitchen cabinets), I would definitely use one of those two primers. Hope that helps!
I love what you did to that cabinet. What a classy bathroom now. I noticed the diaper boxes, loved it. I use Eggo boxes that is about the same size.
After sanding and priming with KILZ what type of paint must be used and will it require a top coat?
I used Old Village paint, but any latex paint will work over KILZ Latex. If you have used an oil based primer, then you can use latex paint but it is more at risk of peeling later. I recommend Pittsburgh Paint\’s oil based furniture paint if you go the route. Hope that helps!