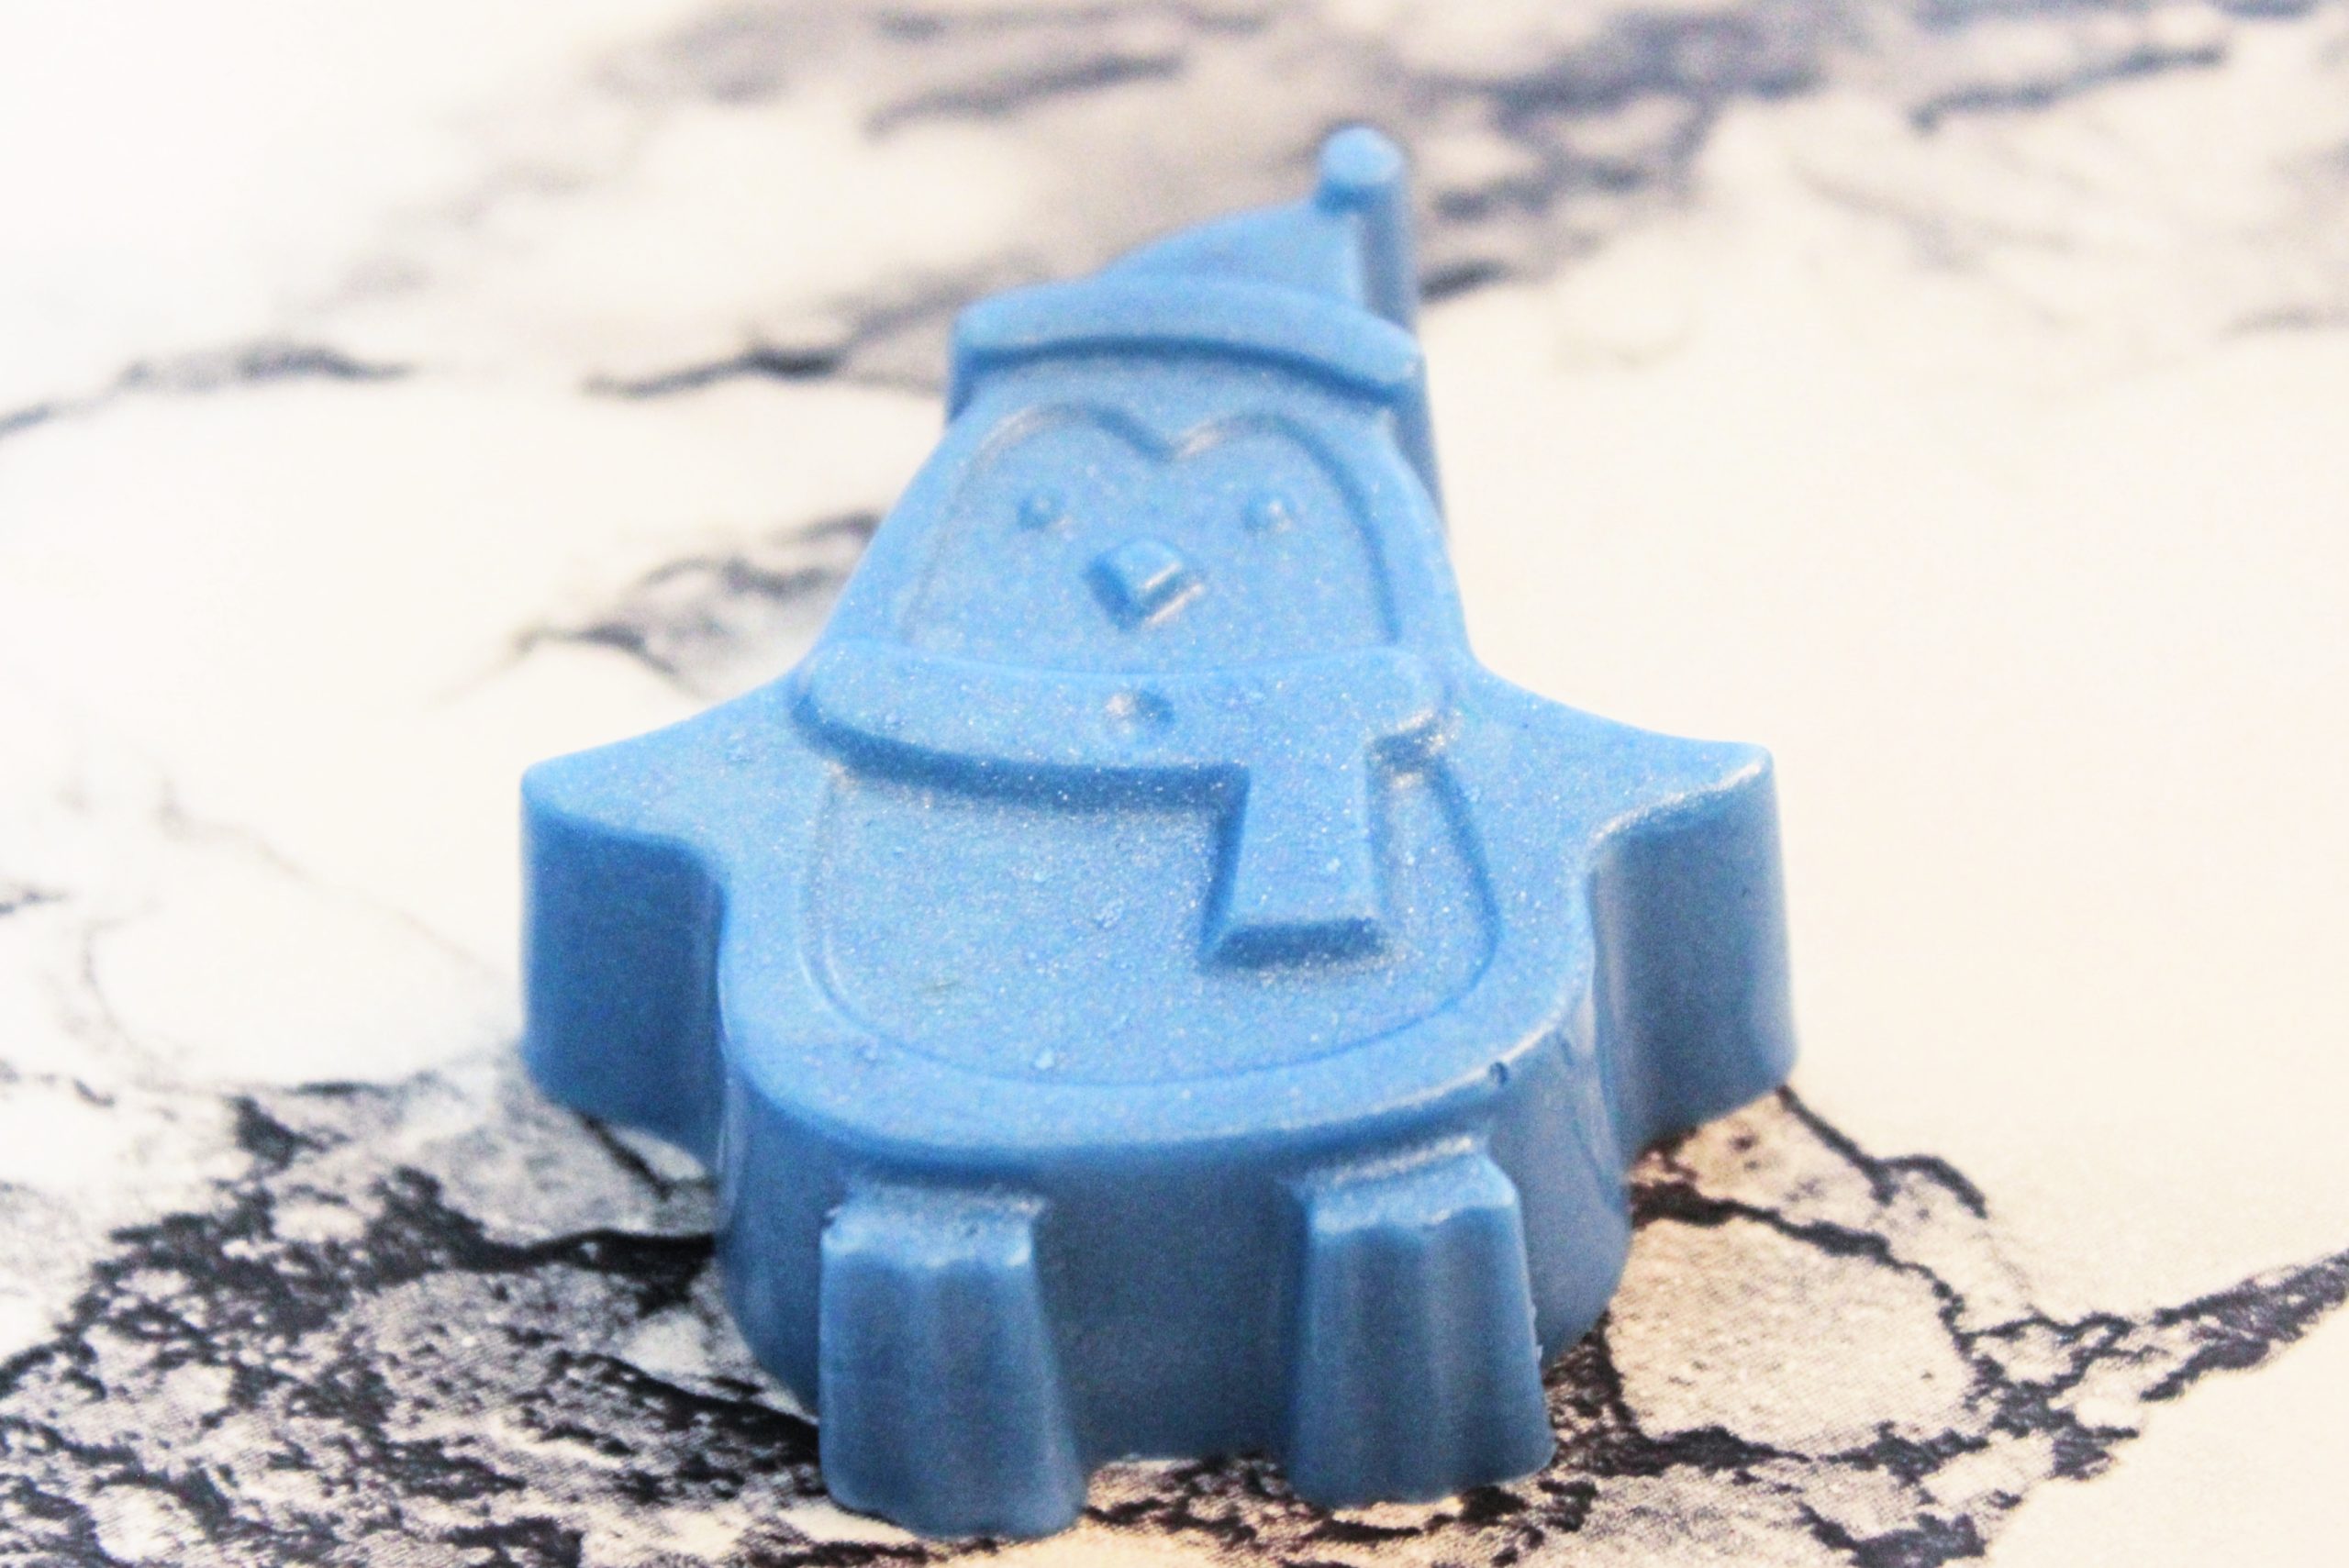
Melt and pour soap is the easiest way to make DIY soap. This project is great for beginner soap makers because it’s so easy to do and the supplies are cheap. These melt and pour penguin soaps are very inexpensive and make fun gifts too. You can make a batch in just a few minutes.
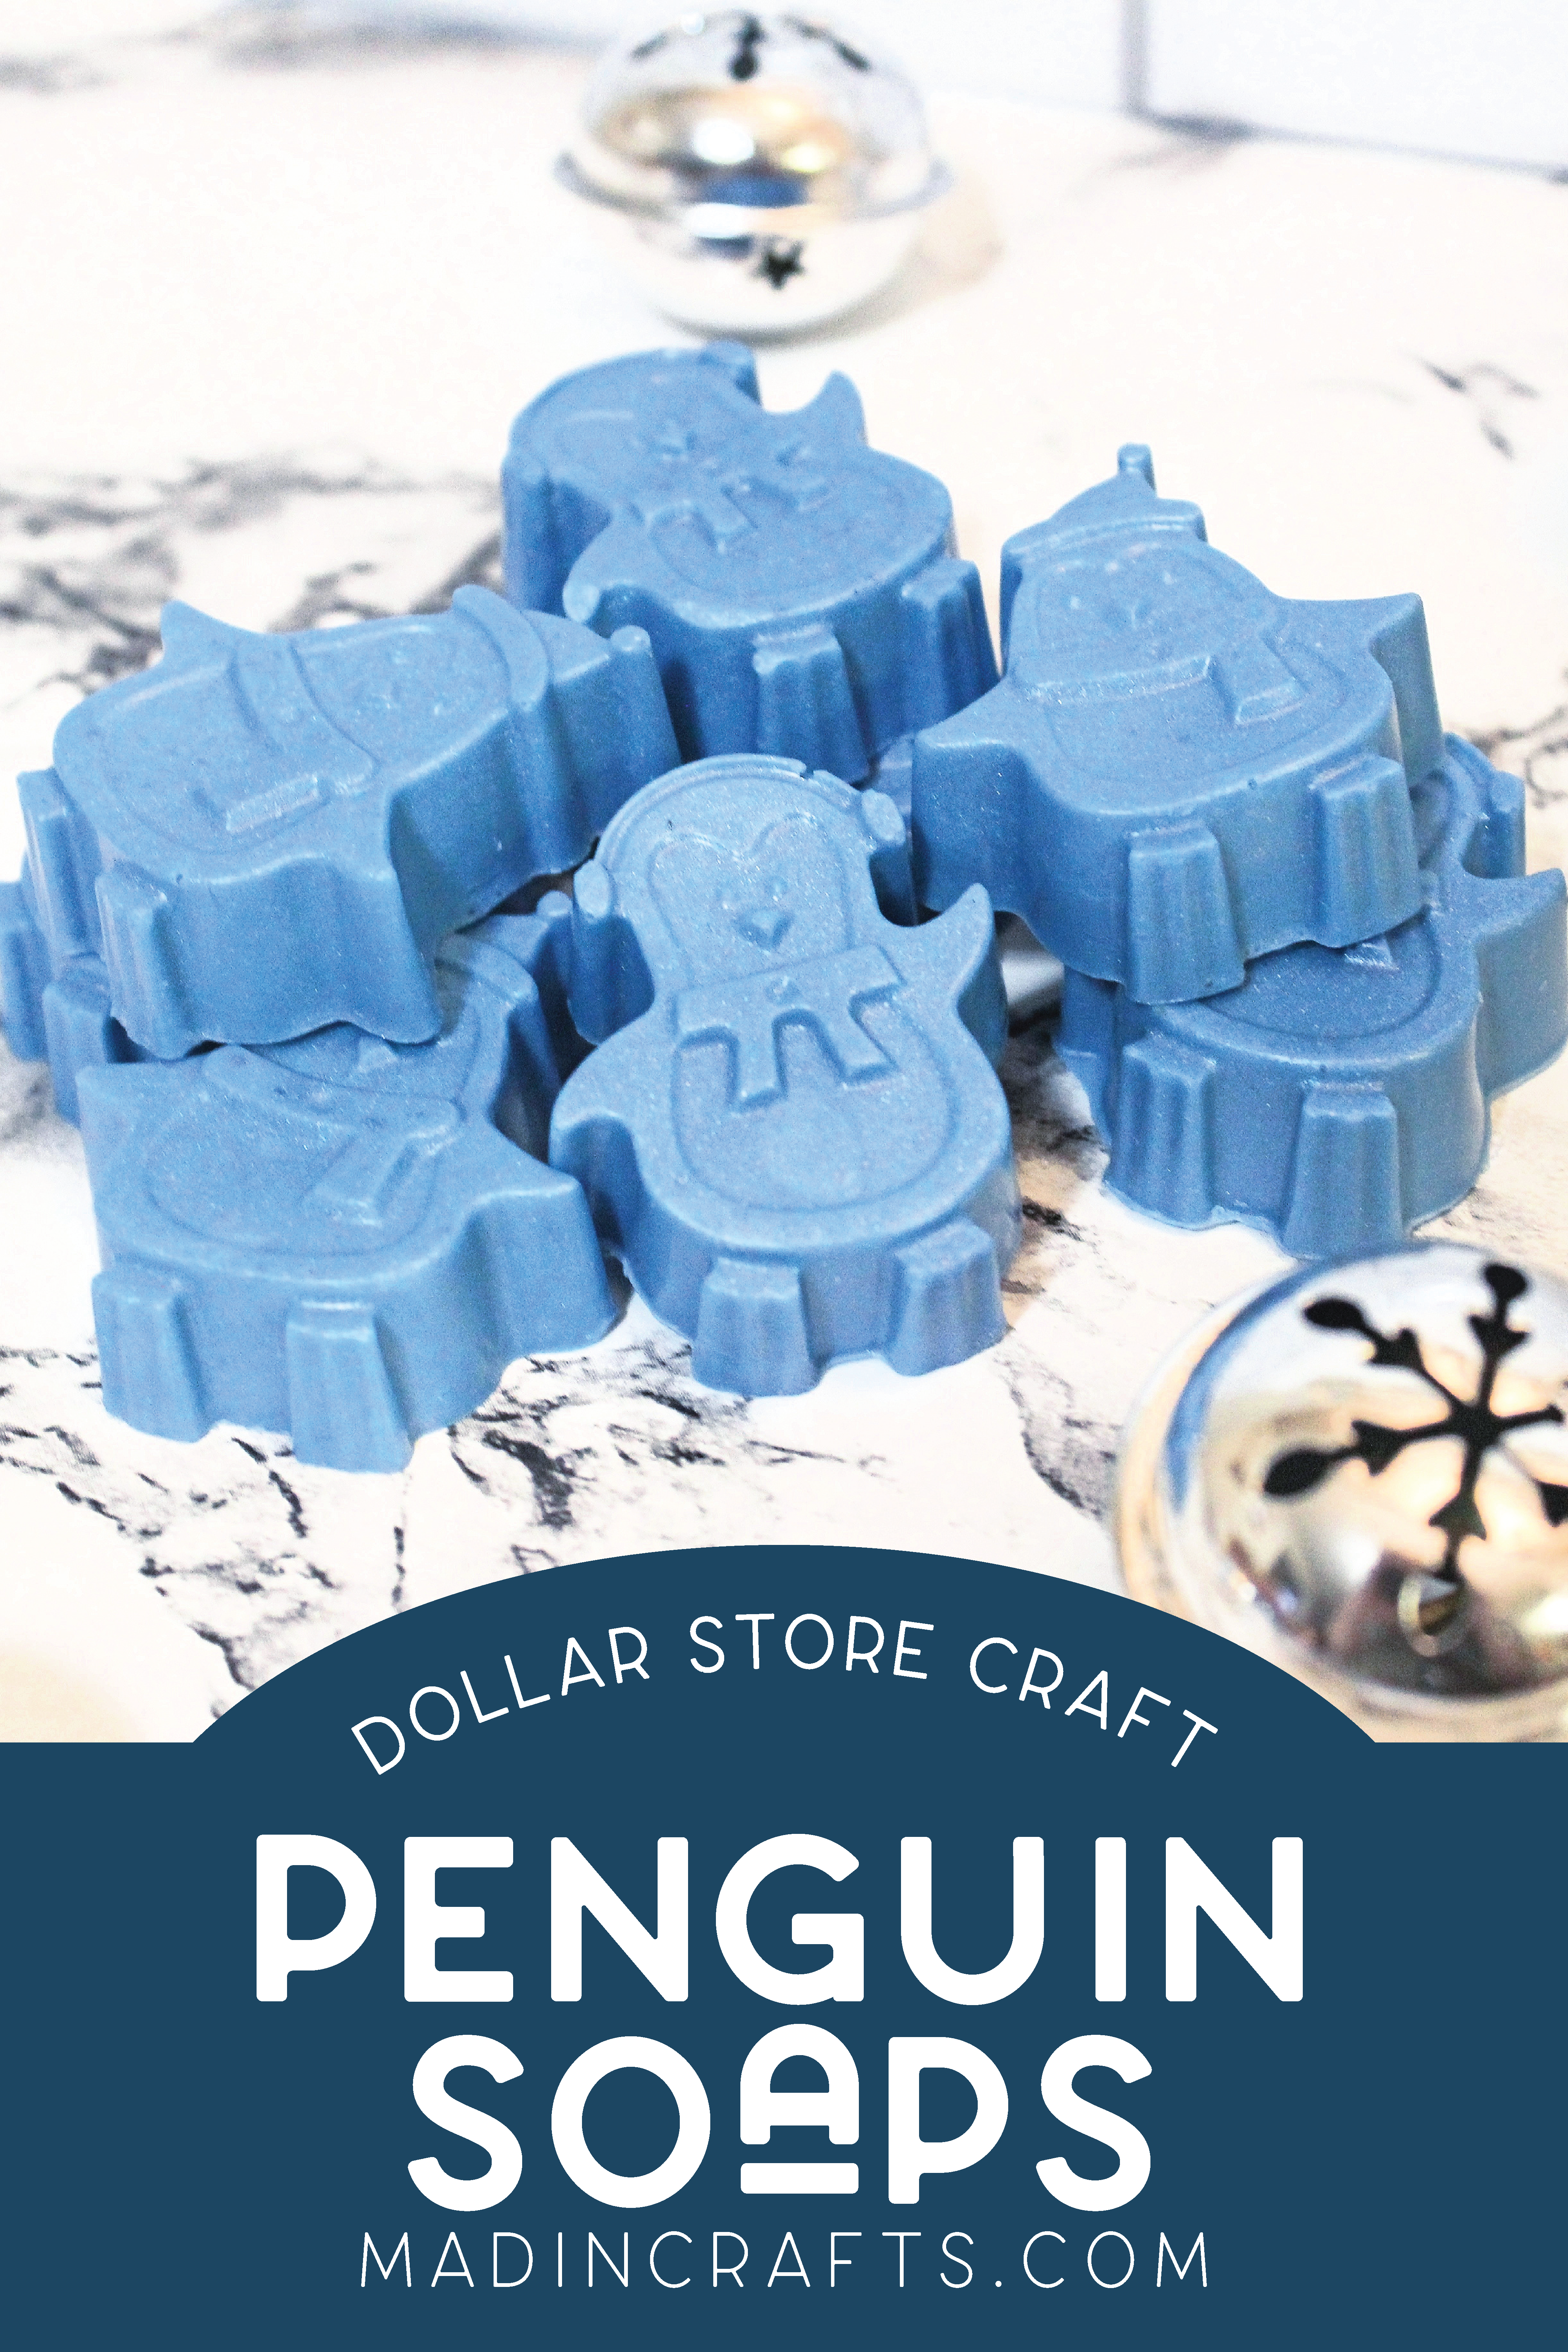
DIY DOLLAR STORE PENGUIN SOAP
WHAT YOU NEED TO MAKE MELT AND POUR SOAPS
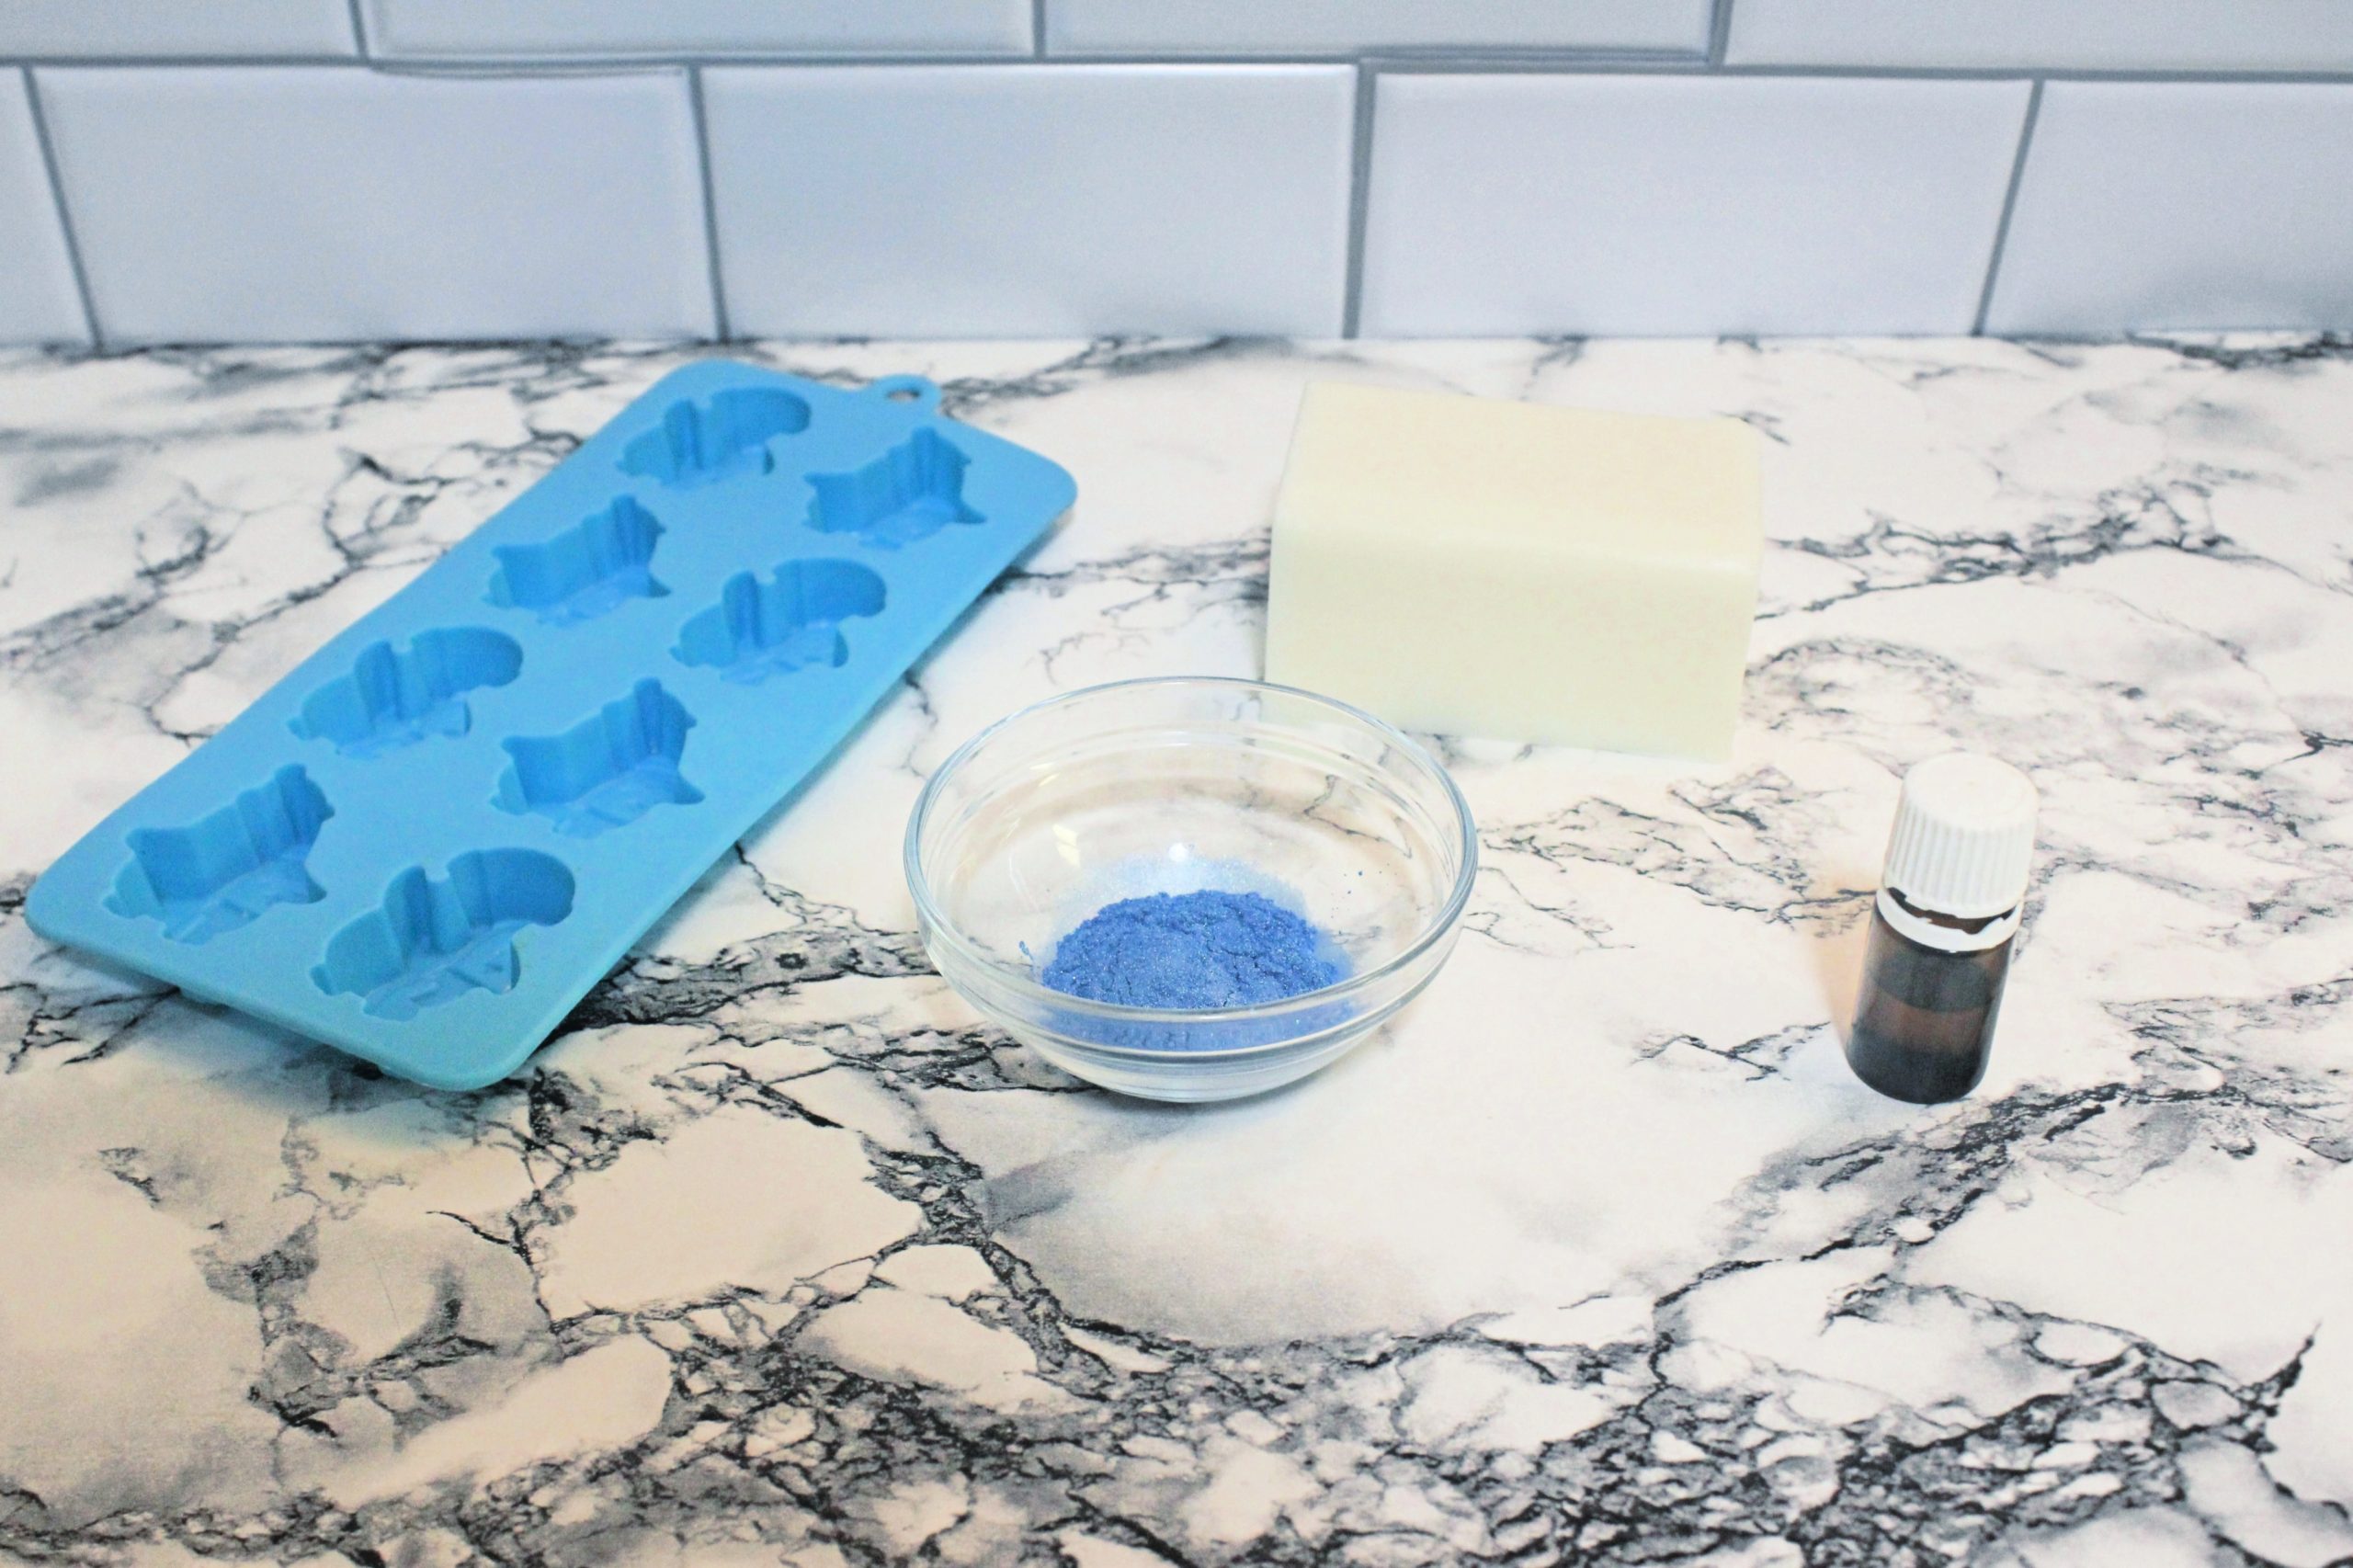
You don’t need fancy soap-making tools and supplies to create these cute penguin soaps. I used a silicone ice cube mold from Dollar Tree, but you can use any silicone mold you would like!
These are all affiliate links, if you make a purchase (of anything from the site, not just these items) after clicking through, I will earn a small commission. Ads and affiliate links are the way I am able to keep this website running and offer you free tutorials all year long. Thank you so much for supporting me and Mad in Crafts!
You will need:
- Silicone mold (mine from Dollar Tree)
- Blue mica powder
- Goat’s milk melt-and-pour soap base
- Lavender essential oil or other skin-safe fragrance
- Isopropyl alcohol in a spray bottle

Want to know which craft supplies I always keep in my craft room?
Visit the Mad in Crafts Amazon Storefront to learn more and to buy your own supplies!
HOW TO MAKE PENGUIN-SHAPED SOAPS FOR KIDS
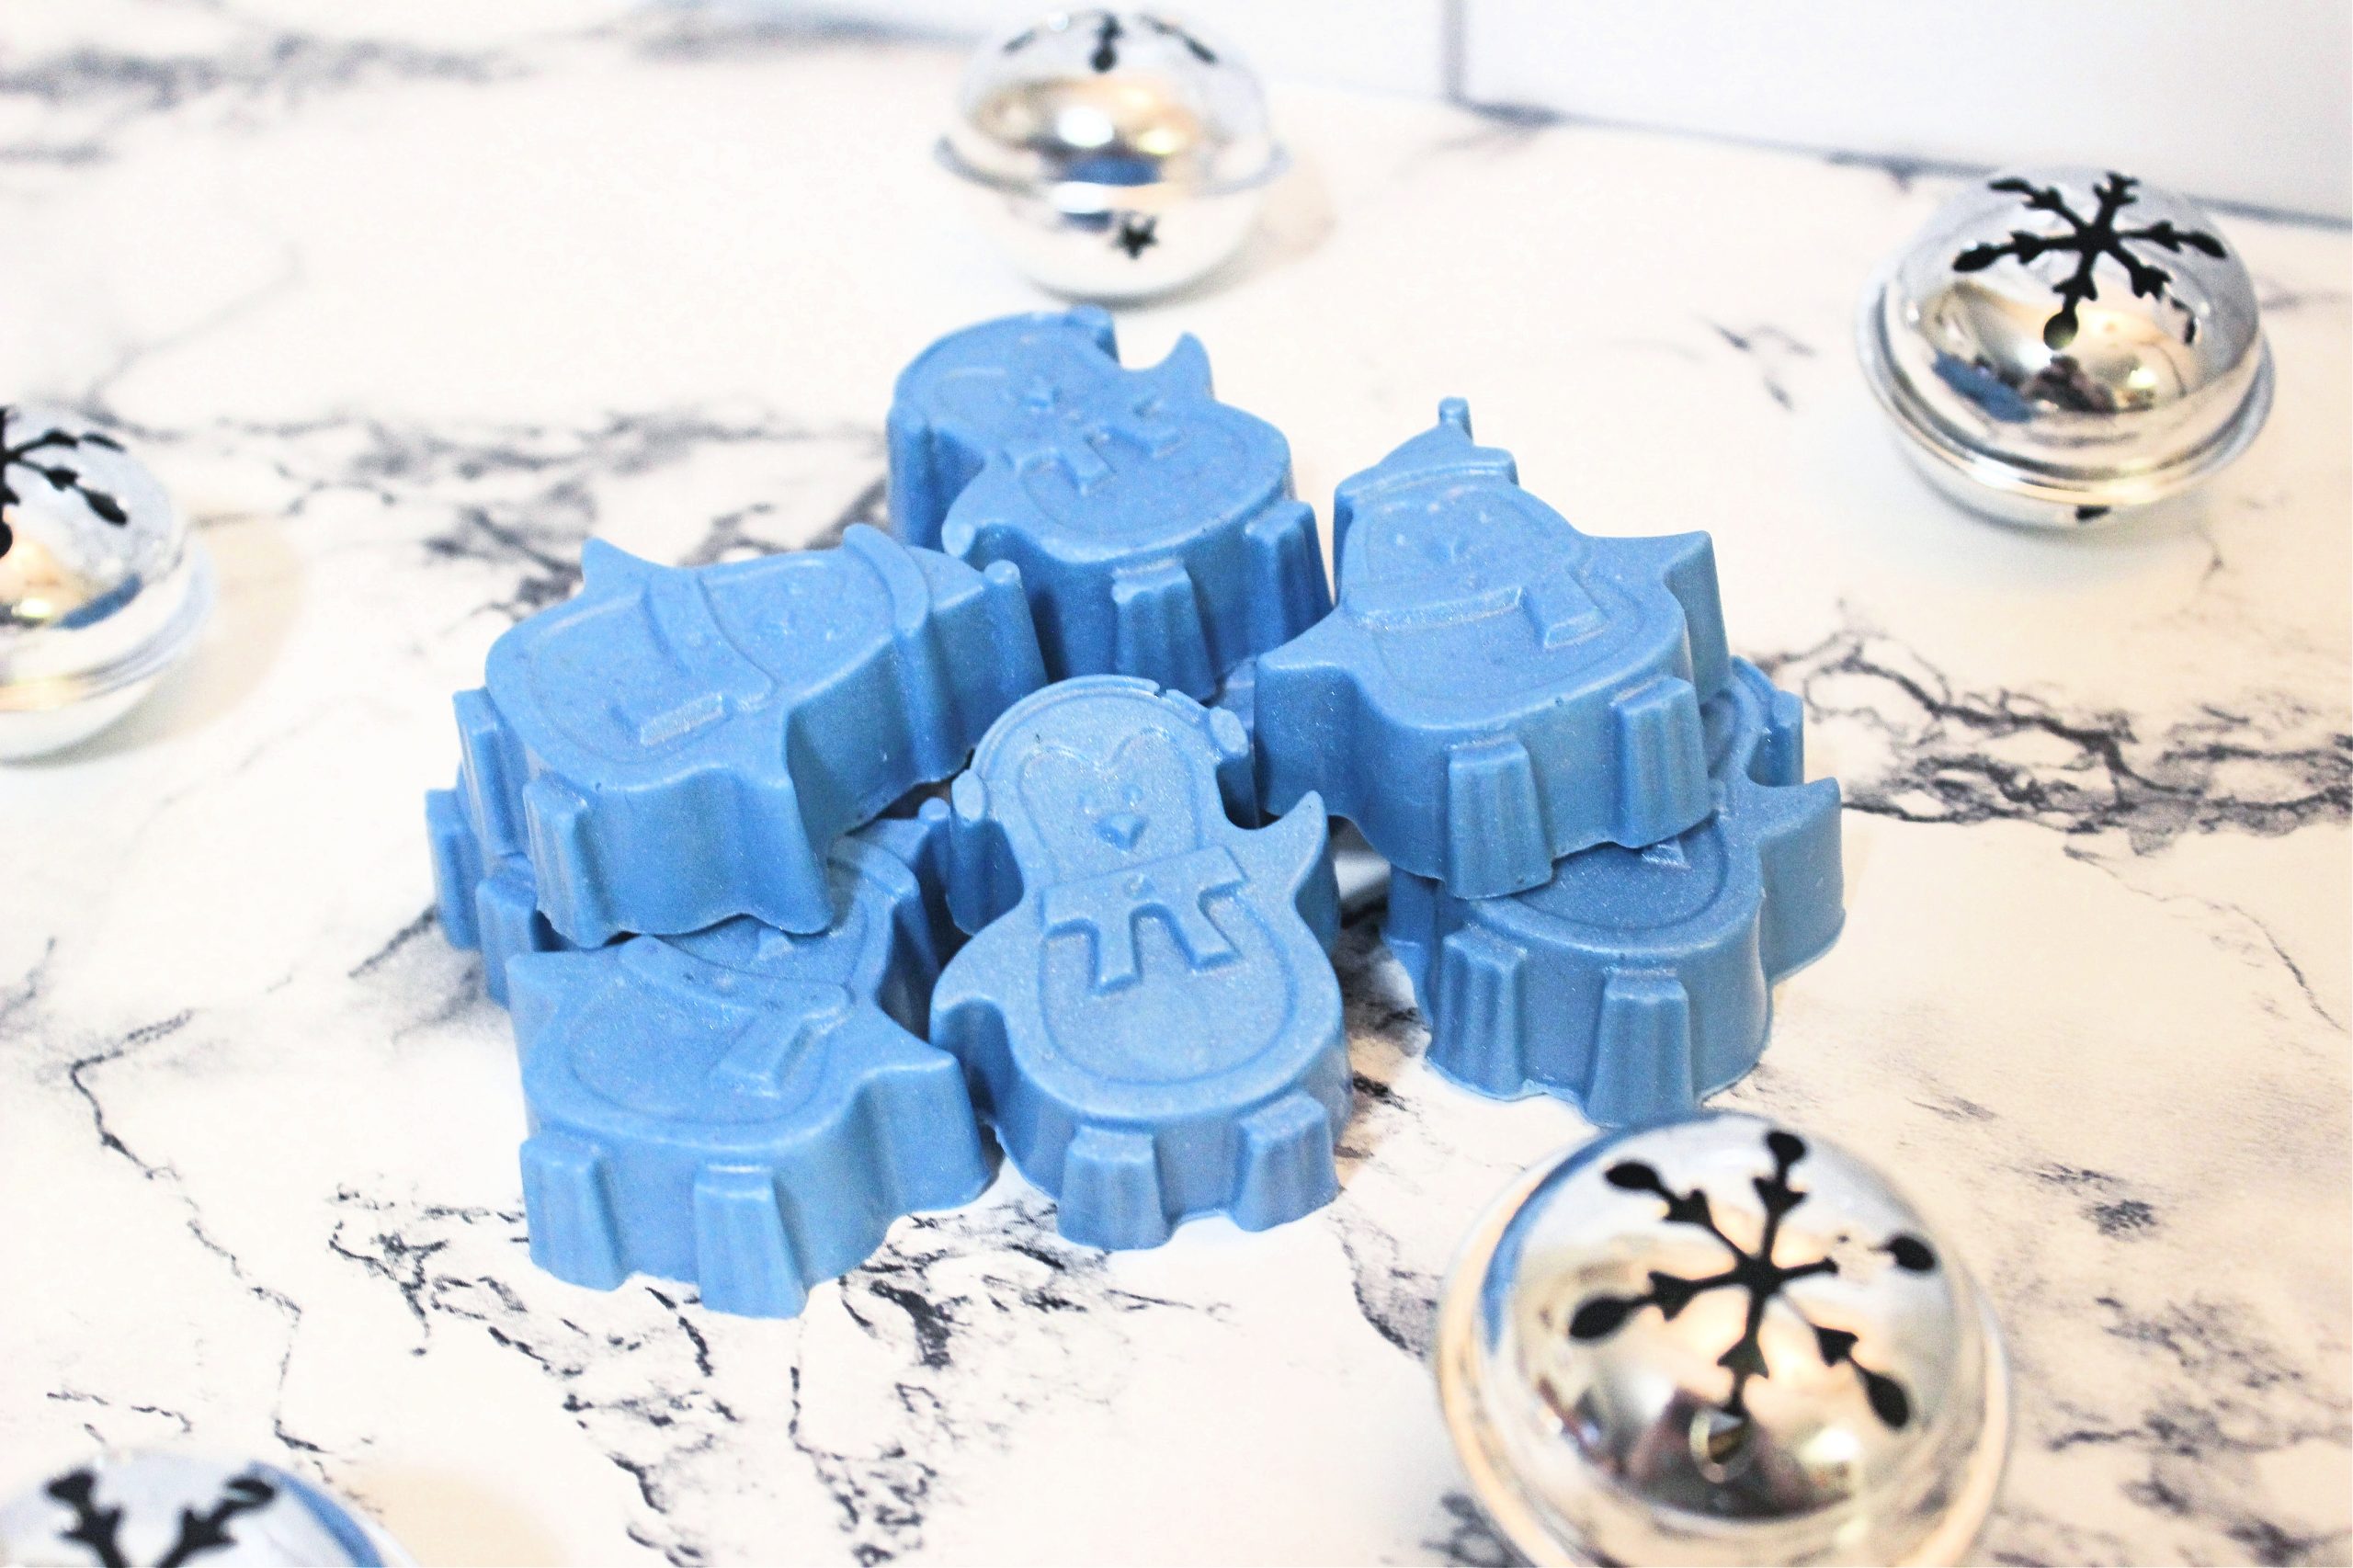
Because you don’t need to work with harsh soap-making supplies when you use melt and pour soap base, this is a fun project to make with kids. Maybe it will make them more enthusiastic about washing their hands when the soaps are done.
Melt and Pour Soap Making Instructions
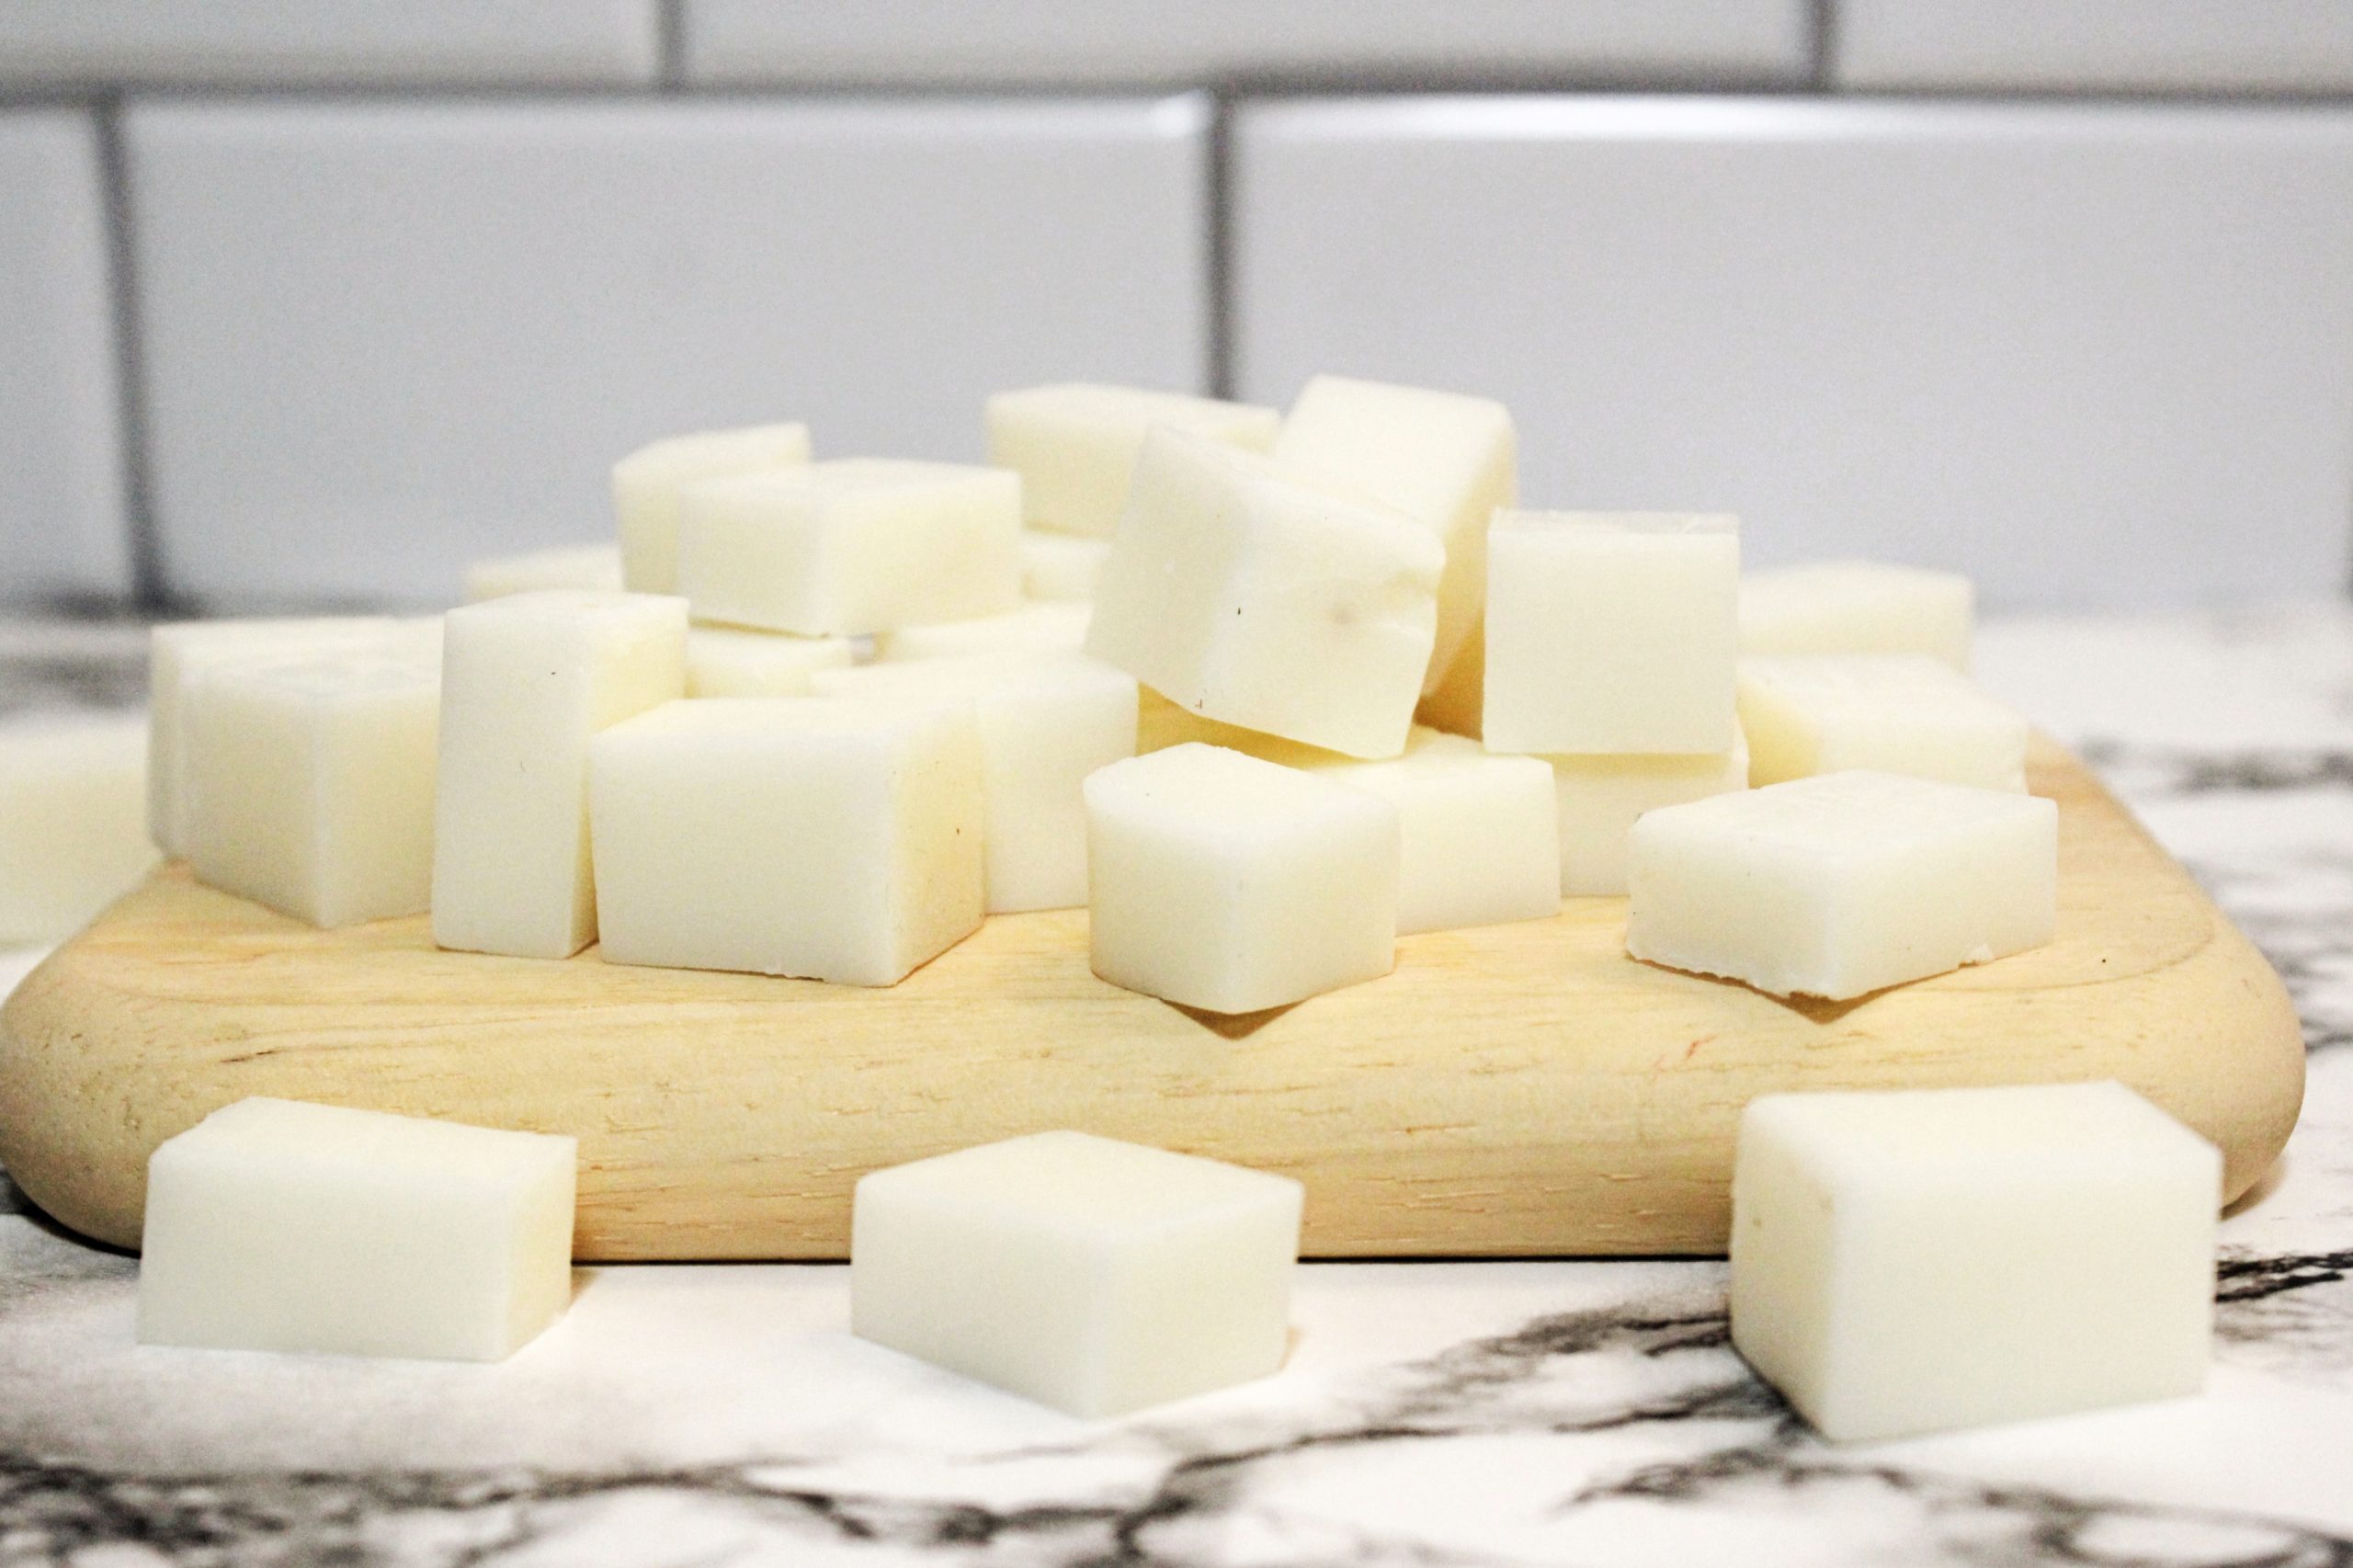
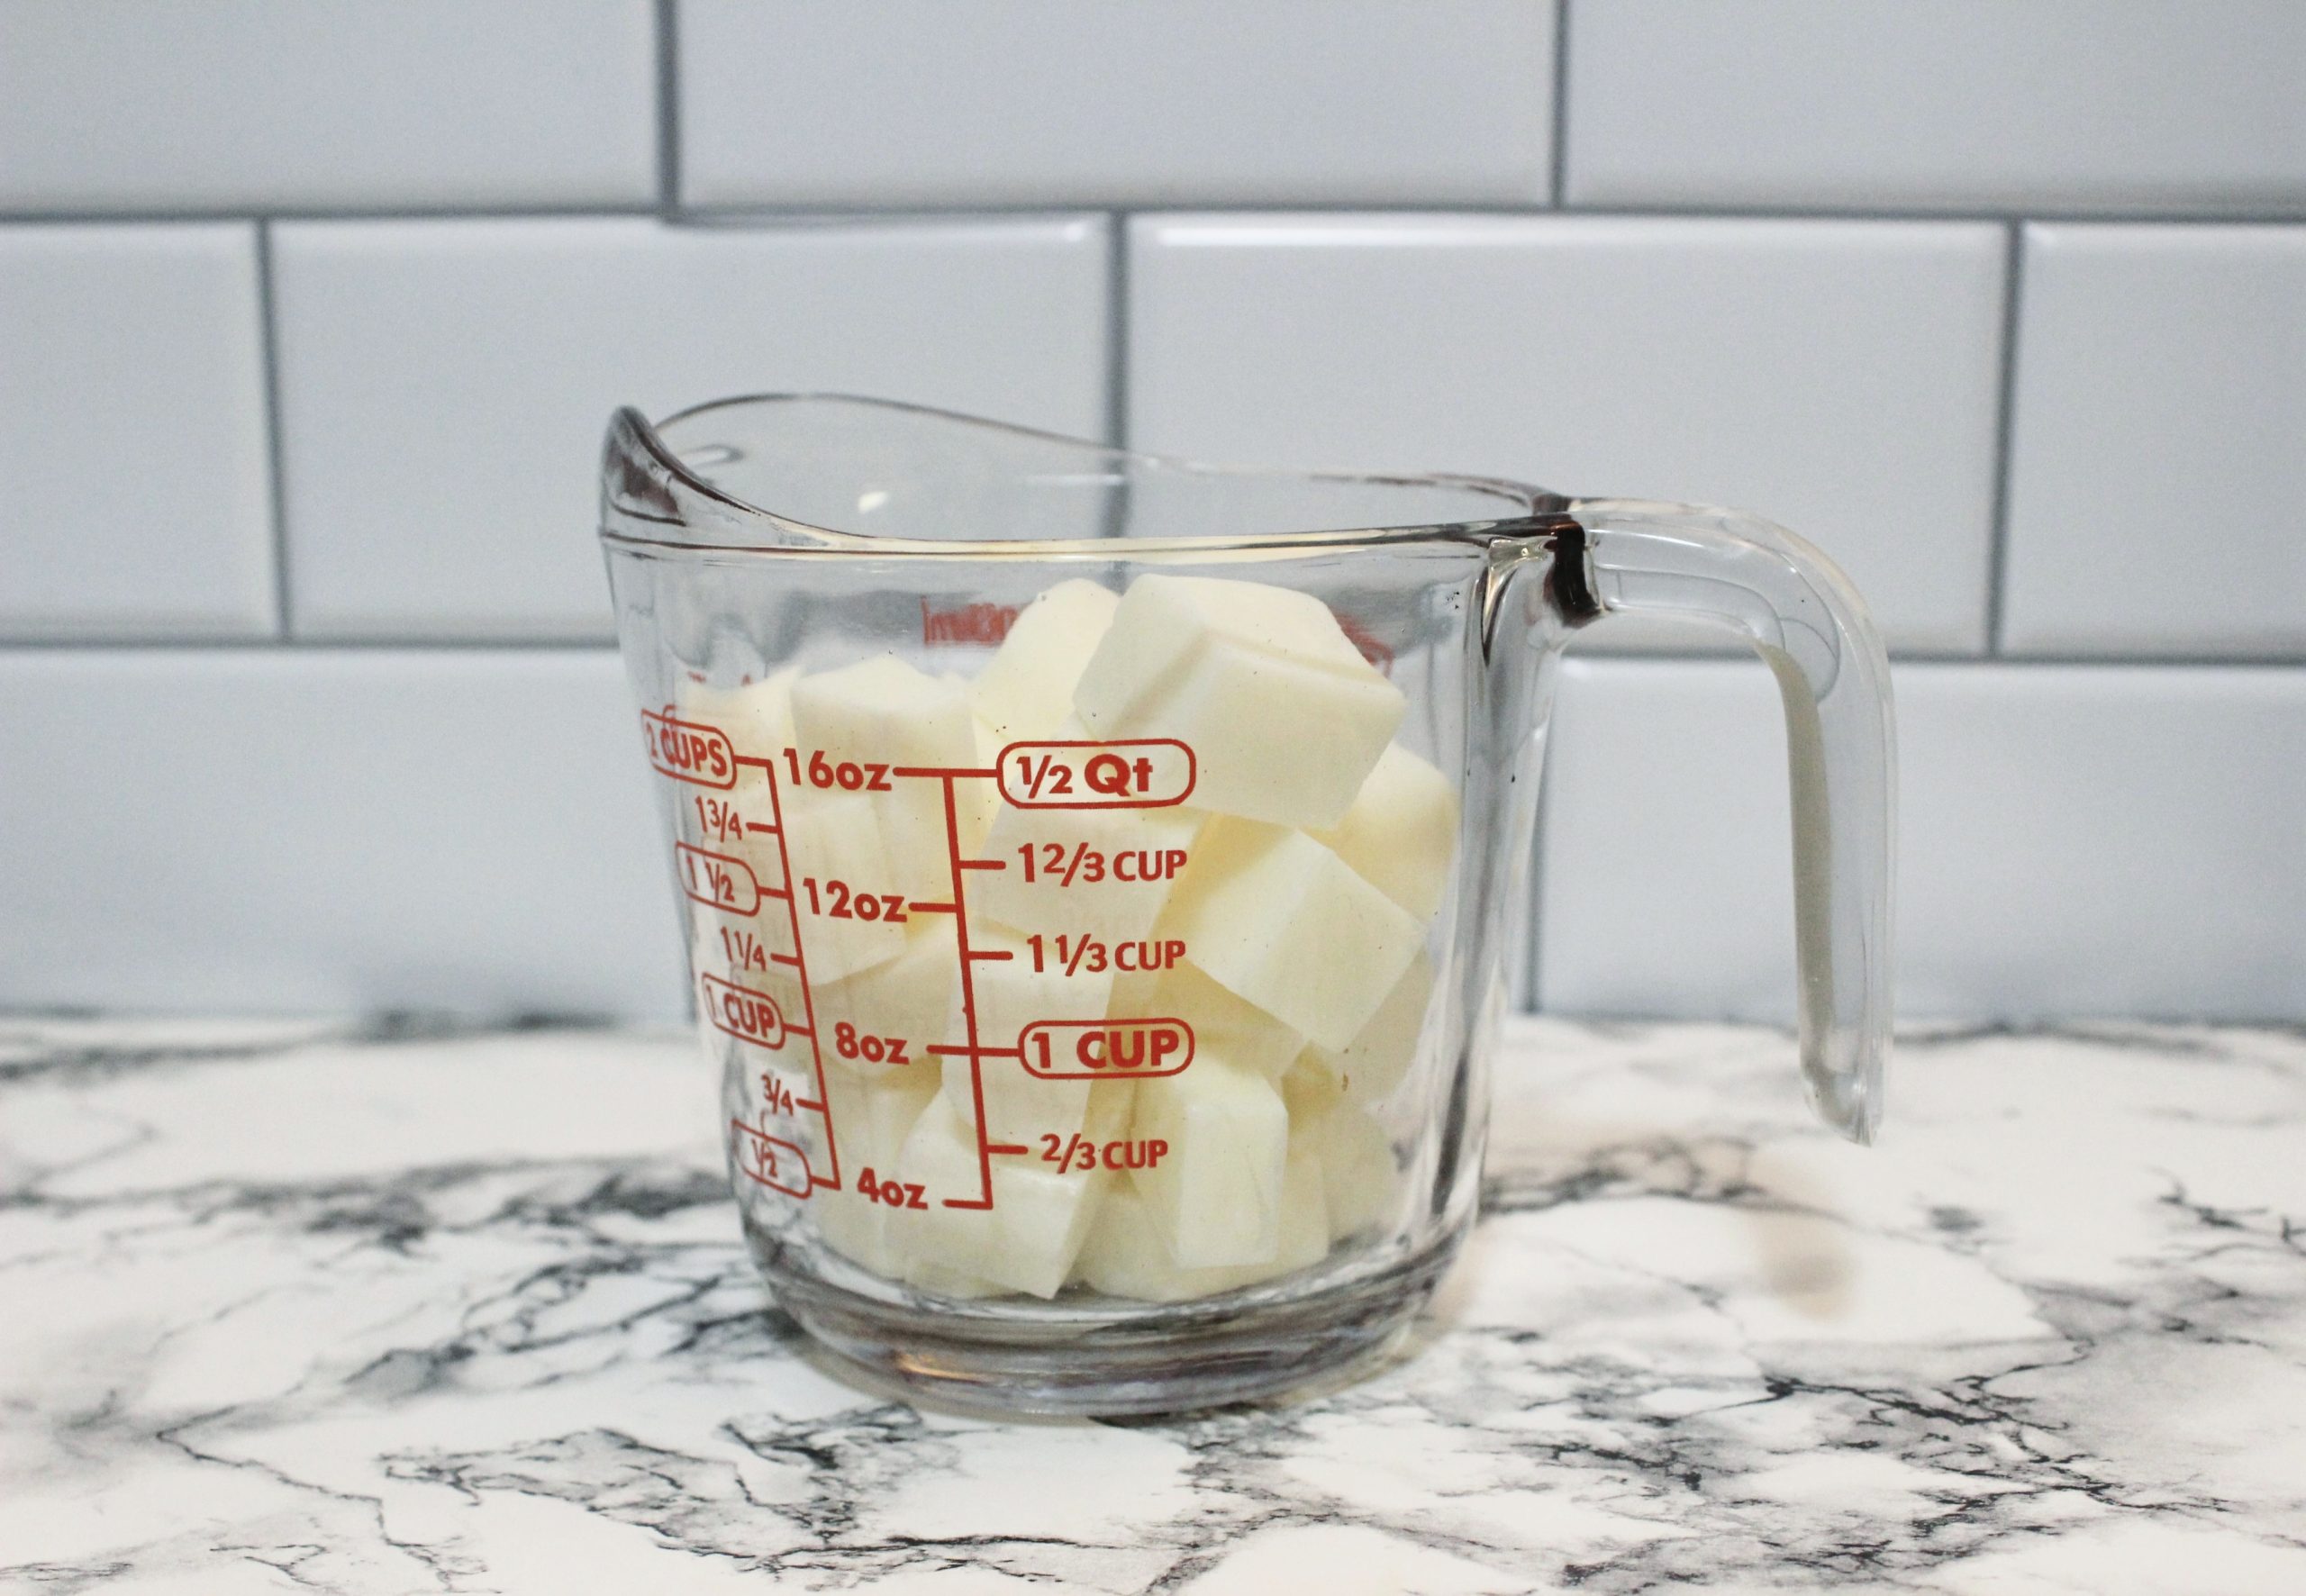
- Cut up ½ pound of melt and pour the soap base into small cubes about one-inch square.

- Put the cubes of soap into a microwave-safe glass container and melt in 30-second increments until fully melted.

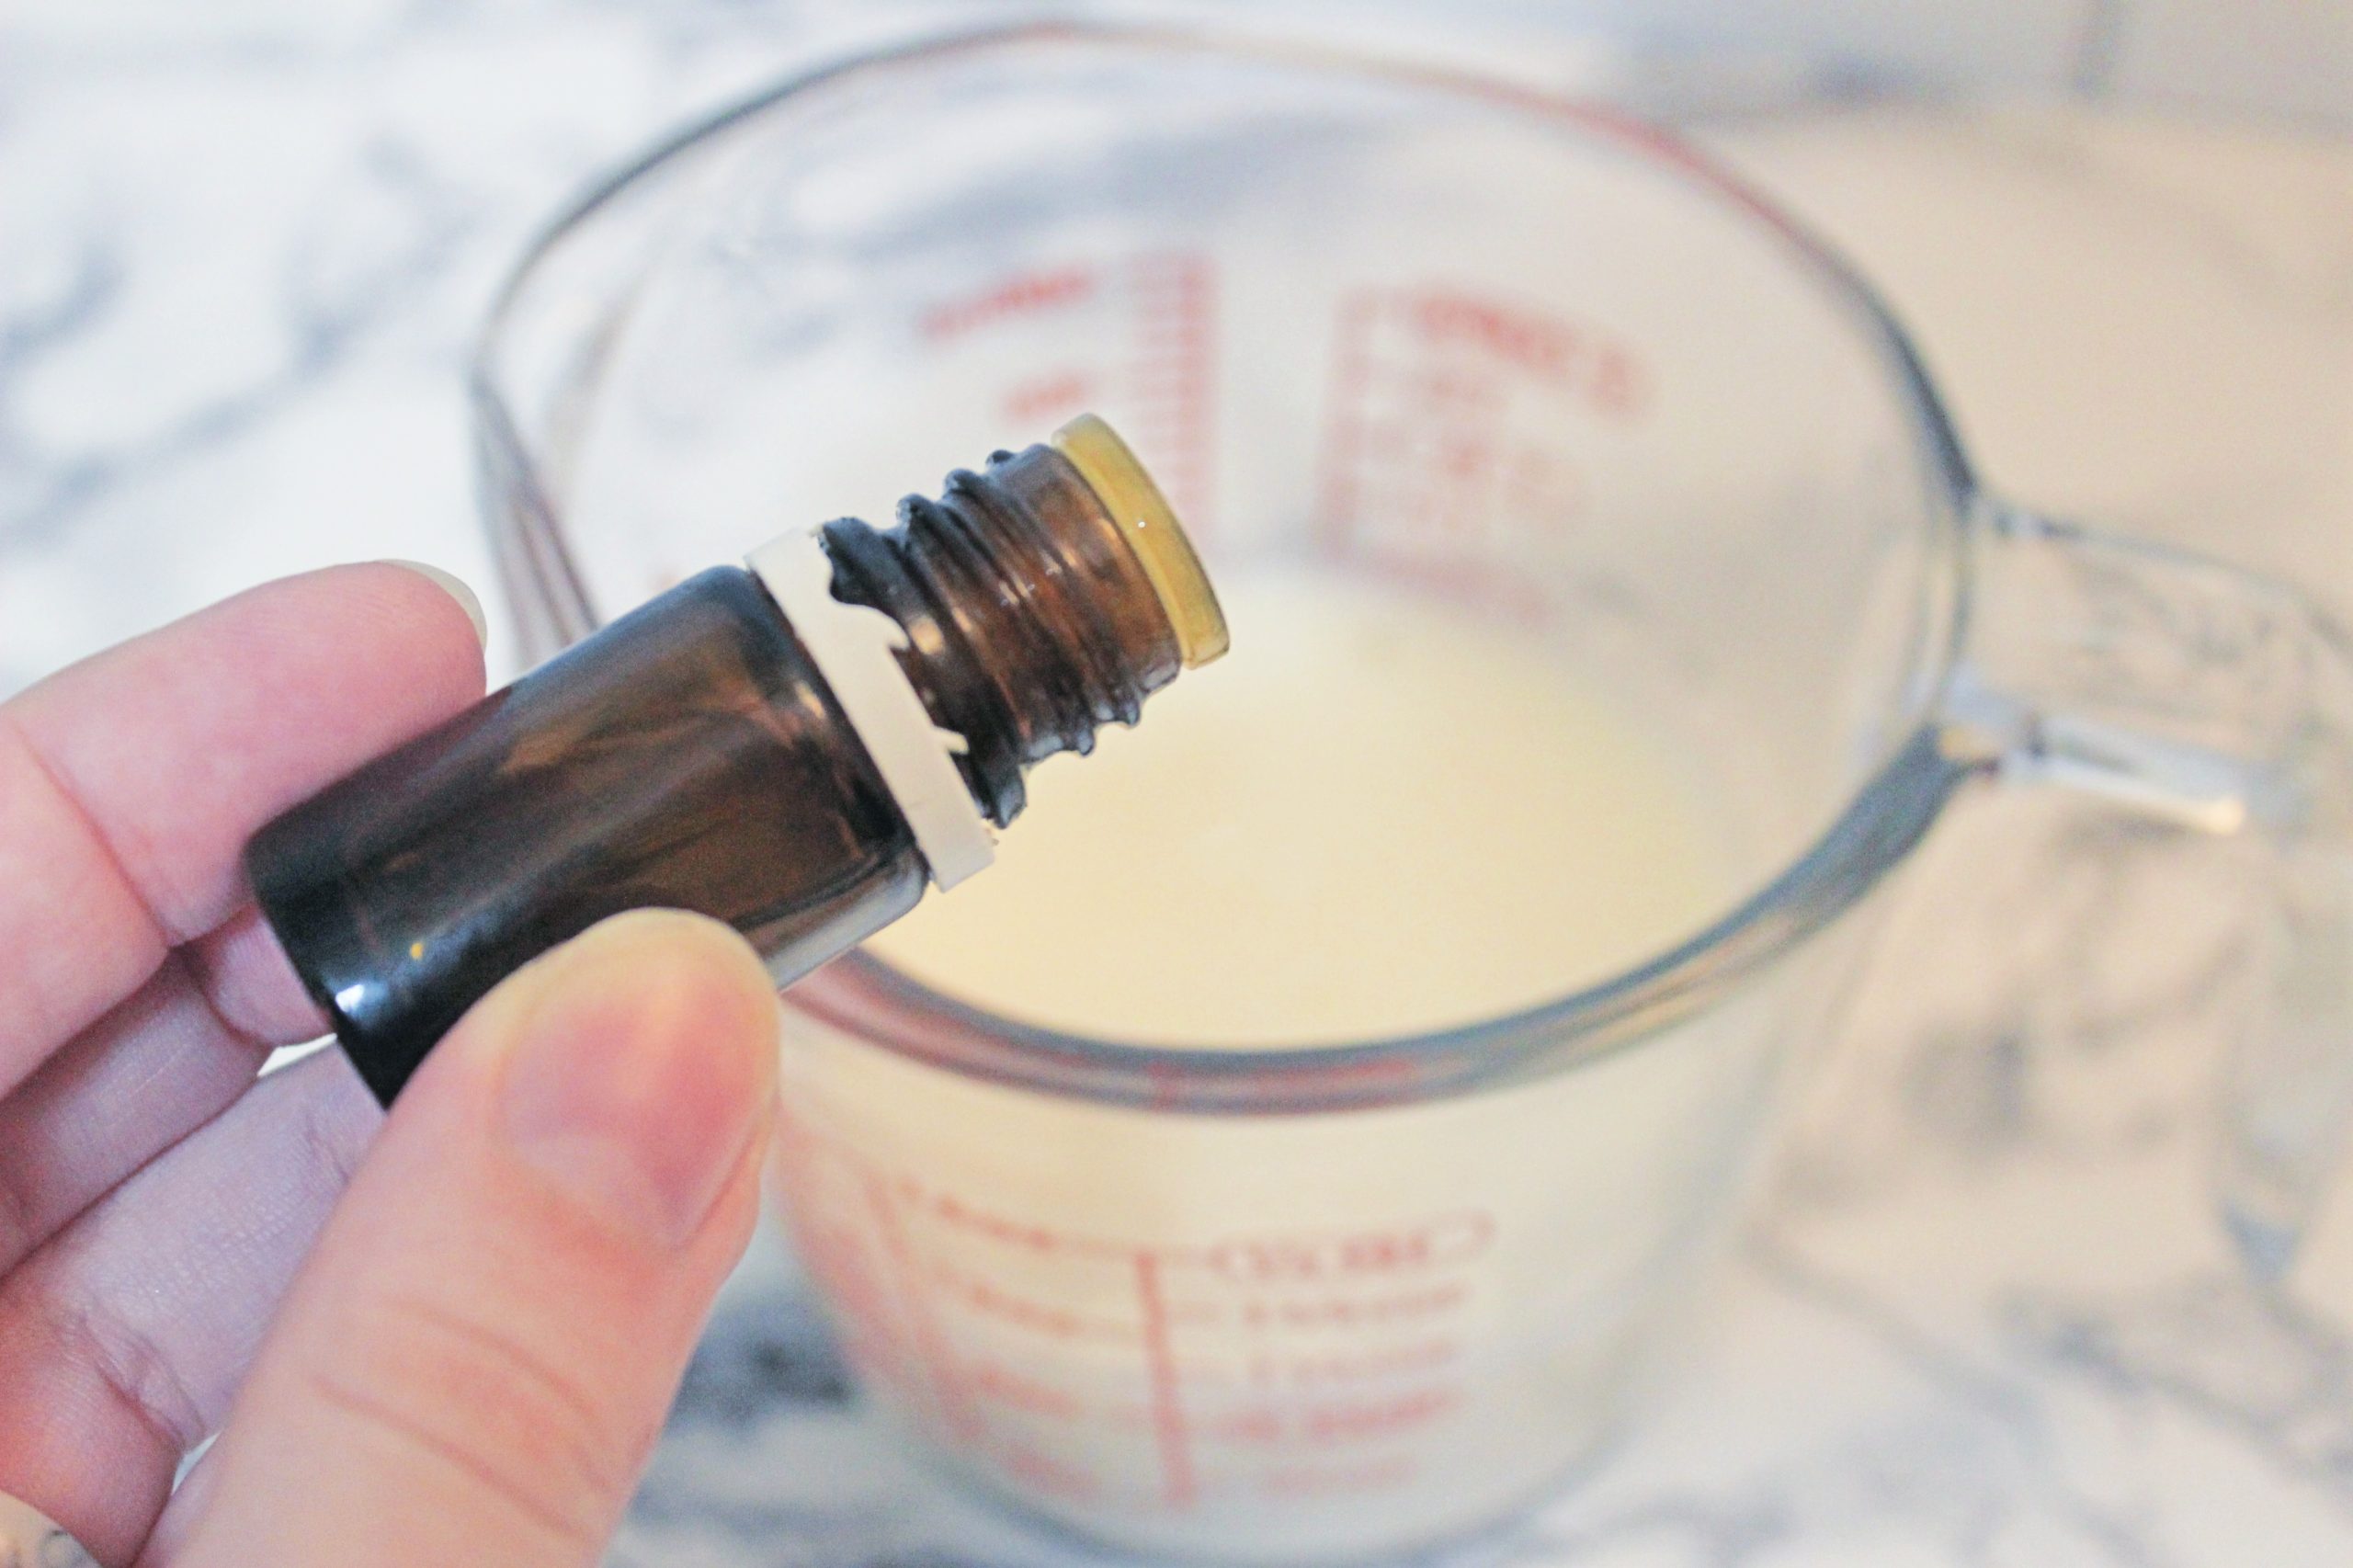
- Add 10 drops of lavender essential oil.

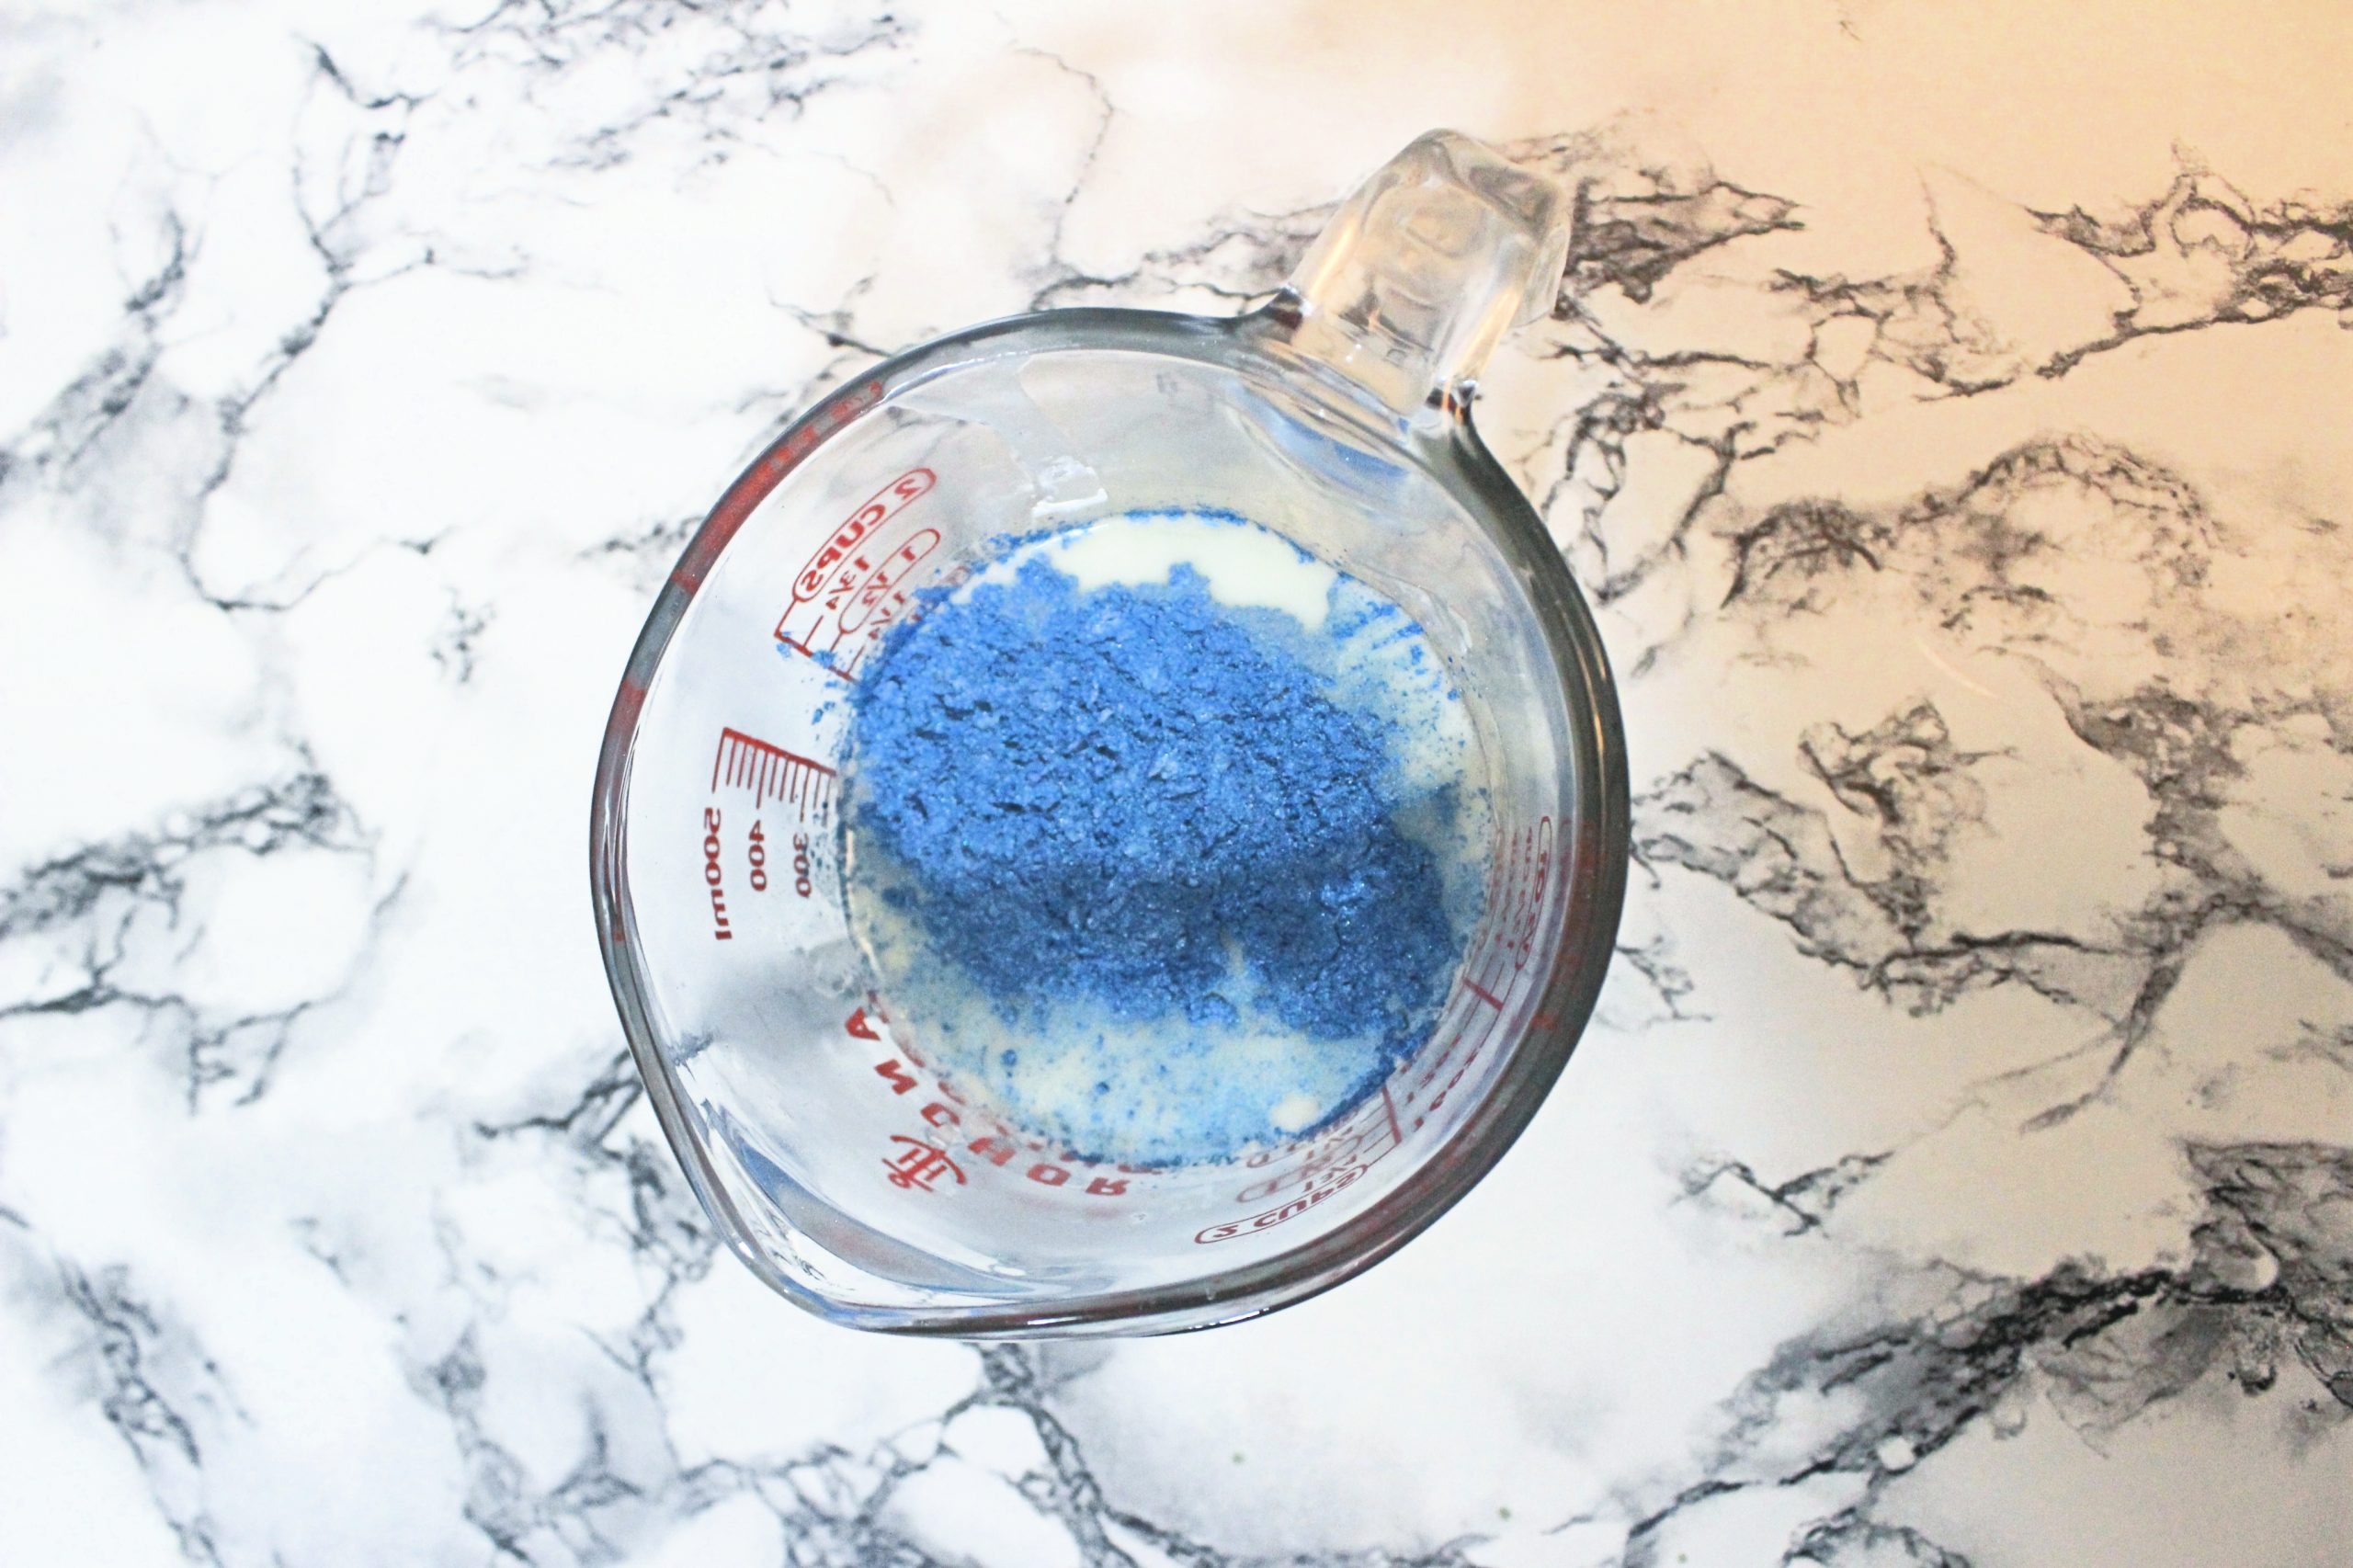
- Add in 1 tablespoon of blue mica powder and stir very well until it is all combined with no chunks.

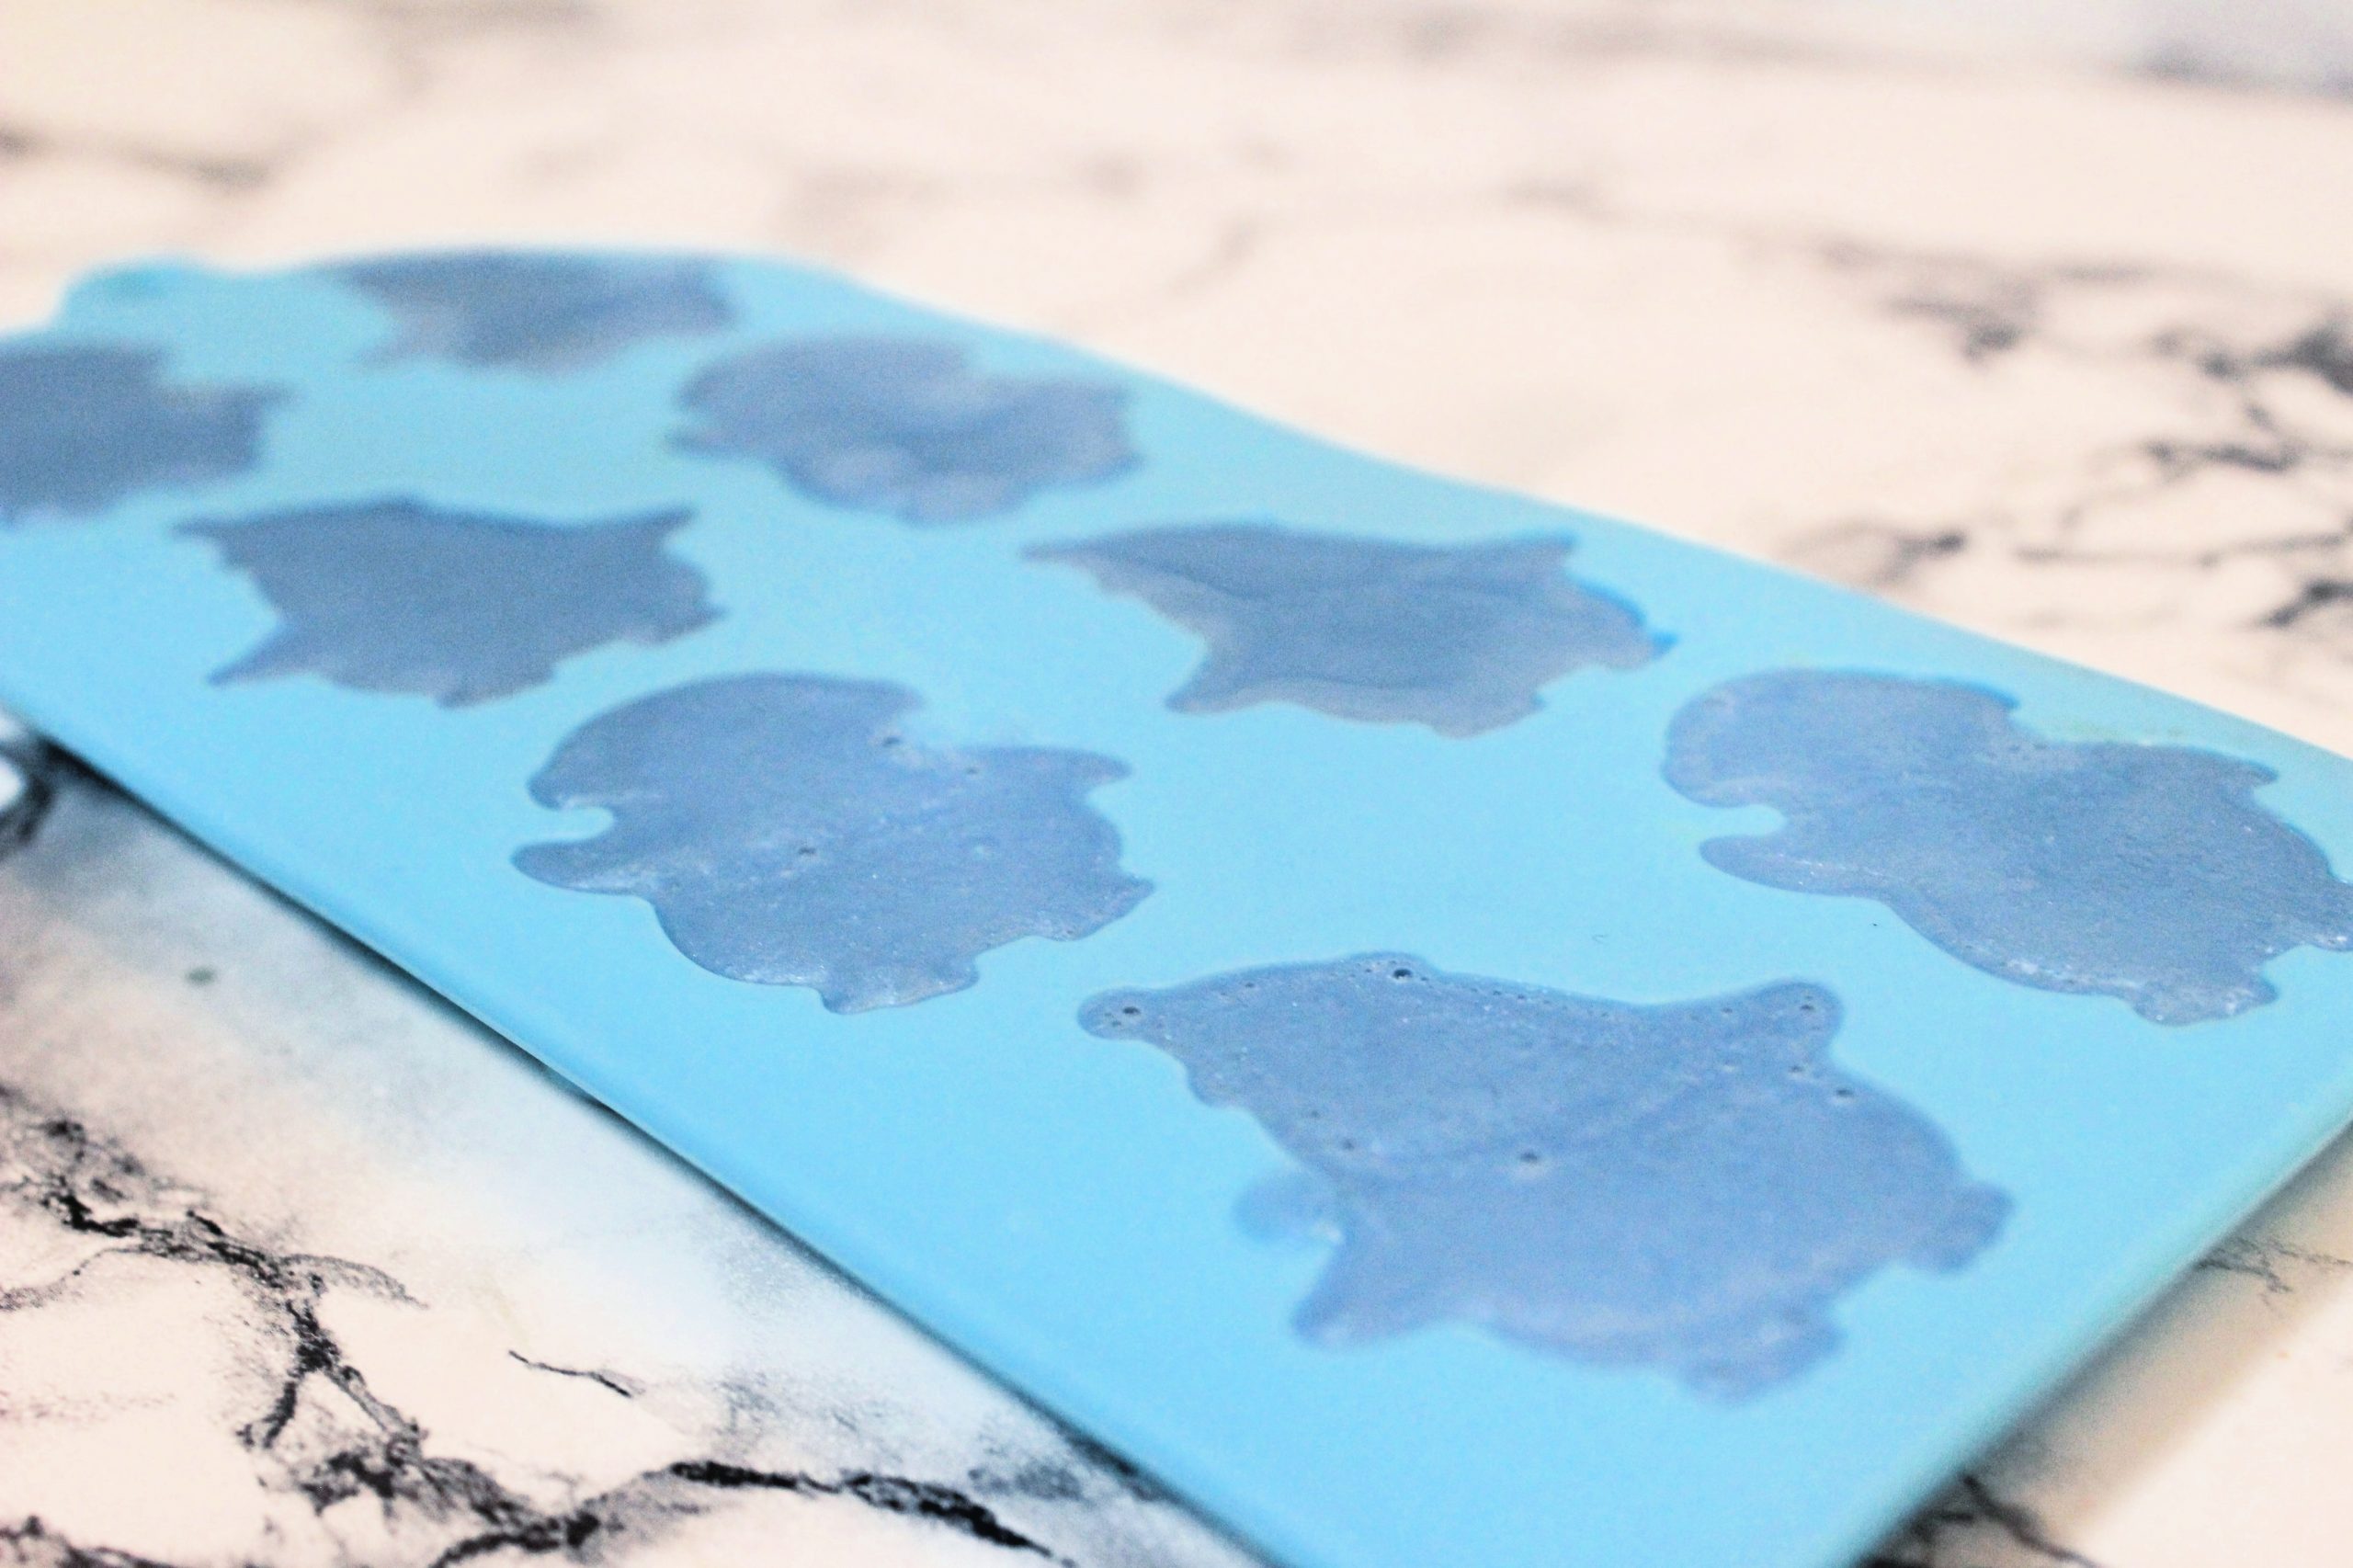
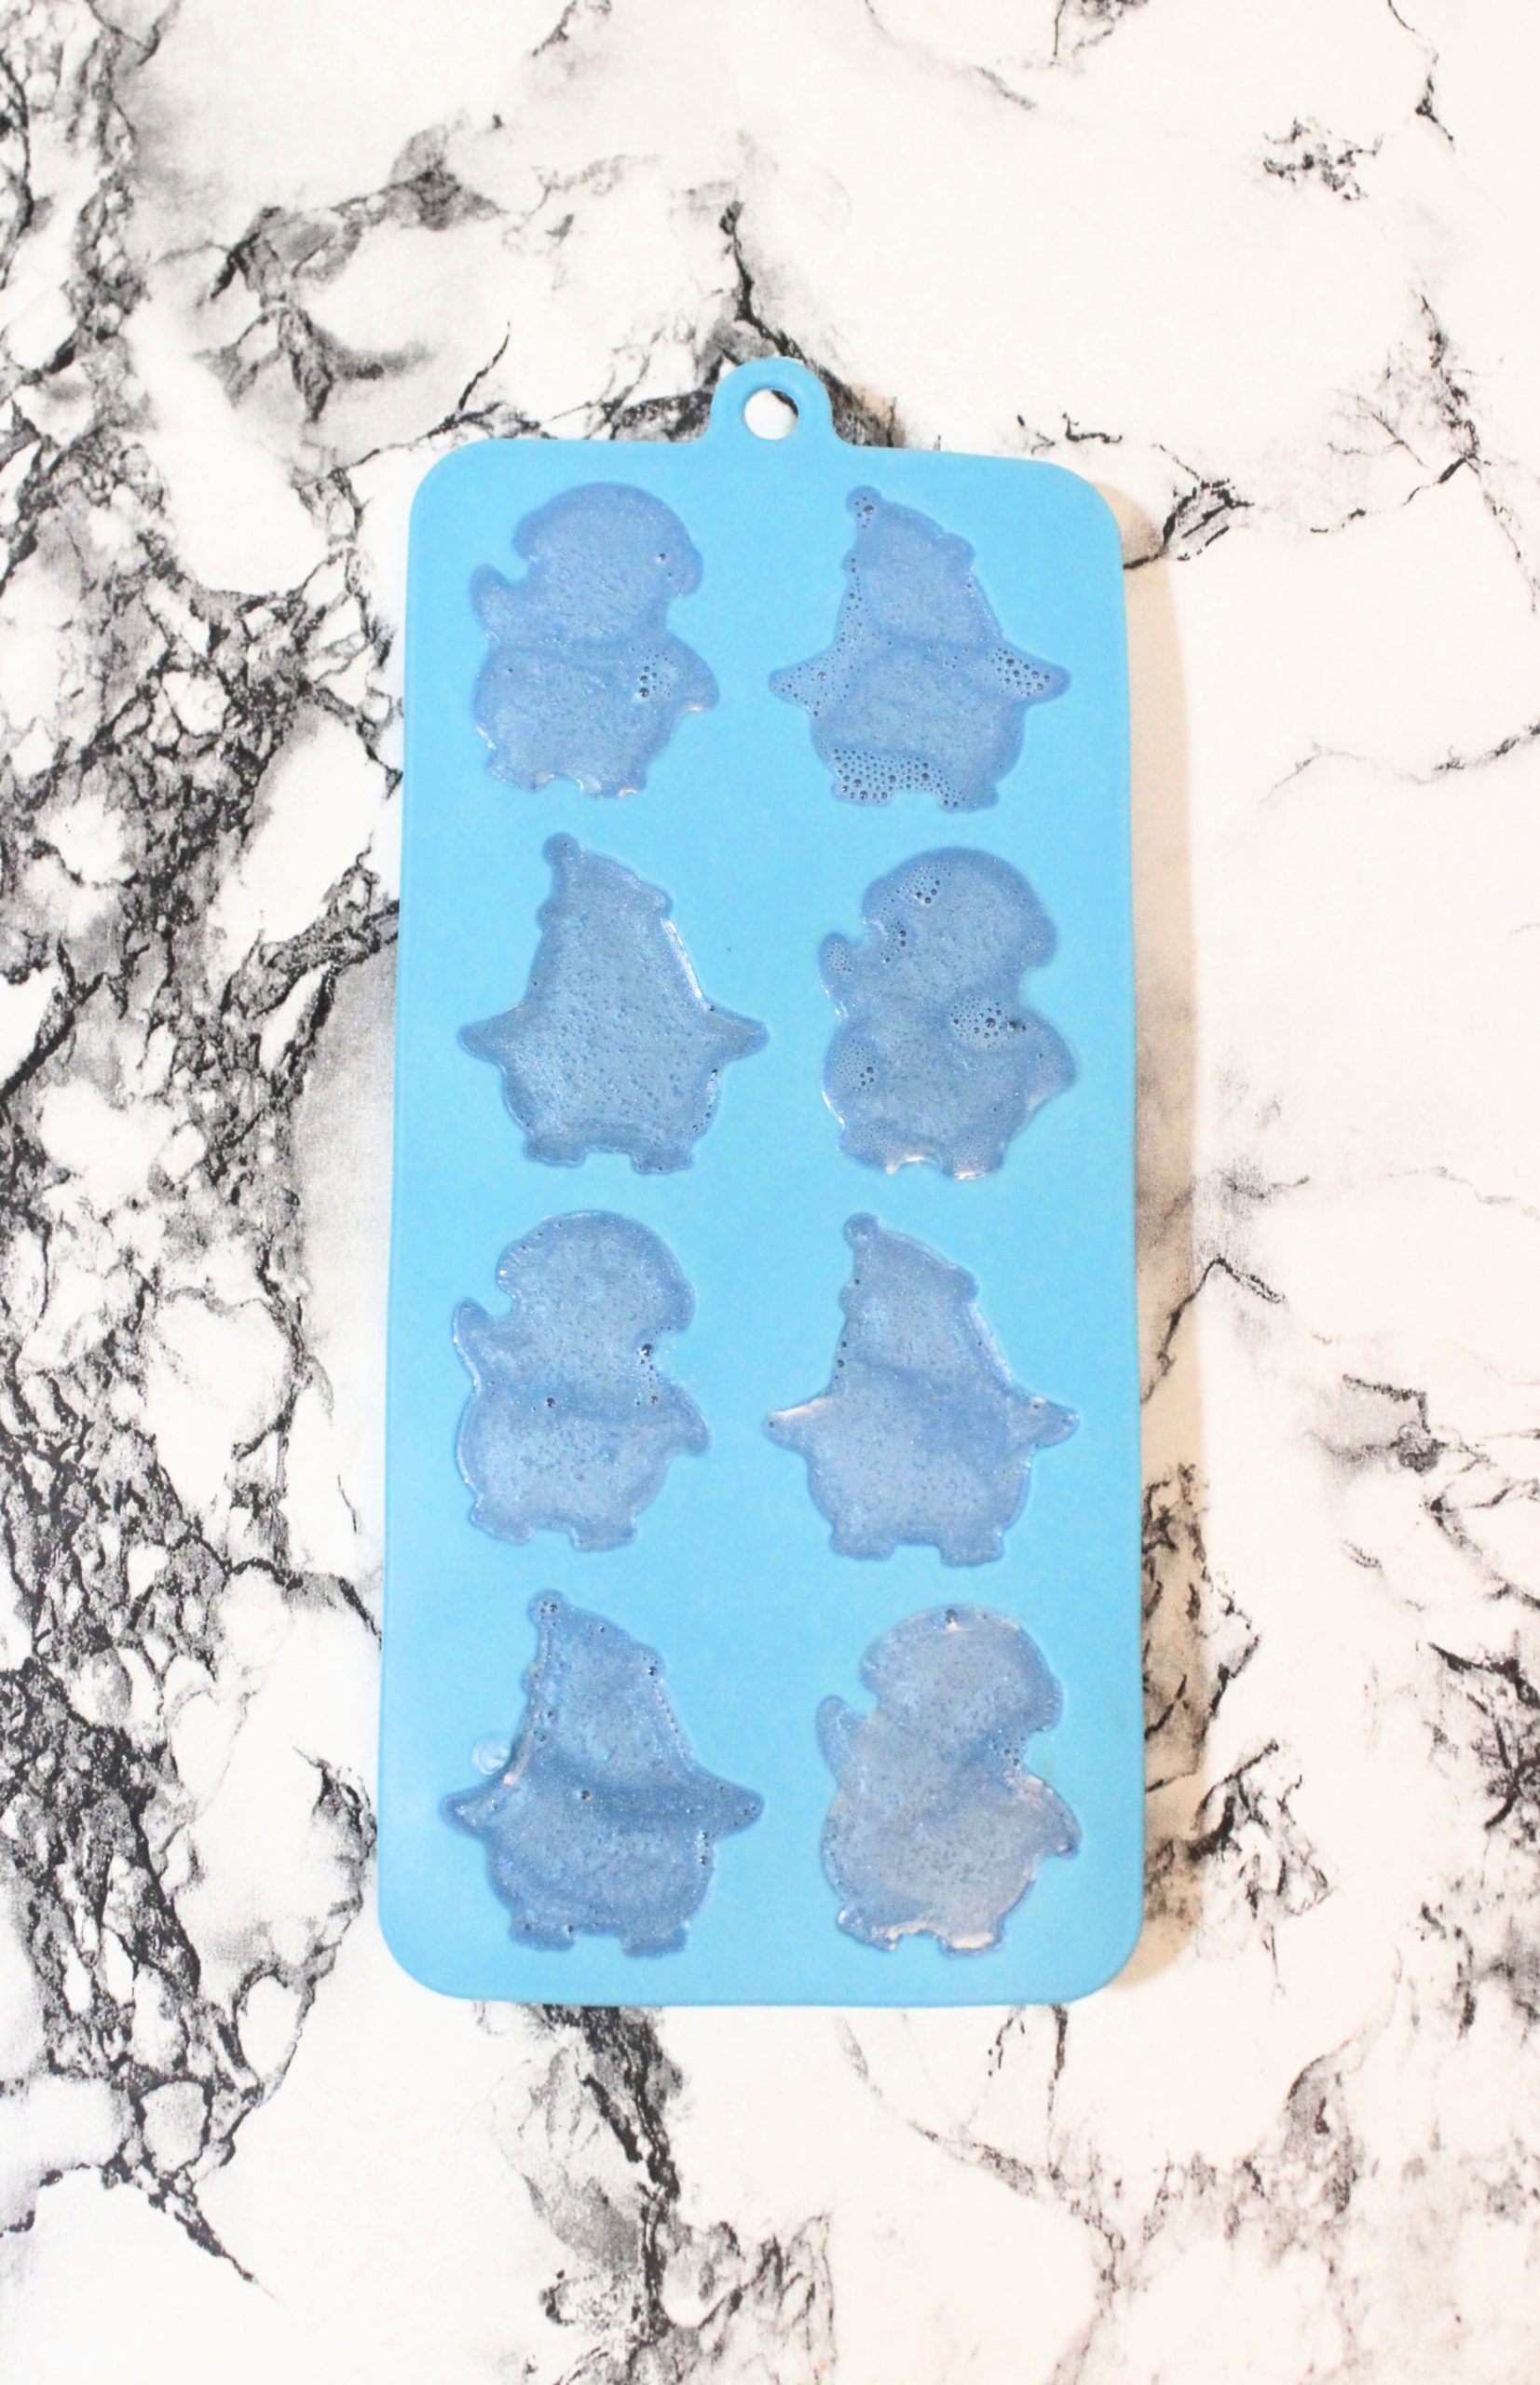
- Pour the liquid into the soap molds filling each cavity to the top.

- Let sit at room temperature for a few hours to overnight.

- After the soap cools and hardens, pop the individual soaps out of the soap molds!

TIPS AND TRICKS FOR WORKING WITH MELT AND POUR SOAP
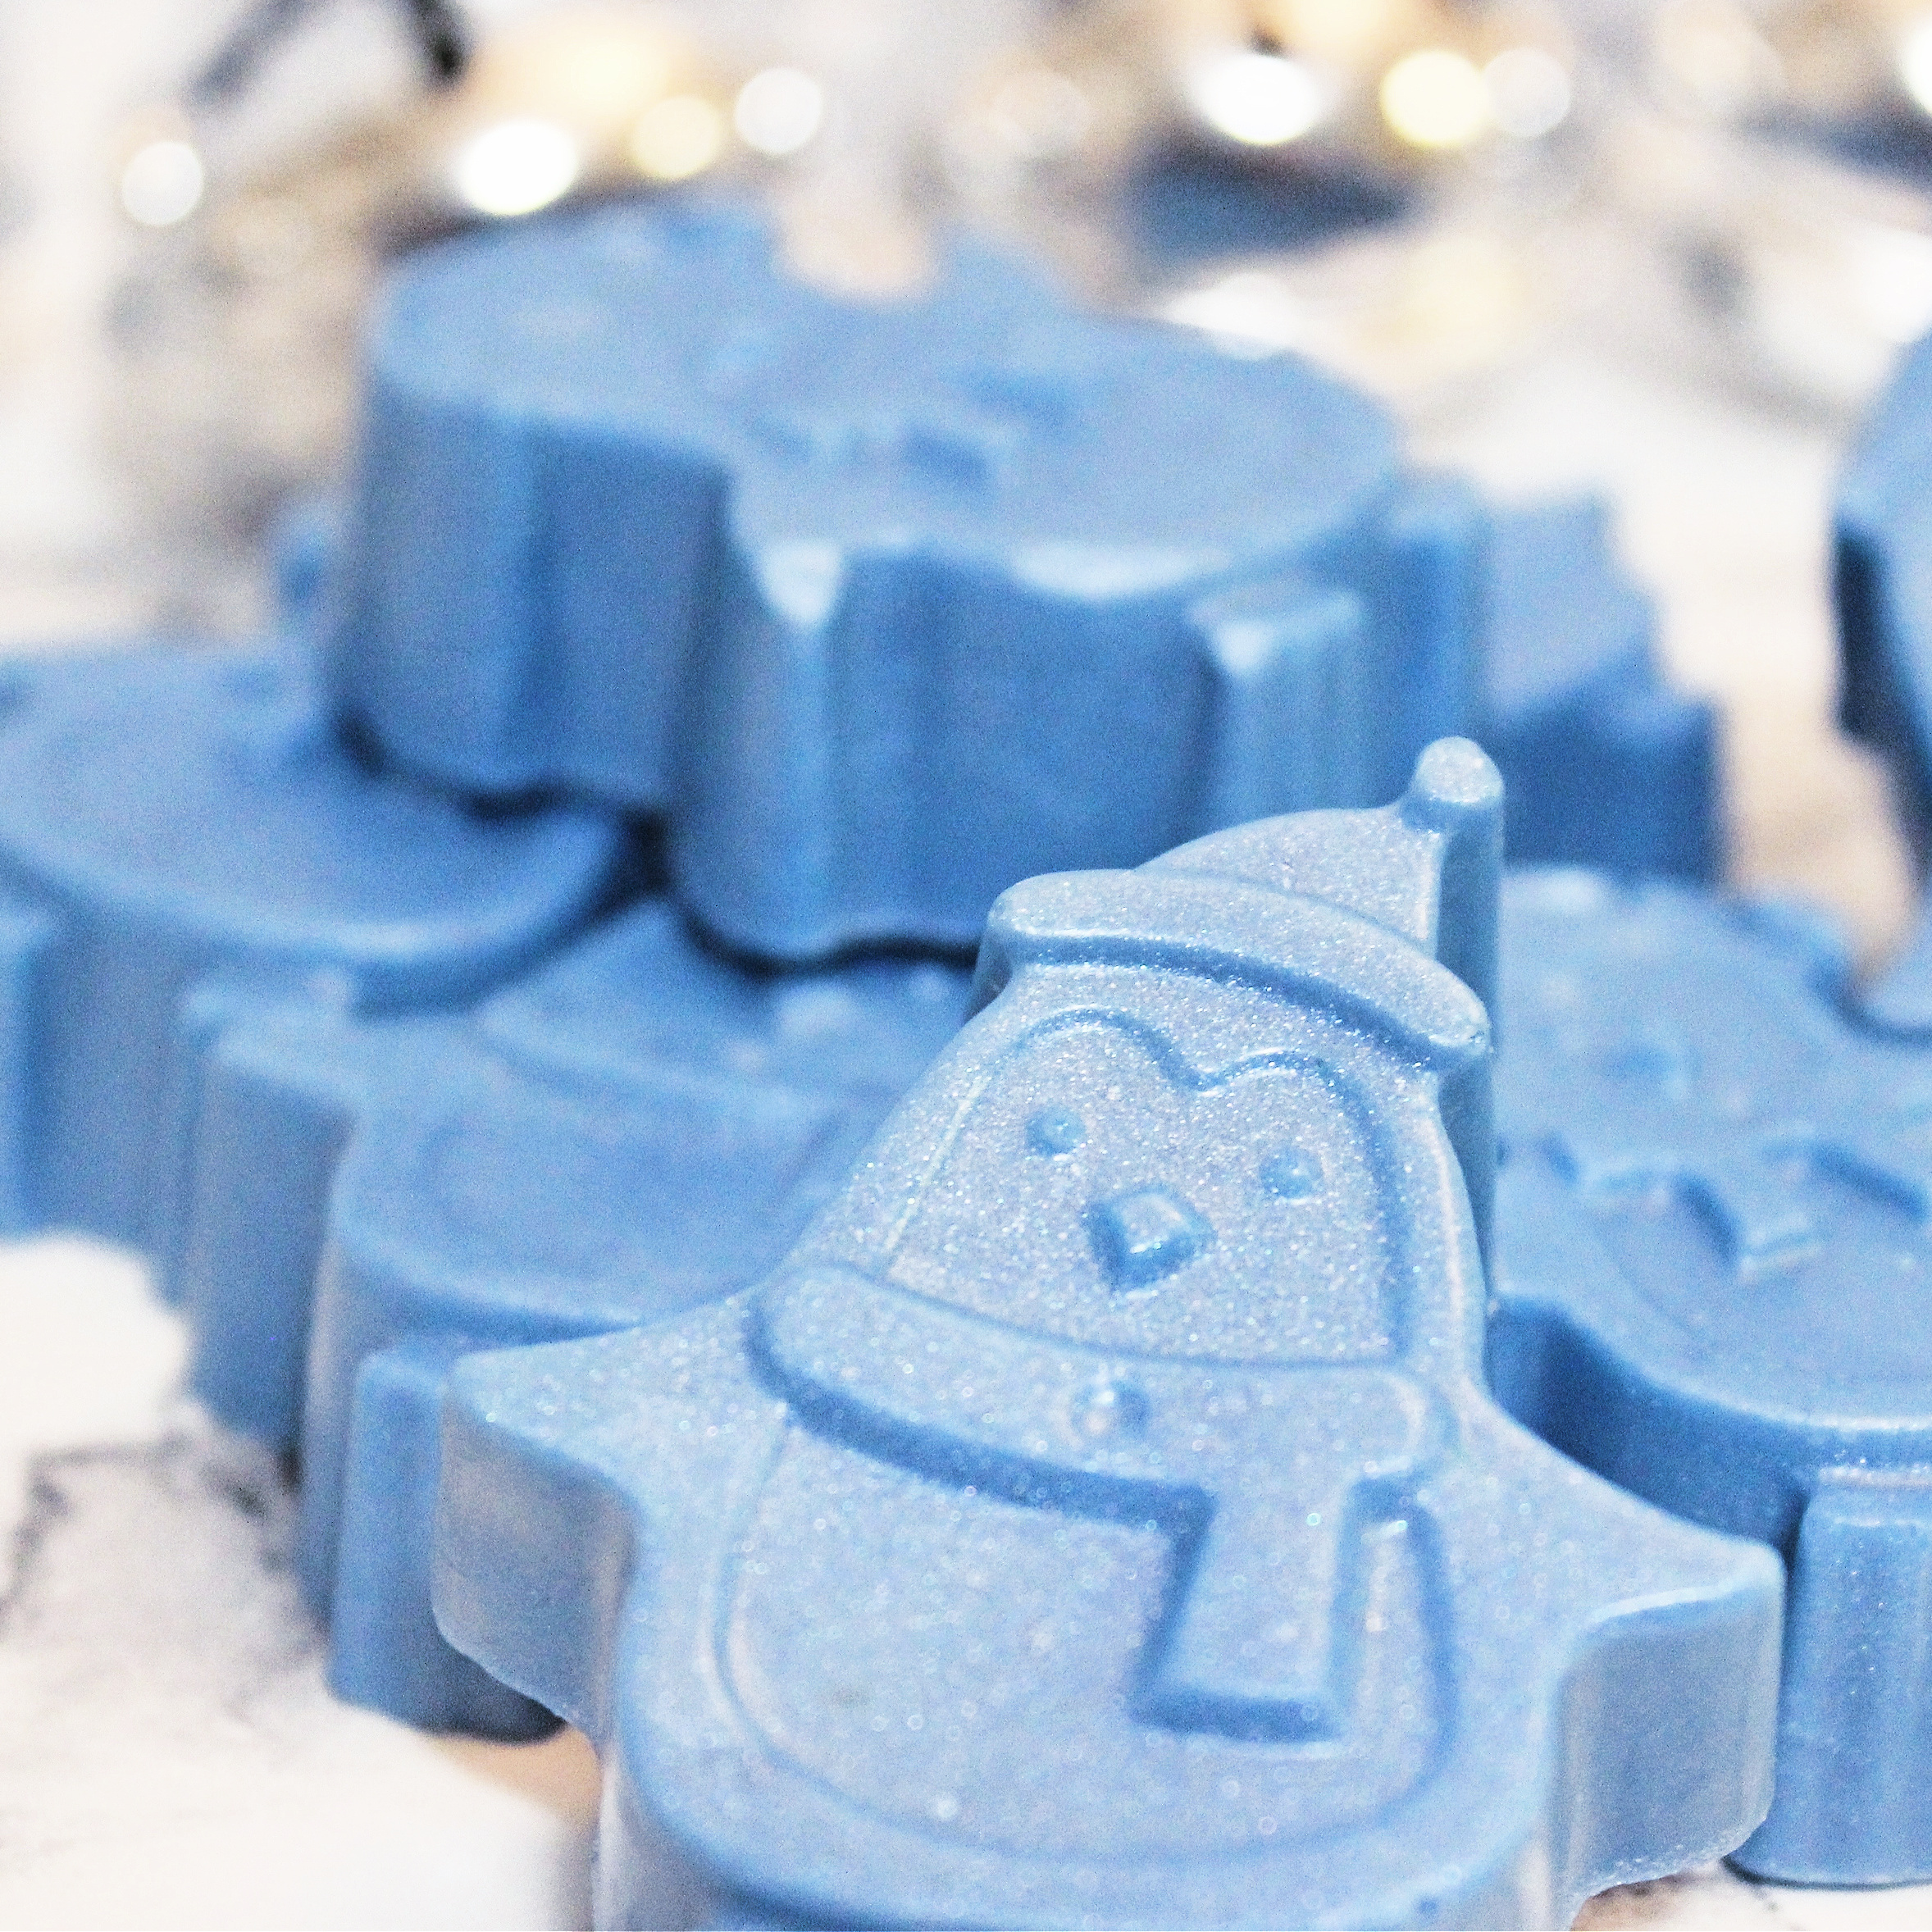
Working with melt and pour soap is simple to do, but there are a few steps you can take to make sure your soap turns out as perfectly as possible:
- Stir the soap mixture slowly to prevent adding additional bubbles to the mixture.
- You can use any essential oils that you want as long as you use oils that are safe for children.
- Any silicone soap mold will work, so find one that creates the shapes you like best!
- Mica powder gives it a fun color for kids but is an optional step.
- To make sure the mica powder doesn’t clump together, consider dissolving it in a small amount of rubbing alcohol before adding it to the melted soap.
- If your colored soap is darker than you wanted, chop it up and re-melt it with a few ounces of plain soap base to lighten the color.
- To prevent bubbles from forming in the details of the silicone mold, spray it with rubbing alcohol before pouring in the melted soap. This will make sure all the details of the mold show on the top of the soap.
- If you don’t want any bubbles on the bottom of the soap, spray it with rubbing alcohol after pouring the soap into the mold. This will pop any bubbles on the surface.
- If you have trouble removing the soap from the mold, pop the mold in the refrigerator for a few minutes and try again.

STORING AND GIFTING MELT AND POUR SOAP
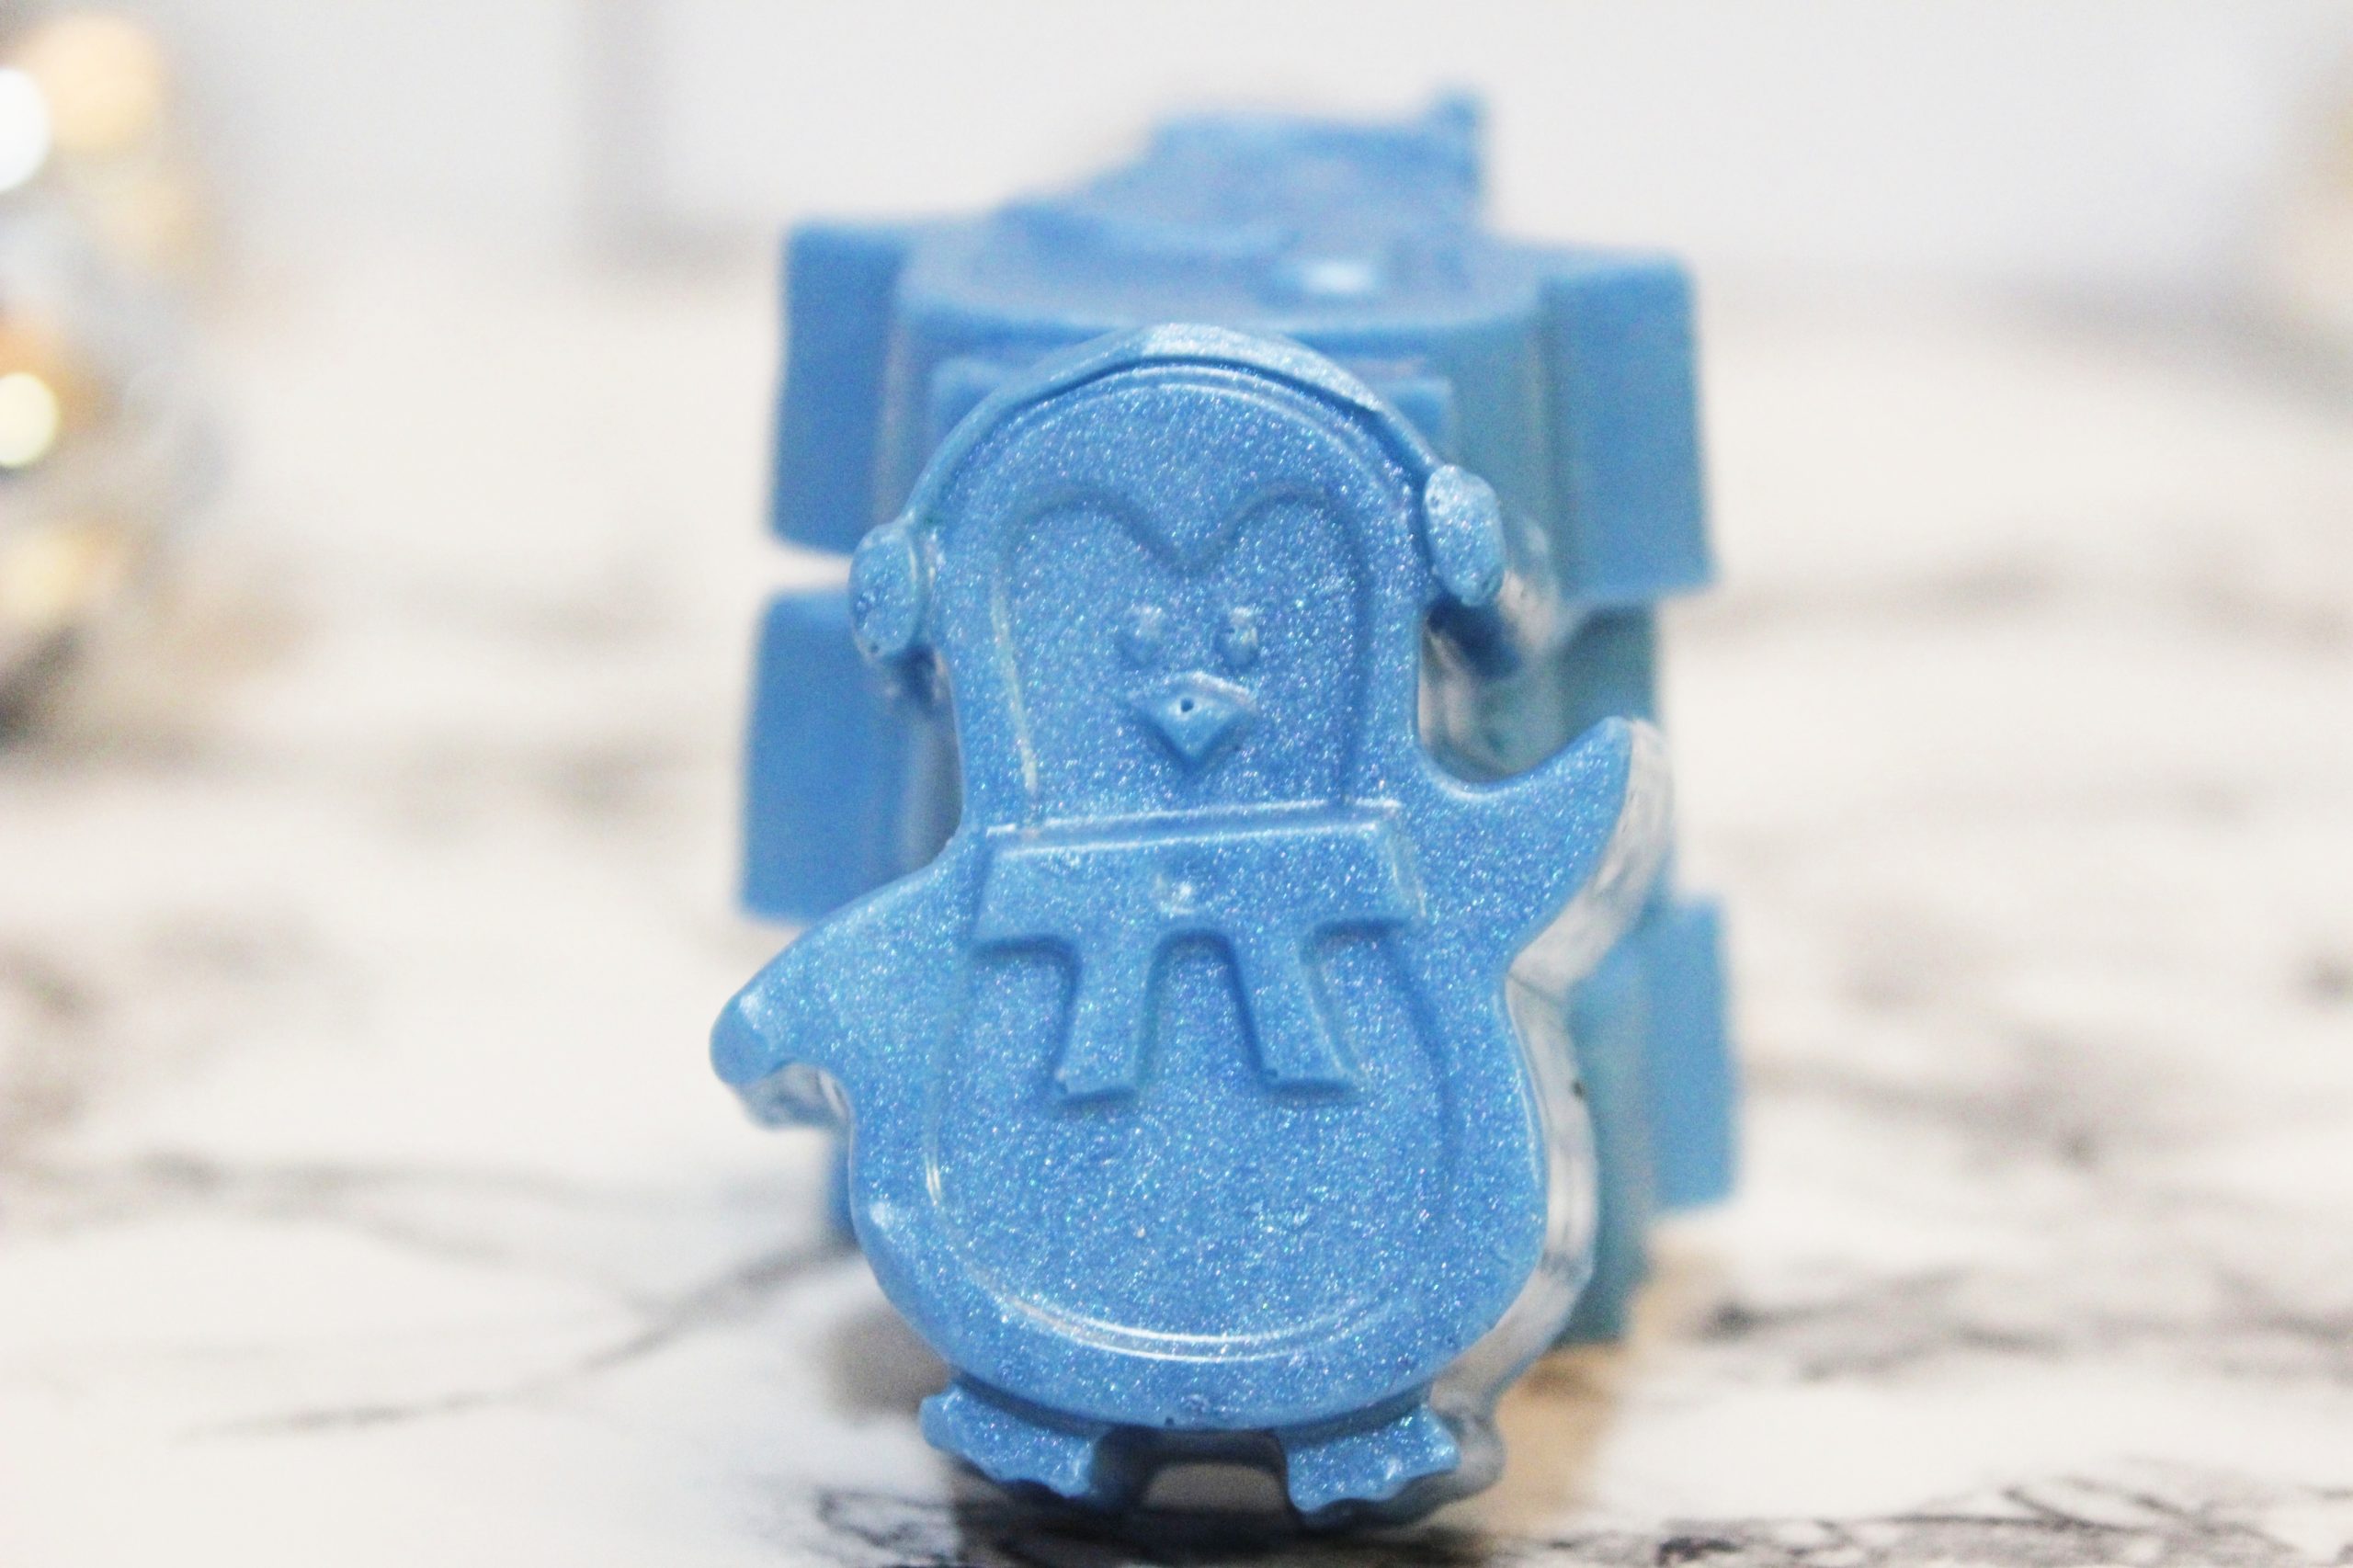
It’s important to properly store your finished soaps so they keep their adorable appearance. Melt and pour soap attracts water, so if they are exposed to the air they will begin to have small droplets of water on their surface. To prevent this “glycerine dew” you should wrap the soaps in plastic wrap immediately. You can then add a length of ribbon to gift the handmade soaps to others or store them all in an air-tight container until you use them yourself. If they are stored in a cool, dry place, the soaps can last for years!



Leave a Reply