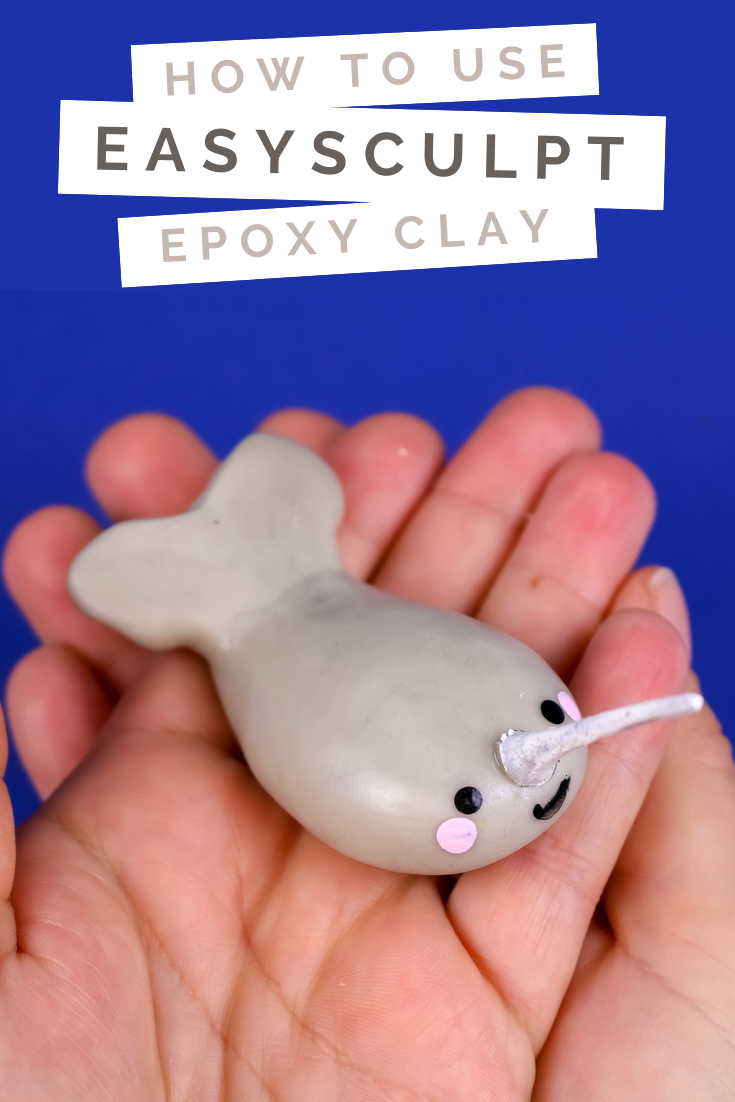
Usually, polymer clay is my go-to material for creating small figurines, but it’s not the only craft supply you can choose for these kinds of projects. I had a container of EasySculpt epoxy modeling clay that I wanted to test out. For my first project with the material, I created an adorable narwhal. After trying it out, I wanted to share my best tips for how to use EasySculpt.
HOW TO USE EASYSCULPT
What You Need to Make a Narwhal Figurine with EasySculpt
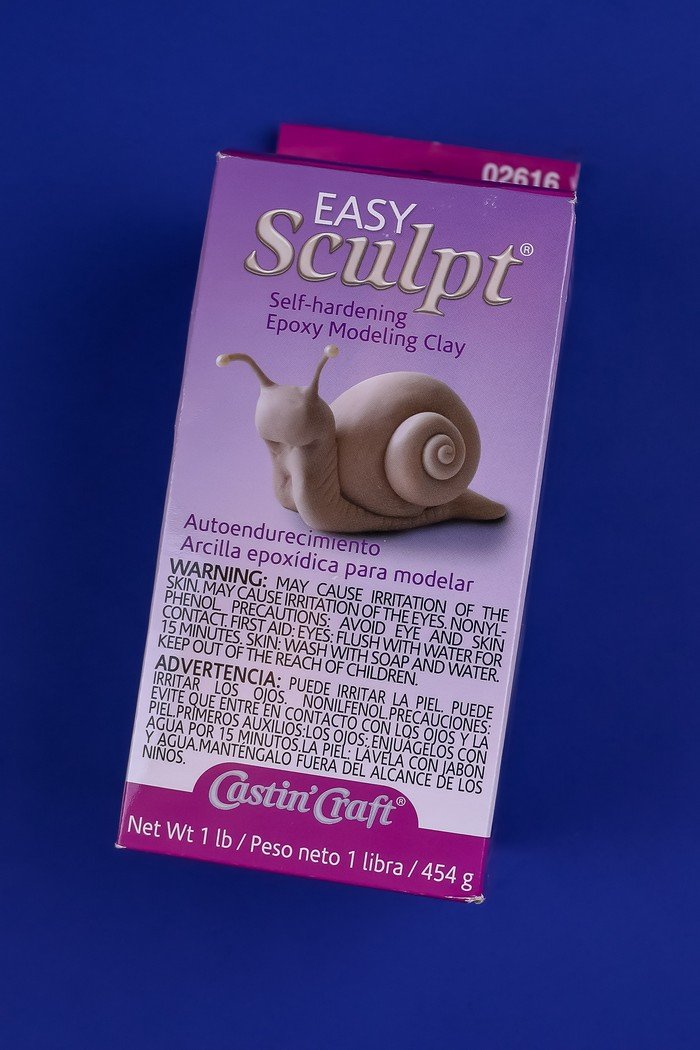
You can find EasySculpt online or in your local craft store. It is an epoxy clay, which means it works in an entirely different way than air dry clay or polymer clay. You will need to wear gloves when you work with the soft clay. I have found that the blue gloves from Dollar Tree work perfectly for projects like this.
These are all affiliate links, if you make a purchase (of anything from these retailers, not just these items) after clicking through, I will earn a small commission. Ads and affiliate links are the way I am able to keep this website running and to offer you free tutorials all year long. Thank you so much for supporting me and Mad in Crafts!
- EasySculpt epoxy clay
- Gloves
- Acrylic paint
- Paintbrush
How to Use EasySculpt
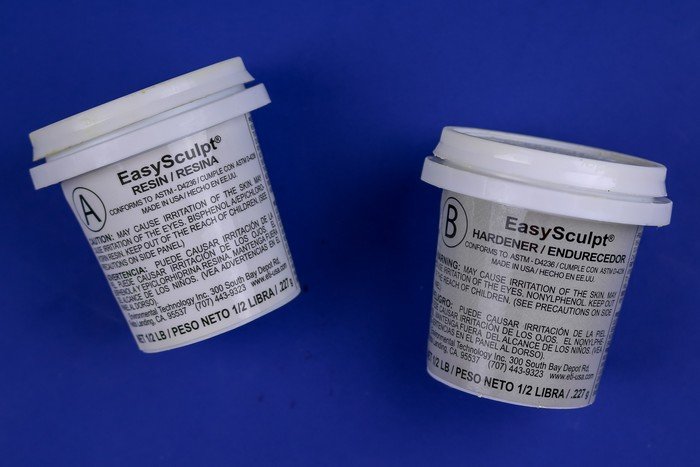
Your package of EasySculpt will contain directions, gloves, and the two parts of the clay: resin and hardener. There is a chemical reaction that occurs between the two parts of the EasySculpt which allows it to self-harden over time.
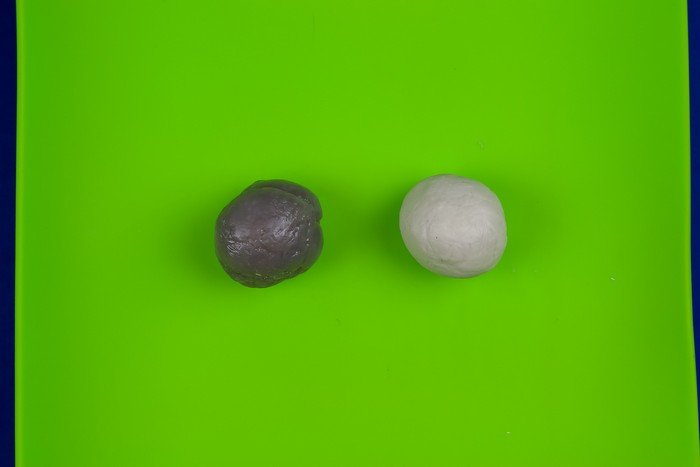
Put on a pair of disposable gloves, and remove equal parts of EasySculpt resin and hardener. You must have equal amounts of the two parts in order for the clay to set up properly.
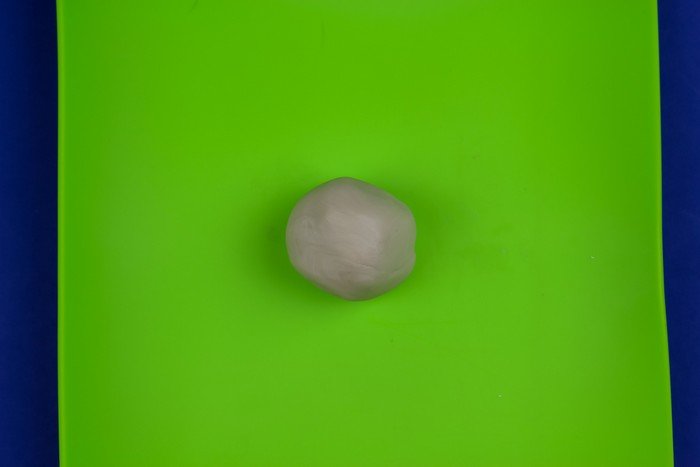
Mix these two parts together until the clay is a totally uniform color. If there is any marbling in the clay, keep mixing until there isn’t.
Once the clay is fully mixed, you have quite a bit of time to work with the EasySculpt. If your workspace is at the ideal temperature (see tips below), you will have about 2 hours of work time from the moment you begin mixing the clay until it sets up.
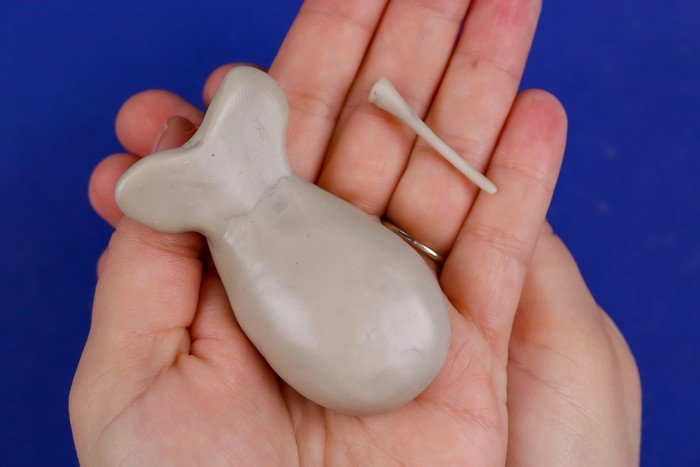
Once the clay reaches a firm, but pliable state you can create the shape of your figurine. I used my mixed epoxy clay to create the basic shape of a narwhal because I am a little bit fixated on them right now.
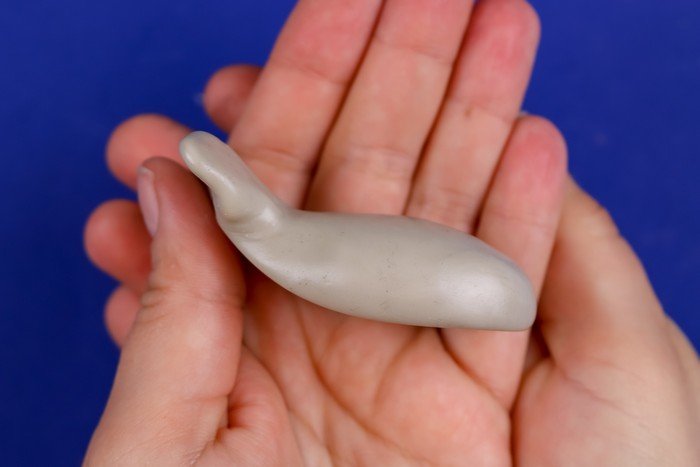
If you would like your piece to hold upward curves or other dimensional details, you will need to place supports underneath it as the clay cures. The clay will be fully cured in 24 hours.
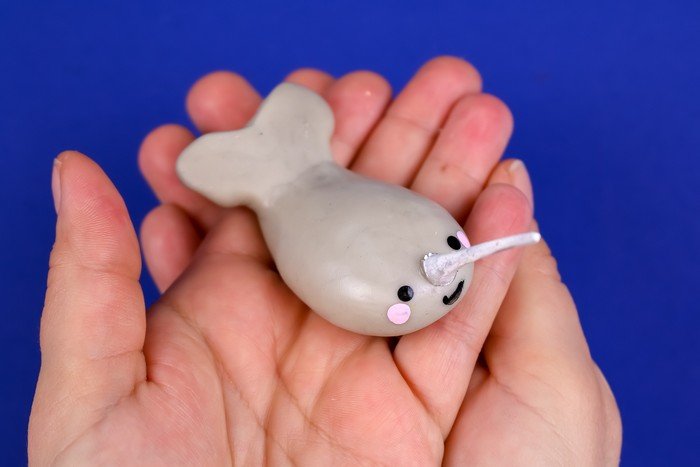
Cured EasySculpt has a smooth, porcelain-like finish that can be painted, sanded, and drilled. You can also press EasySculpt into a mold. I think I might to use it for jewelry next because its smooth finish is perfect for those kinds of projects.
Tips for Using EasyScuplt Epoxy Clay
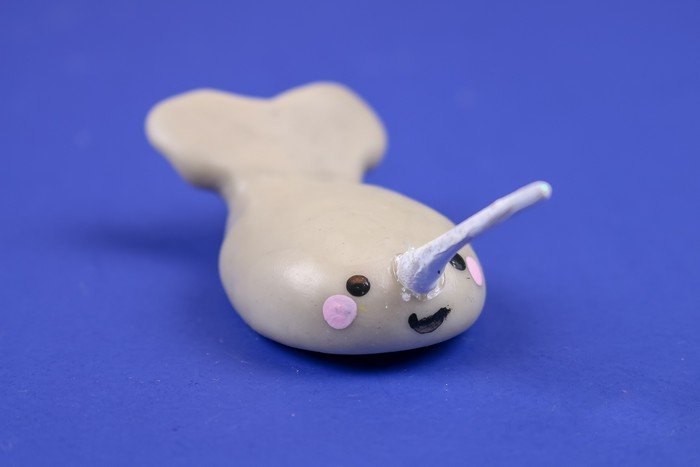
- The ideal workspace temp for using EasySculpt is between 70-75 degrees. My room was a bit cooler than this, so my clay took longer to set up. Avoid working in cold temperatures, as it can make the clay crystallize.
- Try adding paint or pigment to the clay after you have mixed the two parts together.
- Dust the clay with baby powder to prevent it from sticking to your gloves or your work surface.
- Working on a silicone mat can also help prevent sticking.
- When you are creating a figurine like this, you will need to let the clay set up for at least an hour before you can begin shaping the clay into a form that will hold. If you try to form it earlier, the clay will lose its shape. Mix up the clay, wait an hour, and then begin shaping.
- The long work time of this clay allows you to keep adjusting your design until you really love it. Make use of all that time to add extra details!
- Clean up any messes with soap and water.
- EasySculpt adheres well to stones, crystals, glass, metal, and wood, so incorporate other materials into your project.
This post originally appeared on Resin Crafts.
You might like these other clay tutorials:


Leave a Reply