I have dozens of free SVGs available here on Mad in Crafts, but many of them are single-layer designs. If you would like to use those free SVGs as layered designs, there is a way to do it right in Design Space! Today I am going to walk you happy crafters through how to make an SVG a layered design in Cricut Design Space.
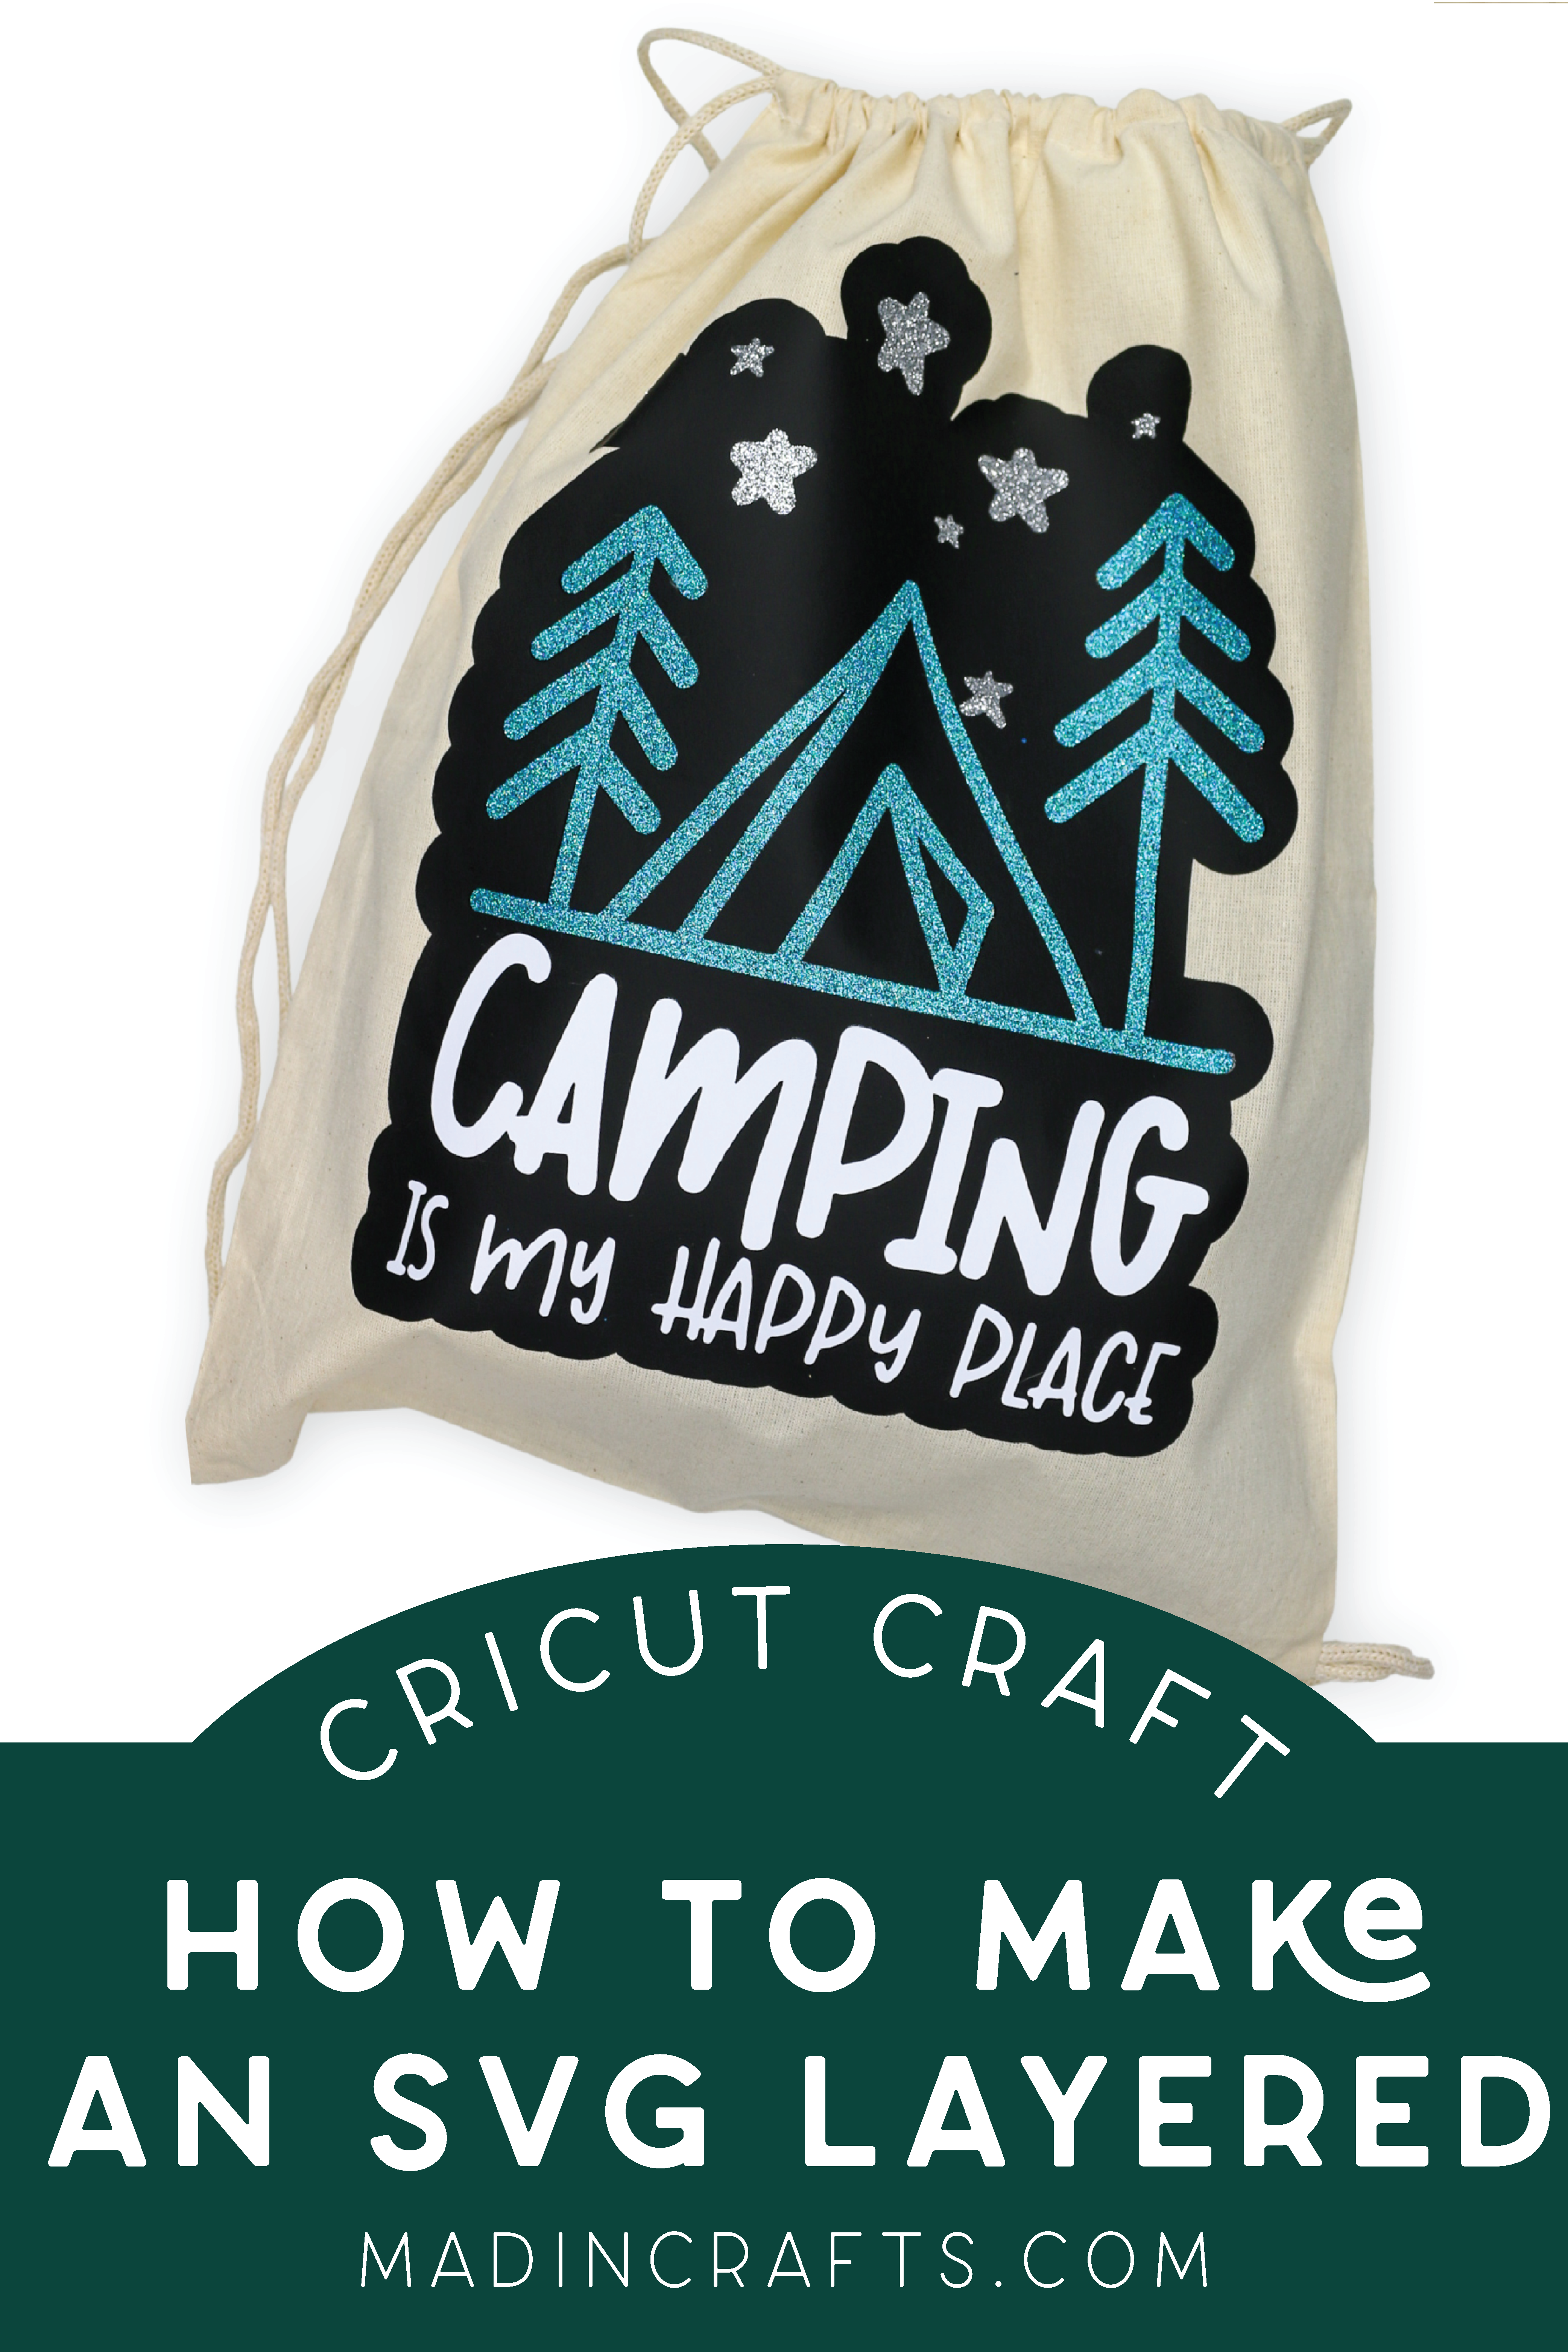
HOW TO MAKE AN SVG A LAYERED DESIGN IN CRICUT DESIGN SPACE
USE OFFSET TO MAKE A SINGLE LAYER SVG INTO A LAYERED VINYL DESIGN
Once you have downloaded the single-layer SVG to your device, you can upload it into Cricut Design Space and use that software to make it a multi-layered design. I used this process to cut vinyl, but it will cut layers of paper or cardstock the same way. Here is how:
Create a Layered Vinyl Design with Offset
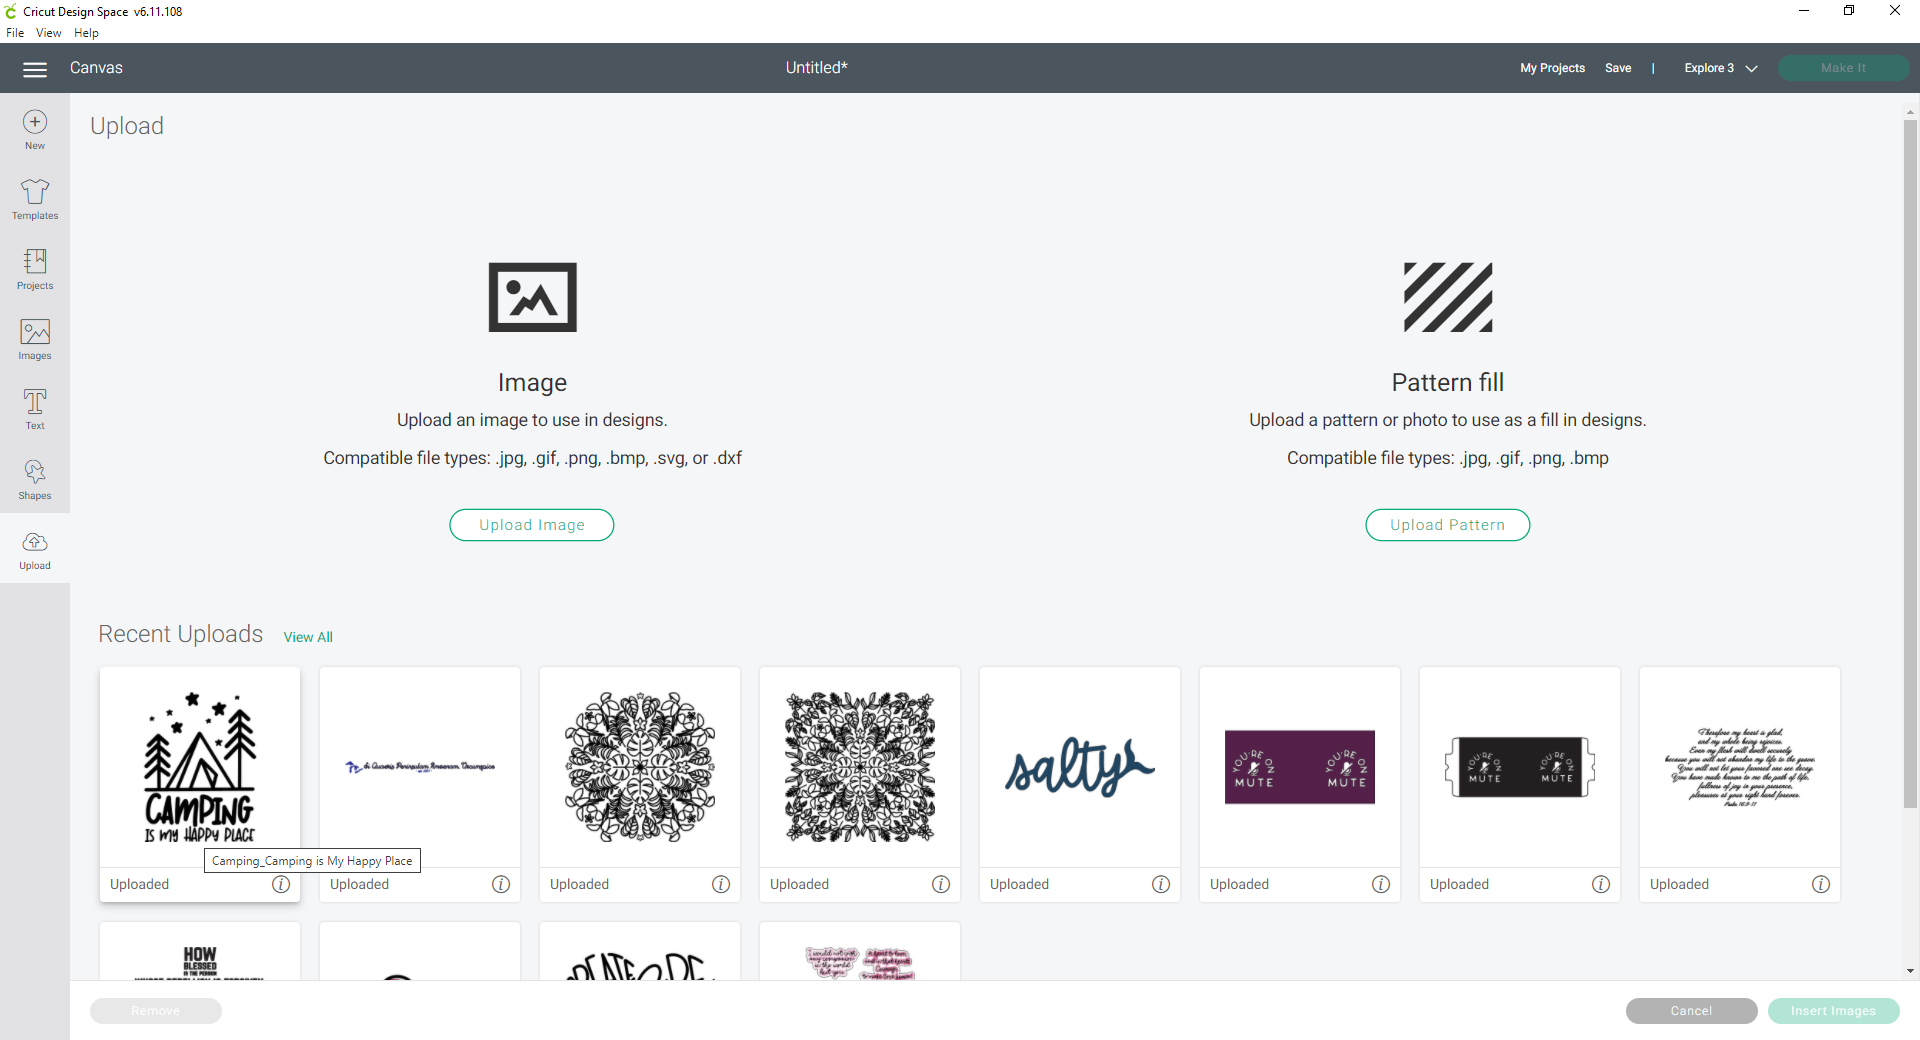
- Upload the SVG into Cricut Design Space.

- Insert the SVG into a new canvas.

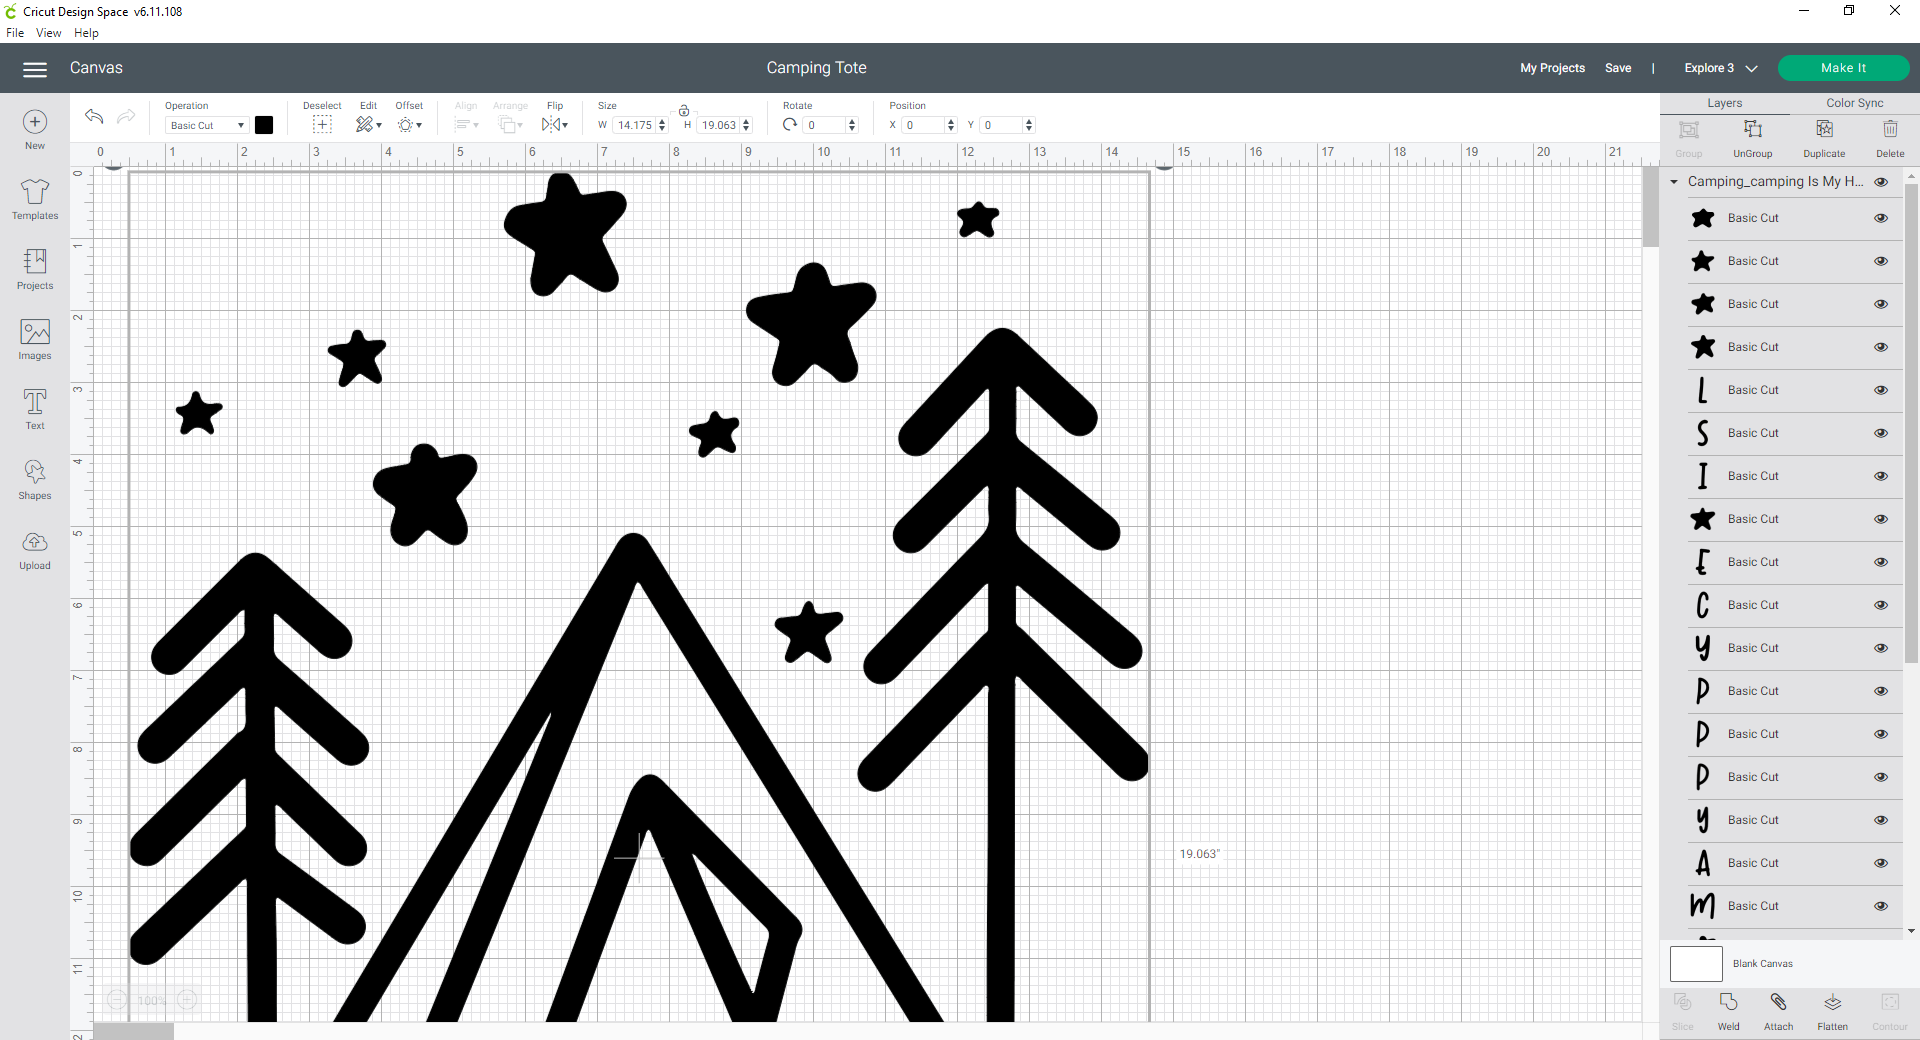
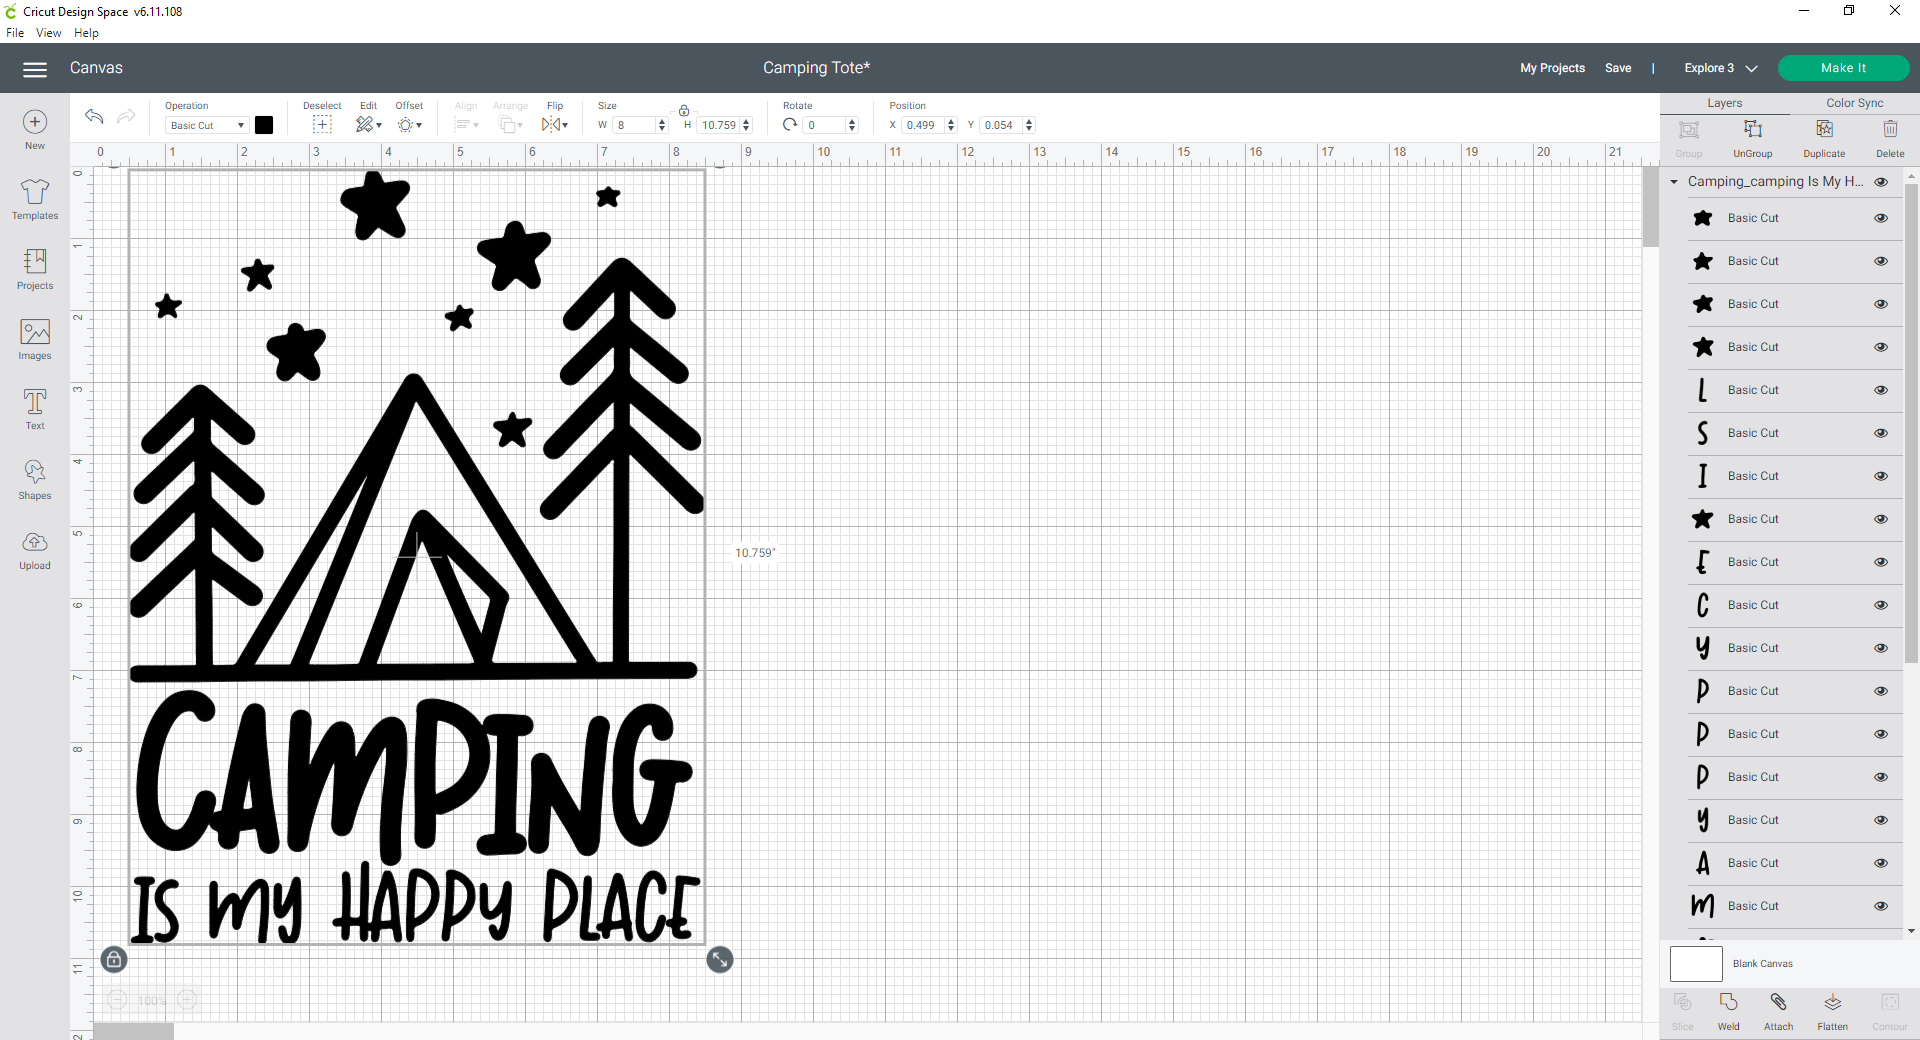
- Resize the design to fit your project.

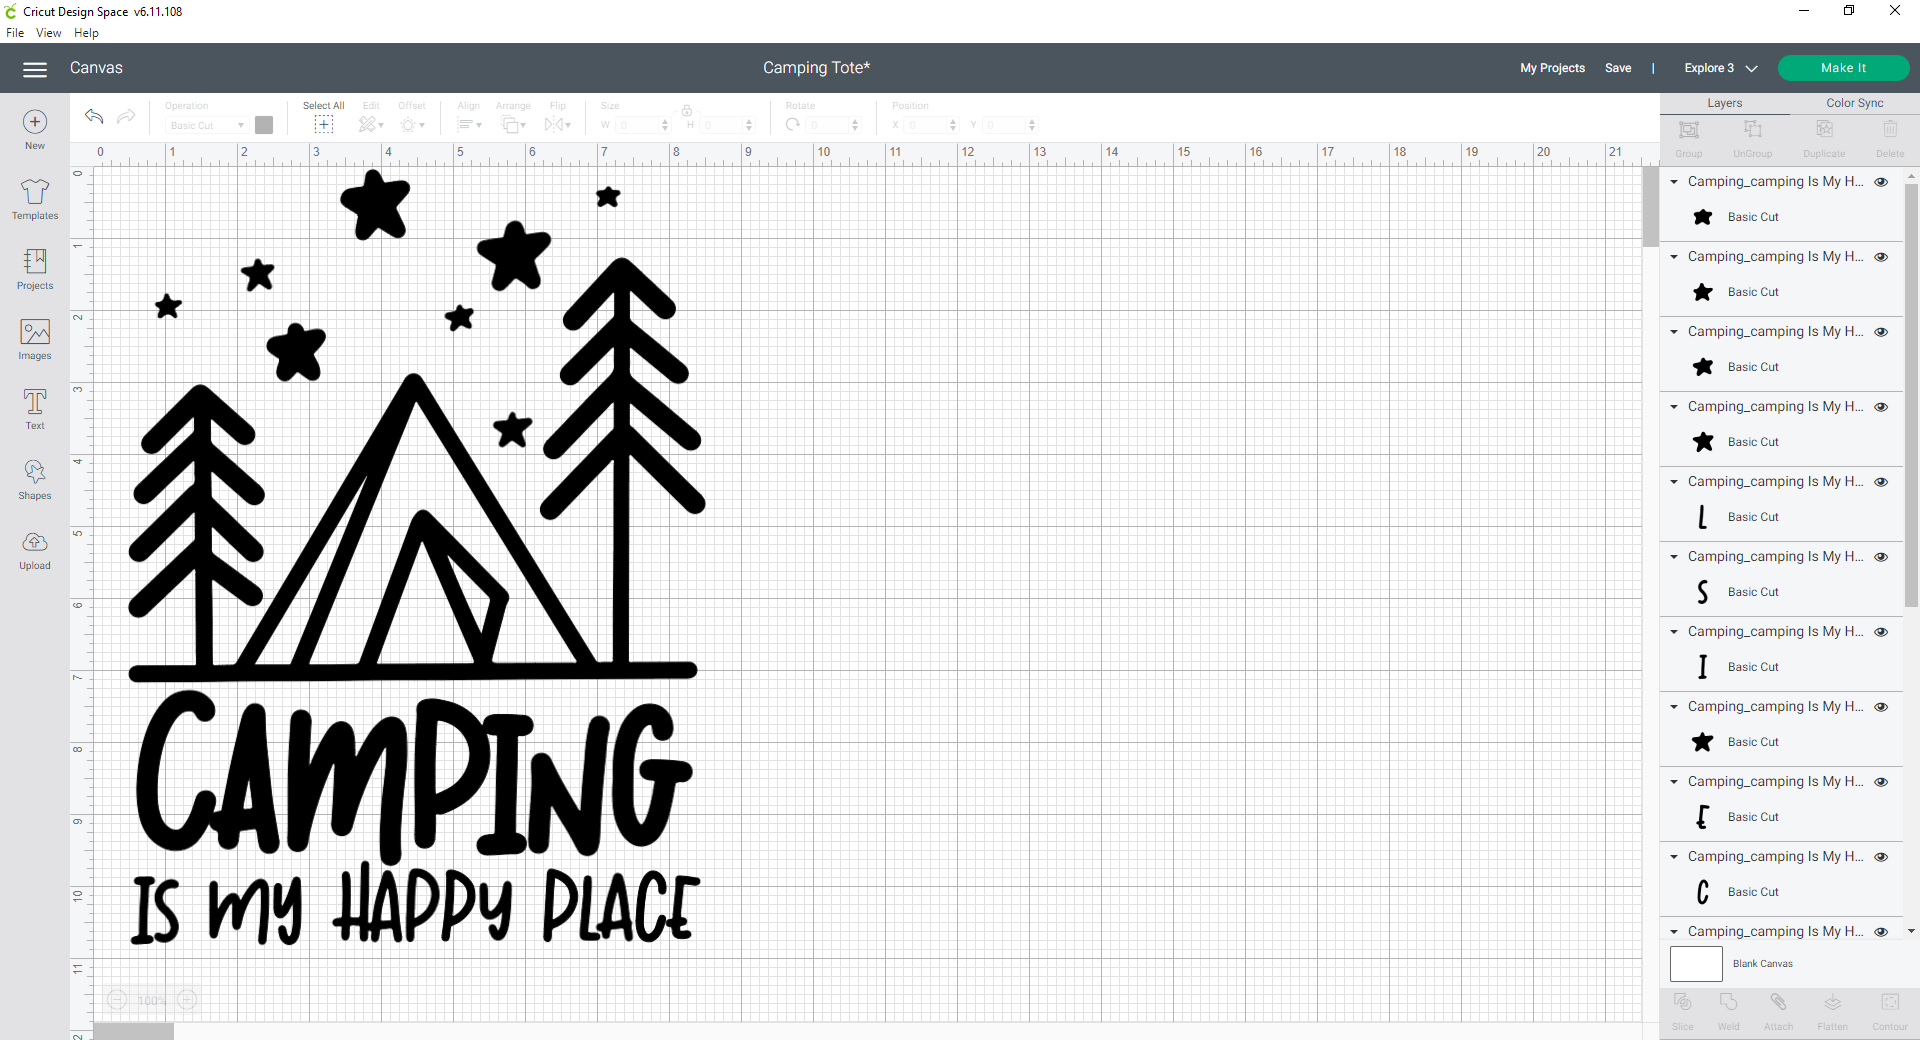
- Ungroup all the elements of the design.

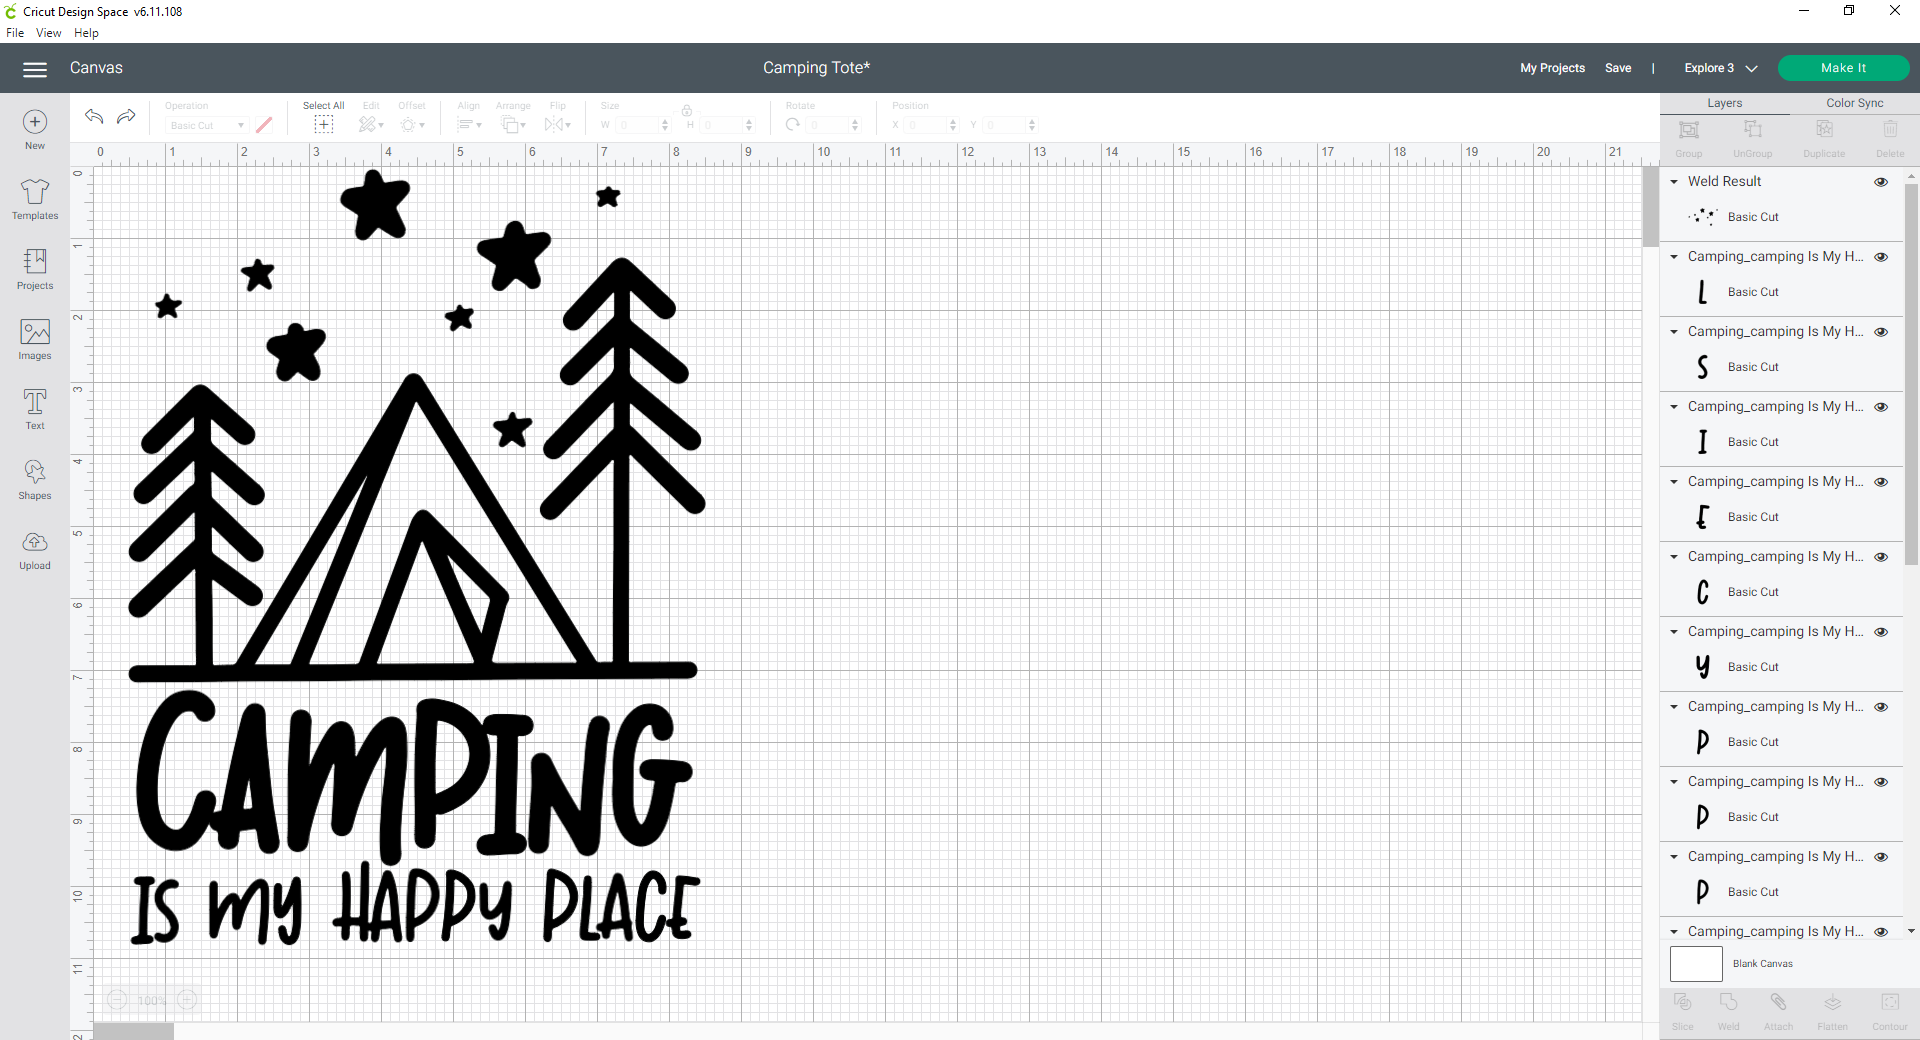
- Select the elements that you would like to be the same color and click the Weld button in the Layers panel. I select all of the stars in the example below.

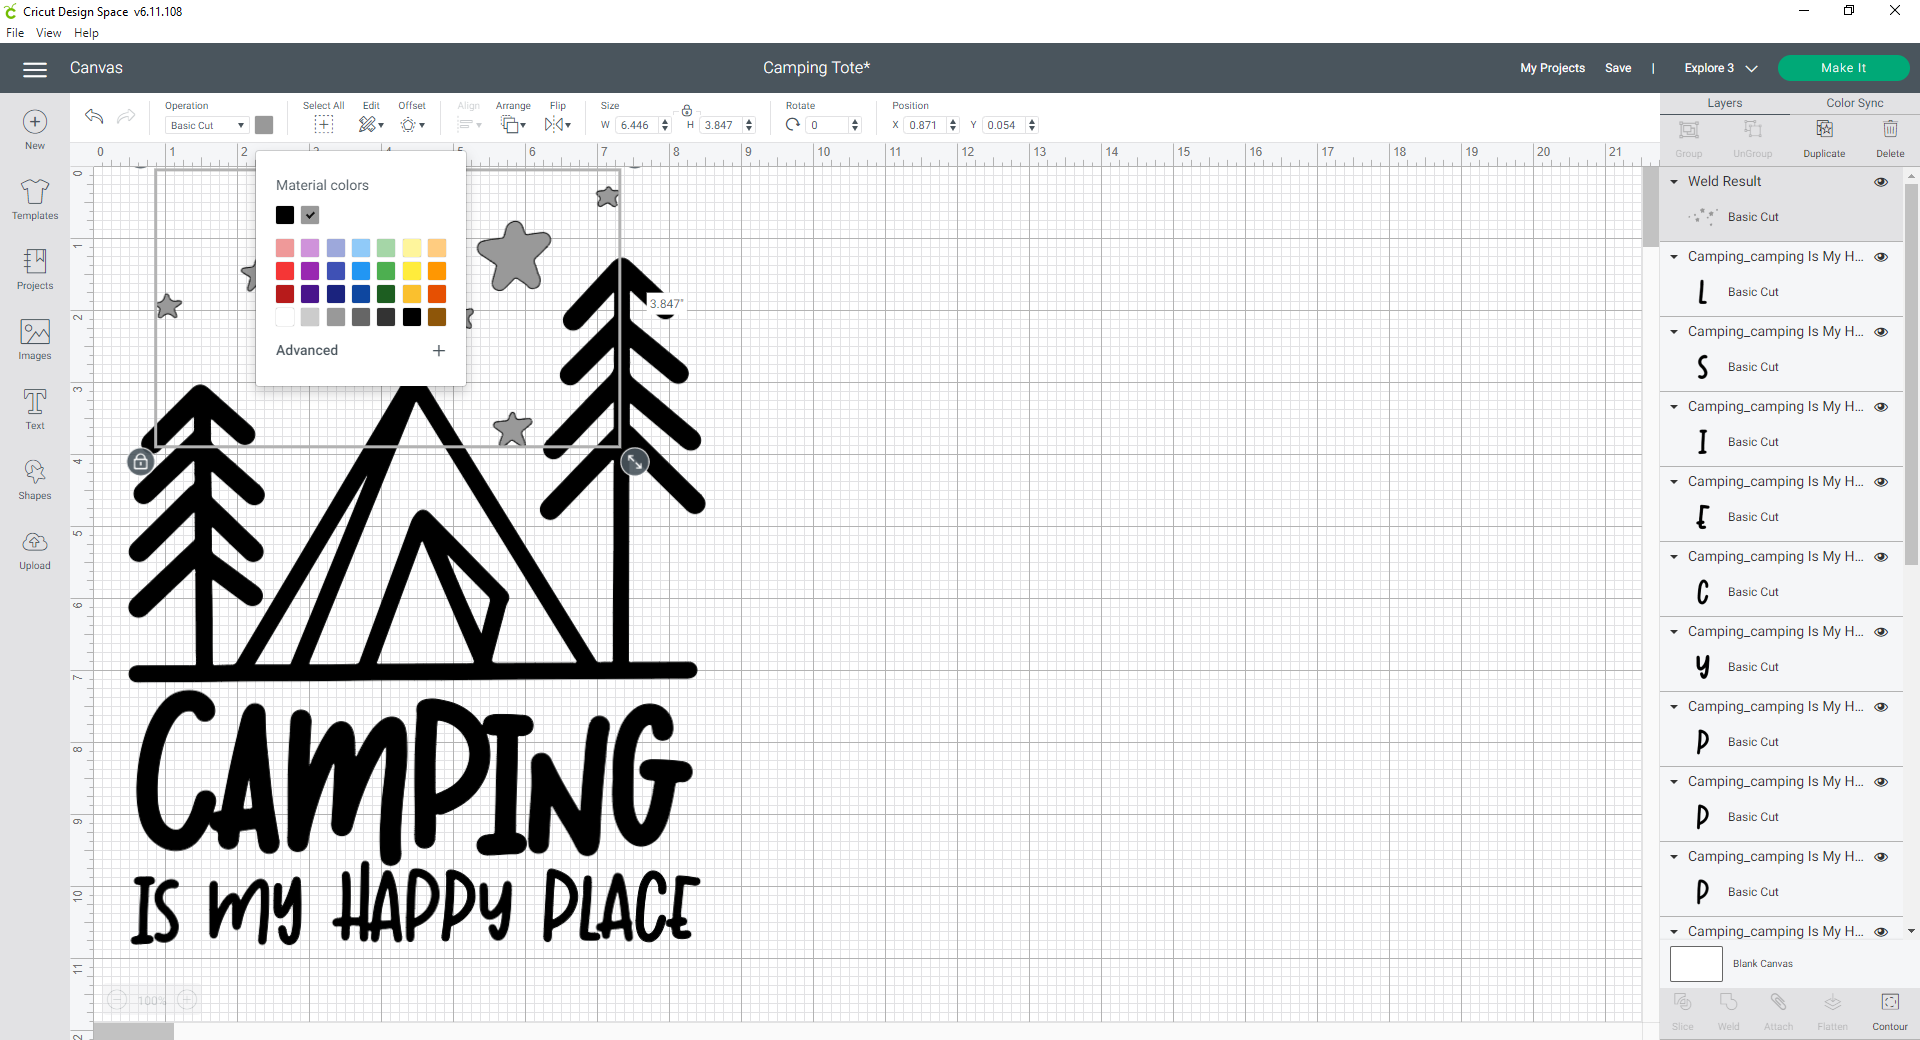
- Change the color of those items to match your vinyl. This will make sure they cut on the same mat.
Repeat steps 5 & 6 for all the different colored elements you would like to have in your finished design.

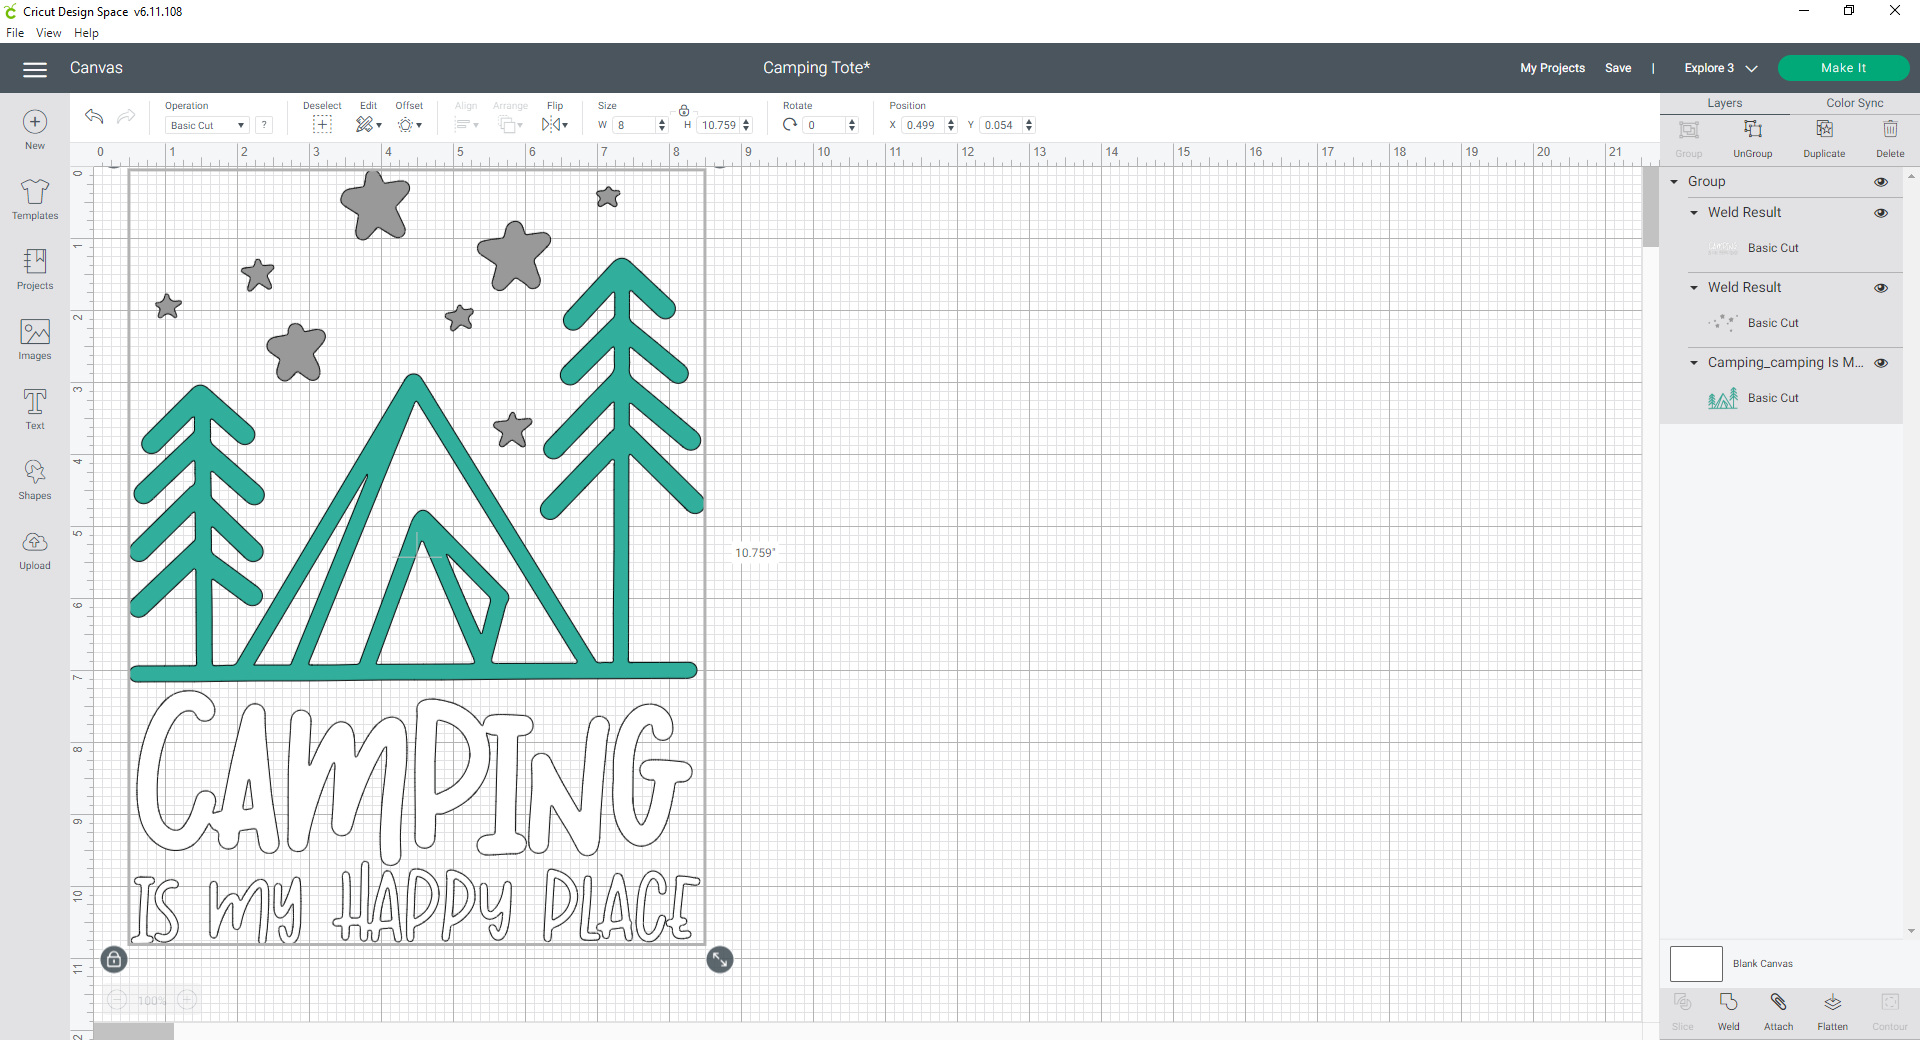
- Select all the design elements and click Group.

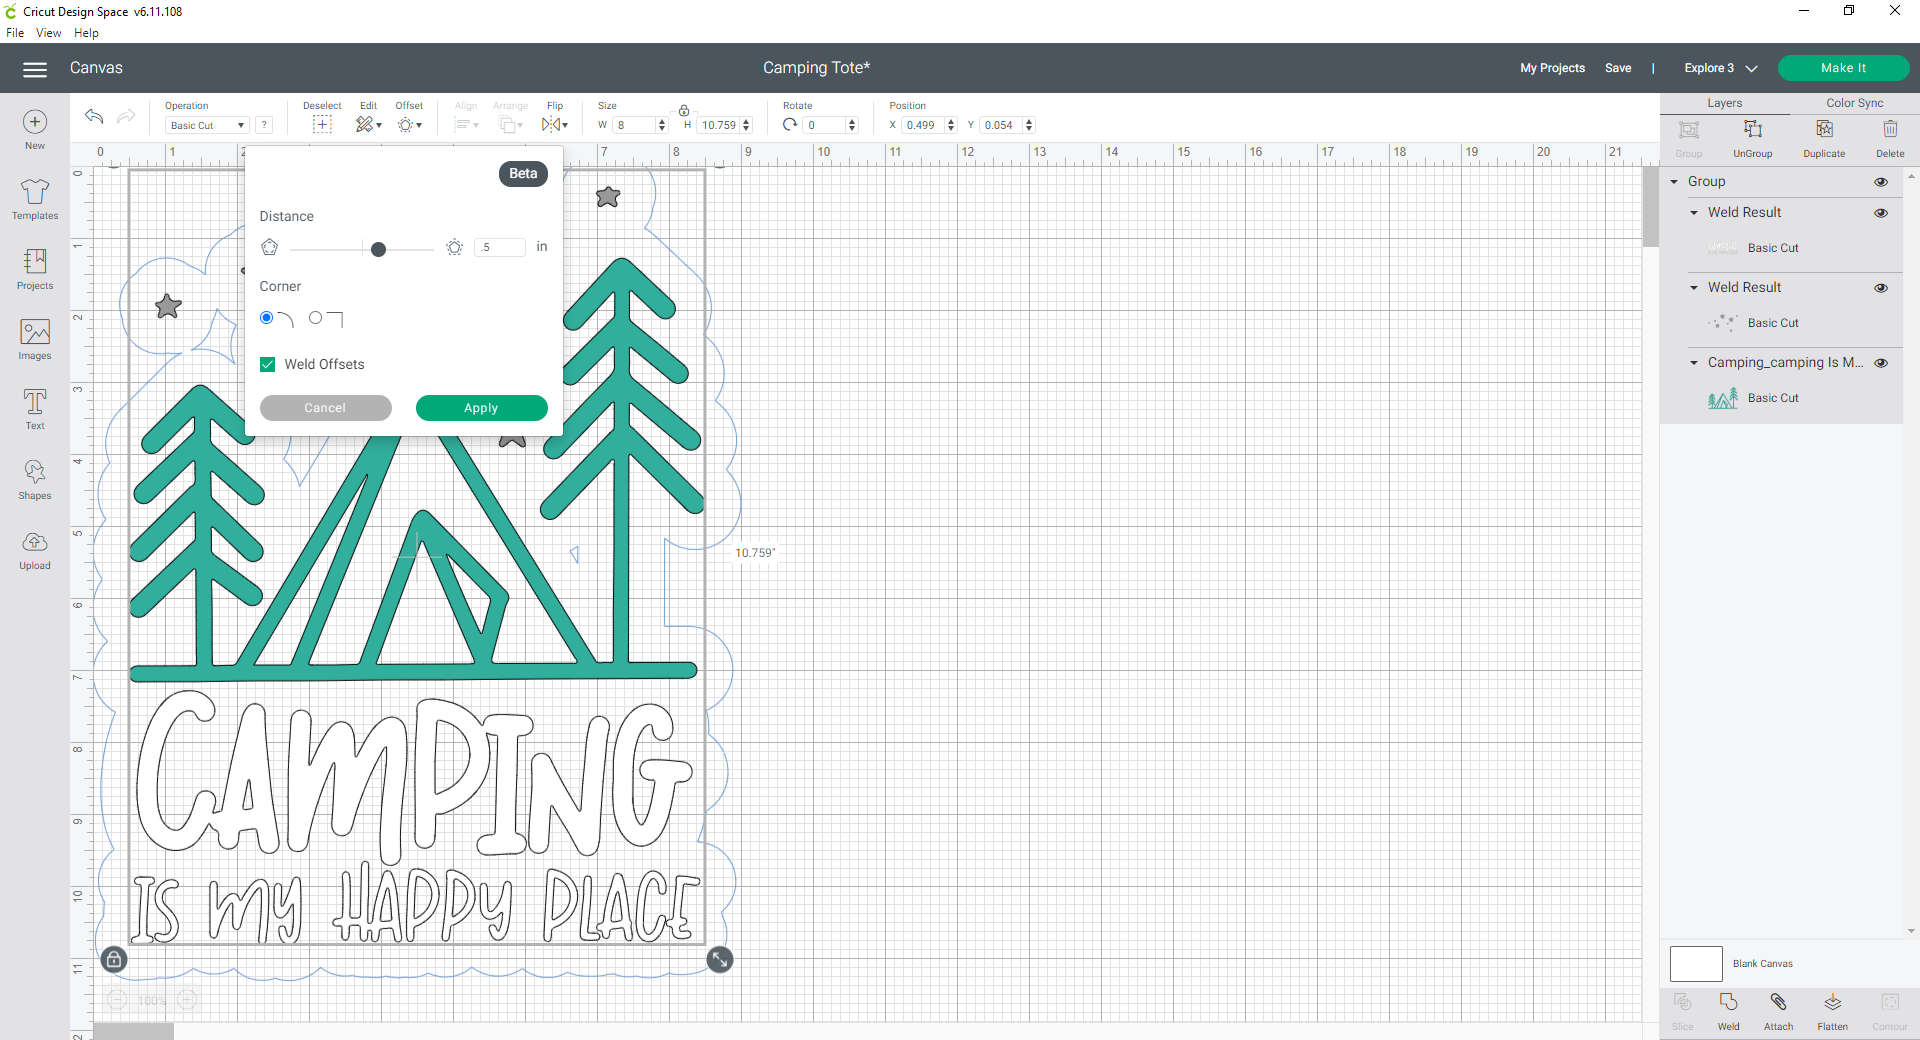
- Click the Offset button and adjust the offset distance until you like how it looks.

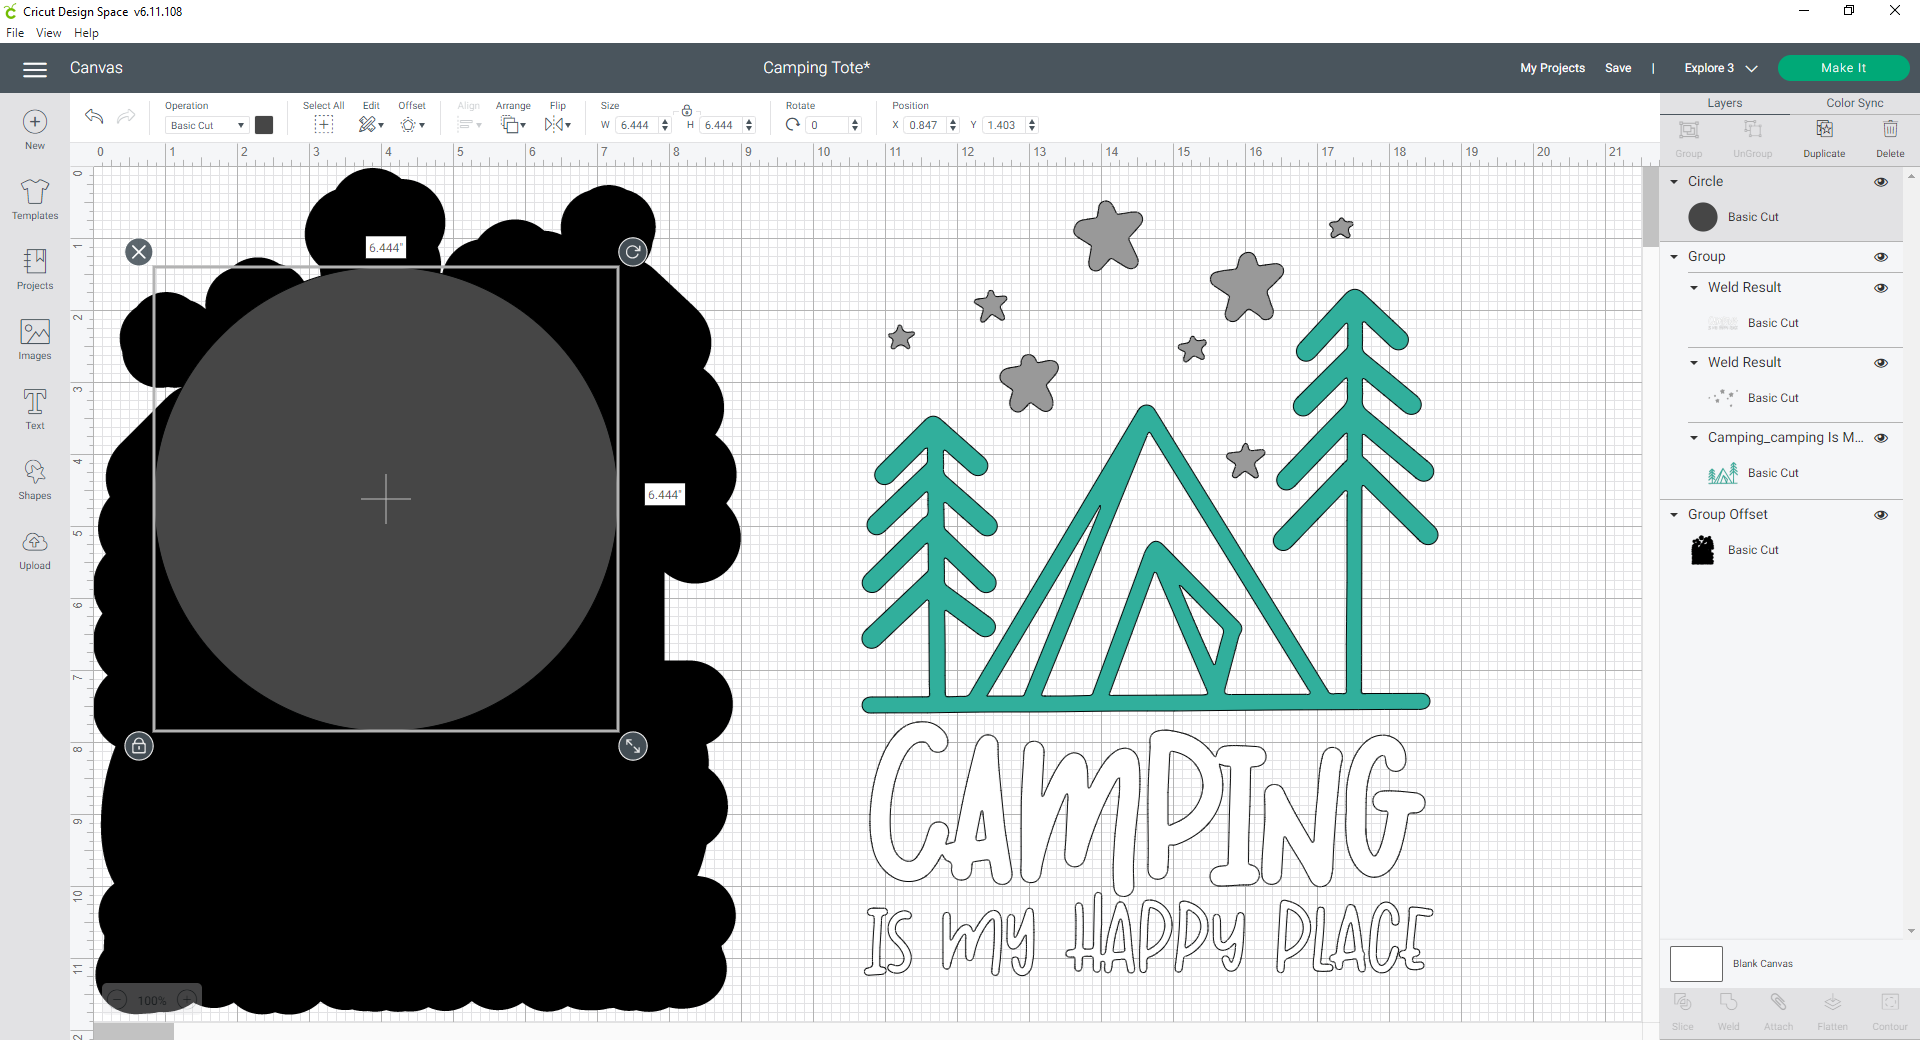
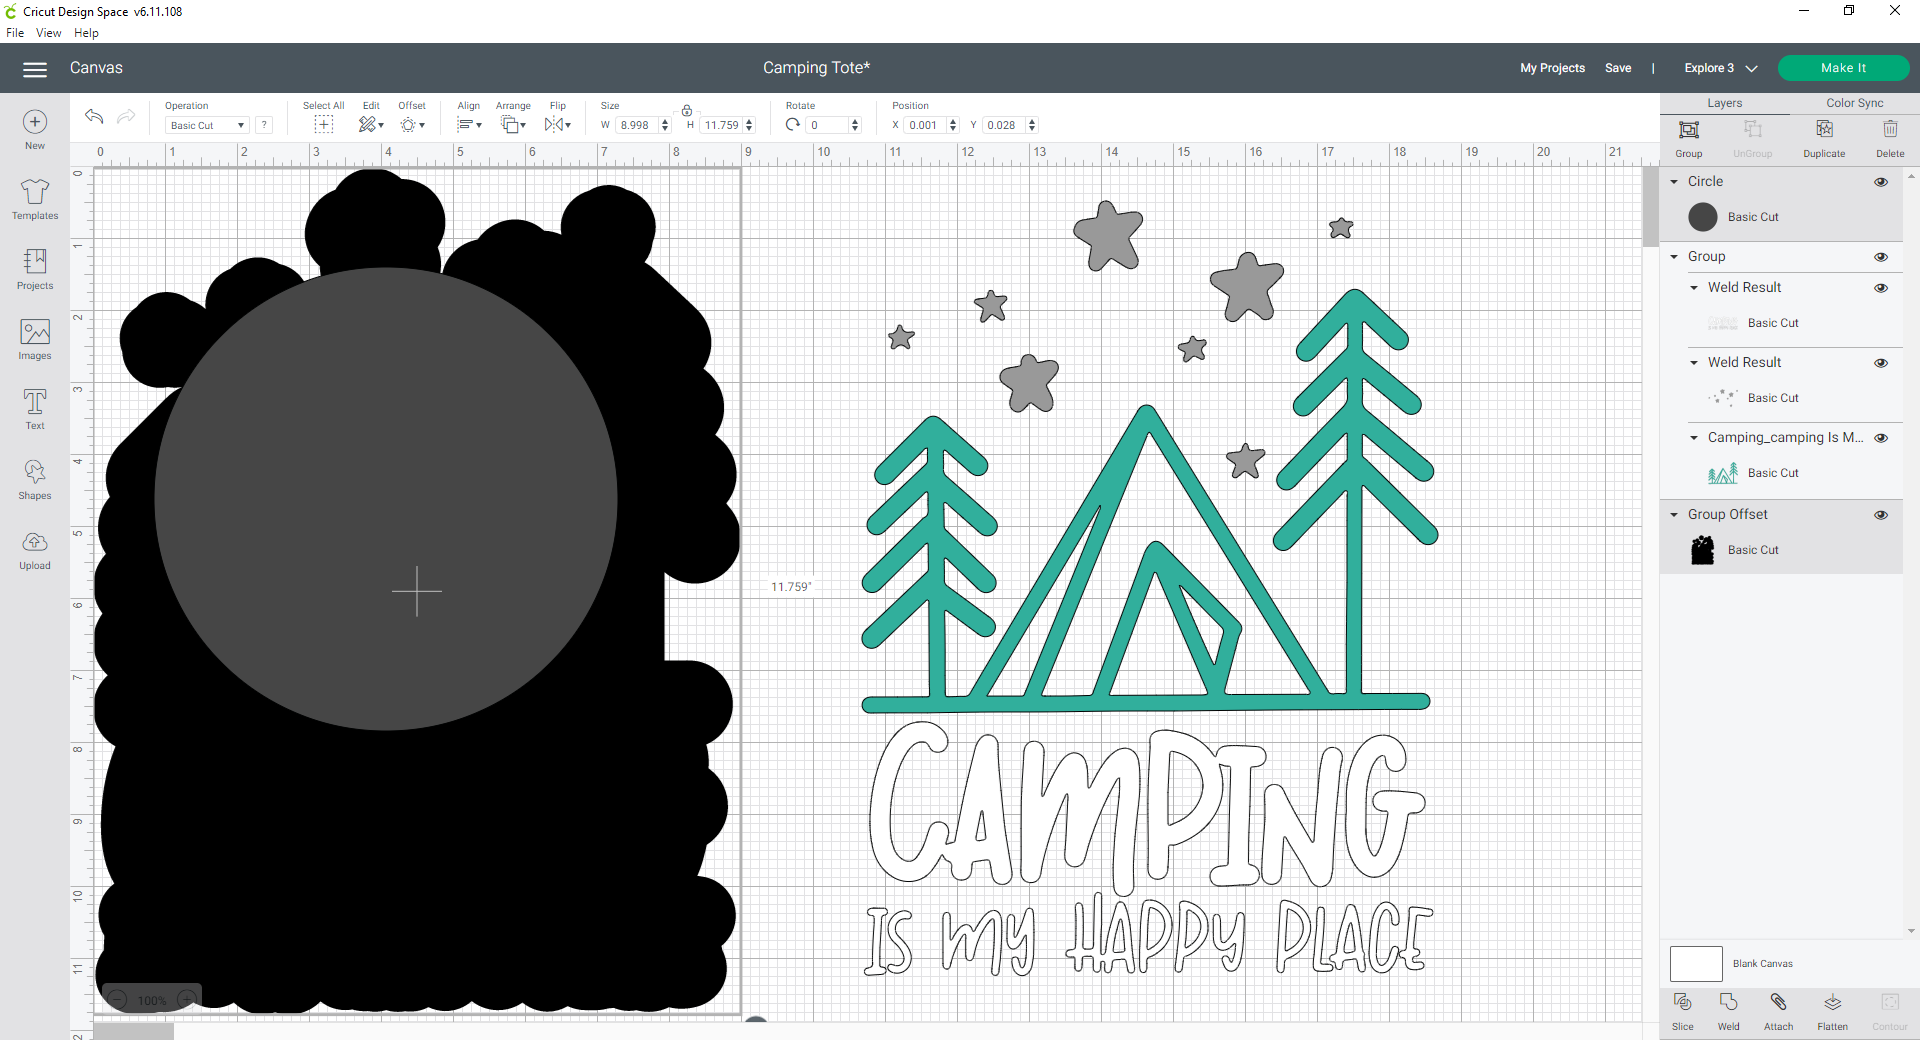
- If you would like to fill in the gaps of the offset, move the top design to the side. Add a shape from the shape menu that will cover all the gaps.

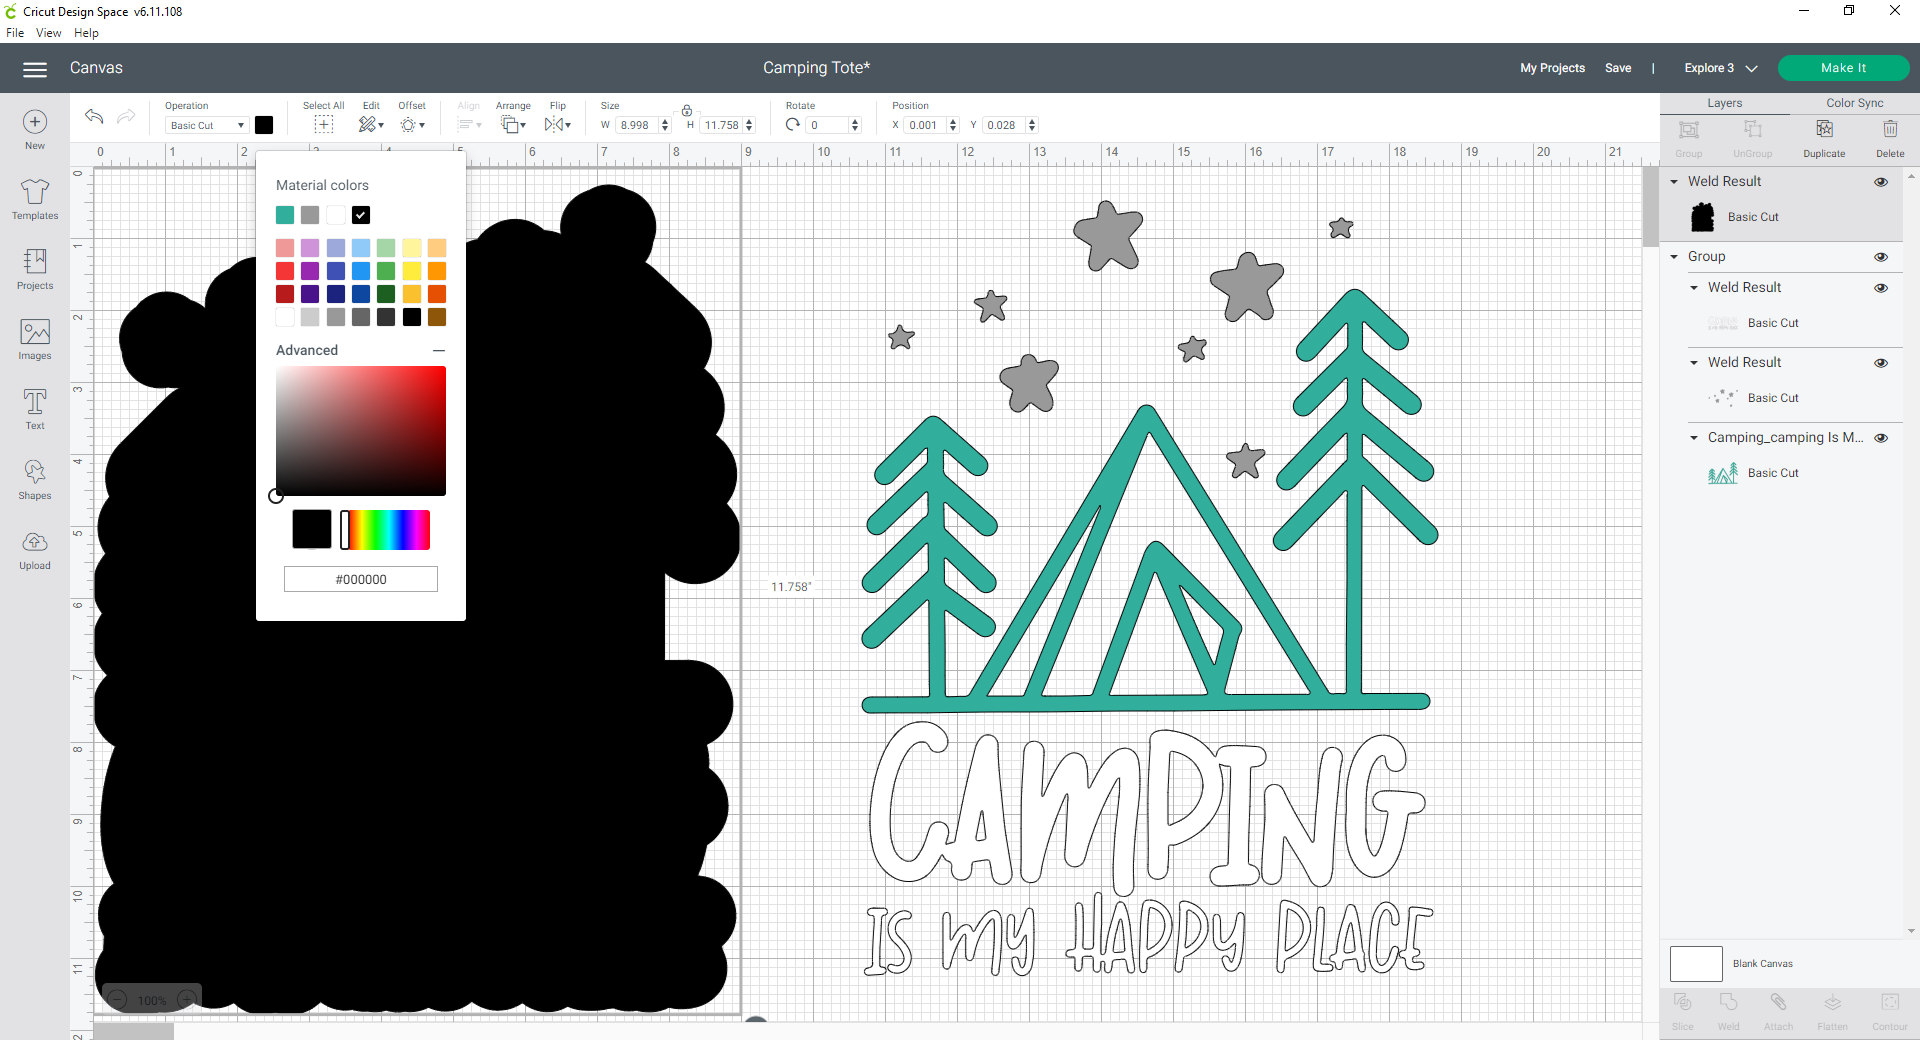
- Select, the offset shape and the new shape and click the Weld button.

- Recolor the offset shape.

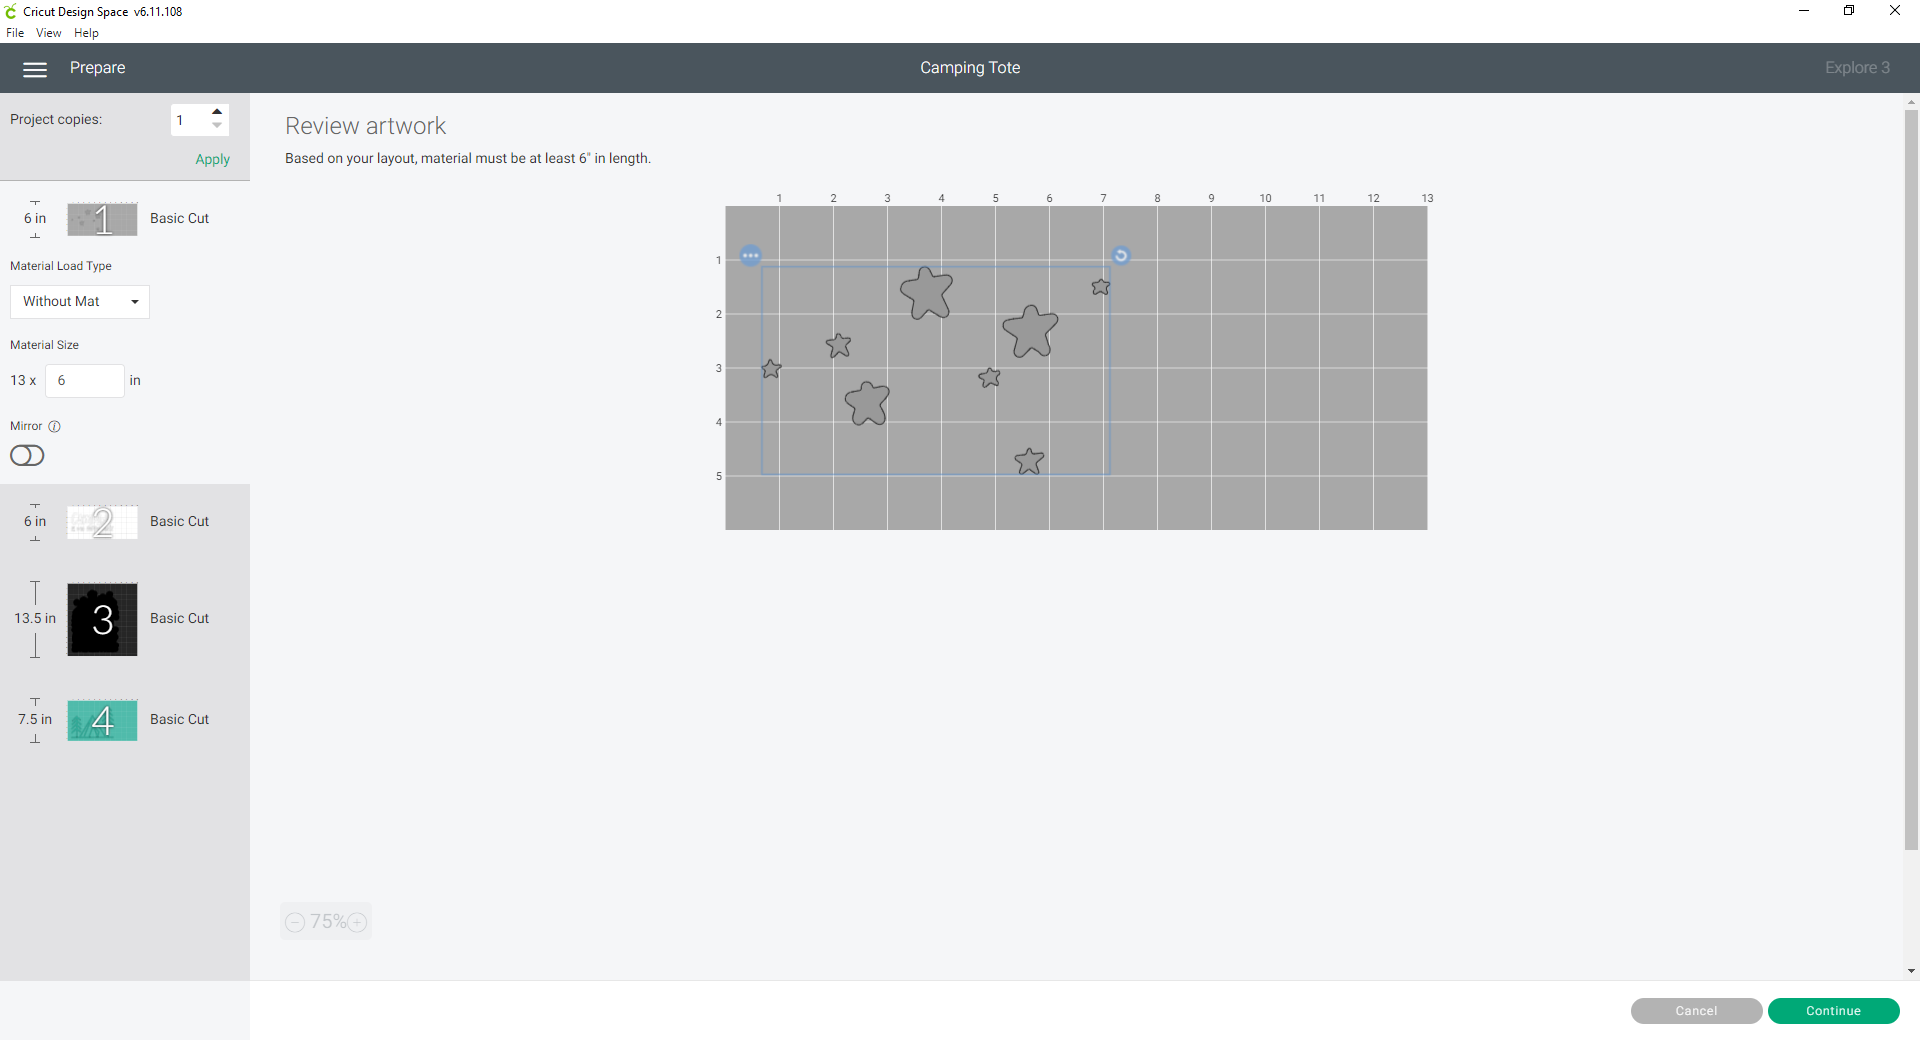
- Click the Make It! button to send the design to your Cricut machine.

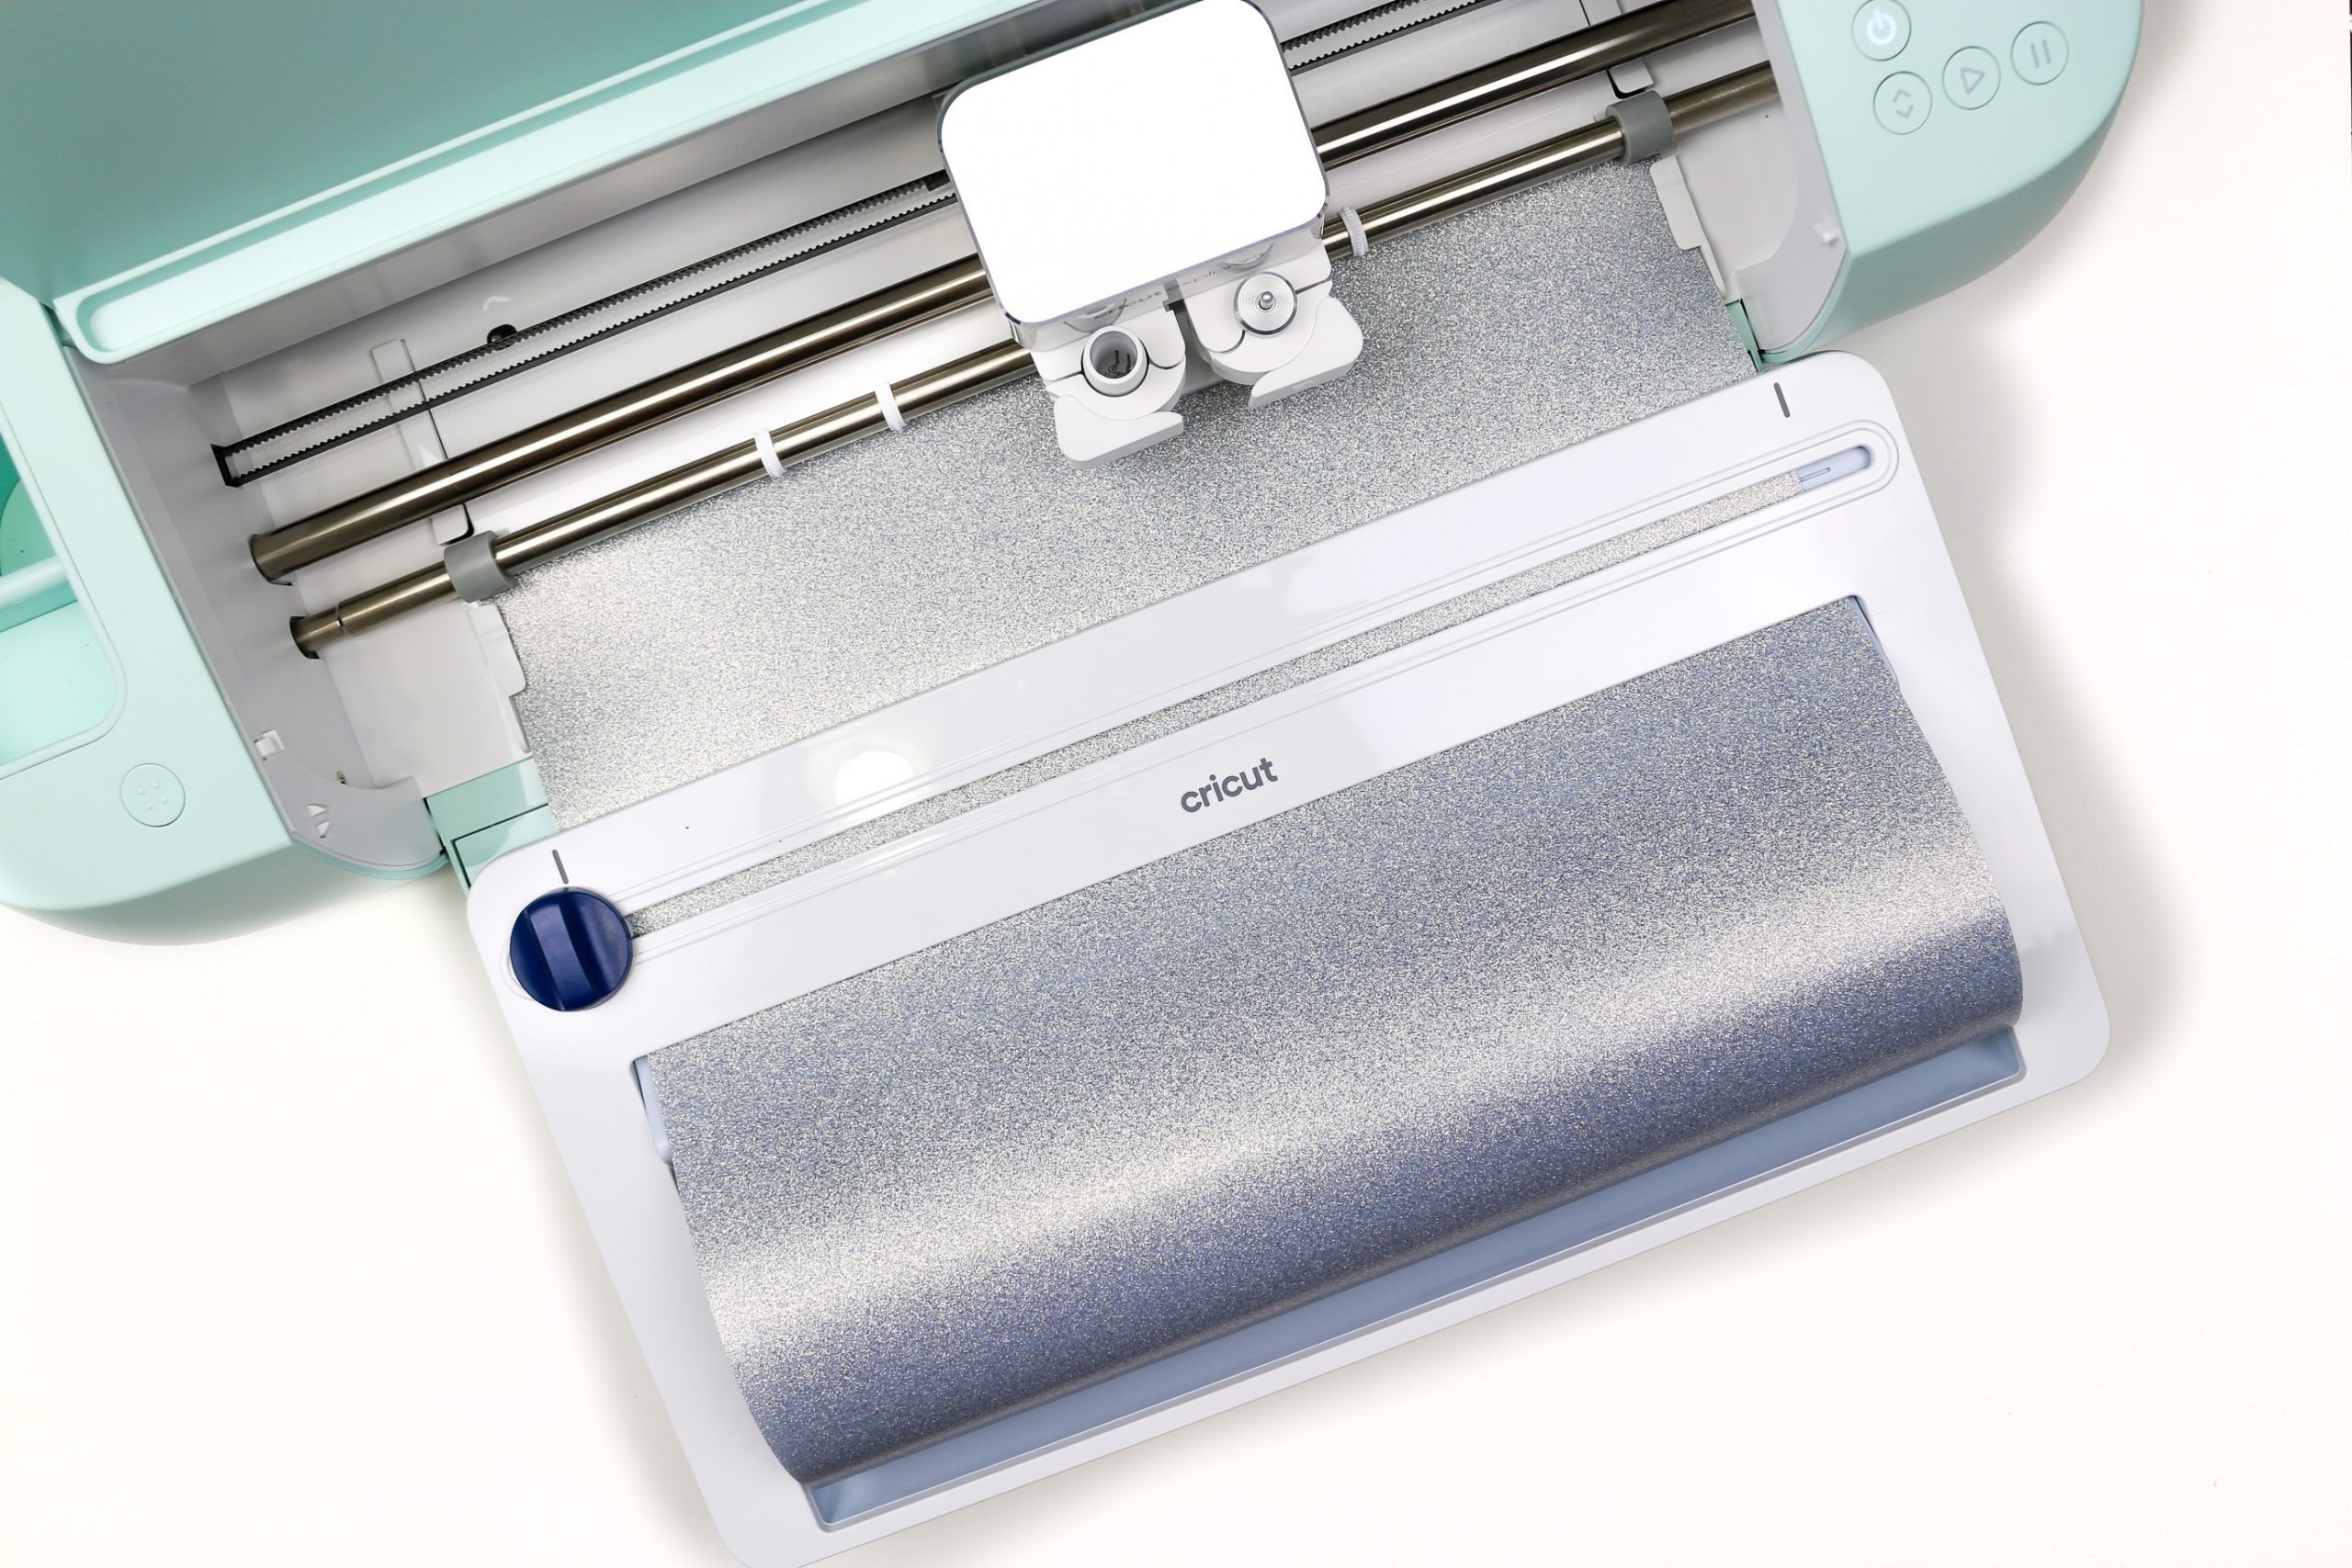
- Cut the vinyl with your cutting machine.
If you are using Iron-On Vinyl, be sure to mirror every piece of the design!

LAYERING IRON-ON VINYL ON A TOTE BAG
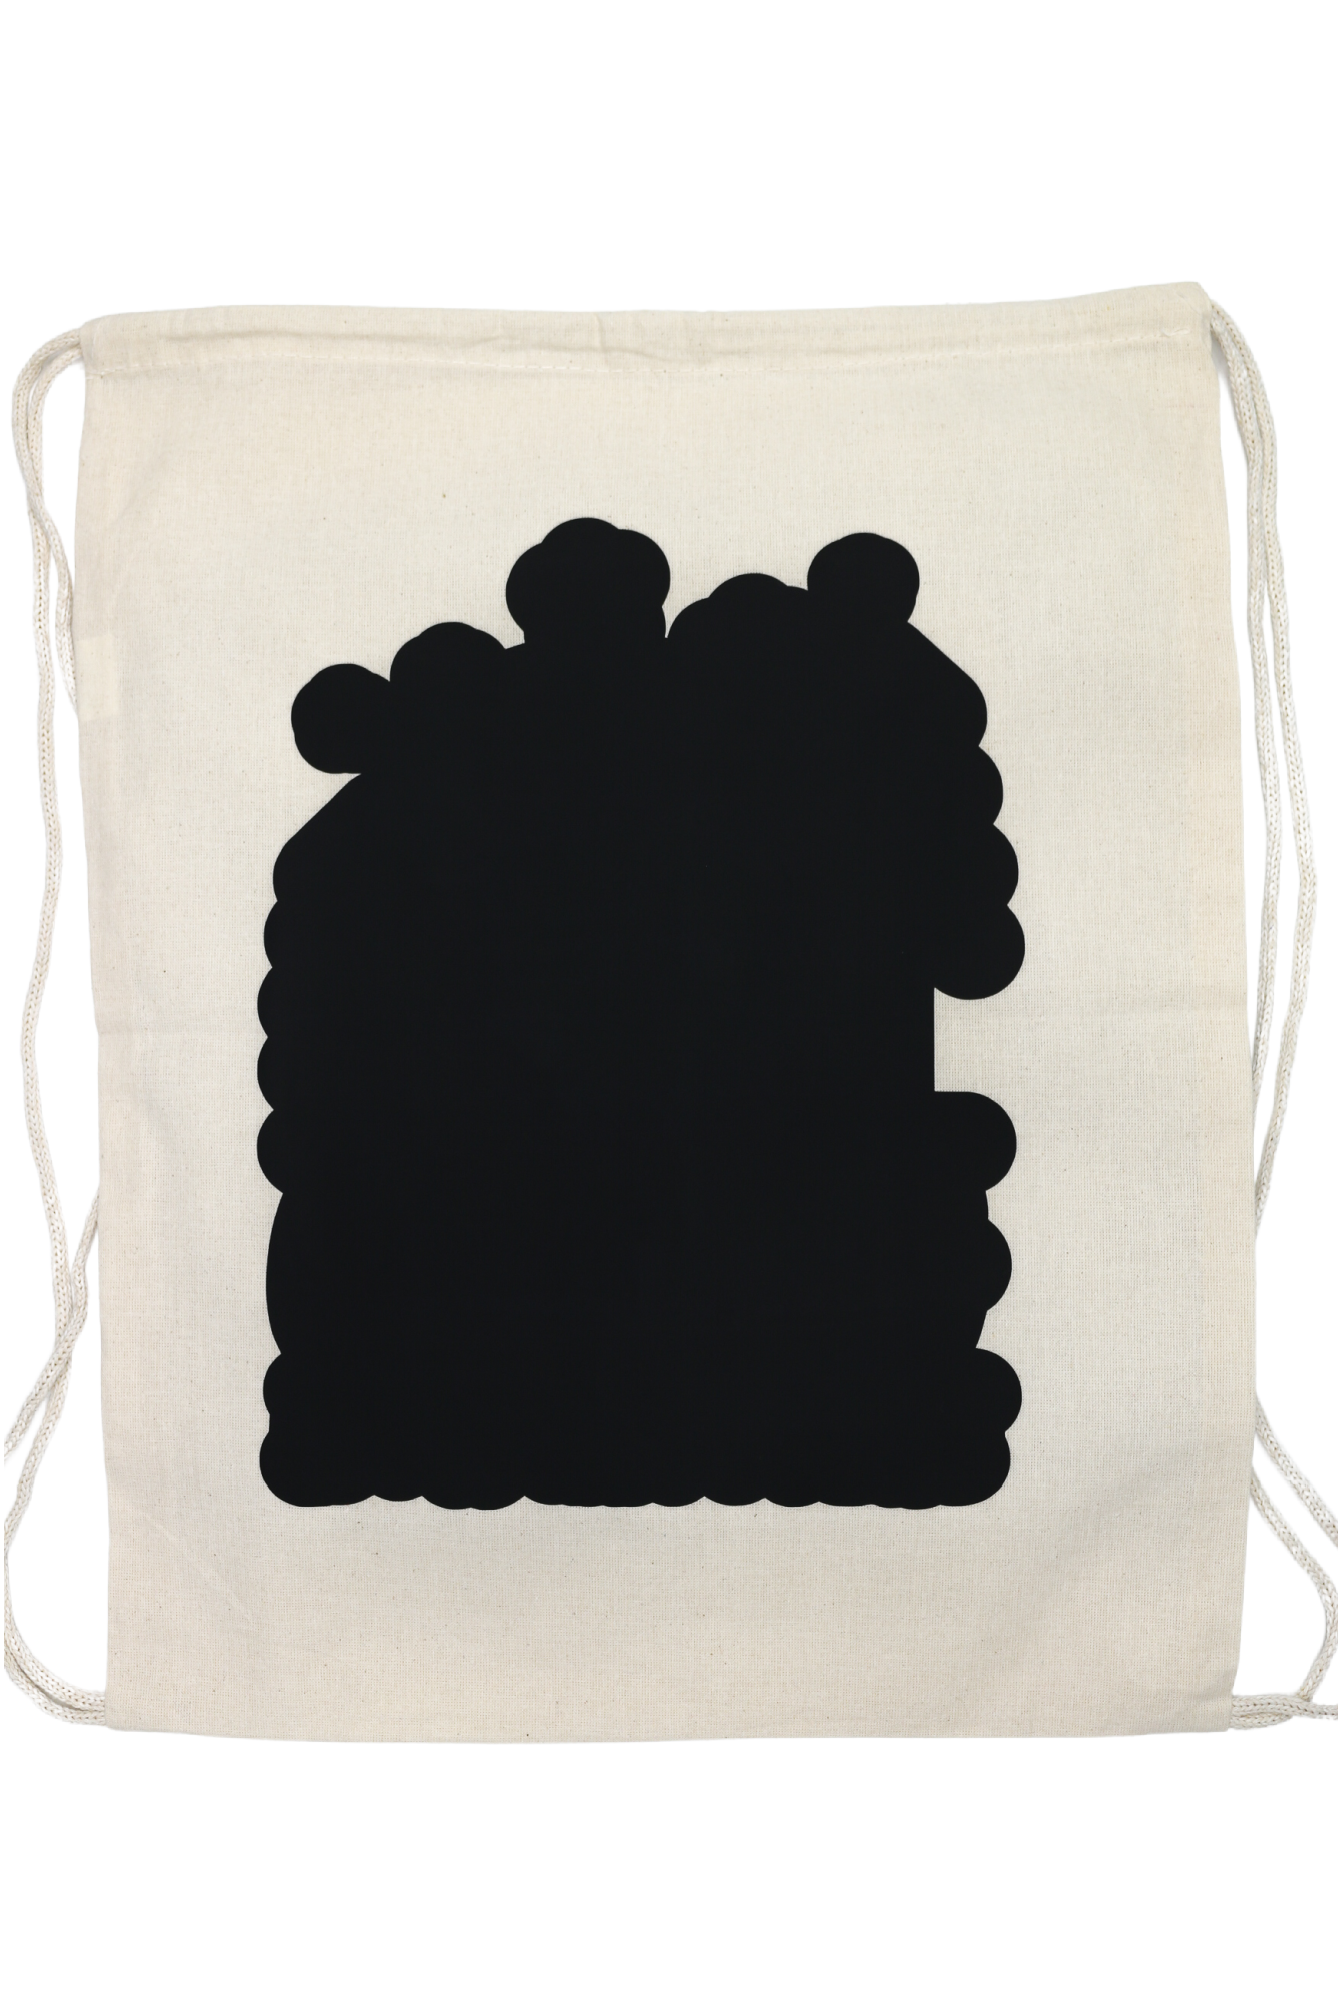
If you are using an EasyPress, refer to the Cricut Heat Guide for the correct settings for your machine. Preheat whatever blank you are using for your project. I used a drawstring tote bag.
Weed your design and then center the bottom layer of the design on the blank. Heat the vinyl according to the heat guide settings. If your vinyl is a cool peel vinyl, make sure you allow the vinyl to cool down before removing the clear carrier sheet.
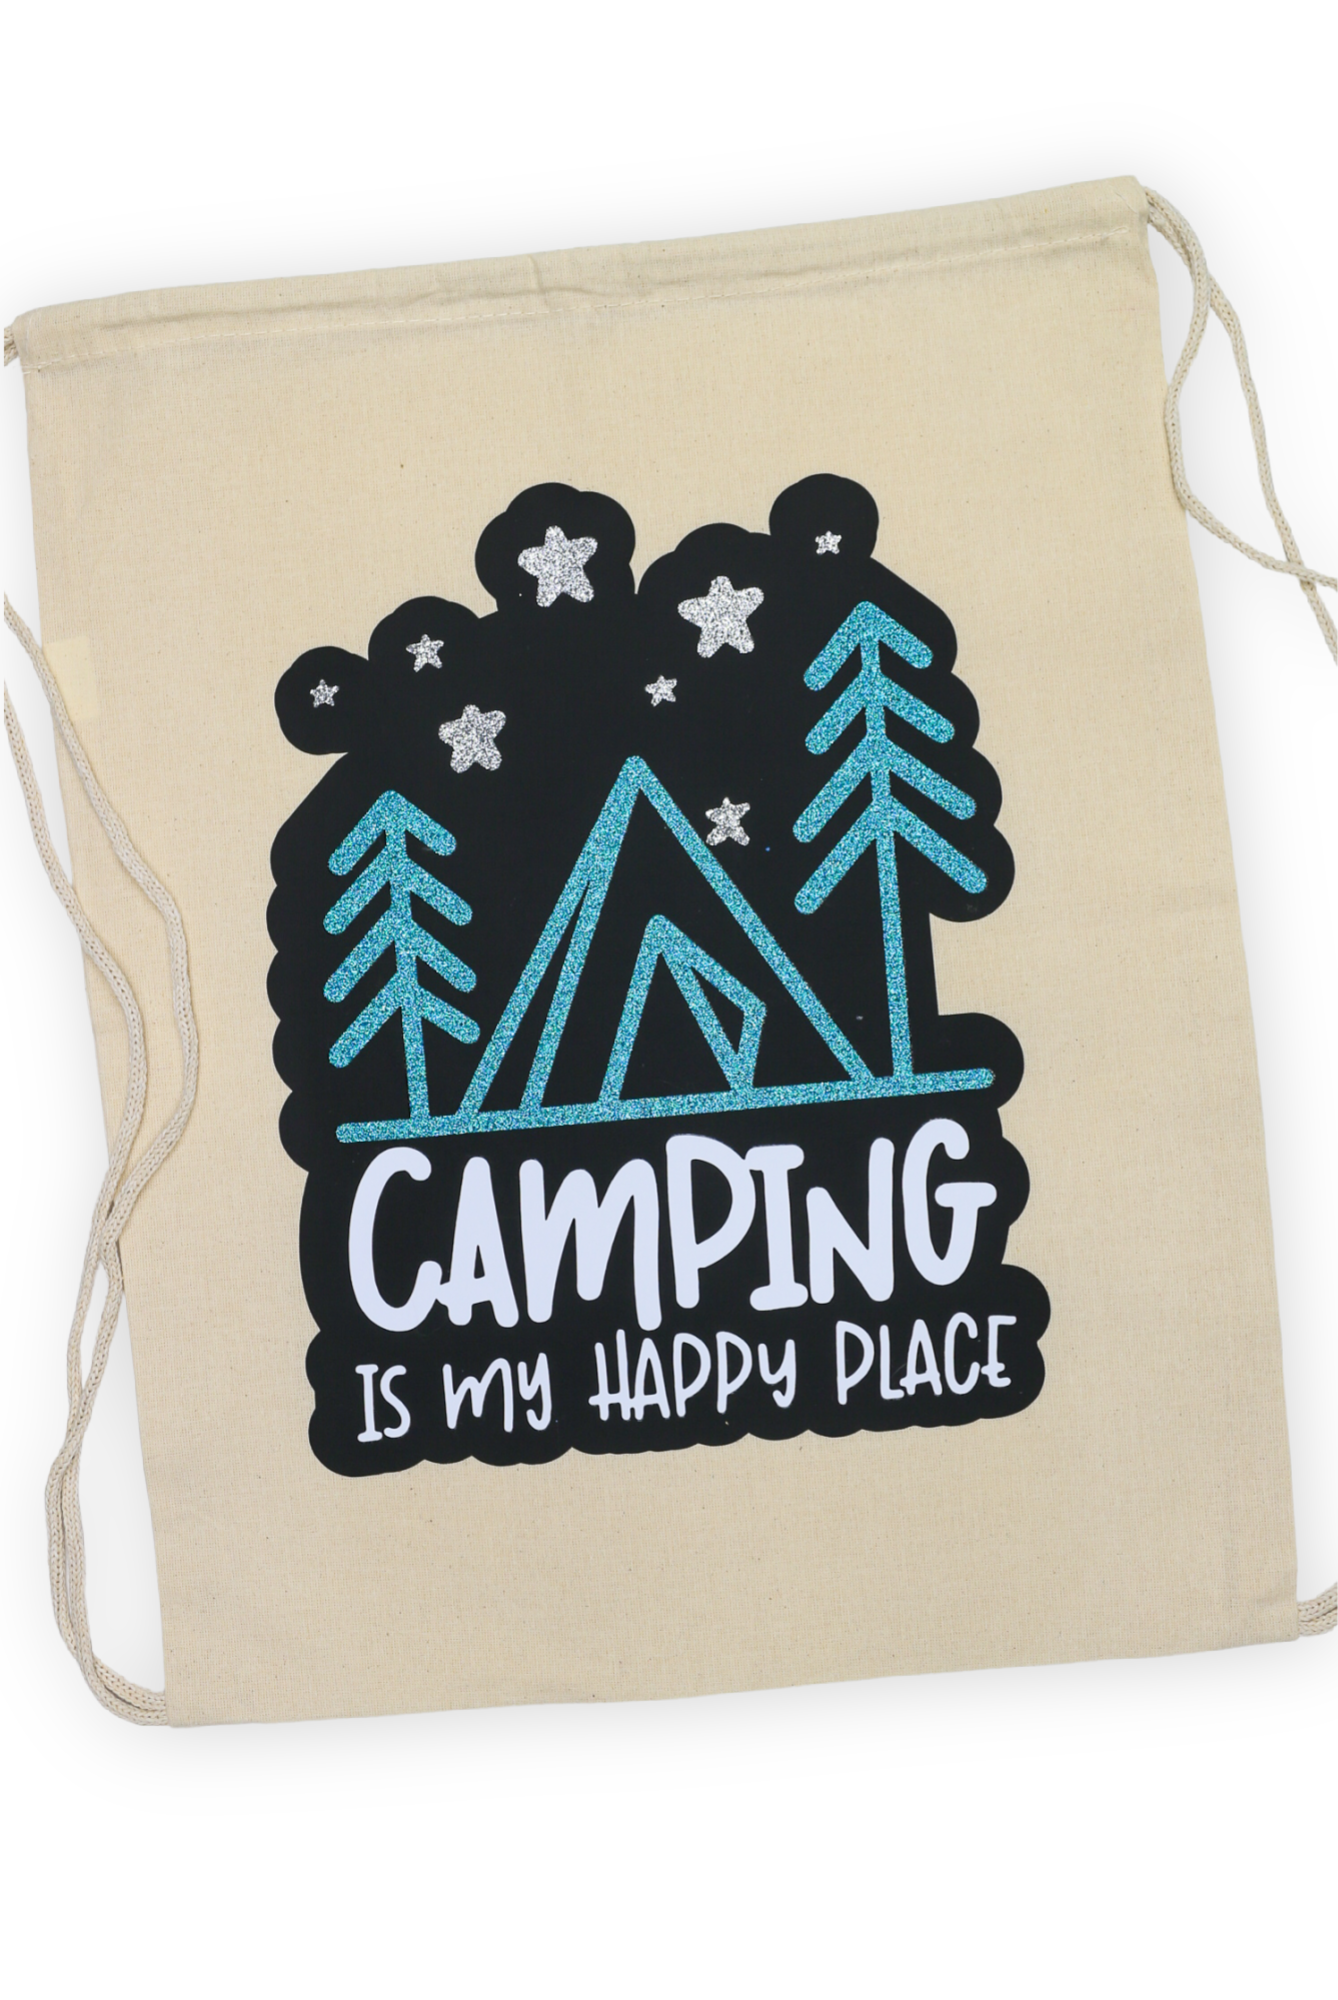
Position the other parts of the design on top of the bottom layer of vinyl. Use the EasyPress to adhere the vinyl according to the settings you found in the heat guide. I recommend doing one color at a time so that you make sure each element is correctly placed before heating.
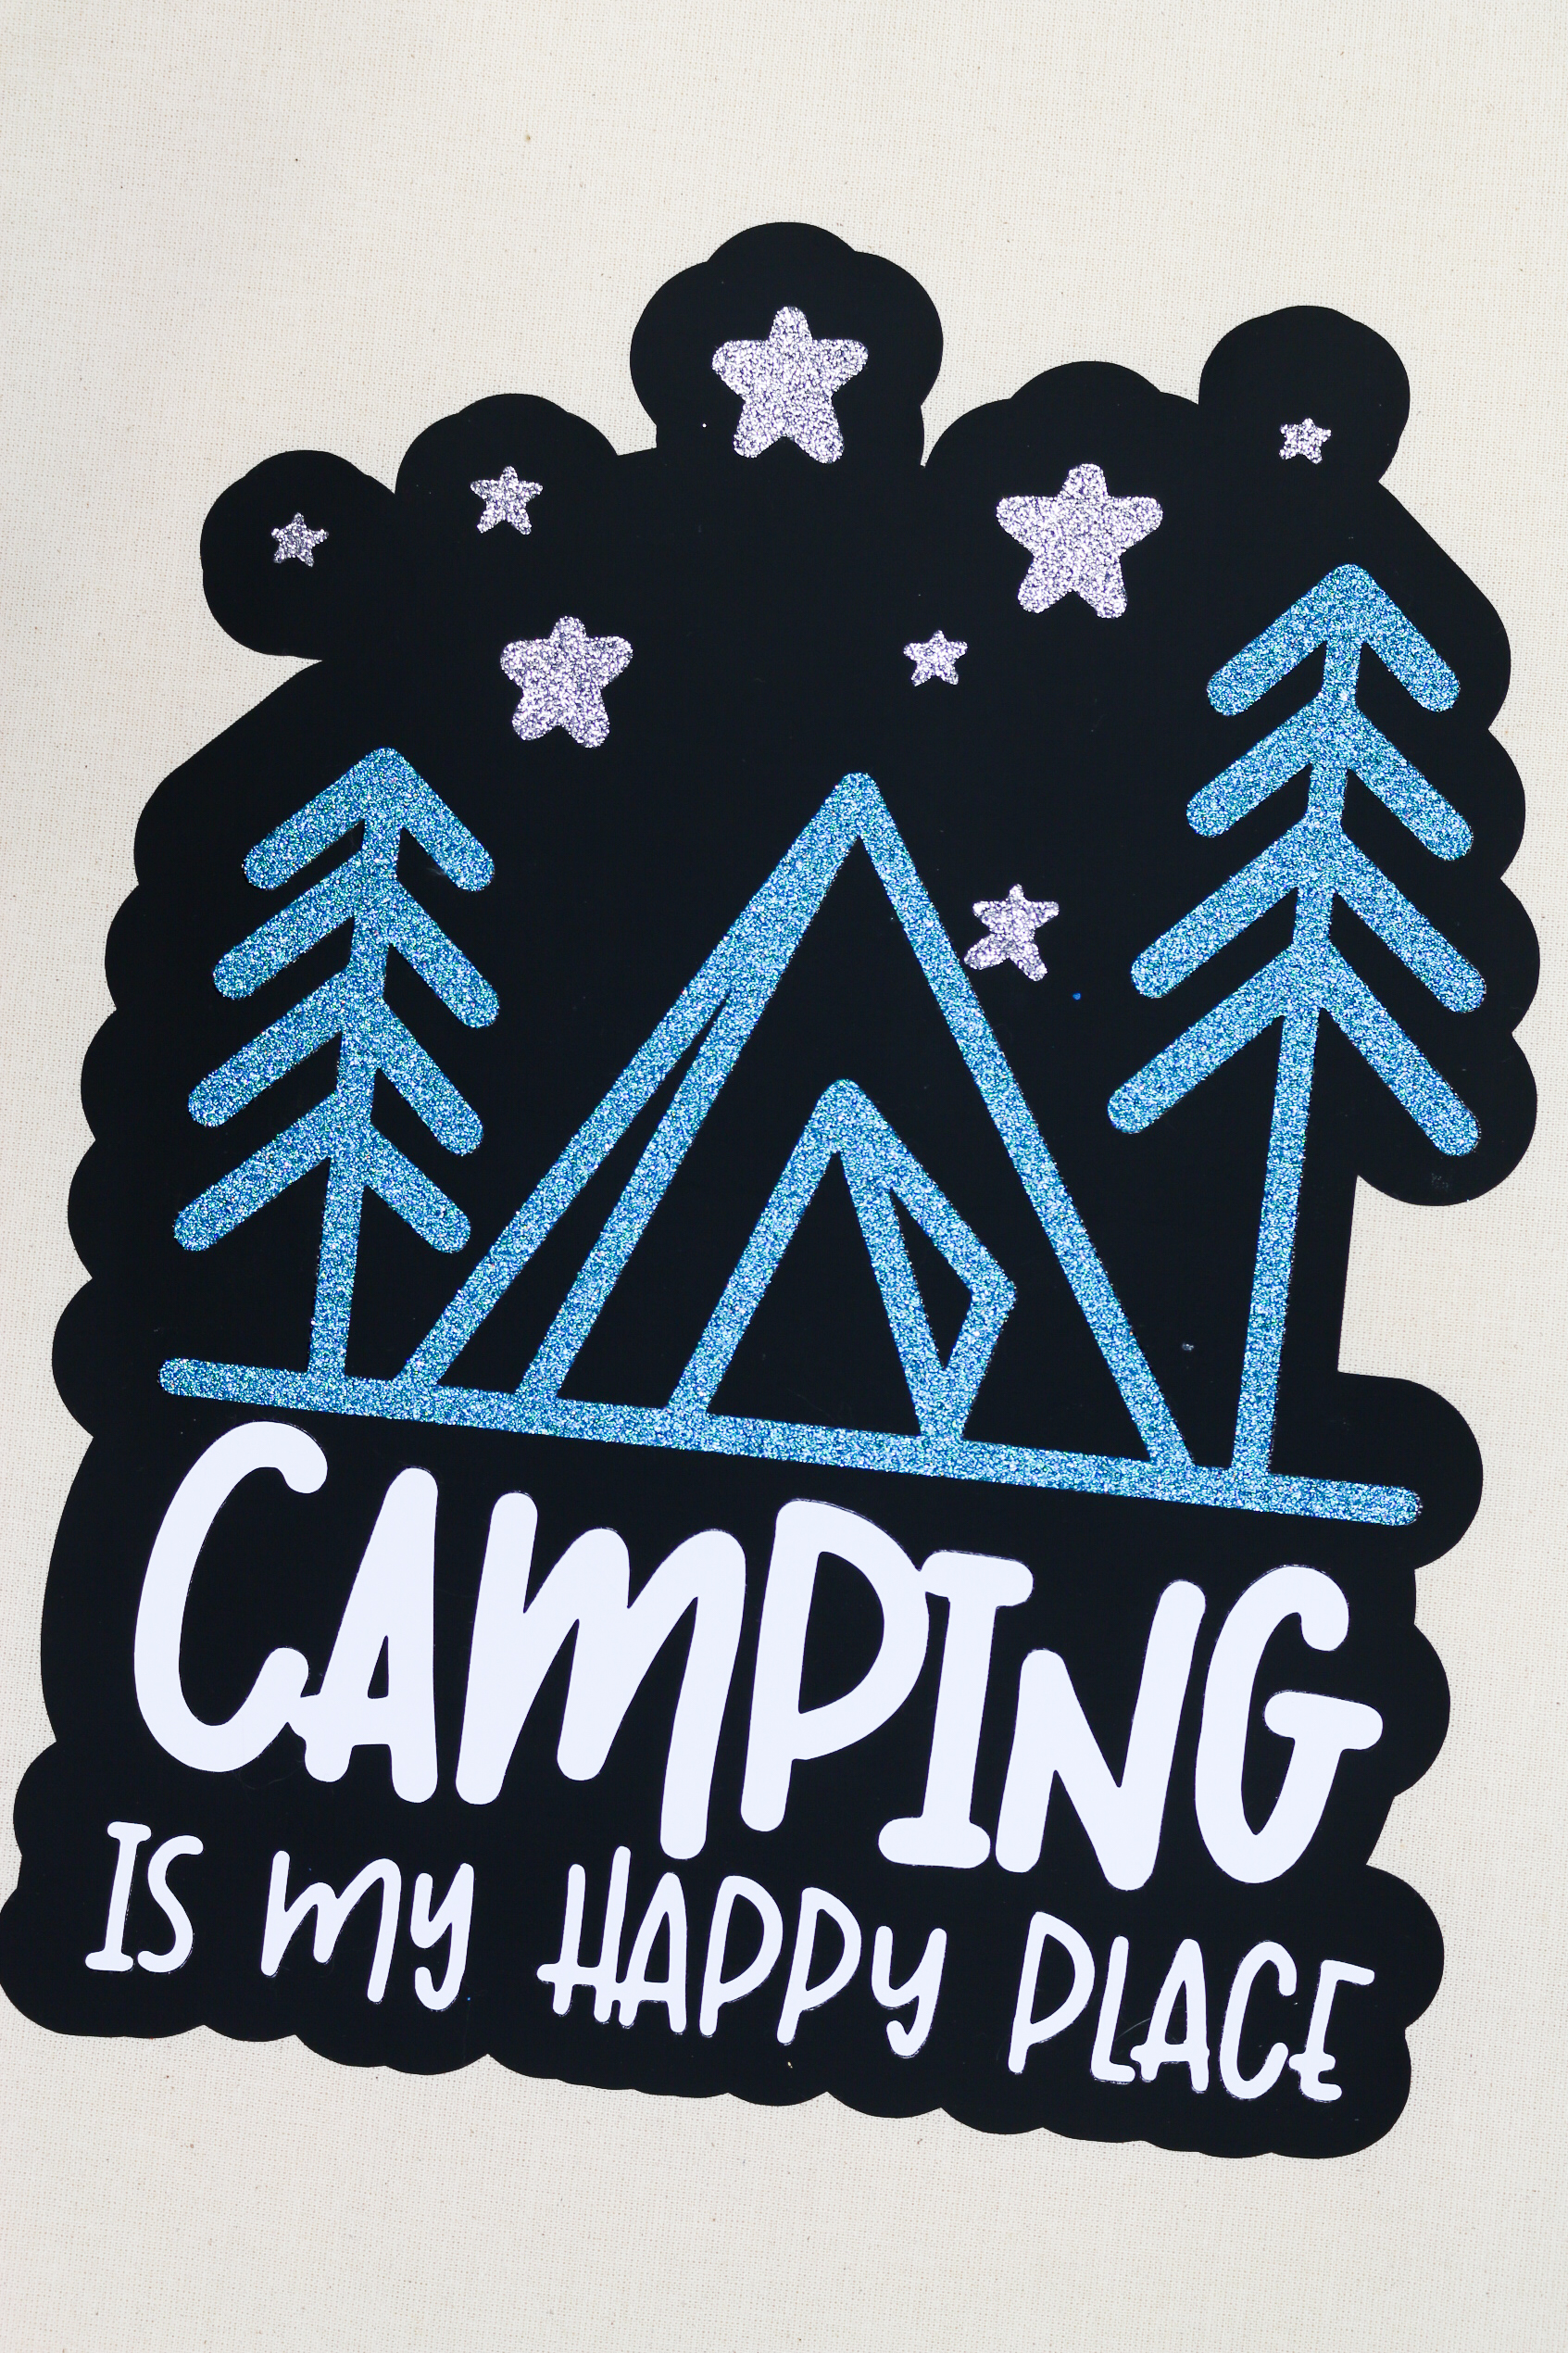
SUPPLIES I USED FOR MY CAMPING TOTE BAG
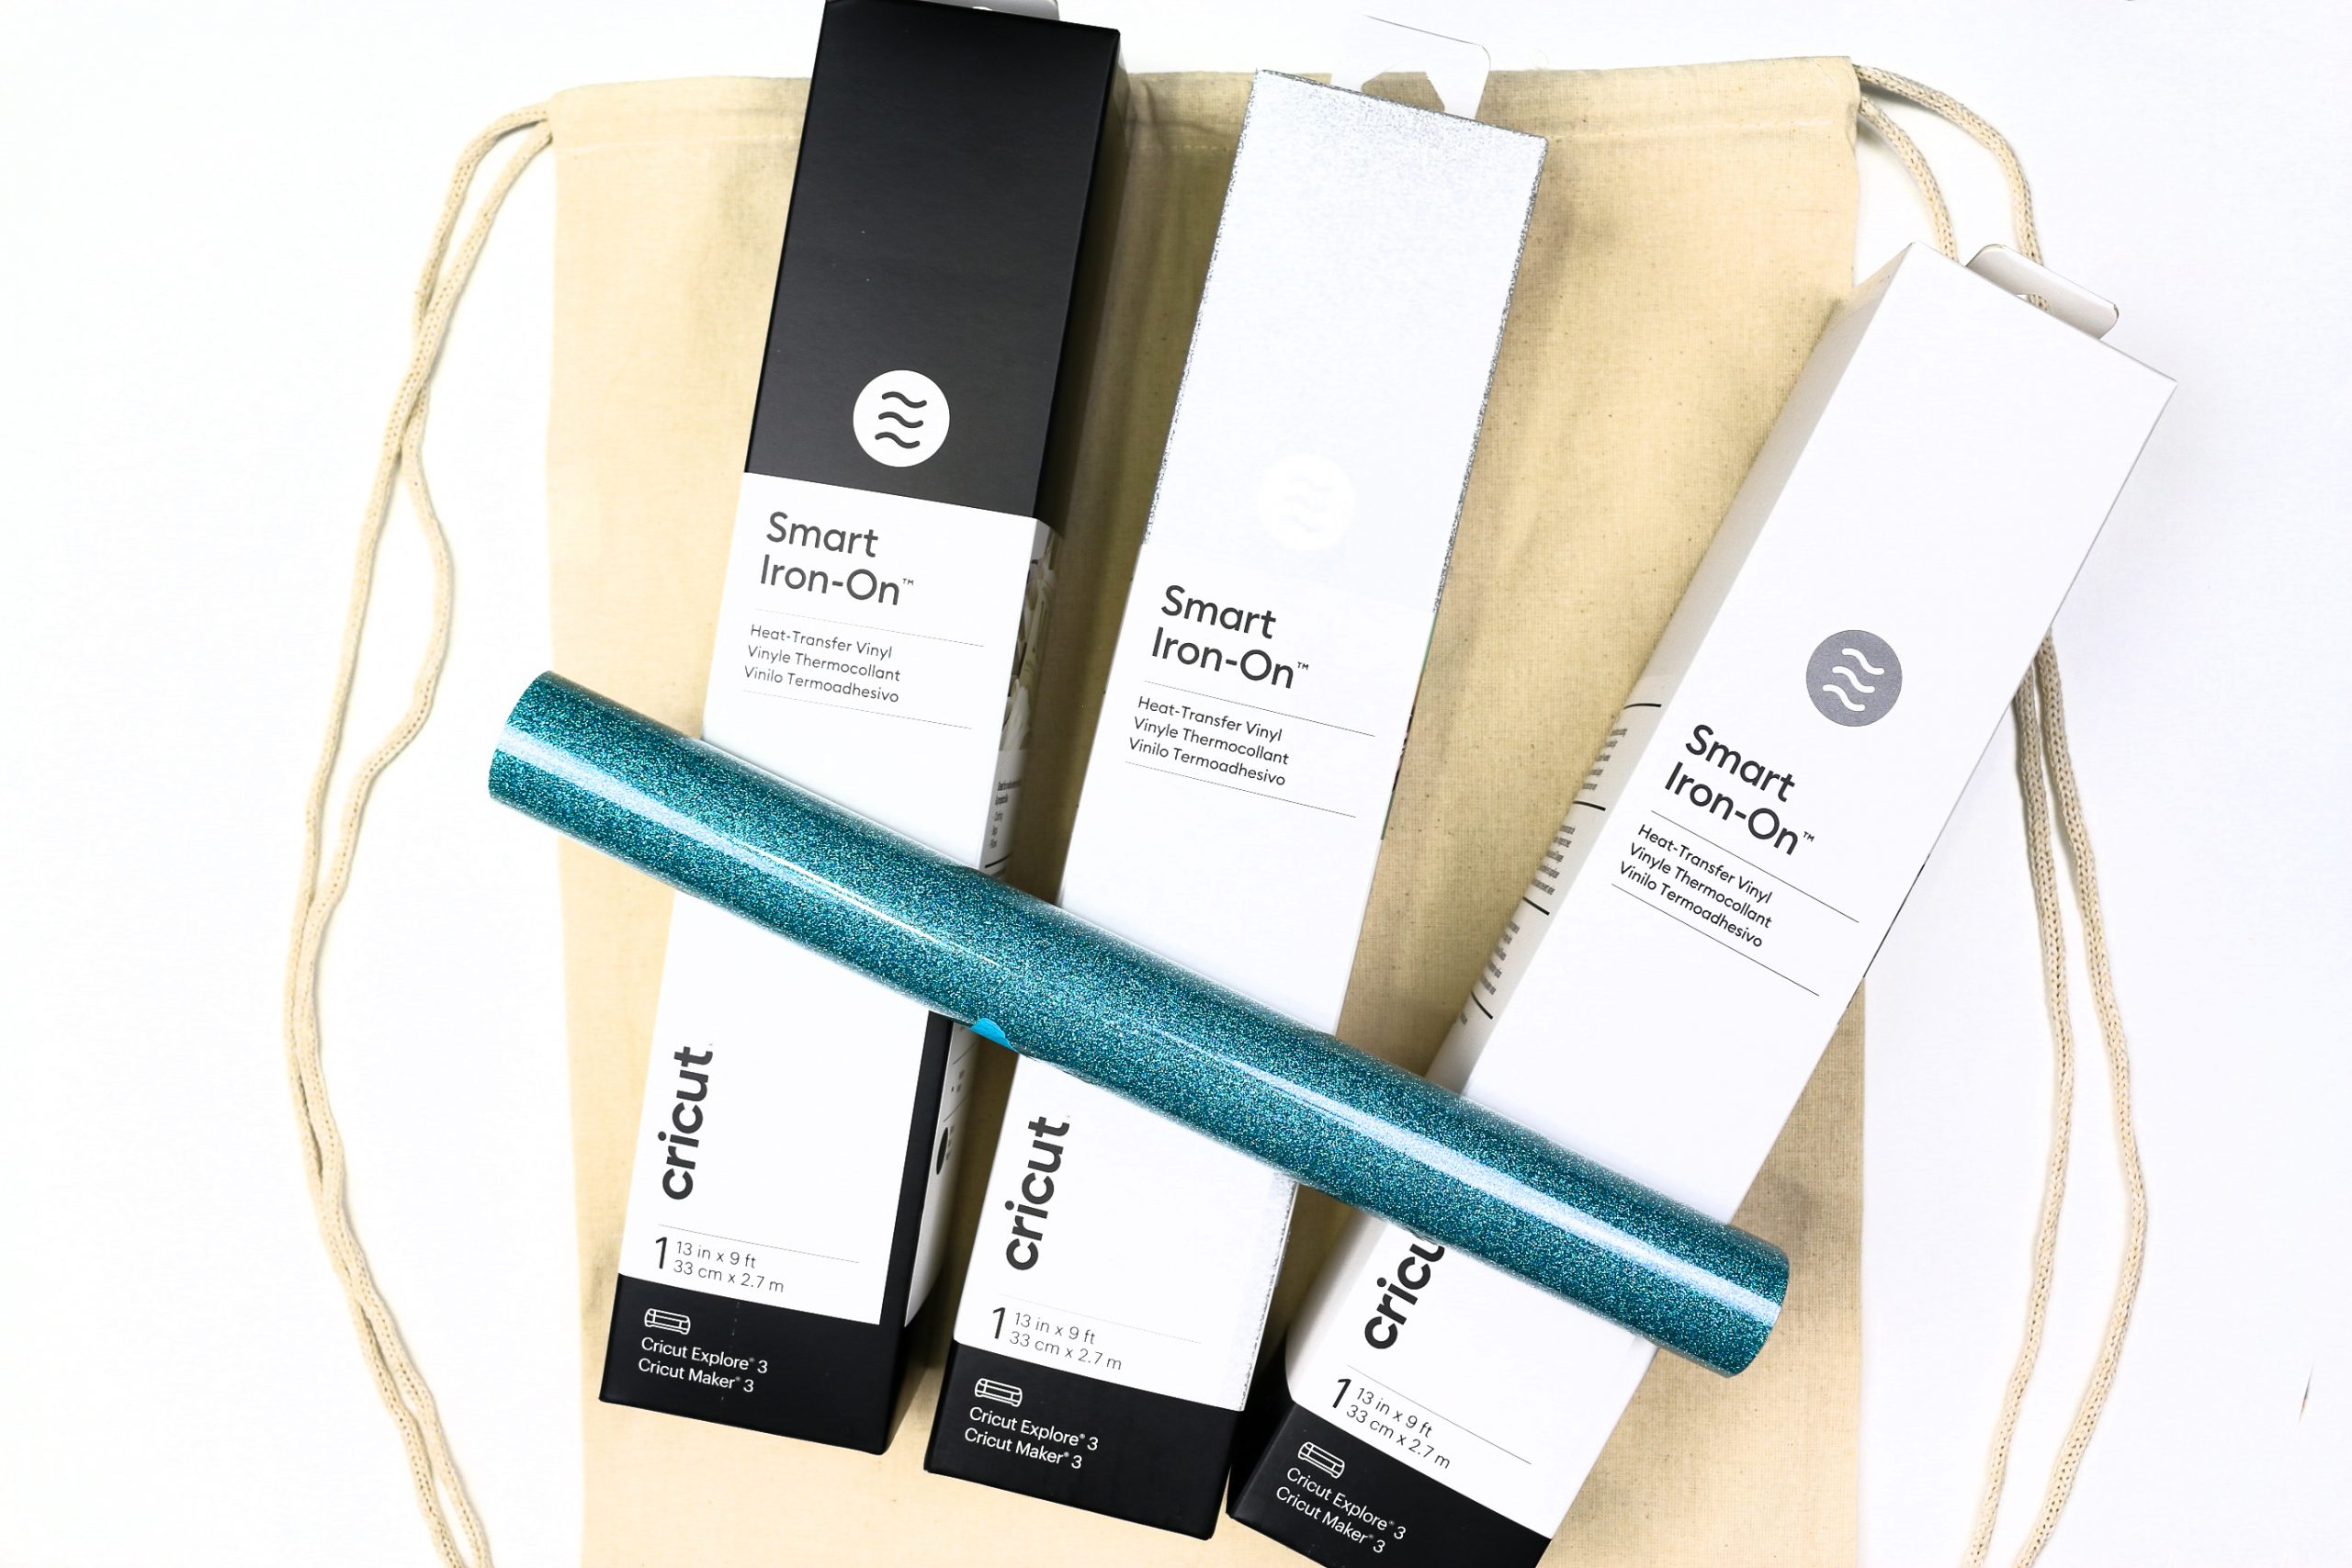
You can use this same process to create a layered design with adhesive vinyl, iron-on vinyl, paper, and more! These are the supplies I used to make my cute camping tote bag.
If you like the SVG I used for this tutorial, you can download it for free! Sign up for my SVG Club using the form below, and I will send you the design for free! As with all my freebies, please only use the design for non-commercial purposes.
These are all affiliate links, if you make a purchase (of anything from the site, not just these items) after clicking through, I will earn a small commission. Ads and affiliate links are the way I am able to keep this website running and to offer you free tutorials all year long. Thank you so much for supporting me and Mad in Crafts!

Want to know which craft supplies I always keep in my craft room?
Visit the Mad in Crafts Amazon Storefront to learn more and to buy your own supplies!



How can I get the Peace svg you used in your engraved ornament tutorial. When I clicked on the link I was taken to the layered Camping is My Happy Place? Can you help me?