It is so incredibly frustrating to go through all the work of cutting and weeding an intricate design only to ruin the whole thing when you try to apply it to your craft surface. You’ve wasted your time and now have to deal with the extra cost of cutting a new set of materials. Don’t let it happen again! Today I am showing you how to layer vinyl on a tumbler with parchment paper. This DIY method is so fool-proof even beginner crafters will get professional results!
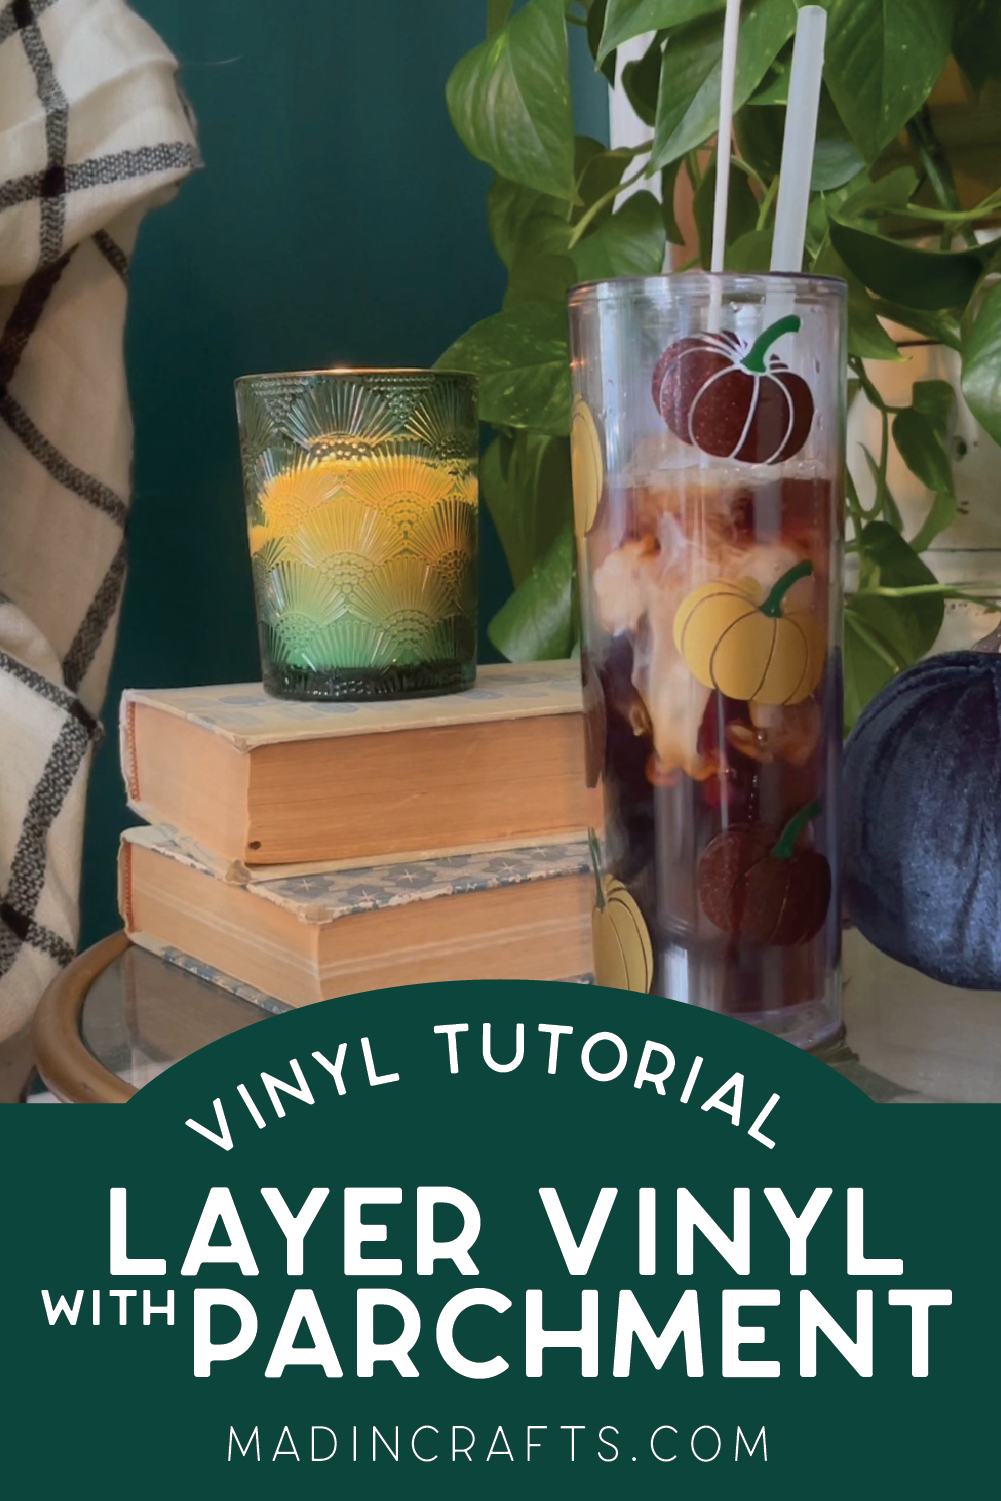
HOW TO LAYER VINYL ON A TUMBLER WITH PARCHMENT
WHAT YOU NEED FOR THIS LAYERED VINYL TRICK
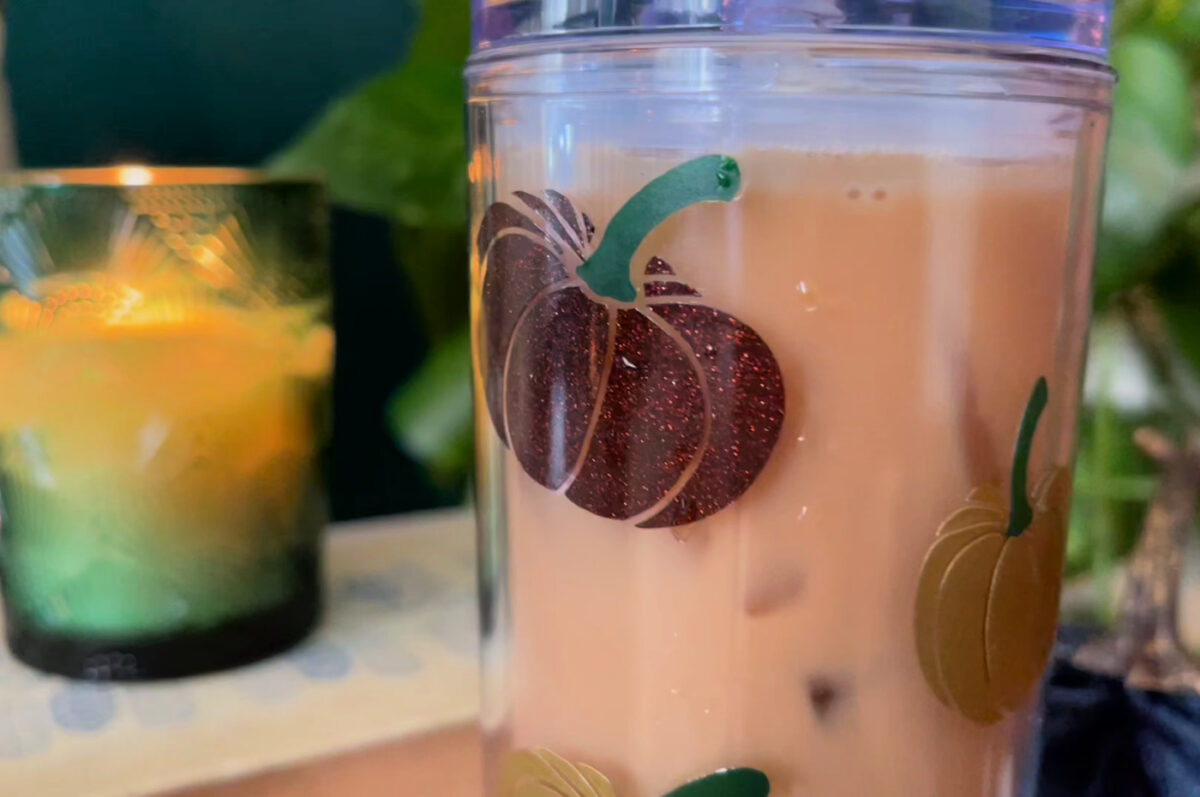
You can use this technique on any surface to which you are applying adhesive vinyl from acrylic tumblers to wooden signs! If you are using my free skinny tumbler SVG, I will link to the products I used in the list below.
These are all affiliate links, if you make a purchase (of anything from the site, not just these items) after clicking through, I will earn a small commission. Ads and affiliate links are the way I am able to keep this website running and to offer you free tutorials all year long. Thank you so much for supporting me and Mad in Crafts!

Want to know which craft supplies I always keep in my craft room?
Visit the Mad in Crafts Amazon Storefront to learn more and to buy your own supplies!
HOW TO USE PARCHMENT PAPER TO EASILY LAYER VINYL
This parchment paper method for positioning adhesive vinyl works for large designs that have a very specific layout. It also works for layering vinyl directly on top of other layers of vinyl. It will save you from wasting time and effort when you are decorating a craft blank.
Using Parchment Paper to Align and Layer Adhesive Vinyl
- Cut and weed all your layers of your layered cut file.
You might want to lay the design layers out in the order you will be stacking the vinyl to keep this process organized.
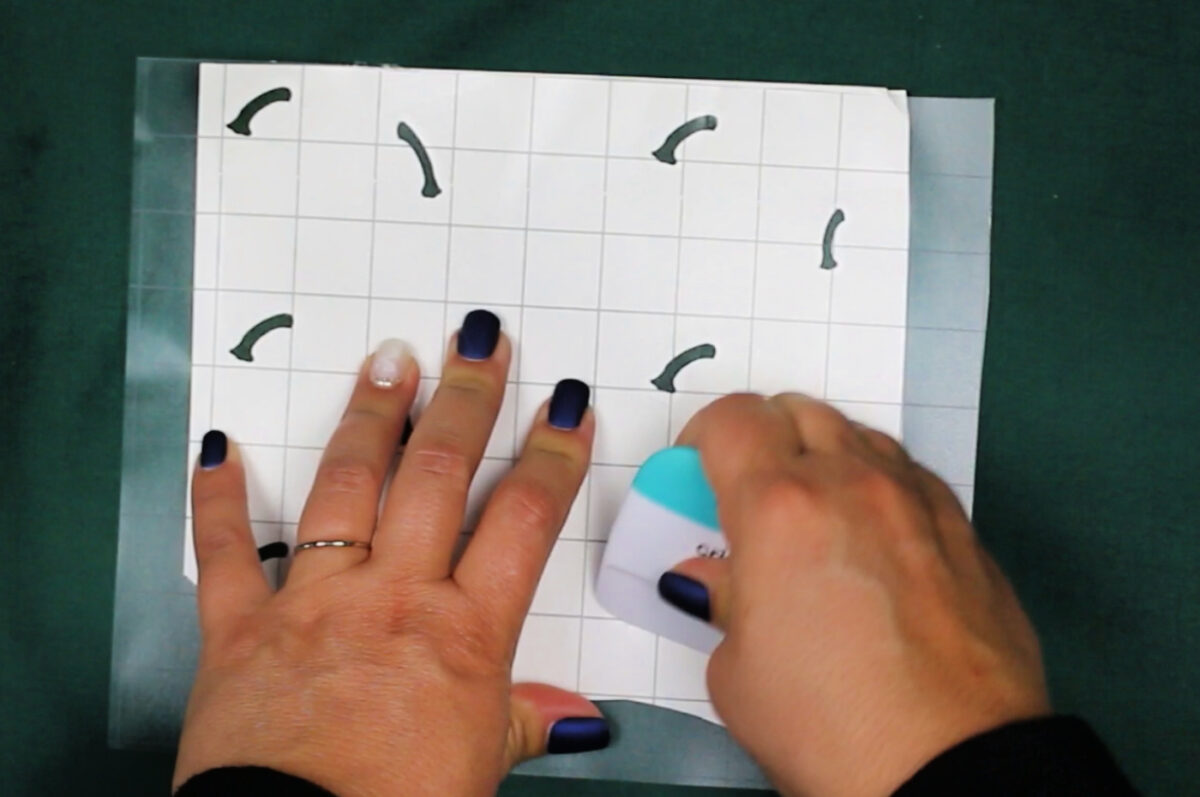
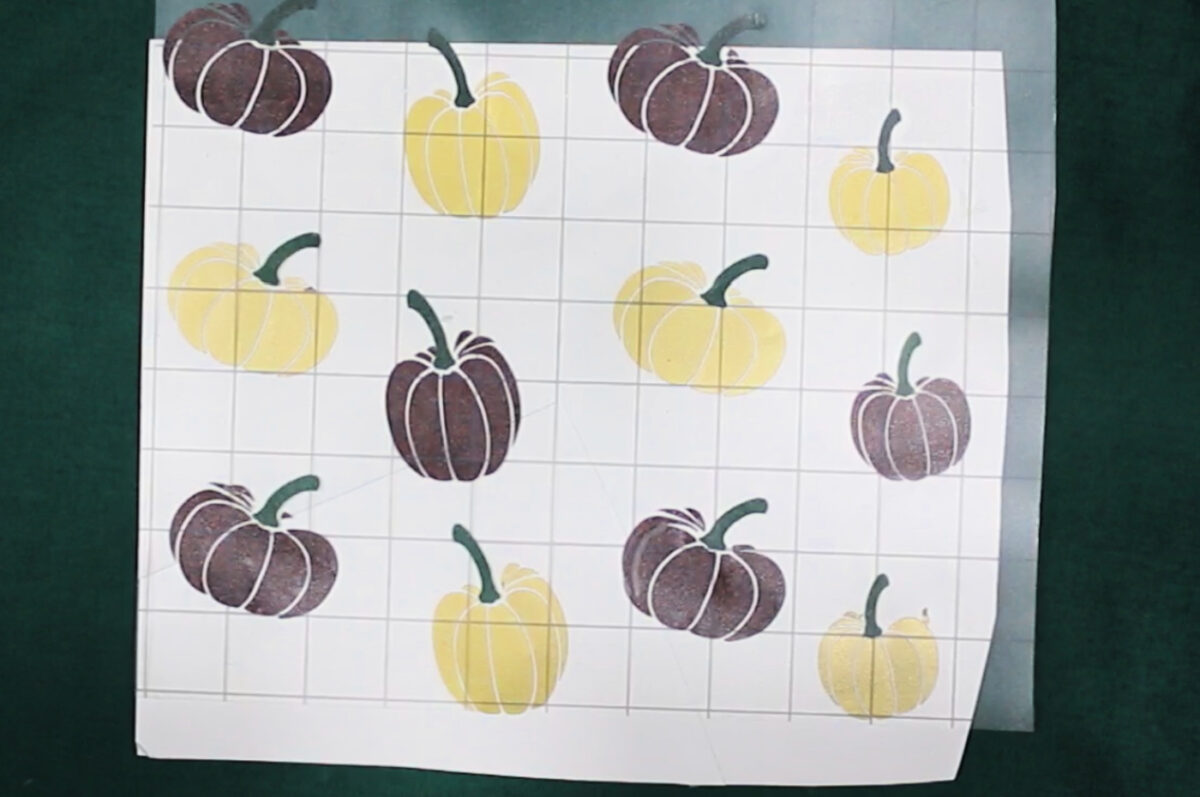
- Place a piece of transfer tape over the first layer of vinyl that will be the base of your design. Use a scraper to ensure that the vinyl is adhered to the transfer tape.
This should either be the top layer of the finished design or the layer that determines where all of your design elements will go.

- Carefully peel away the backing paper, leaving the vinyl on the transfer tape. Set this layer aside sticky side up.
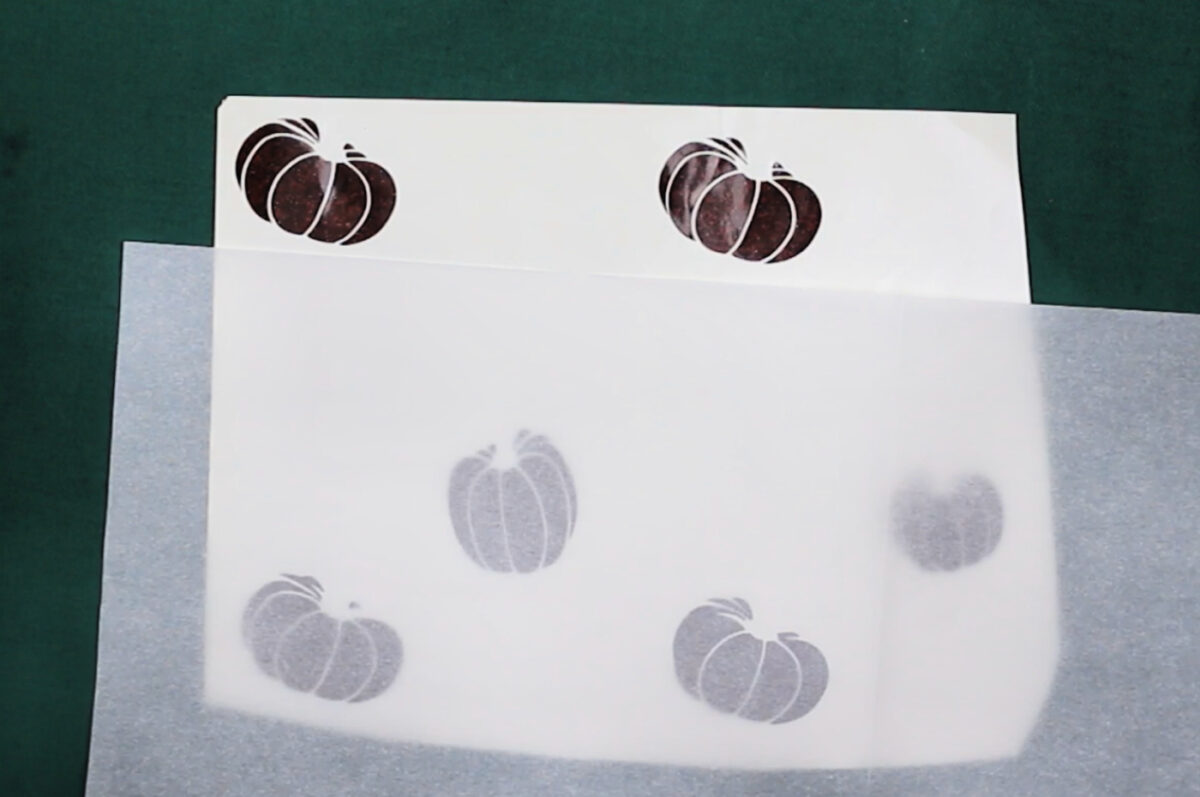
- Place a piece of parchment paper over the bottom two-thirds of the next layer of vinyl. Keep the top third of this layer of vinyl uncovered.

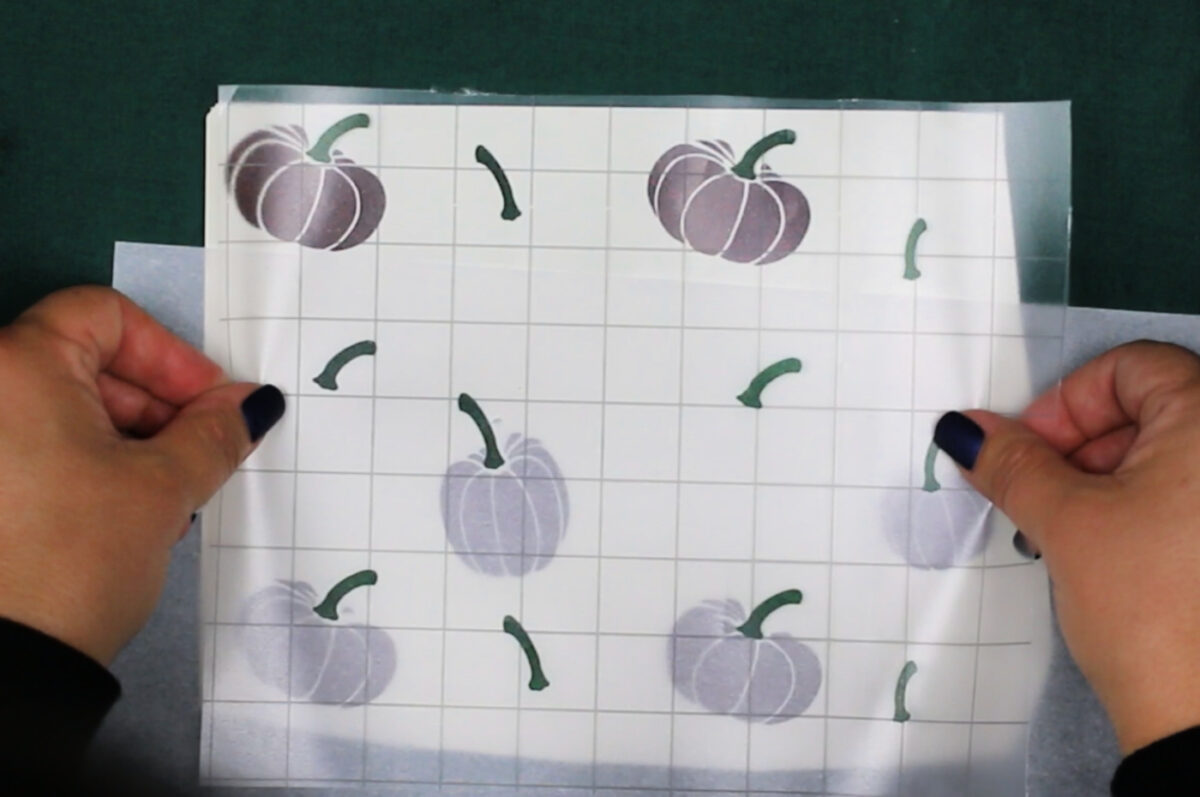
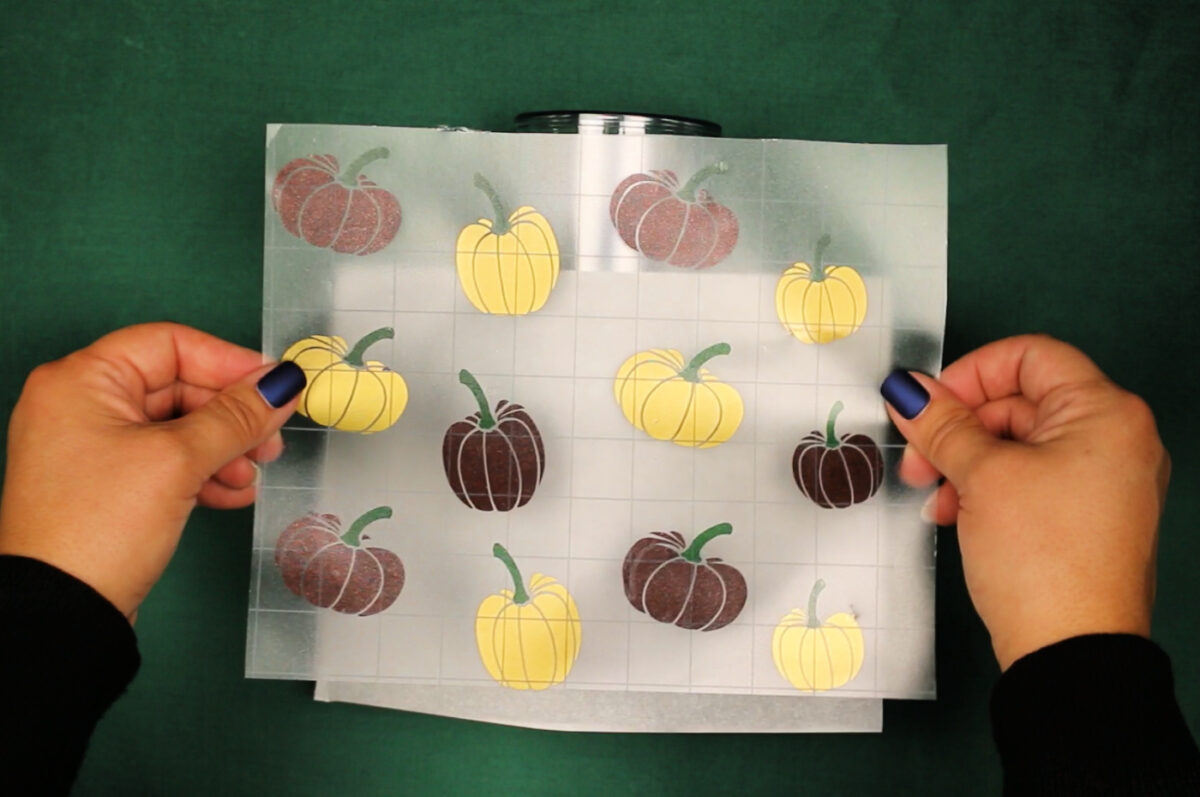
- Position the initial layer of vinyl (now on the transfer tape) over this second layer of vinyl. Use a scraper to adhere that top third of the second layer of vinyl to the transfer tape.

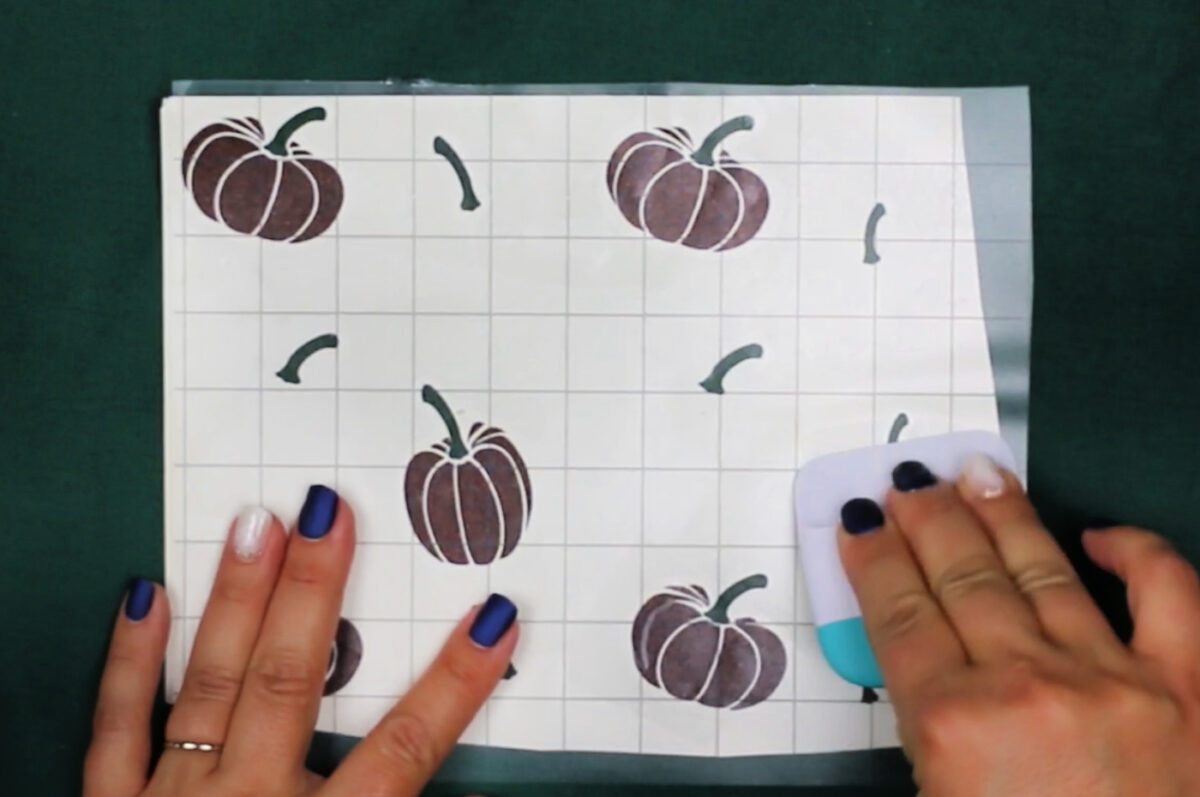
- Carefully remove the parchment paper, and scrape over the entire design to adhere the rest of this layer to the transfer tape.

- Carefully peel away the backing paper, leaving the vinyl on the transfer tape. Set this layer aside sticky side up.
- Repeat steps 4-7 for any additional layers of vinyl.

- Wipe down the surface of the tumbler with rubbing alcohol to remove dirt, oils, or fingerprints.
- Place a piece of parchment paper on the tumbler about one-third of the way down from the top of the tumbler.
- Align the center of the transfer tape onto the tumbler using the parchment paper to help you ensure that the vinyl is in position.

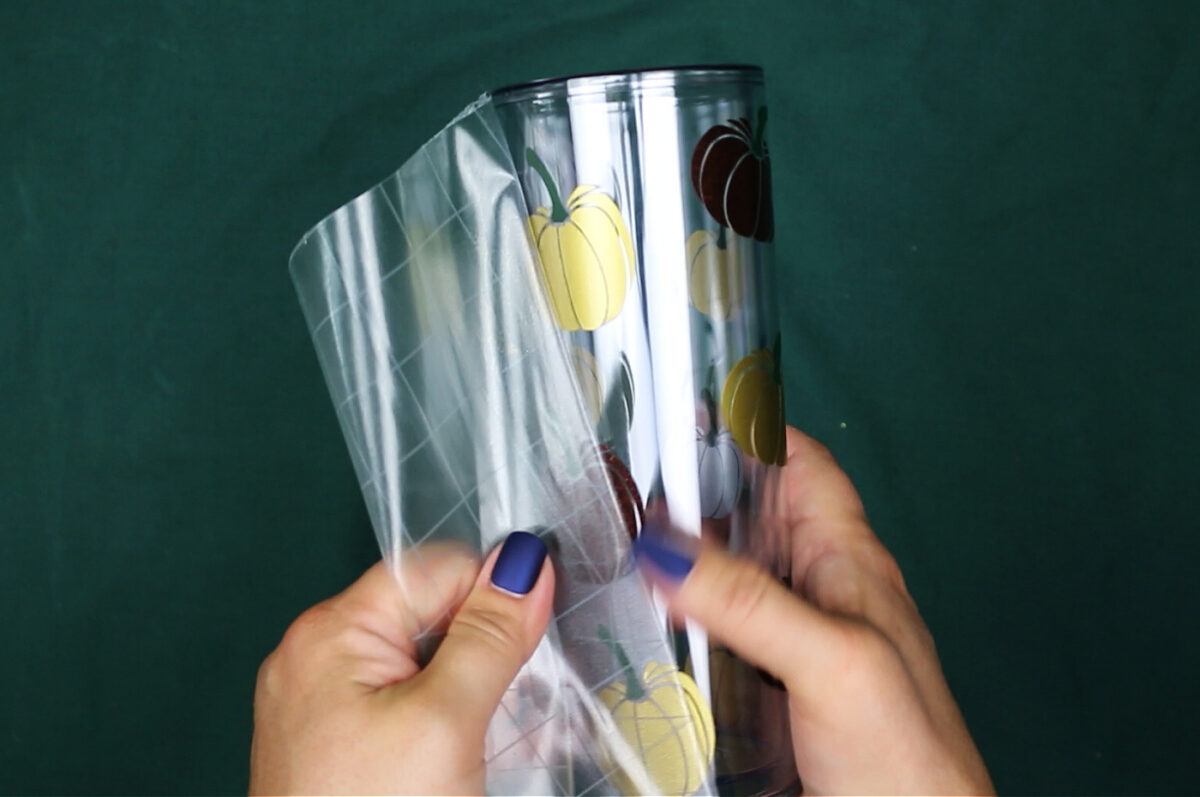
- Carefully remove the parchment paper and press the transfer tape onto the tumbler, working from the center of the design out to the edges.
Be careful not to allow any of the transfer tape to sneak under your vinyl design at the edges
- Slowly and carefully pull back the transfer tape, smoothing down any vinyl that may begin to lift off off the tumbler as you go.

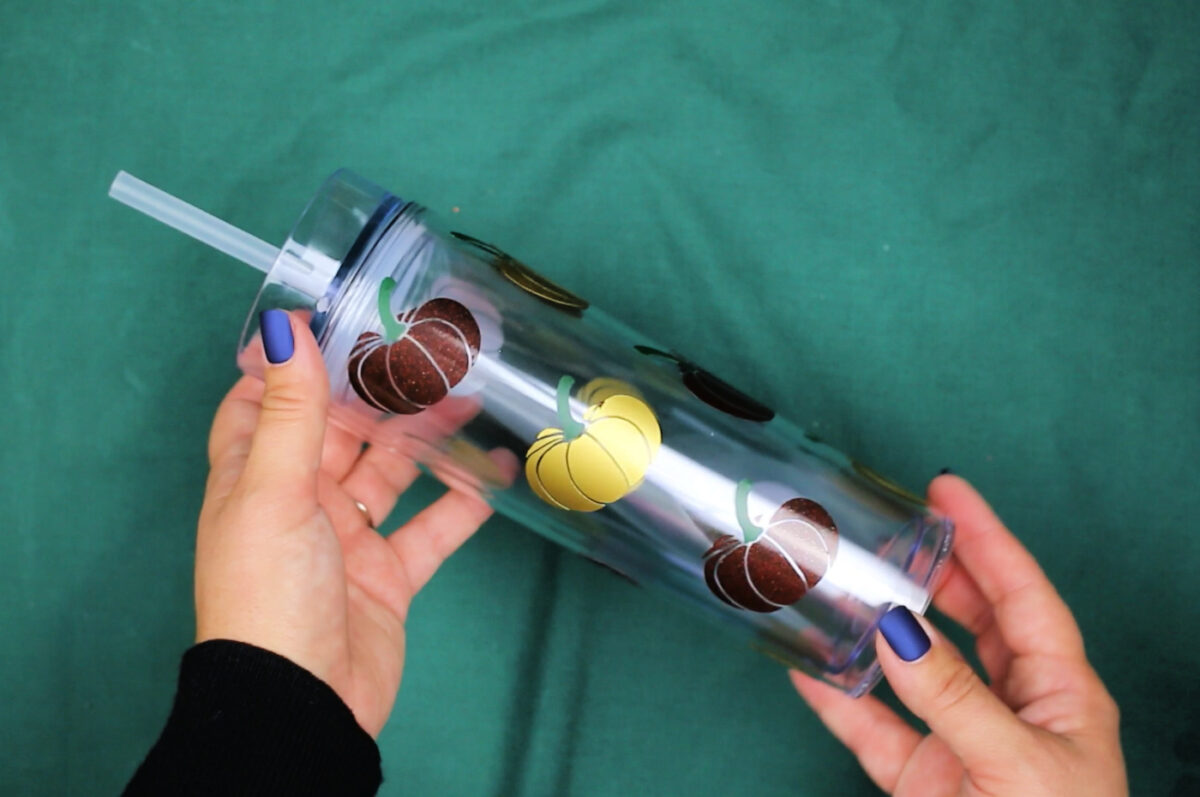
- Admire your finished tumbler!

USING SKINNY TUMBLERS
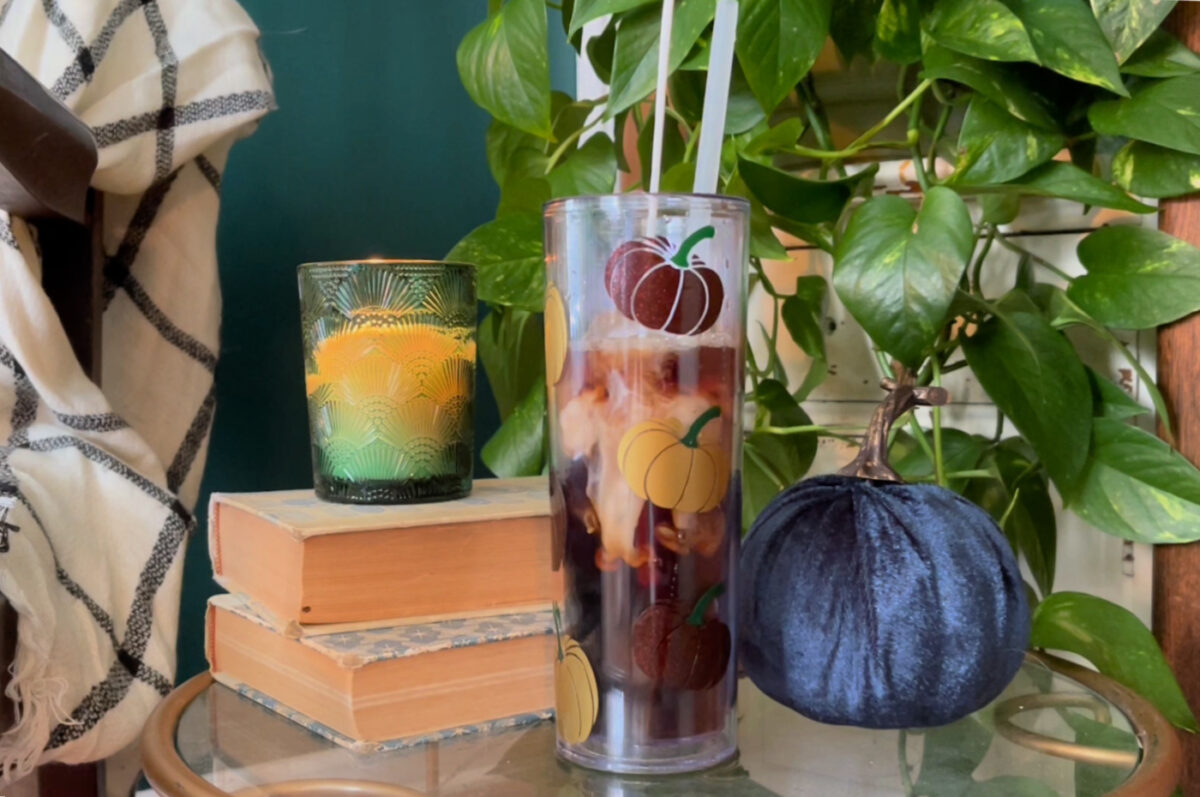
I know giant tumblers and insulated cups are all the rage, but I really like the slim tumblers too. Skinny double-walled tumblers are the perfect size for shaken espressos, cold brew, iced tea, cocktails, and more!
You can make personalized tumblers for so many occasions:
- Give matching tumblers to ladies at a bachlorette party.
- Give them as party favors at a summer backyard get-together.
- Give them as housewarming gifts for a new neighbor.
- Create a special tumbler to commemorate a milestone birthday, graduation, or retirement.



Leave a Reply