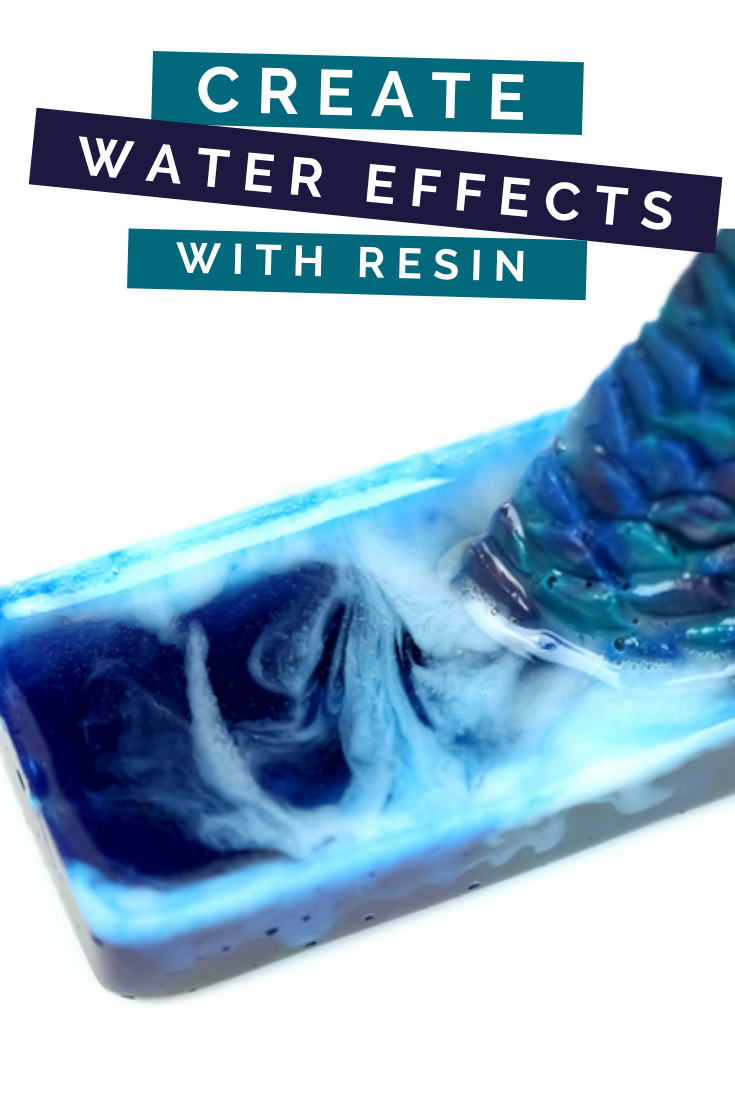
Earlier in the week, I showed you how to create a beautiful mermaid tail out of resin. Today, we are going to combine that project with a resin marbling technique that will allow you to create realistic water with resin! In the end, we will have a handmade figurine that looks like a mermaid diving into the ocean.
HOW TO CREATE REALISTIC WATER WITH RESIN
WHAT YOU NEED TO CREATE A WATER EFFECT WITH RESIN
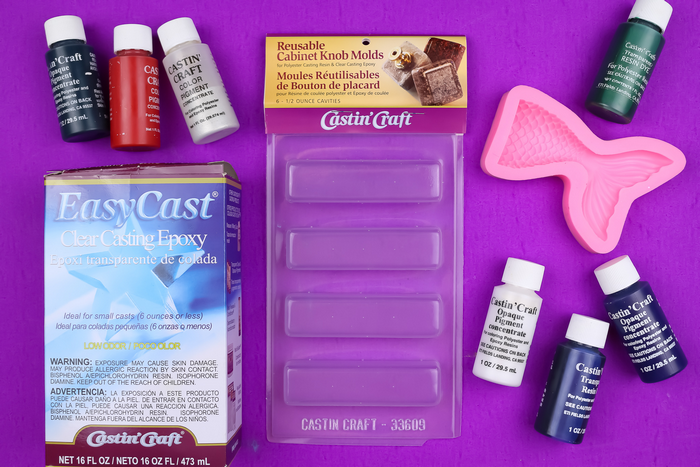
I was not able to find the exact cabinet knob mold I used on Amazon, but the one I linked to should work just as well. Basically, any shallow mold with a flat bottom would work just fine!
These are all affiliate links, if you make a purchase (of anything from these retailers, not just these items) after clicking through, I will earn a small commission. Ads and affiliate links are the way I am able to keep this website running and to offer you free tutorials all year long. Thank you so much for supporting me and Mad in Crafts!
- EasyCast
- Disposable gloves
- Mixing cups
- Transparent Resin Dye
- Opaque Resin Pigment
- Mold Release Spray
- Cabinet Knob Mold

Want to know which craft supplies I always keep in my craft room?
Visit the Mad in Crafts Amazon Storefront to learn more and to buy your own supplies!
DYEING THE RESIN
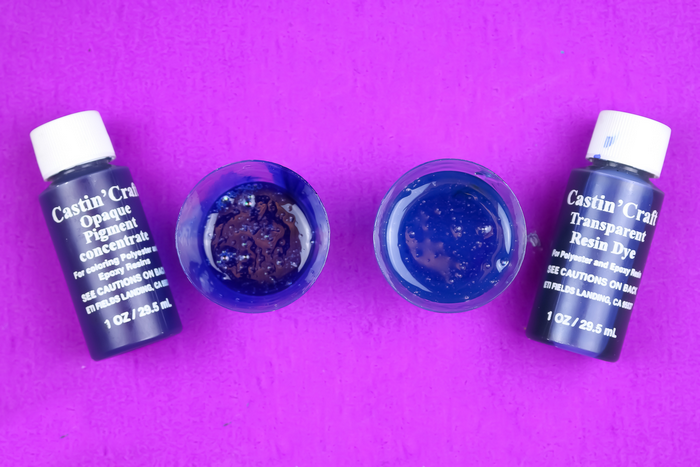
Mix up a VERY small batch of resin according to package directions. Divide the resin into three small cups as follows: half into one cup, and one quarter into each of the following two cups. Add transparent blue resin dye into the cup with the most resin and stir until it is an even color. Add blue opaque pigment to one of the remaining cups, and white opaque pigment to the other. Stir these two cups until the pigment is evenly distributed. It is important to have both transparent dyes and opaque pigments for this technique to work well.
CREATING A WATER EFFECT WITH RESIN
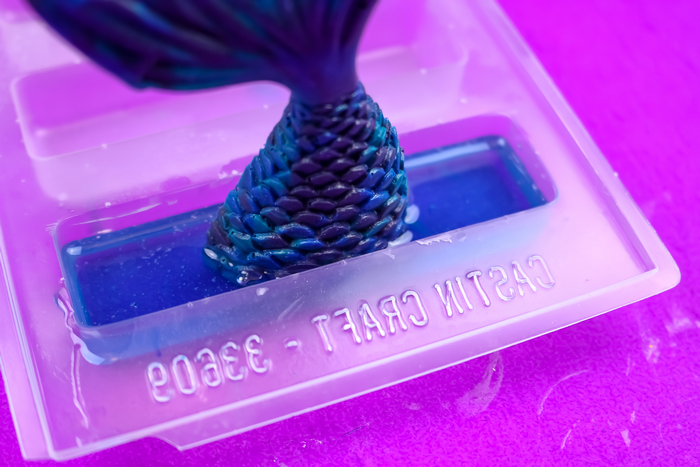
First, spray the knob mold with mold release spray and let the spray dry. Then pour the resin dyed with transparent blue dye in the mold cavity. I used this technique to make a mermaid figurine, but you can use the same steps for just about any resin project.
If you would like to make your own mermaid figurine, next you need to carefully center the mermaid tail into the mold cavity. My mold left my mermaid tail with a flat bottom, so it stood up by itself. If your tail does not stand up, you will need to support the tail in the center of the mold with craft sticks or pencils.
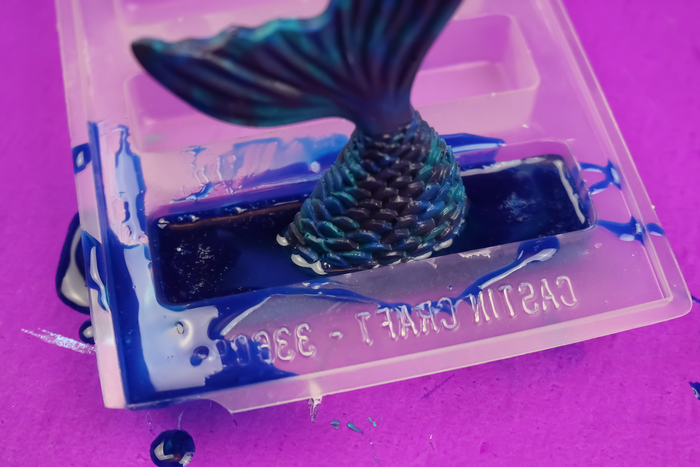
Next, drizzle a tiny amount of the pigmented blue resin into the mold. You can see my aim was less than perfect for this step! Do NOT cover all of the transparent blue resin with the opaque blue resin. You are not layering colors for this project; you want to create small swirls within the final piece.
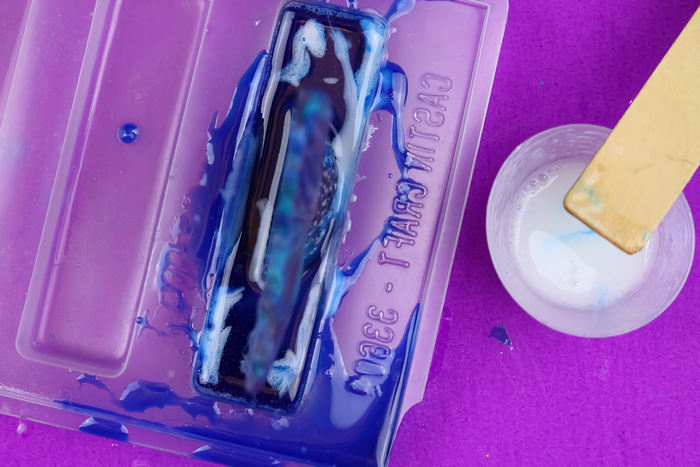
Let the resin cure until it has slightly set up. You can test this by stirring the white resin (still in the mixing cup) to determine its consistency. Once it has a gel-like consistency, pick up a small amount of the white resin with a stir stick or toothpick. Drag the white resin through the surface of the blue resin in the mold. This will create foamy resin swirls at the very top of the mold. Allow the resin to fully cure. This is one resin project where you should not worry about bubbles! Any surface bubbles will just add to the realistic water effect.
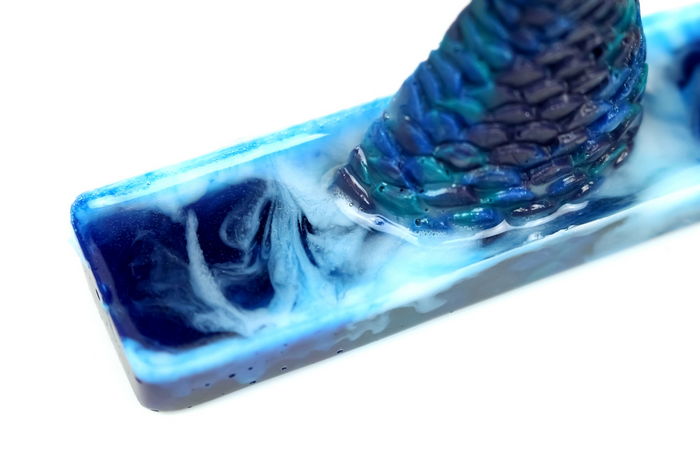
Unmold the figurine by pressing in the center of the underside of the knob mold until the piece releases. Now you can admire all the swirls created by the blue and white opaque resin in the transparent resin.
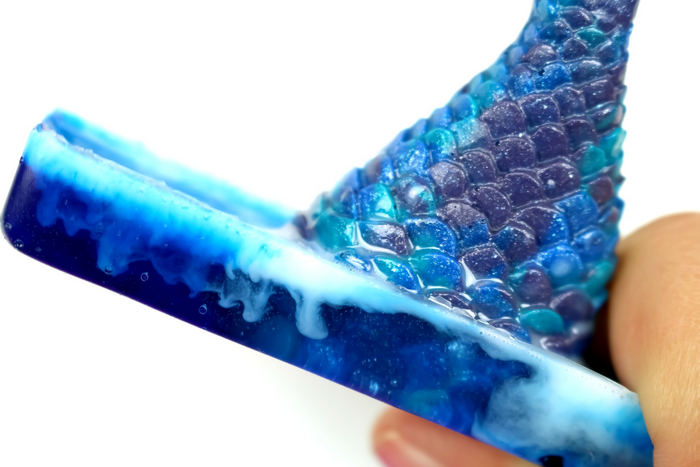
This technique creates beautiful watery patterns within the resin base. Because the majority of the base was made with the transparent blue resin, you can still see the scales of the mermaid tail through the “water.” What kind of project would you make with this fun technique?
You might also like these projects:
