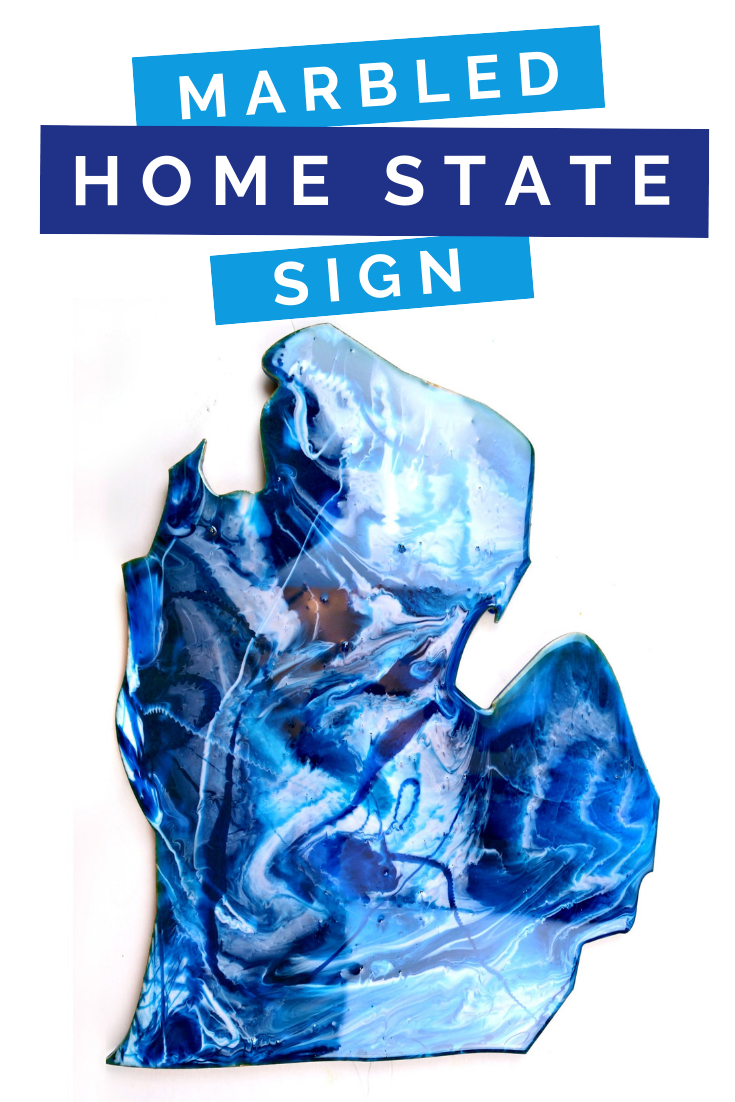
I love personalized home decor. I’m always on the lookout for new and creative ways to make one-of-a-kind pieces for my home. I played around with some of my resin to create a beautiful marbled resin state sign. You can use this technique to create unique decor pieces for your own home!
HOW TO CREATE A MARBLED RESIN STATE SIGN
WHAT YOU NEED TO CREATE A MARBLED RESIN SIGN
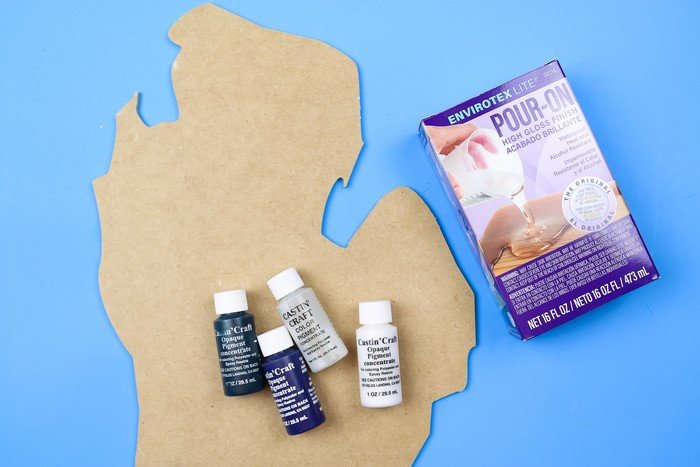
I found my state cutout sign at a local big box store, but you can find your state online. I recommend finding cutouts that are wood or particle board rather than paper mache. You can find EnviroTex Lite at the hardware store, a craft store, or online.
These are all affiliate links, if you make a purchase (of anything from these retailers, not just these items) after clicking through, I will earn a small commission. Ads and affiliate links are the way I am able to keep this website running and to offer you free tutorials all year long. Thank you so much for supporting me and Mad in Crafts!
- EnviroTex Lite
- Resin pigments
- Disposable gloves
- Mixing cups and stir sticks
- Wood state silhouette
- Long arm lighter
COLORING RESIN WITH PIGMENTS
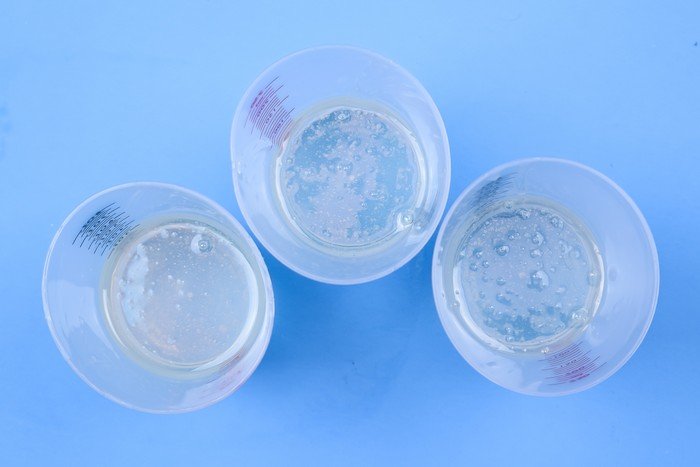
To achieve a marbled look, you will need to create a few colors of resin. Begin by mixing 8 ounces of resin according to the directions that come in each package of EnviroTex Lite (4 ounces of resin and 4 ounces of hardener). Be sure to use the two cup mixing method to ensure the two parts are thoroughly mixed together.
Divide the resin among as many additional mixing cups as you want colors. Since I didn’t want to mess with painting my wood state shape before adding the resin, I opted to use the opaque resin pigments instead of the transparent dyes. You can choose to paint yours and use the dyes for a look with even more depth! A little resin pigment goes a long way, so start with just a drop or two.
You can choose whatever colors you would like for your state sign. Since Michigan is known for its beautiful freshwater lakes, I chose white, blue, green, and pearl pigments to color my resin.
MARBLING RESIN ON SIGNS
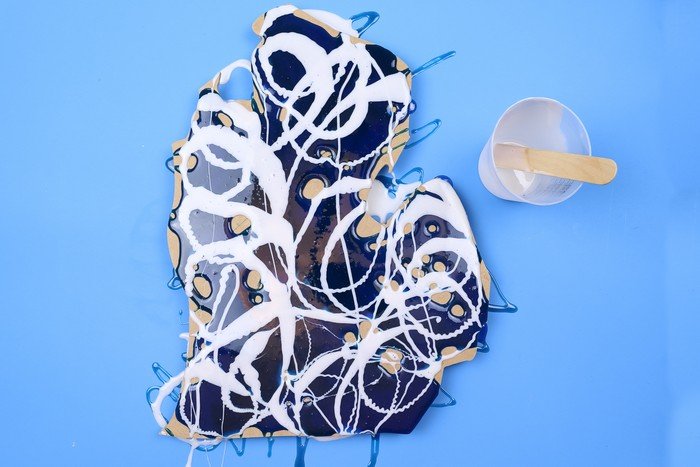
Start by taking two steps of precaution. First, you will want to protect your work surface because you definitely will make a mess! Second, put on a pair of disposable gloves to protect your hands. I have found that the blue gloves from the dollar store work perfectly.
Find a way to elevate your sign so it will not stick to your work surface. I just used a few pieces of scrap wood to elevate my sign. Now comes the fun party! Drizzle the resin over the shape in swirls and lines. Be sure to work in small amounts so you don’t end up covering the bottom color completely with the top color of resin.
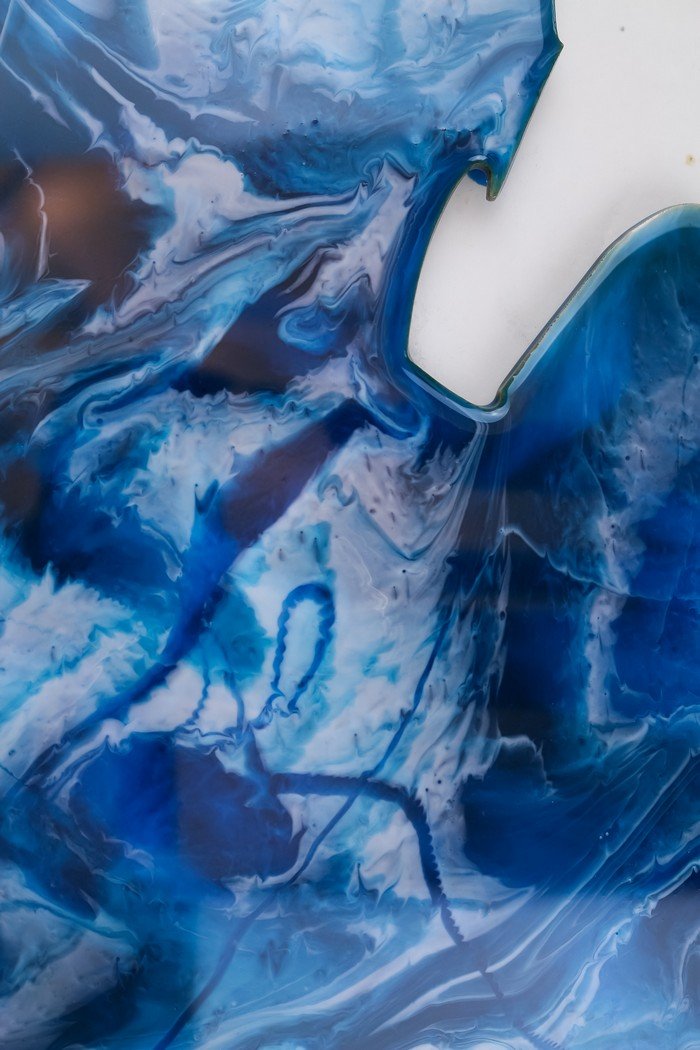
Once you have some of the resin poured onto the sign, it is time to play. Pick up the sign with your gloved hands and tilt it from side to side. The resin will slide around to create beautiful shapes and patterns.
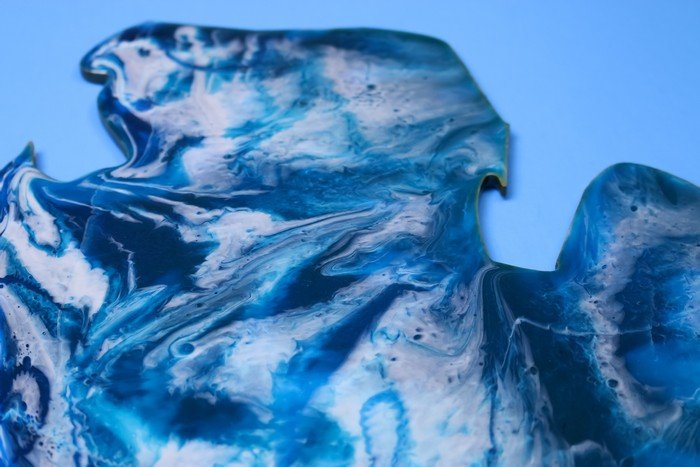
Keep tilting the sign and adding more drizzles of resin until you love the way it looks. Take your time with this step. EnviroTex Lite has a nice open work time, so there is no rush.
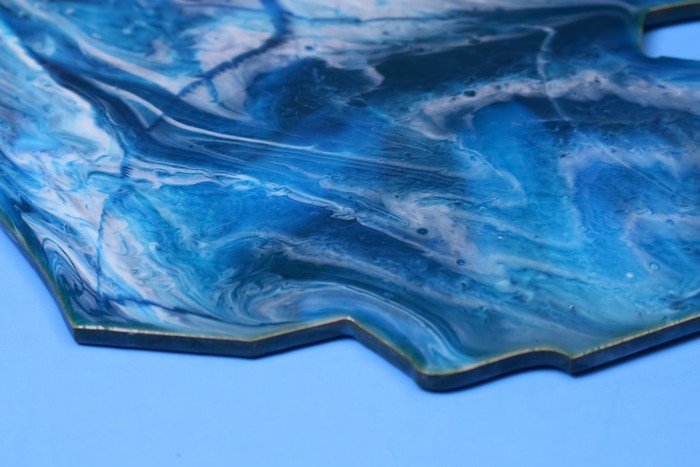
Finally, set the sign back on the blocks so any excess resin can run off of the edges. Use an old or cheap paintbrush to brush any resin drips off of the underside of the sign.
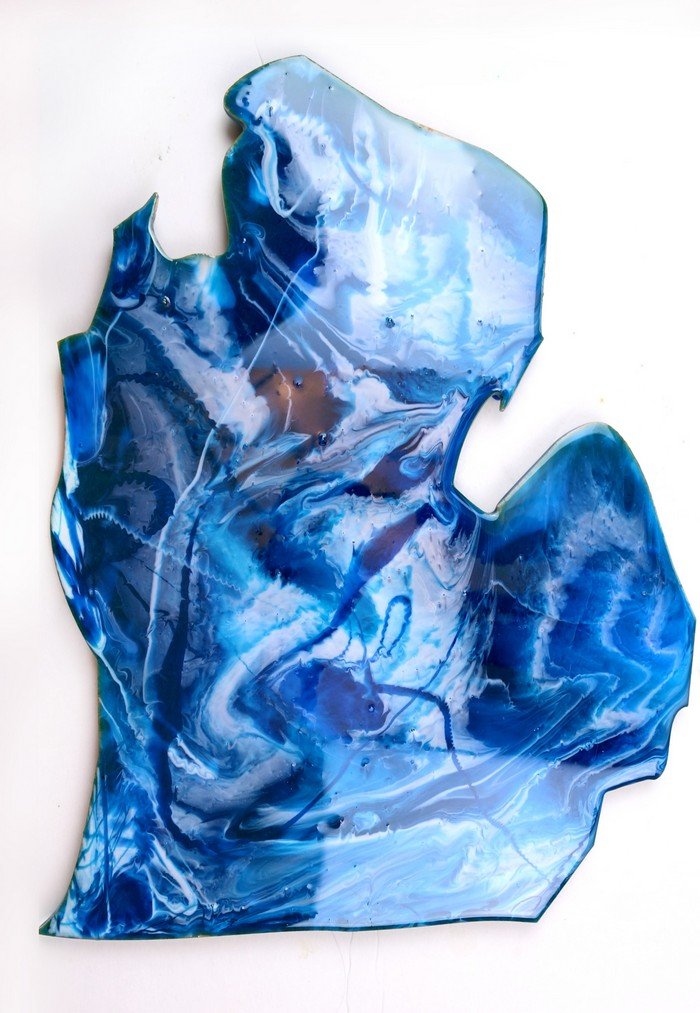
If bubbles rise to the surface, use the flame of a long arm light to pop them. Allow the resin to cure for several hours or overnight. When it is cured, it will have a stunning, shiny finish. It will just need a sawtooth hook on the back of the sign so it can be hung in your home! This marbling technique can be used on a whole range of projects. What will you marble next?
You might like these other resin DIYs:
