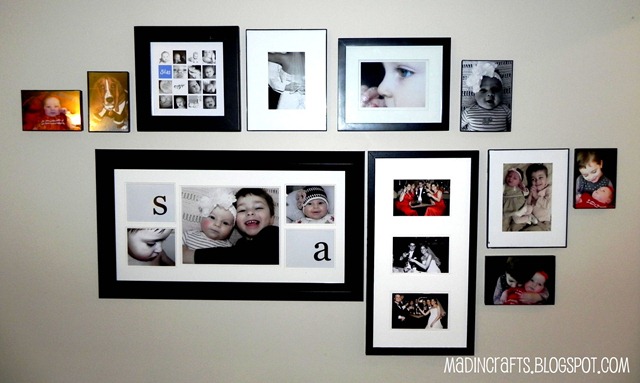
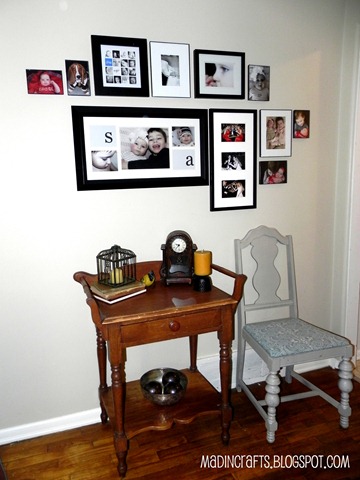
A while ago, I asked my facebook fan friends for some help in deciding how to hang a large collage of photos on my living room wall. With their help, I was able to configure a layout and place it on the wall.
It was unanimously decided that this layout was good, but about 4 inches too high.
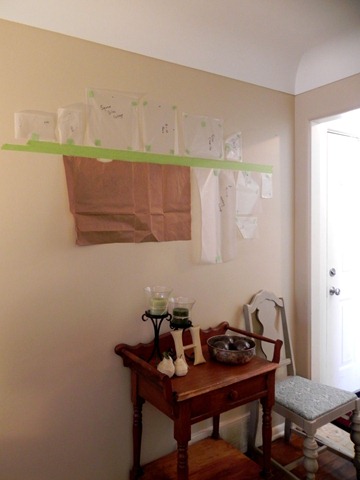
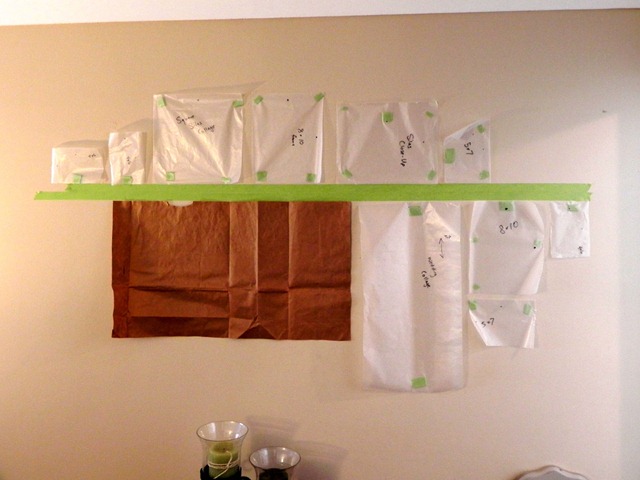
In order to avoid leaving a few dozen unnecessary holes in the walls, I decided to do a dry run of my frame placement before I got to hammering. I traced all my frames onto wax paper (I was out of freezer paper) and marked where the nail holes would need to go. If the frame needed to go a specific direction, I marked that on the paper as well.
Then I used painter’s tape to position the paper on the wall in a variety of layouts. If you want a fancy video of the process, click over to this page of Pottery Barn’s new Design Studio. I didn’t find the video until after I was done with my picture wall, ironically.
The frames I used are all black but are of varying sizes and thicknesses. Some have mats, others don’t. To create a sense of order with the mismatched frames, I followed a tip from Martha. By creating an eye line, you can group together different frames and still have the collage look cohesive.
Once I had my layout approved by my facebook friends (thanks again!), we hung the frames on the wall. And by me, I mean my dad.  I printed out a few photos via Walgreens online and now I have a really nice photo collage in the living room!


That looks really good. I love how you arranged them all!
I love how it turned out!~Kimberlee http://www.TheSpunkyDiva.com
It is looking great thanks for sharinganandhirajanhttp://www.anandhirajansartsncrafts.blogspot.com/