Some of the following links are affiliate links and I may receive compensation if you purchase after clicking the links.
Even though I am not much of a seamstress (although I am getting a little better!), I love to look at bolts of fabric. It’s like browsing through nail polish colors at the store. So much pretty, and so much variety! On-trend fabrics can be expensive though, and the cheapskate in me can’t deal with spending $10-15 to buy enough fabric to make a throw pillow. Thankfully God has given me hands and a little bit of free time, and I made use of them to make some easy painted fabric!
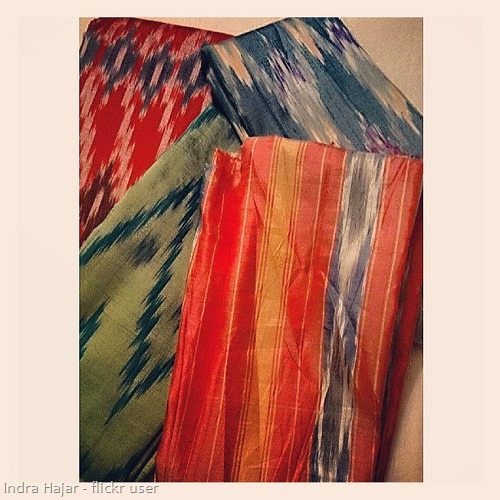
Ikat and ikat-style prints are still very trendy in fashion and interior design. Real ikat fabric is made by dyeing fabric fibers BEFORE they are woven together, instead of after they are woven into fabric like you would with tie dye. Some parts of the fibers are coated with a dye resist to determine where the dye will take and where it won’t (sort of like with my faux batik prints).
After the fibers are woven into cloth, the dyed portions create distinctive striated patterns. Because of this, ikat fabrics allow you have colorful, graphic patterns that are softer and more organic looking than traditional stripes and polka dots. I love the look of ikat fabric, so I decided to make a painted version of the look myself.
To make hand-painted, Ikat-style polka dots, you will need:
craft paint (I mixed Apple Barrel’s Tropic Orange and Hot Rod Red)
neutral colored fabric
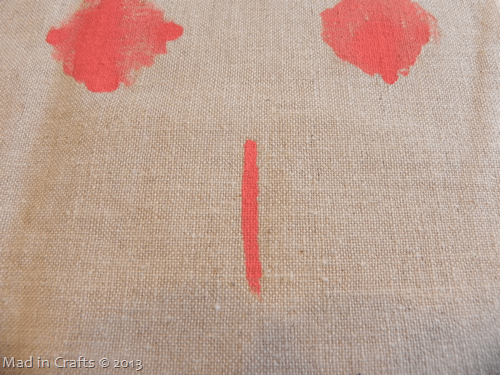
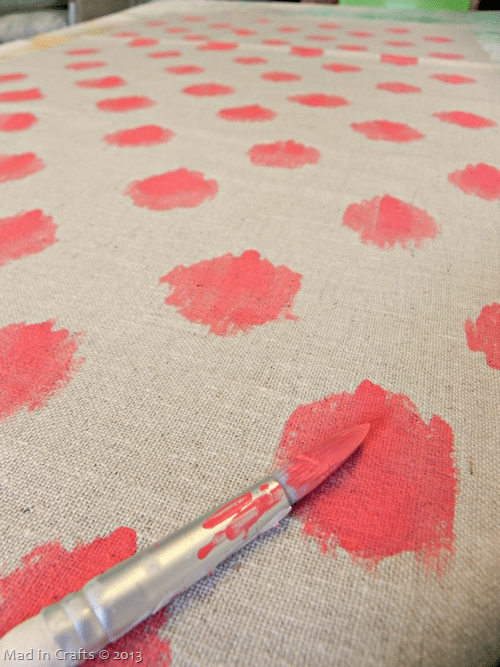
Begin by deciding on the size and spacing of your polka dots. I chose to make my dots about an inch in diameter with an inch of clearance all the way around each dot. Start each dot by painting a single line marking the vertical diameter of the dot (a one inch line for my dot).
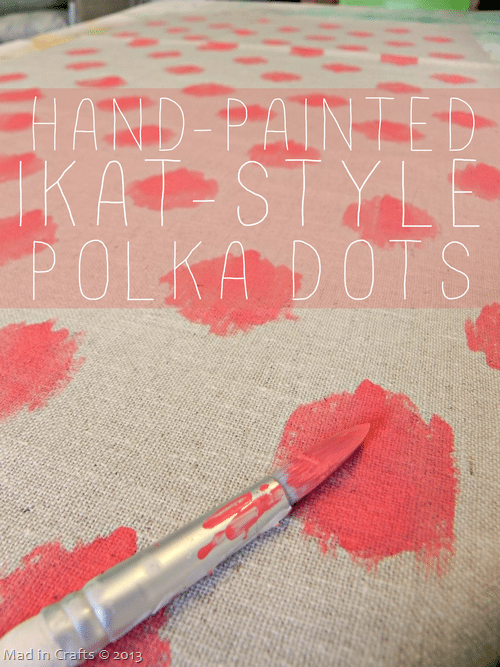
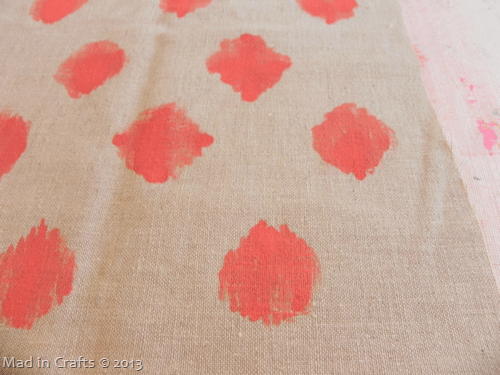
Using only vertical strokes, fill out the dot on either side of that first line. DON’T try to make a perfect circle and DON’T worry if you run low on paint before the end of your strokes. Those imperfections are what make the dots look like ikat fabric.
Repeat these same steps over and over for your whole project. You could use this technique on fabric, like I did, or on furniture, artwork, or paper crafts. You will have to wait a little bit to see how I incorporated this fabric into our home!
Did you like this post? Think it’s worth sharing? Please share with your friends using the social media share buttons on the toolbar at the bottom of the page!
Thanks, Jessica

