This post was sponsored by Ball Brand and Crafty Hangouts. I received product to create the tutorial, but the opinions are 100% my own.
MASON JARS! Who doesn’t love them? Mason jar crafts have dominated my Pinterest feed for years, but I have not made too many of my own. That’s why I was excited to partner up with Ball Brand and Crafty Hangouts to create a mason jar video tutorial. I decided to transform gorgeous heritage green jars into gilded mason jars.
The tutorial below will allow you to add a silver leafed finish to the bottom of a jar. You can then use the jar as a vase, a candle holder, or just as a pretty decoration.
You can find the materials for this project at your local grocery and craft stores. Check the end of the post for a supply list.
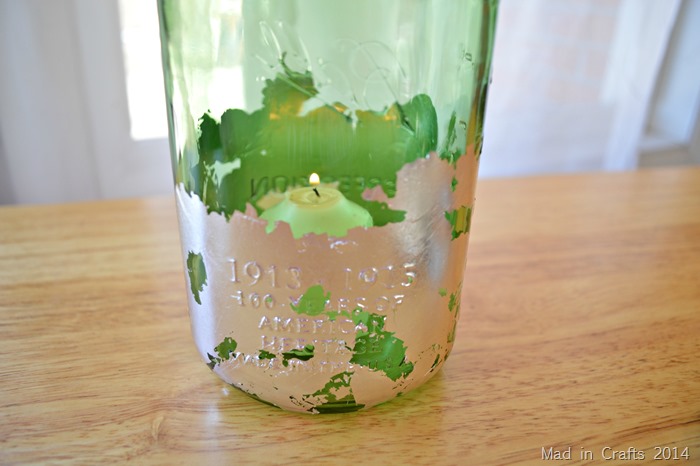
On this jar, I deliberately left some areas of the glass un-gilded, in order to allow candlelight to come through. The flame looks very pretty shining through the green glass of the heritage green jar.
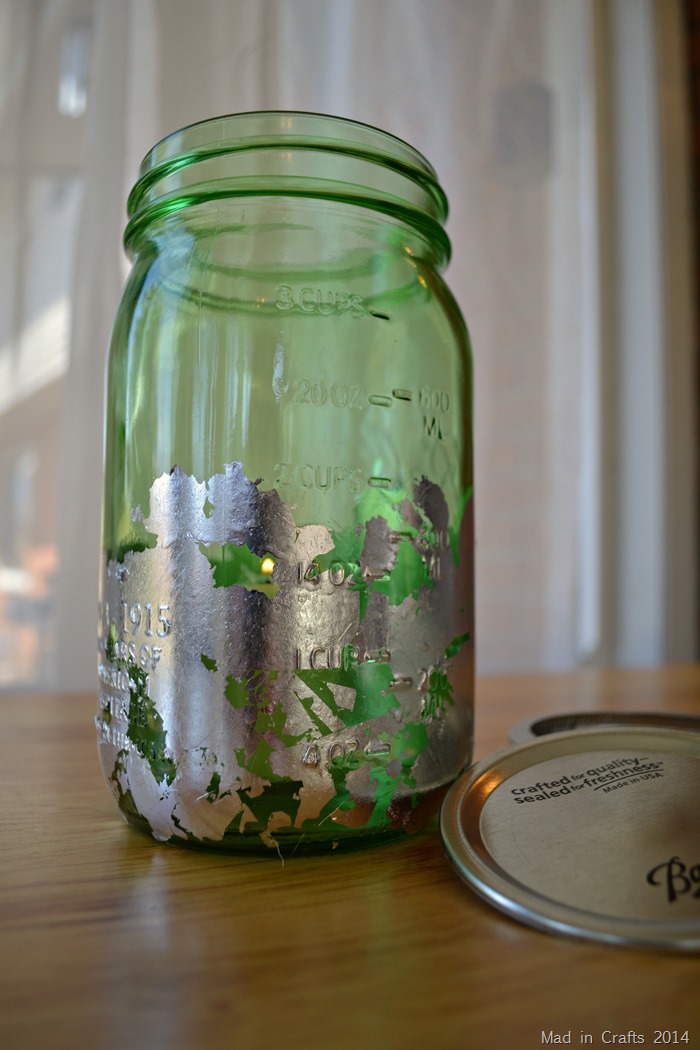
You can see in this picture that the gilding clings right to all the raised details on the Heritage Ball jars, so you don’t lose any of that cool detail.
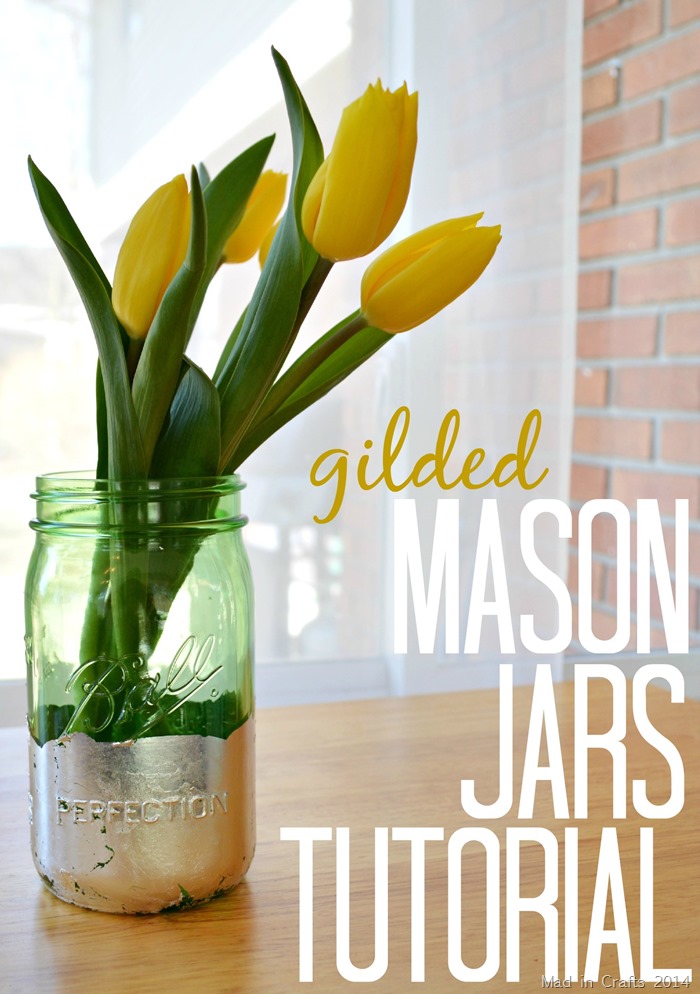
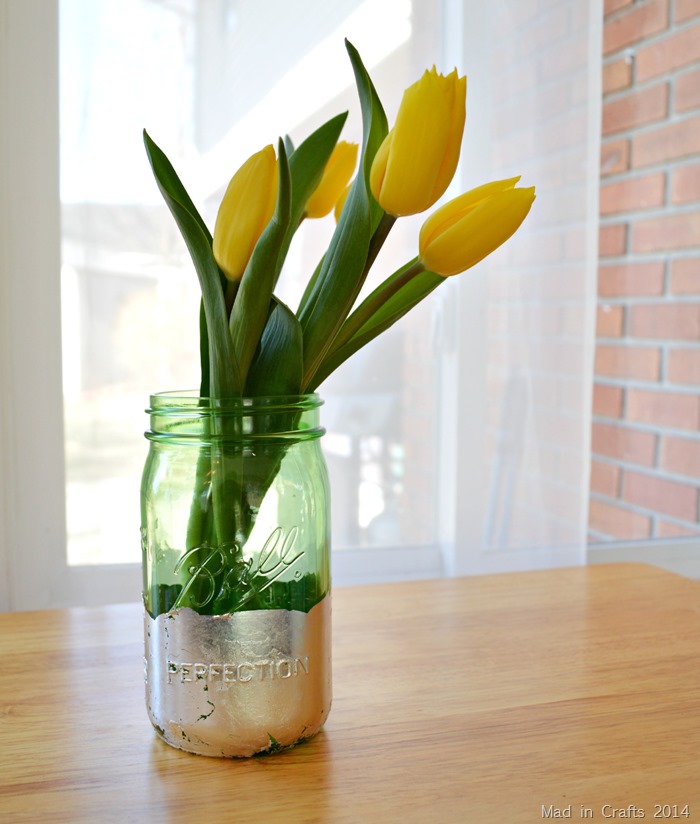
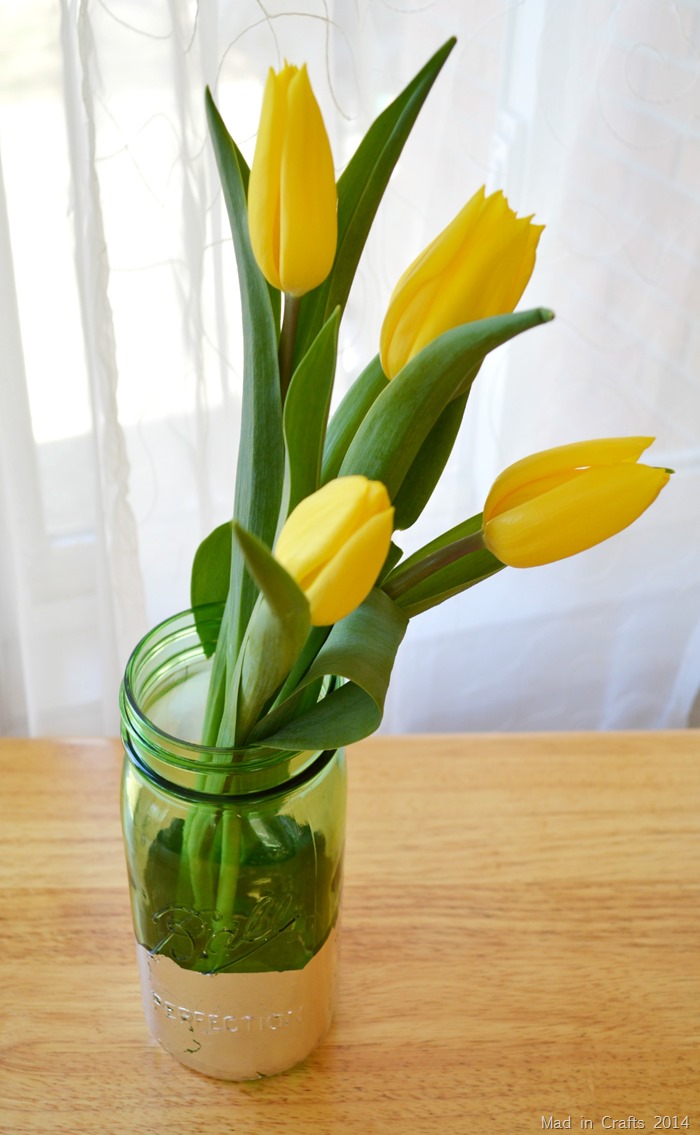
These gilded mason jars also make perfect vases for Spring flowers, like my favorite: tulips!
You could use these as a simple centerpiece for Easter or for a Spring wedding. You could also gild varying sizes of mason jars, Ball makes 4 oz. jelly jars up to 64 oz. jars, and place different types of flowers in each jar.
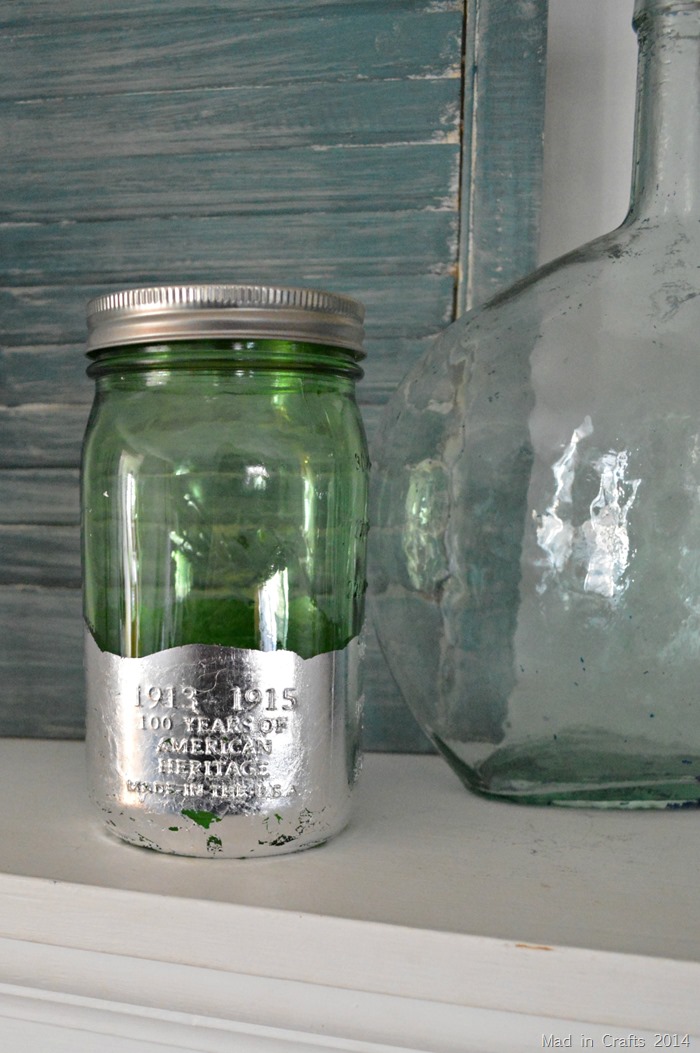
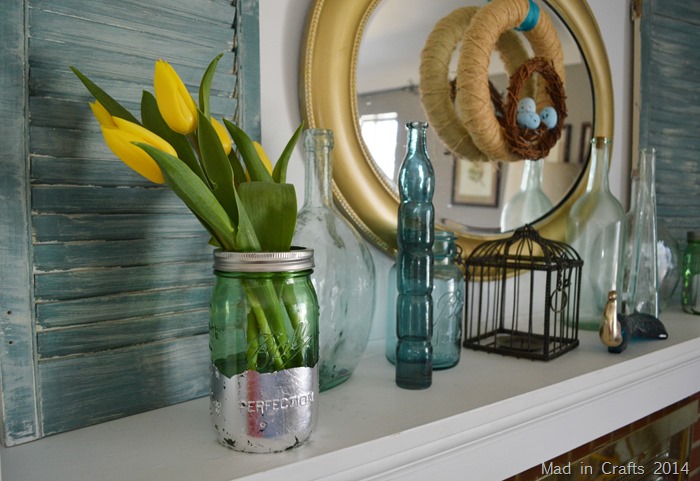
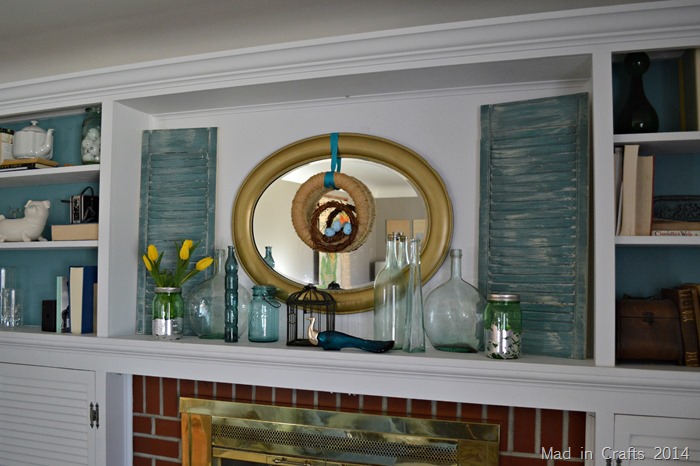
I added both my gilded jar vase and gilded candle holder to either end of my Spring mantel, which uses the same shutters that I painted for my Vintage Camera Mantel.
The green glass and silver leafing anchor the rest of the glassware very nicely, I think.
I’ve gathered links to the materials I used in this tutorial. If you purchase after clicking one of these links, I will receive a small commission. Thanks!
You might like these other mason jar crafts:




Love these! Yet another mason jar craft to my must-do list!
I love the shutters on your mantel!