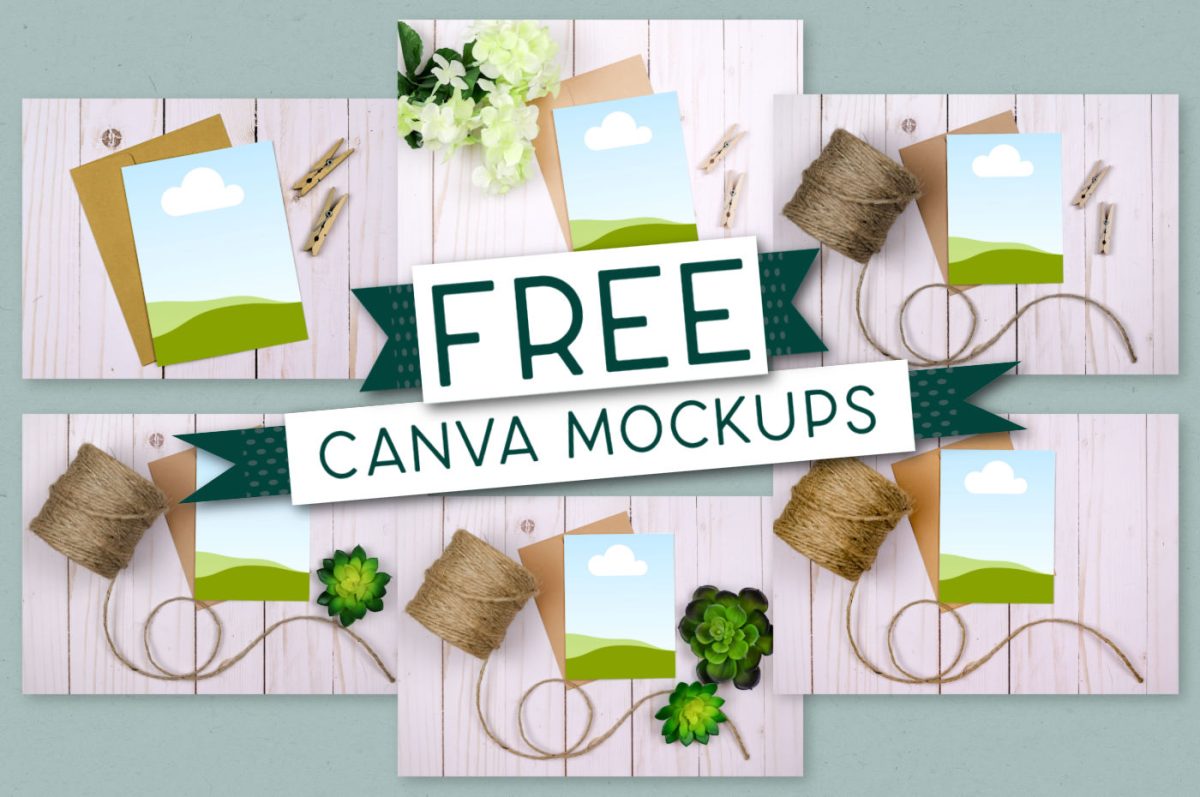
If you are a creator looking to sell your digital products online without spending all your products on physical prototypes, product mockups are a great solution. You can showcase your designs on Instagram and Facebook or create Etsy listings quickly and cheaply. I have created six free Canva mockups that you can use to create product images at no cost to you!
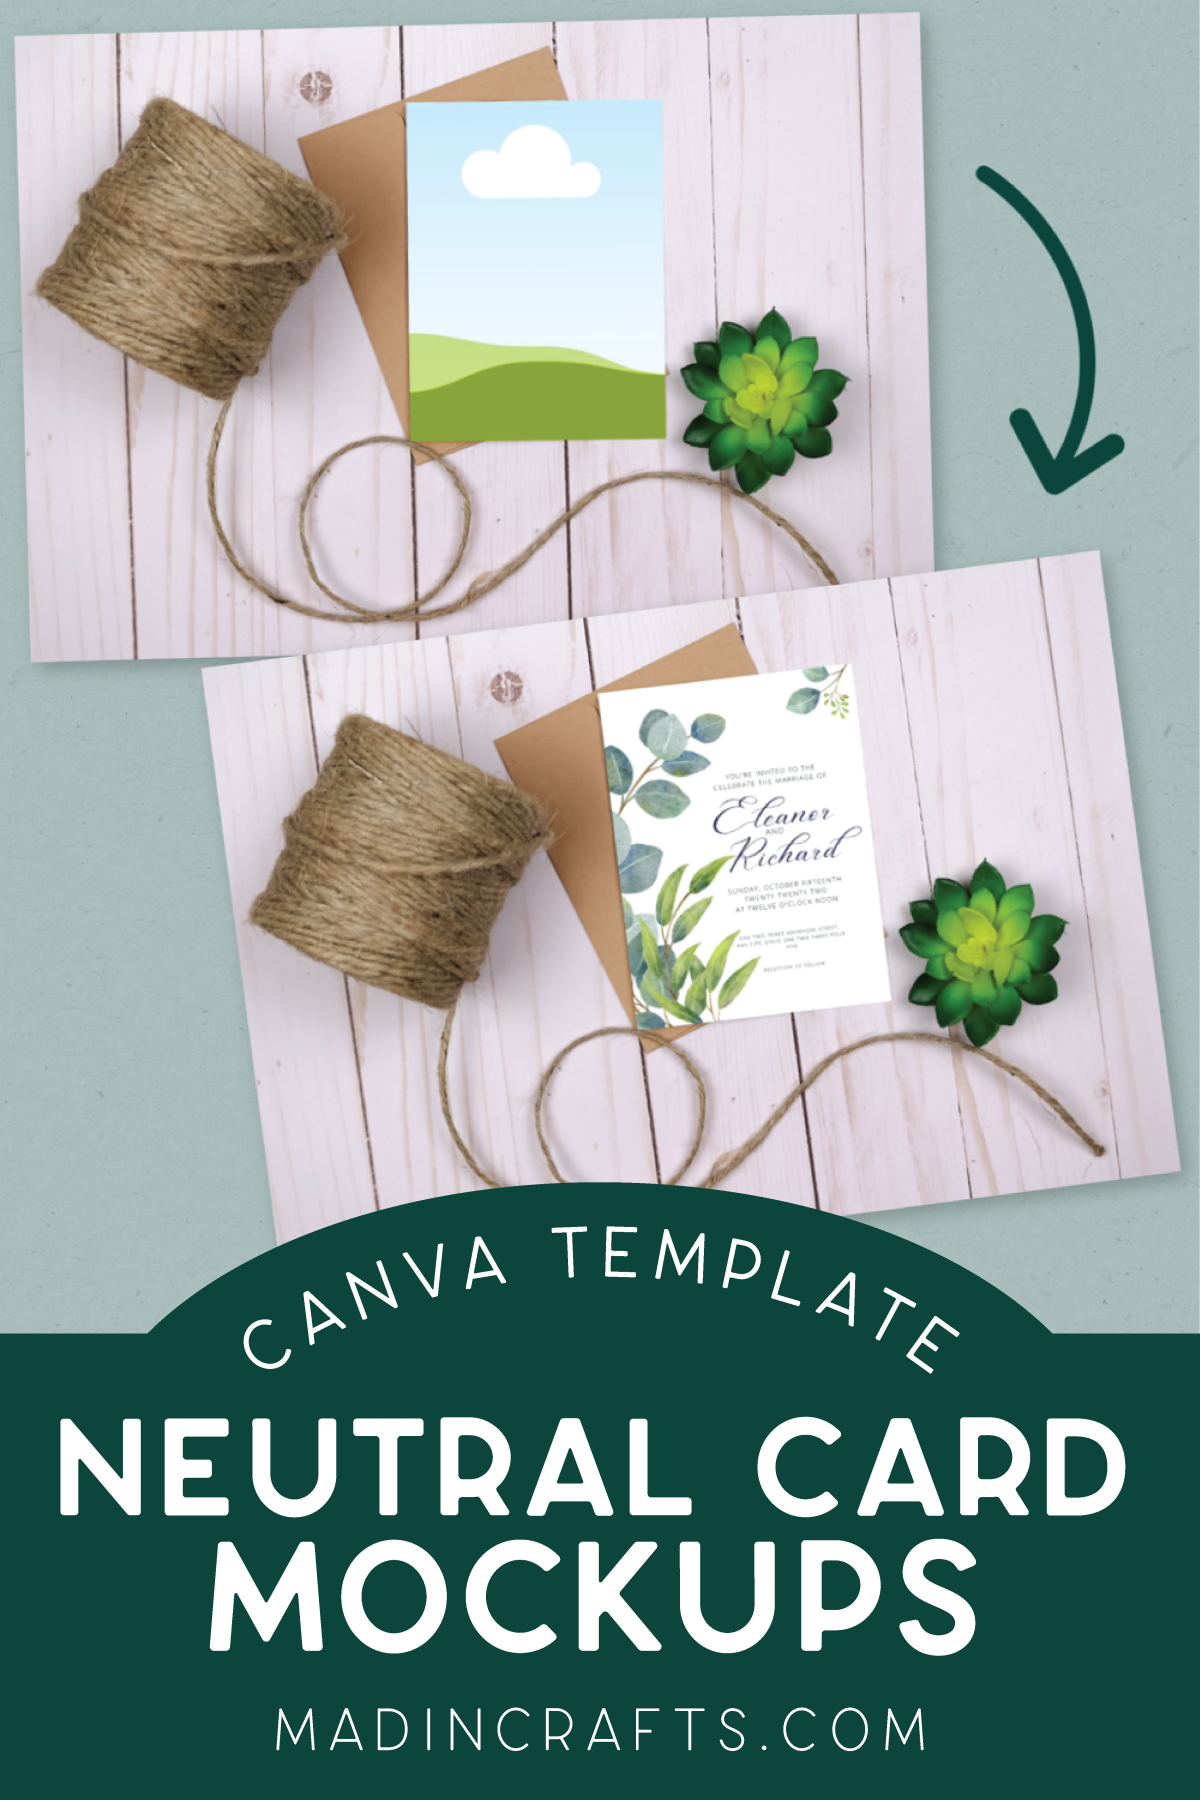
FREE CANVA MOCKUPS FOR DIGITAL PRODUCTS
GET THE FREE NEUTRAL CANVA MOCKUPS
Sign up for Mad in Crafts emails to receive this Canva template as a free gift! You will receive a few introductory emails to satisfy the legal team, and then you will be sent instructions for accessing this Canva template. This invitation is for personal use only. Please do not sell or redistribute the template in any way.
ACCESSING THE CANVA DIGITAL PRODUCT MOCKUPS
When you sign up for the Mad in Crafts newsletter using the form above you will be sent a series of two emails. For legal reasons, I will need you to click a few buttons to let me know that you definitely do want emails from me. I appreciate you jumping through these legal hoops so I can send you your free Canva mockups!
Once you have done that you will receive a link to download a PDF with instructions for accessing the Canva mockup templates. You don’t have to print the PDF, just save it to your device.
You will need a Canva free account to edit these mockups. You DO NOT need Canva Pro to edit these mockups. Pro does however give you more options for photo editing, etc.
HOW TO USE THE NEUTRAL MOCKUPS WITH YOUR DIGITAL PRODUCTS
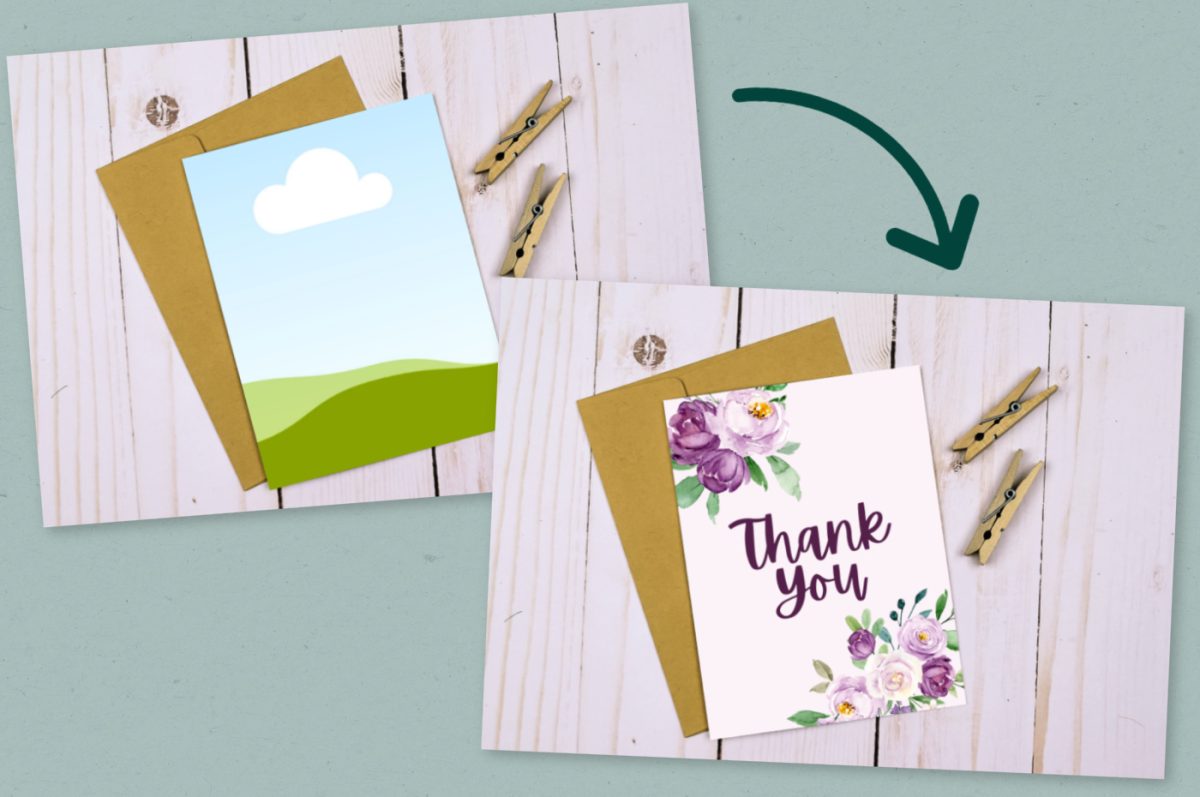
Using my mockups could not be easier. Once you have gotten access to my mockups in your Canva account, you simply drag and drop your digital product content (SVG, printable, photograph, etc.) into the mockup. Easy as pie!
How to Customize the Canva Product Mockups
- Open the PDF and read through the instructions.
- Sign into your Canva account.
- Click the template link towards the bottom of the PDF or copy and paste the link into your browser.
This will open a tab on your computer with a screen stating that I am sharing a template with you.
- Click the purple Use Template button at the bottom of the screen.
This will open a new Canva canvas of the editable mockups.
- Change the name of the file to whatever you would like the finished file name to be.
- Upload your digital products to Canva. Drag and drop the digital product onto the placeholder frame in the mockup image.
You can edit the photo after it is inserted into the mockup.
- When you are happy with the final product, click the Share button in the top right corner of the screen.
Save the photo to your device as a png for a digital photo, a PDF for print, or MP4 for video.
- Use this photo to promote your online business, in your newest blog post, or add it to your Shopify or Etsy shop.
WHY UPGRADE TO CANVA PRO
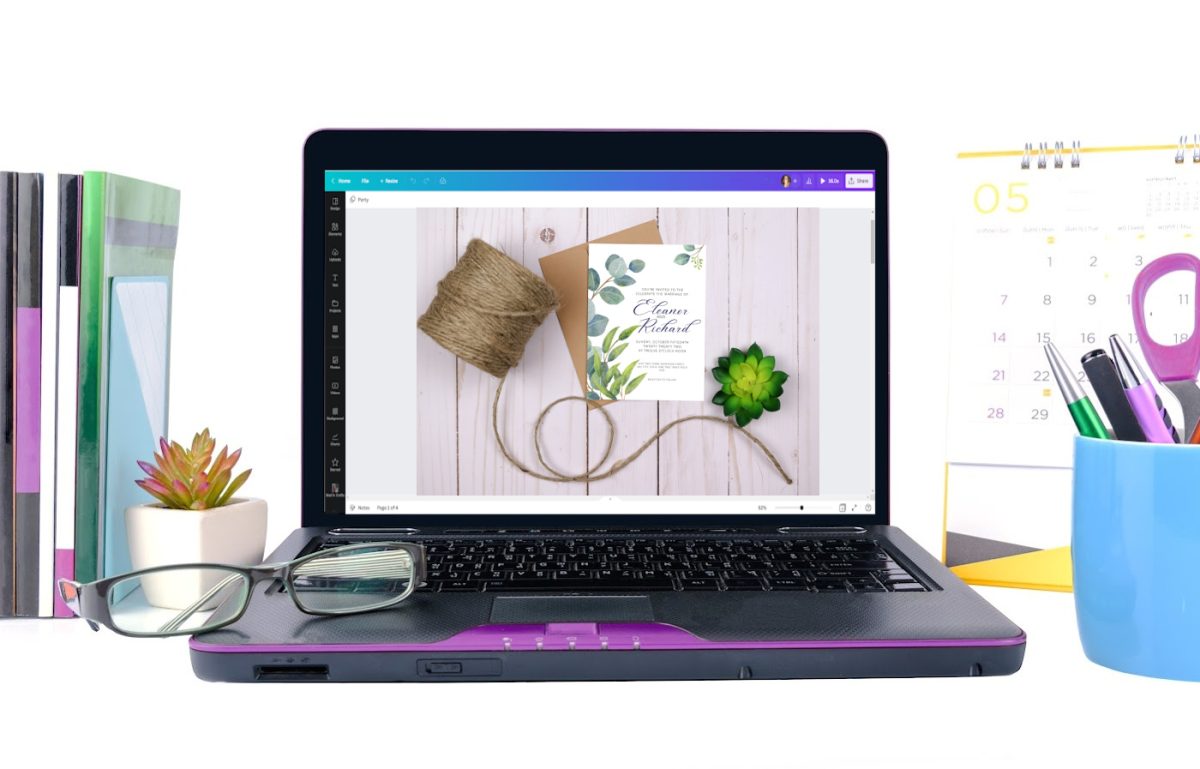
You can use the free Canva or Canva Pro version to edit this invitation template. The free version of Canva is an amazing tool for creating graphics to use online or to print. It does have its limitations, however. If you are looking to have access to a wider range of tools, assets, and abilities, Canva Pro might be worth the monthly subscription.
A Canva Pro subscription comes with the following:
- Access to over 100 million pieces of premium content including graphics, stock photos, videos, and more
- Intuitive video creation software
- Impressive photo editing capabilities (like Background Remover that works with the click of a button)
- Over half a million professionally designed templates to guide your design
- Turn static photos into GIFs and videos with instant animation
- Social media scheduling for Facebook, LinkedIn, Pinterest, and Twitter
- The ability to resize your design for different social media platforms with the Magic Resize tool
- Quick and easy branded graphics based on your personalized Brand Kit
- 1 TB of cloud storage
- 24/7 customer support
The following is an affiliate link, if you purchase Canva Pro after clicking through, I will earn a small commission. Thank you so much for supporting me and Mad in Crafts!




Leave a Reply