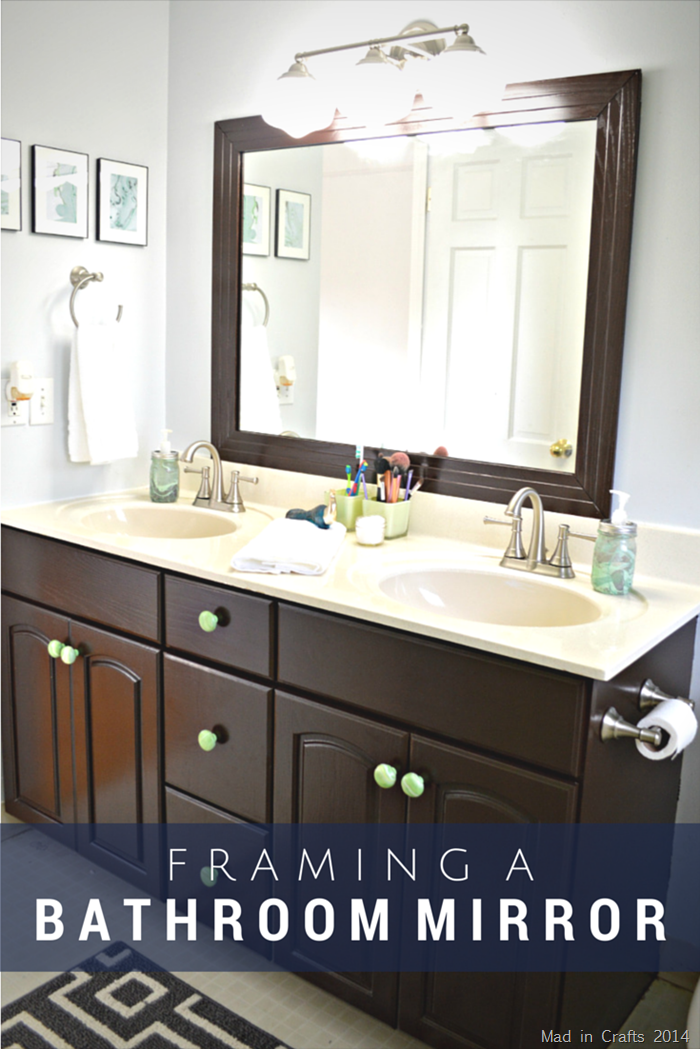
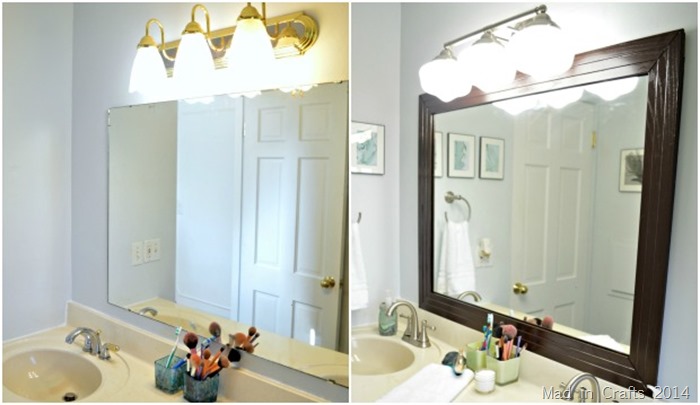
Ever since we first put an offer on The Mad House, I have wanted to frame out the mirror in the upstairs bathroom. I have seen other bloggers who have framed out builder grade mirrors, and it makes the bathroom look so polished and finished. We needed to do a small bit of engineering with our frame, but it turned out to be a fairly easy upgrade to the room.
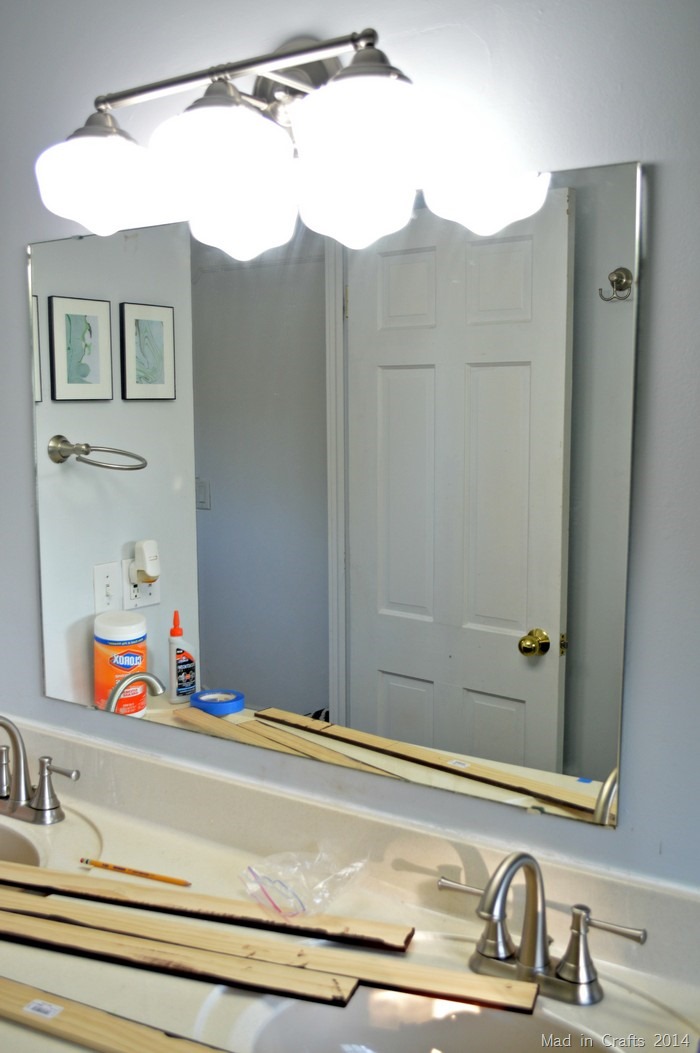
My dad did all the hard work measuring, cutting and mitering the molding for the mirror frame. We bought 1/2” x 2” pine molding to using as furring strips since the front of the mirror stood about half an inch out from the wall. My dad cut the furring strips to just fit around the edges of the mirror. They are narrower than the molding for the actual frame, so the frame molding overlaps the mirror a bit and hangs over the edges of the furring strips a bit. I stained just the outside edges of the furring strips with the same gel stain that I used on the sink cabinet because those edges would be visible behind the mirror frame.
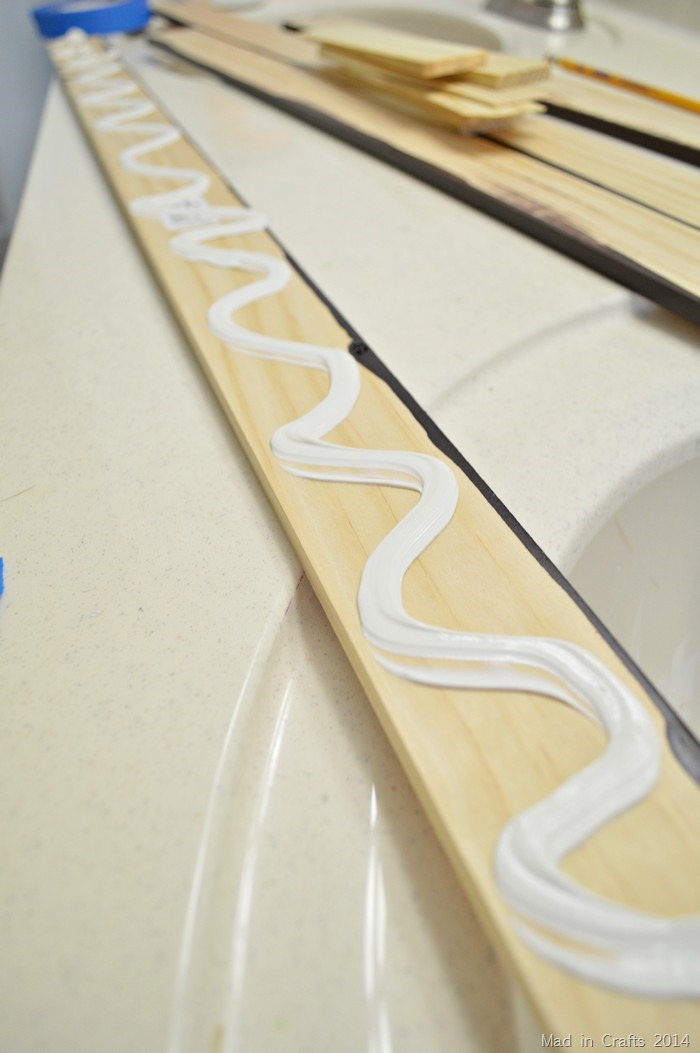
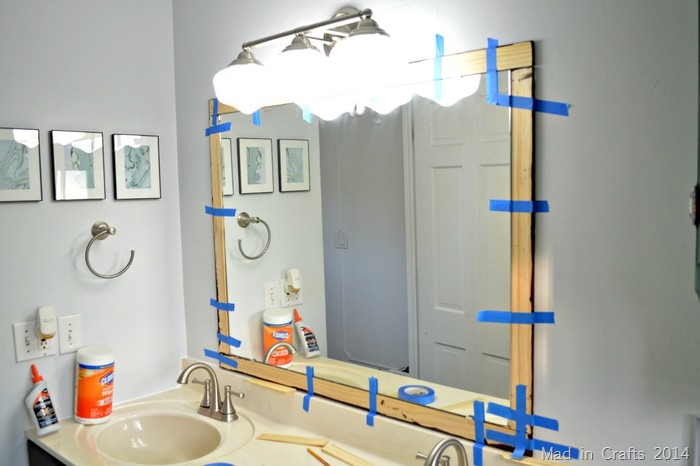
After the gel stain dried, I applied a generous zig zag of liquid nails heavy duty adhesive to back of the bottom strip.
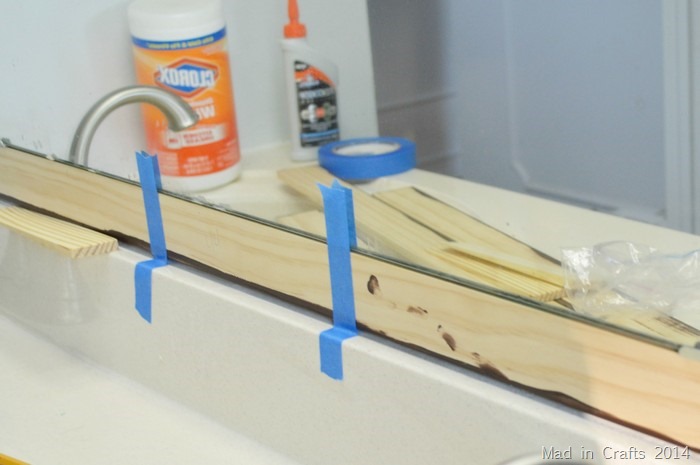
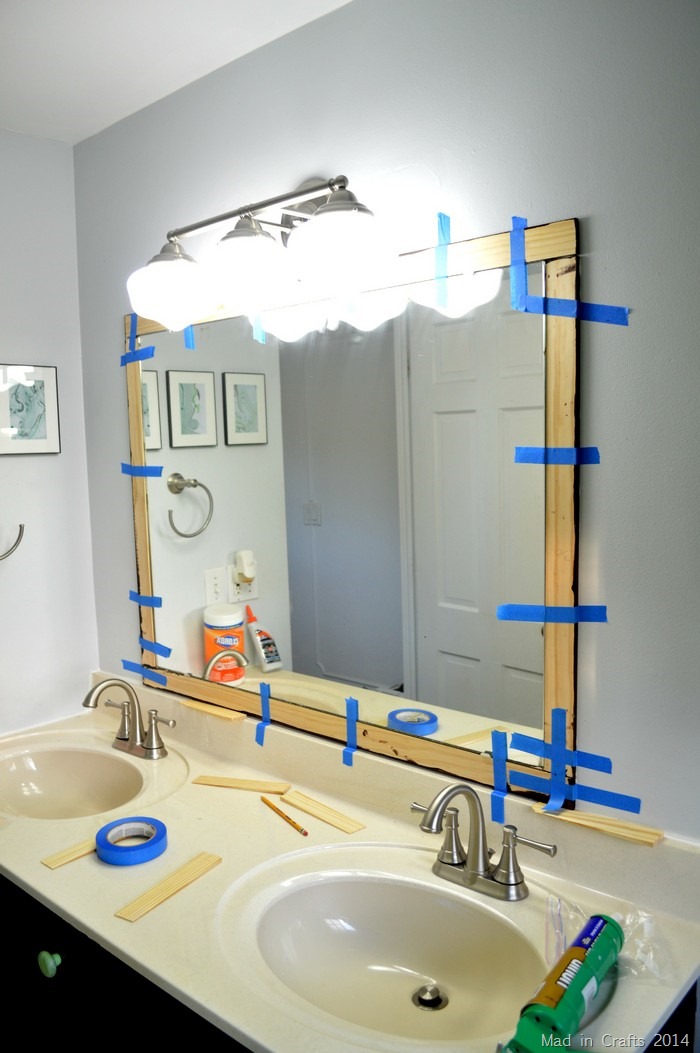
I positioned the strip flush to the mirror and wedged a few shims in the gap between the strip and the top of our countertop. I pressed the furring strip against the wall firmly, and then used some lengths of painter’s tape to be sure the strip stayed in place. TIP: If you are doing this project alone have the tape torn and waiting for you to use, so you can get everything up on the wall quickly.
I repeated the process with the other three pieces of furring, making sure that the stained edge was always on the outside and that the strip was flush to the mirror.
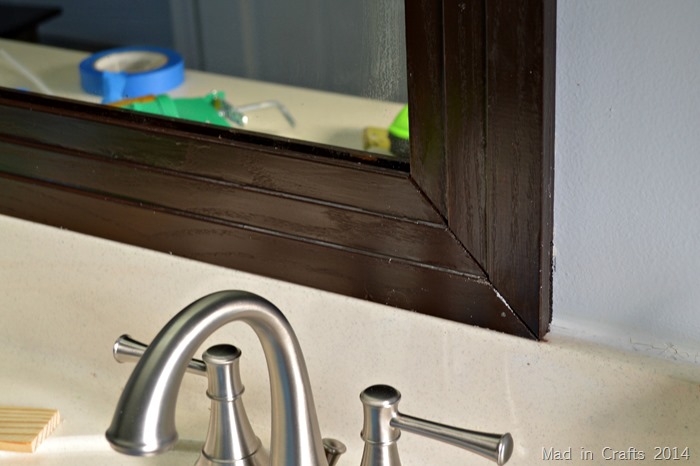
After the liquid nails were dry, I removed the painter’s tape so I could adhere the molding to the furring strips. This time I added the liquid nails to the front of the furring strips NOT the backs of the molding. You don’t want adhesive on the part of the molding that overlaps the mirror, as it would be visible in the mirror’s reflection.
I started with by centering the bottom piece of molding and made sure it was level. That piece can serve as the reference for the rest of the frame. The side pieces went up the same way as the bottom piece, but I was careful to make sure the lines of the molding matched up at the corners.
I checked to make sure the side pieces were plum and pressed the molding onto the furring strips. More pieces of painter’s helped to keep the molding from slipping around as I added in the other two sides of the frame.
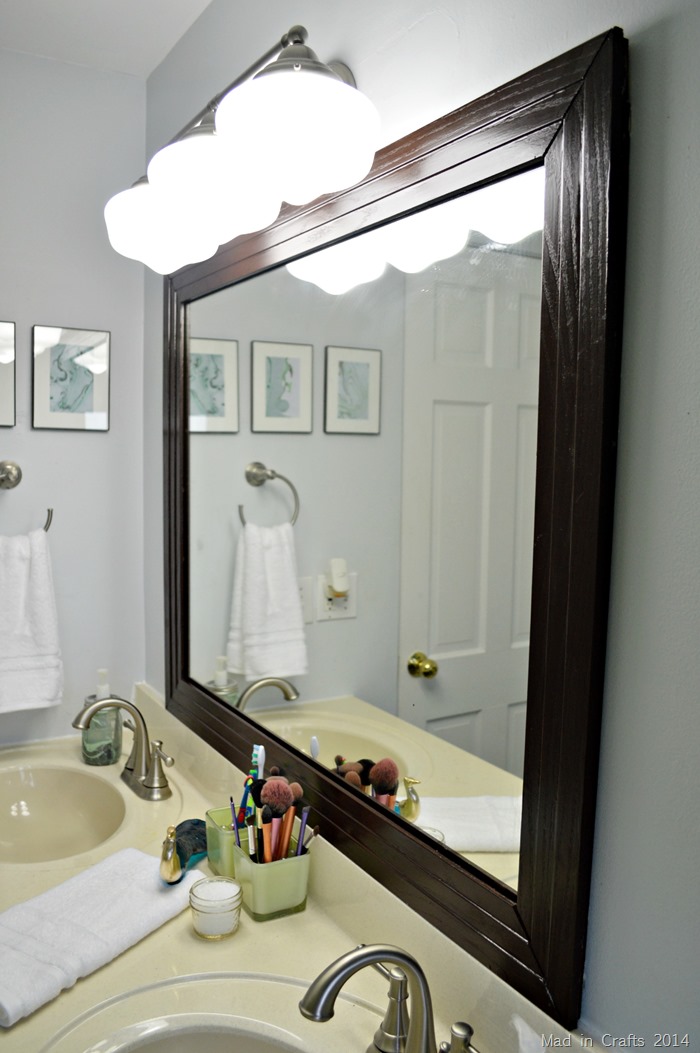
After the liquid nails was dry, I removed the painter’s tape and the project was done! I love how finished the bathroom looks with the frame around the mirror.
It doesn’t seem like a little bit of molding should make a big difference, but it definitely does. Switching the two tone light fixture helps out with a more updated schoolhouse fixture helps too, of course. If you have a big plain mirror in your bathroom, I really suggest trying this project out yourself. As DIY projects go, it is not too difficult and the results are fantastic!
I’ve gathered links to the materials I used in this tutorial. If you purchase after clicking one of these links, I will receive a small commission. Thanks!
Did you like this post? Think it’s worth sharing? Please share with your friends using the social media share buttons at the bottom of the page!
Thanks, Jessica




I noticed you covered the mirror’s mounting brackets with the wood frame. Since the wood is permanently glued on the mirror, how would you remove it from the wall, if needed, in the future?
We would have to remove the frame before removing the mirror. Hopefully we won't need to do that for some years to come!
I have the same issue and want to know what you did with your mirror mounting. I want to be able to remove the framed mirror to repaint the bathroom.
It's glued on there. I will need to tape it off or cut in carefully when it comes time to repaint.
The bottom of our mirror rests on the backsplash so I was wondering how to frame that. I guess I can buy mirror mounts and raise it up enough to put the molding in but I kind of want to cover up the bottom 1/2″ of the mirror since it is losing some of it’s mirror backing.