This is a sponsored post. I was compensated and given free product to create this project, but the opinions in this posts are 100% my own.
It may seem early to any non-crafters, but those of us who like to hand-make our Christmas decorations and gifts are already hard at work! I was given the chance to try out some of Martha Stewart Crafts’ new decoupage formulas, and I wanted to use them to get started on my Christmas decorations.
Tartan is hot for fall and winter this year, and Christmas is the perfect time to add some trendy plaid patterns into your home. Since Christmas and plaid is such a classic combination you can be sure that, even though tartan may fall out of fashion favor by next year, it will fit in with your other Christmas décor for years to come. So, hop on the tartan bandwagon with this basic decoupage project!
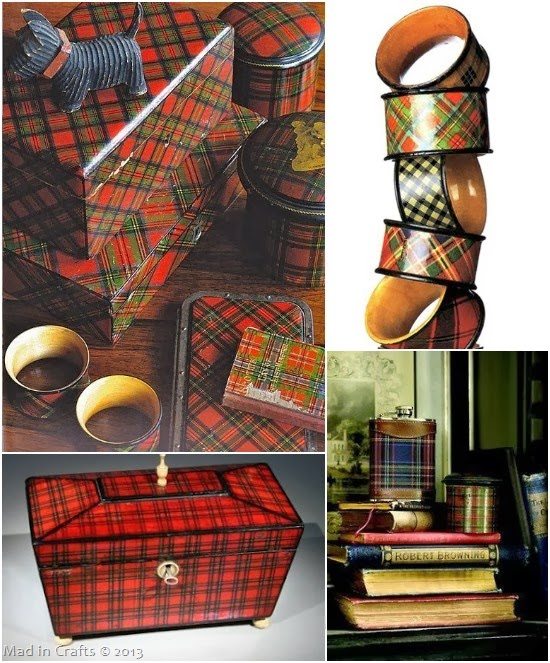
top left – top right – bottom right – bottom left
As I was searching the internet for plaid inspiration pictures, I came across something I had never heard of before: tartanware. Real tartanware pieces were produced in Scotland, beginning in the Victorian Age, and are now considered collectibles. Tartanware refers to any object (snuff boxes, needle cases, tableware, etc.) that was printed with the distinctive tartan plaid pattern.
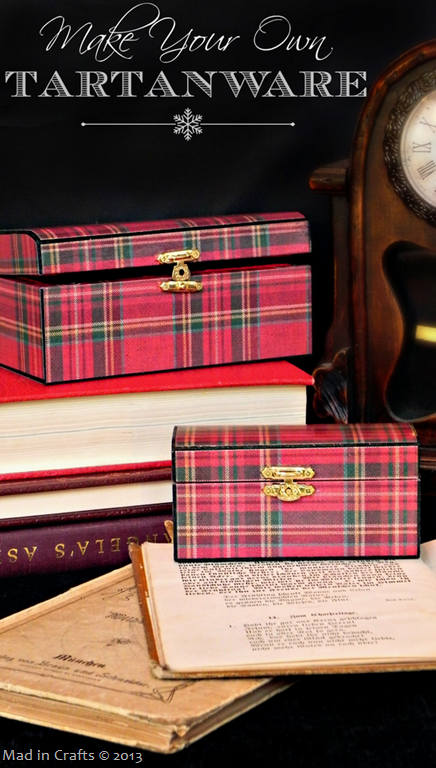
I love the look of real tartanware and set out to make a set of my own inspired by those original pieces. I figured that if I could find the right tartan paper, it would be a straightforward decoupage project and one that would let me try out my new Martha Stewart decoupage.
I’ve gathered links to the materials I used in this tutorial. If you purchase after clicking one of these links, I will receive a small commission. Thanks!
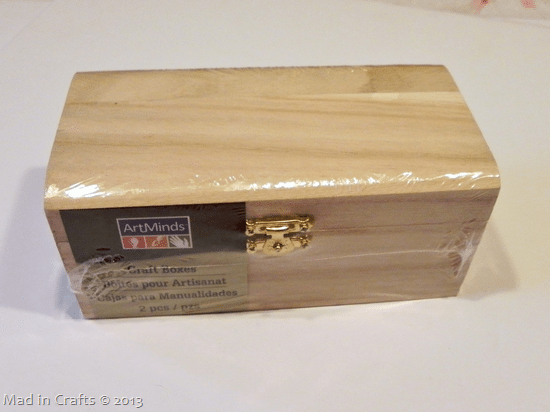
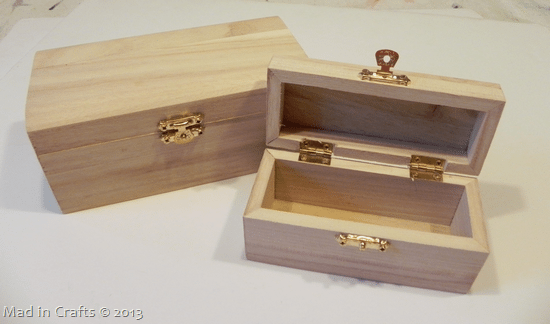
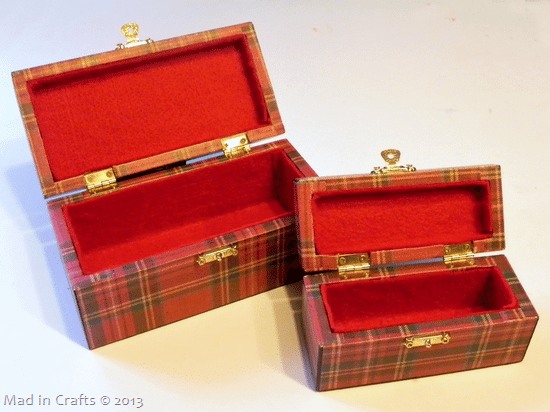
I found this set of two craft boxes at Michael’s and used a 50% off coupon. I paid less than $4 for the set. If you have old boxes on hand, or can find some at a thrift store, those will work as well.
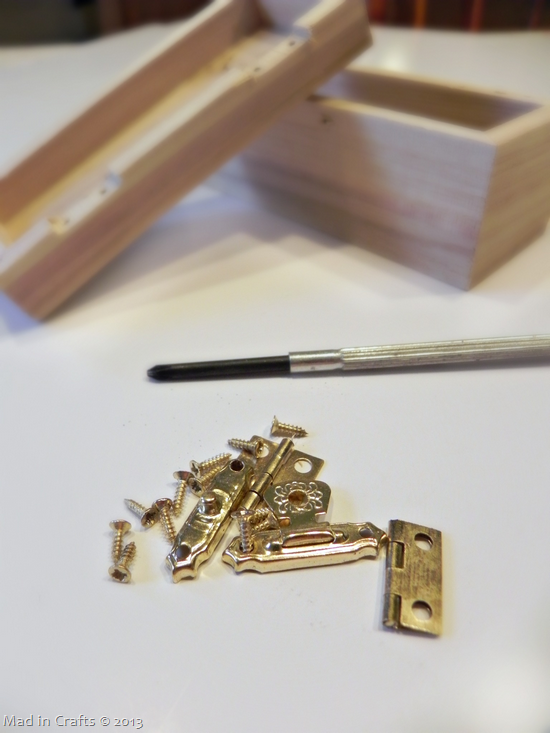
I liked that these boxes had tiny little brass hardware and hinges.
Before I could get to decoupaging, I needed to remove the itty bitty hardware with a screwdriver from a dollar store eyeglass repair kit. Be sure to put all the removed hardware into a plastic baggie and keep it in a safe place until your decoupage project is done.
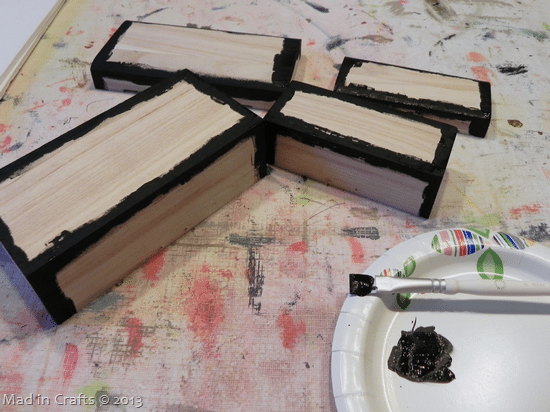
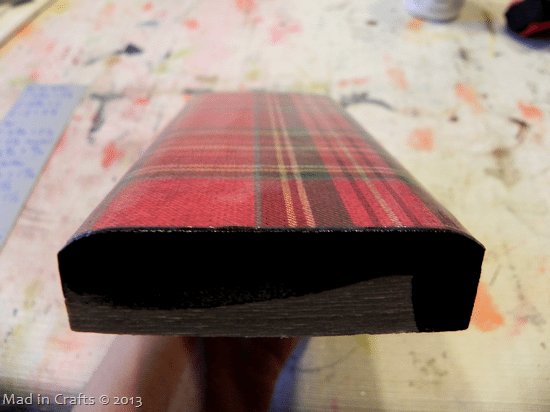
Next, I used some black craft paint on the edges of the boxes. I decided not to wrap the scrapbook paper over the sharp edges of the boxes, because those edges would be too likely to show wear and tear. If you look closely at the pictures of real tartanware, those edges are not printed, but have black edging.
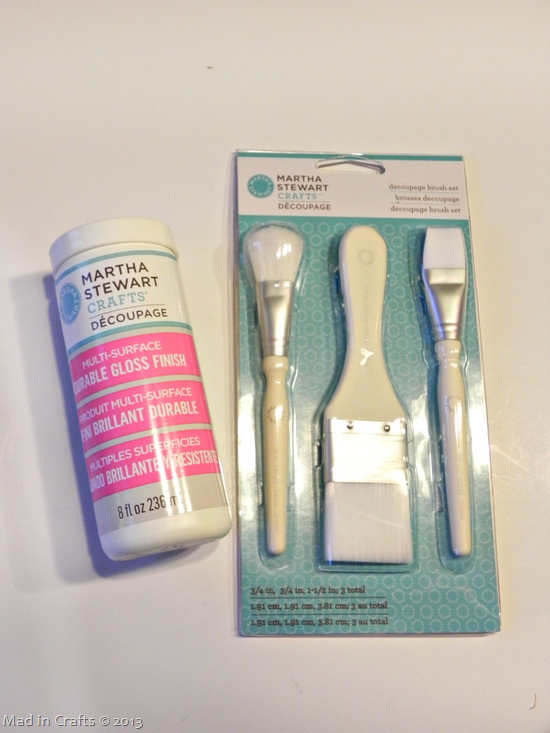
Martha Stewarts Crafts has a new line of decoupage mediums that I was given the opportunity to try out. They even make special craft brushes specifically for use with the decoupage.
You can find the Martha Stewart Crafts line in-store at Michaels or in Plaid’s online store. The line has everything you need to craft your favorite treasures for the holidays and gift giving with multi-surface craft products. This decoupage can be used on wood, metal, glass, etc. It is even dishwasher safe after it has cured!
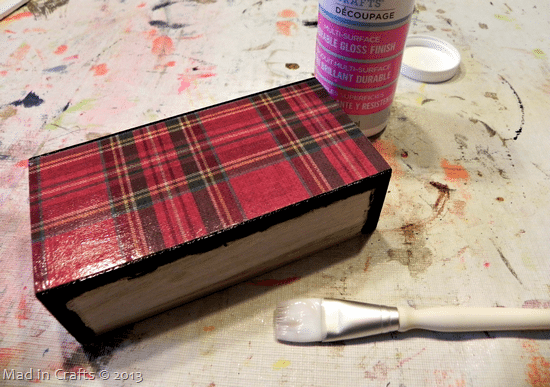
After the black paint was dry, I carefully measured the sides of the craft boxes. I cut my tartan paper to be 1/8” smaller than the dimensions of the box sides. When I decoupaged the paper onto the box, I left a 1/16” border along the edges to show the black paint.
Let’s talk about that paper for a second. It was INCREDIBLY hard for me to find plaid scrapbook paper. Seriously! You would think it would be pretty standard, especially around Christmas, but I had to search through two large craft supply stores before I found this one print. Thankfully, it is just the kind of tartan I was looking for.
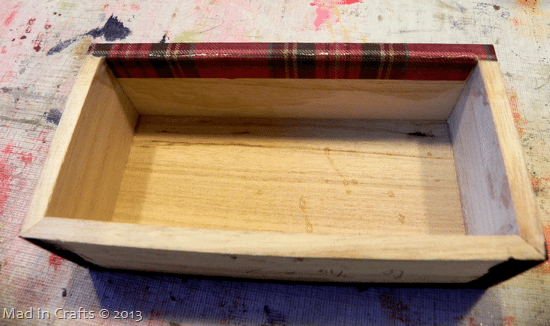
For the sides of the craft box that led up to the hinges and clasps, I extended paper up and into the interior of the box. It required some fussy cutting and extra smoothing of the decoupage medium, but will make the finished project look much more polished.
The Martha Stewart Crafts decoupage is thinner and less sticky than other decoupage mediums. It was nice in that it made it possible for me to lift off and adjust my paper without tearing it, and my fingers didn’t get any where near as sticky as they do when working with other decoupages. However, it took several coats and lots of smoothing to adhere the paper securely. It’s not difficult to use per se, there was just a learning curve.
Speaking of curves, the tops of the boxes are slightly rounded, so I had to take that into consideration when measuring, cutting, and decoupaging.
I chose to keep my plaids horizontal/vertical in order to save on paper, but I think placing the paper on a bias would be really beautiful. I tried as much as possible to have the plaids line up, but it would have sent me round the bend to make them all perfectly matched. Again, if you look at the originals, the plaids don’t line up there either.
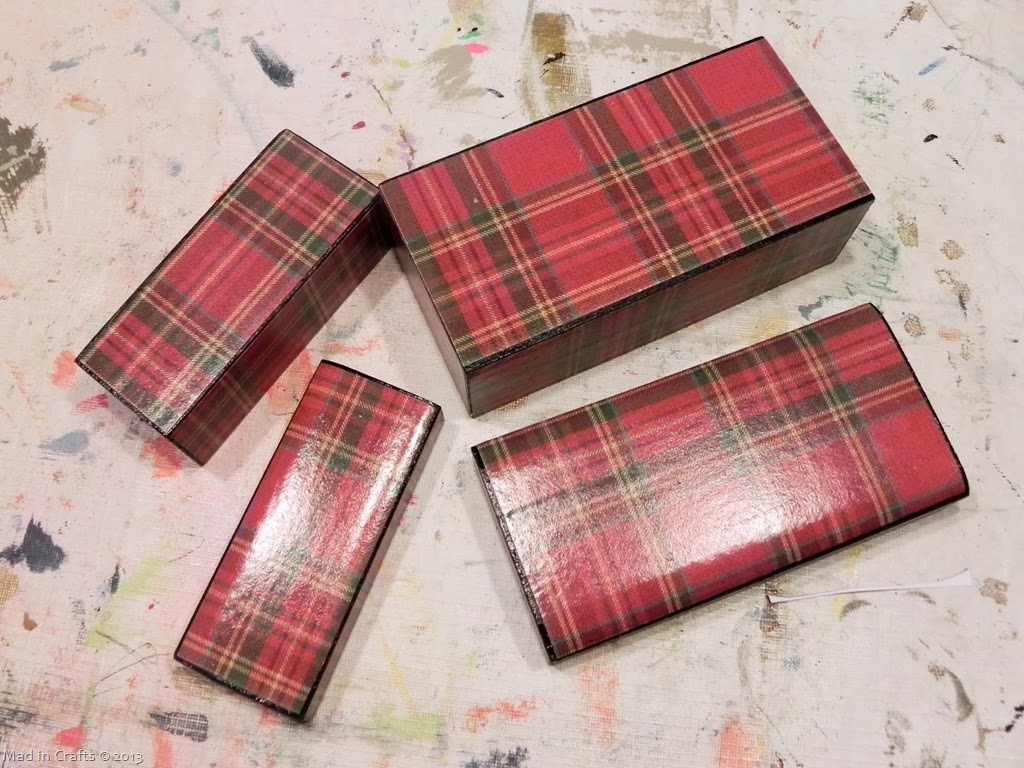
The Martha Stewart decoupage wasn’t as glossy as I would have liked. I really wanted the boxes to have a noticeable shine to them, so I gave them a few coats of Martha Stewart spray enamel. In this picture, the top right piece had not been enameled, while the others had. It made a big difference.
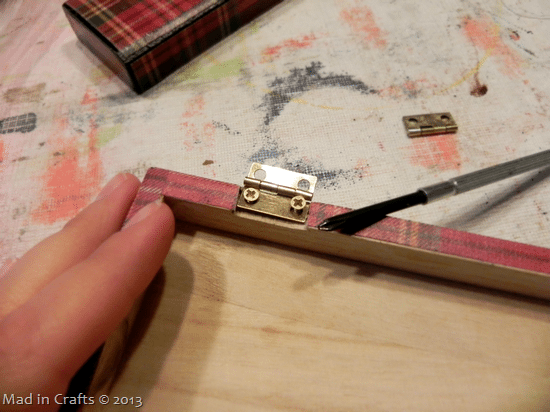
Next I carefully replaced the hinges and latches. Since I had covered up the existing holes, I had to be careful to place them so that the lids closed straight and the latches operated properly.
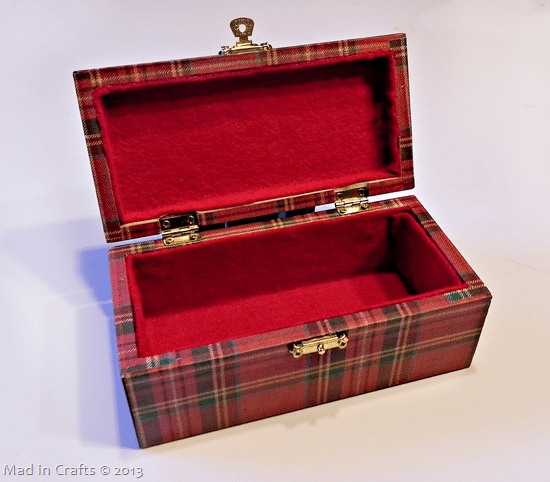
If you want, you can call the project finished here. When the boxes are closed, they look beautiful. However, I wanted the faux tartanware to be as pretty open as they were closed, so I decided to line them with red felt.
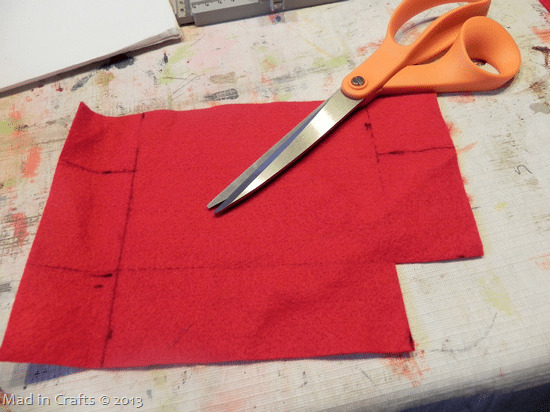
I carefully measured the interior of the bottom part of the large box. Then I cut red felt to fit the bottom and sides as accurately as my math skills allow when there are fractions involved.
After cutting the felt, I placed it in the box to make sure it would fit. If there were any adjustments to be made, I made them then.
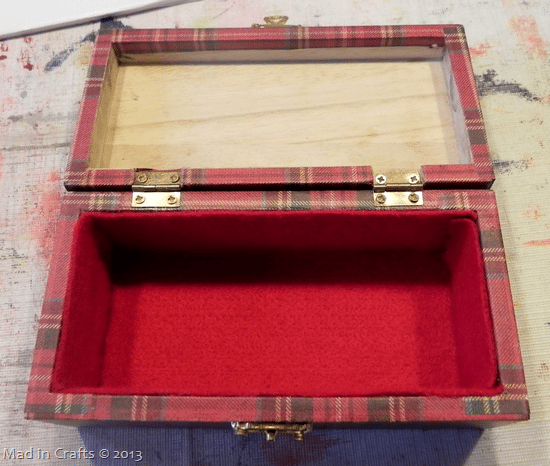
I gave the back of the felt a coat of spray adhesive, and allowed it to get tacky to the touch. Then I placed the felt in the box and aligned the long sides of the interior first.
Once the long sides were glued down, I smoothed up the shorter sides.
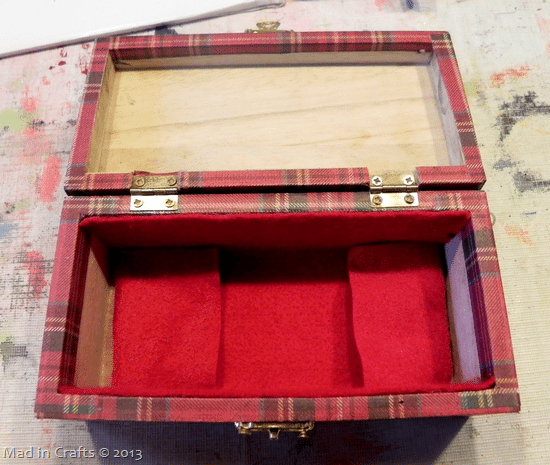
I repeated the same process for the lid of the large box and the whole interior of the smaller box. The smaller box was trickier because I kind of needed Dooneese hands to work into all the tiny corners.
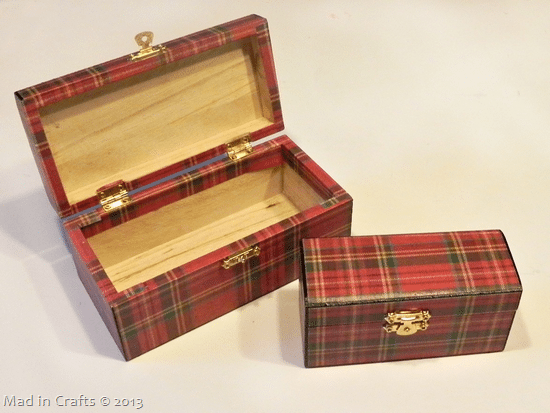
Even though it was extra work, I think the faux tartanware looks much more polished with the felt lining.
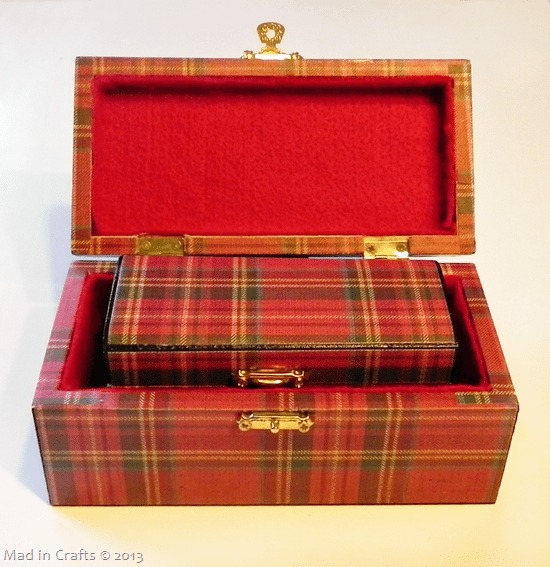
Aren’t they just cute, one nestled inside of the other?
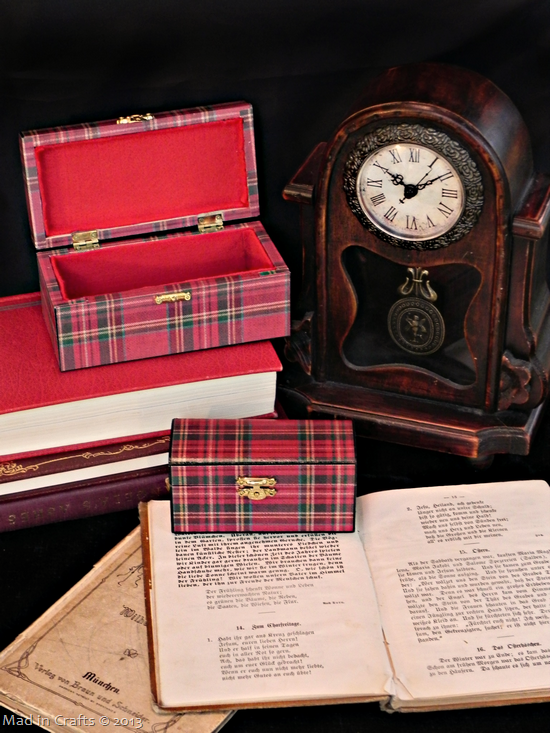
I am excited to add these little boxes to my Christmas décor this year. I love little touches like these that pull the room together.
For more inspiration, follow Plaid’s Martha Stewart Crafts Pinterest board, sign up for the email newsletter, and like them on Facebook.
Did you like this post? Think it’s worth sharing? Please share with your friends using the social media share buttons on the toolbar at the bottom of the page!
Thanks, Jessica






These look fantastic! Thanks for the step by step tutorial. I doubt I have the patience to make one for myself, but I admire yours for sure. I’m going to add to my Tartan Love board. Thanks!
I found beautiful Royal Stewart tartan wrapping paper online. Now, in addition to lining the back of my glass secretary in Tartan, I must make these gorgeous boxes as well–all as part of my Christmas decor. Best tip was painting the edges black! That looks so classic! Thanks!
Oh, that sounds beautiful! Thanks for the kind comment!
Very cute! Thank you for the post.