Have you noticed that mini pins are making a comeback? Pins were a big deal when I was growing up, so it is fun to see people hopping back on the bandwagon. I used a sheet of shrink plastic to make some DIY pins of my favorite things about Fall and Halloween. Follow my tutorial to make your own Fall and Halloween flair!
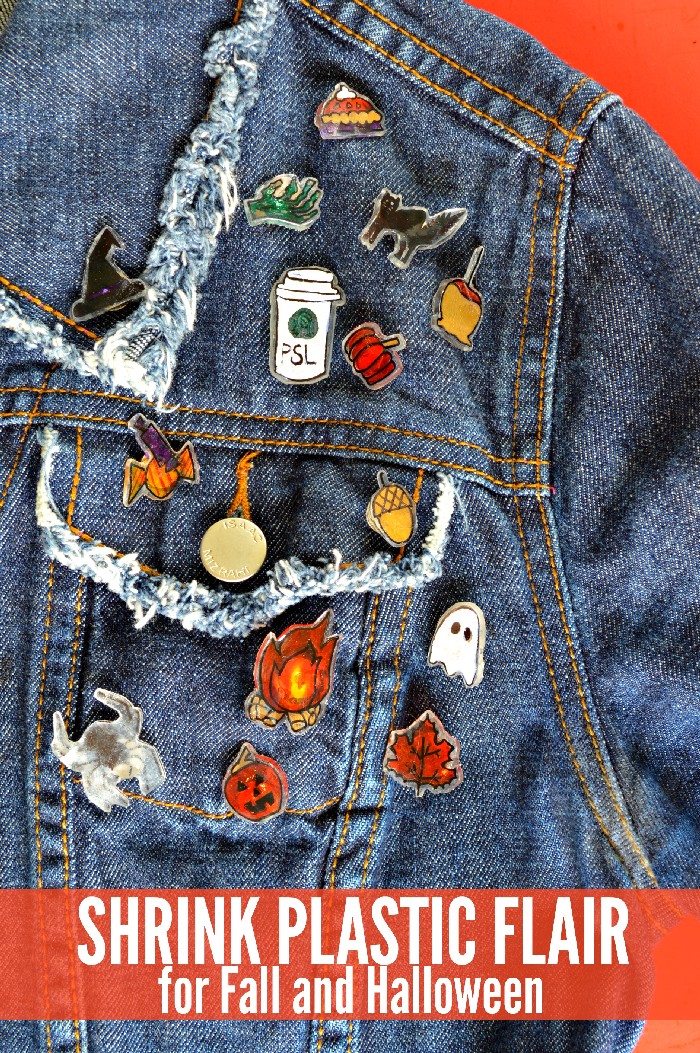
FALL AND HALLOWEEN FLAIR PINS WITH SHRINK PLASTIC
I am so excited to share this printable with you for free! To access the printables, sign up for a Mad in Crafts Freebies Membership using the form below or by signing up HERE. Don’t worry, the membership won’t cost you a penny, but it WILL give you access to all of the freebies I have shared here on Mad in Crafts.
When you have access to the Freebie Gallery, you will find the printable template in the Halloween and Fall sections.
WHAT YOU NEED TO MAKE FALL AND HALLOWEEN PINS
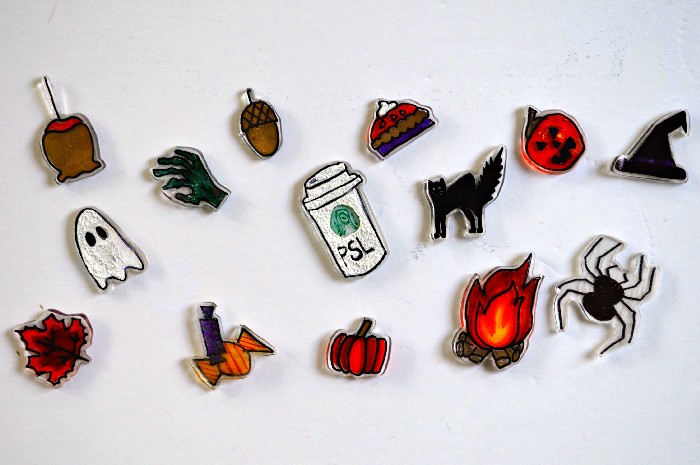
In addition to the free printable template, you will need shrink plastic and a few other basic craft supplies. If you can’t find shrink plastic in your craft store, you can always find it online. You can also search your recycling bin for plastics marked with the number 6 in the recycling symbol. Clean that plastic well, and you can use it to make shrinky dinks!
These are all affiliate links, if you make a purchase (of anything on Amazon, not just these items) after clicking through, I will earn a small commission. Ads and affiliate links are the way I am able to keep this website running and to offer you free tutorials all year long. Thank you so much for supporting me and Mad in Crafts!
- Shrink plastic
- Sharpies
- Scissors
- Parchment paper
- Baking sheet
- Oven
- Pin backs

Want to know which craft supplies I always keep in my craft room?
Visit the Mad in Crafts Amazon Storefront to learn more and to buy your own supplies!
HOW TO MAKE SHRINK PLASTIC PINS
Watch this short video to see how to create your own fall and Halloween flair. You can use this same technique to create custom pins that you can wear yourself, give as gifts, or use as merch!
Shrinky Dink Pin Instructions
- If you are using my template, begin by saving it to your device and printing it out onto standard printer paper.
- Place a piece of clear shrink plastic on top of the template and use a black permanent marker to trace all of the fall and Halloween shapes.
You can tape the template and the plastic to your work surface to keep them from sliding around.
- Use colored permanent markers to color the drawings.
Don’t be afraid to overlap the ink to blend colors!
- Cut the individual shapes out with scissors.
- Line a baking sheet with parchment paper and place the plastic pieces on the paper.
- Bake the sheet of plastic shapes according to the directions on your package of shrink plastic.
Different brands require different temperatures and bake times, so follow those directions! If you are using a heat gun or toaster oven, be sure to read the appropriate directions for those heat sources as well.
- Remove the baking sheet from the oven and let the plastic fully cool before handling.
- Place a small amount of super glue on the back side of each pin, and place a pin back on the glue.
- Let the glue fully dry and enjoy your finished pins!

