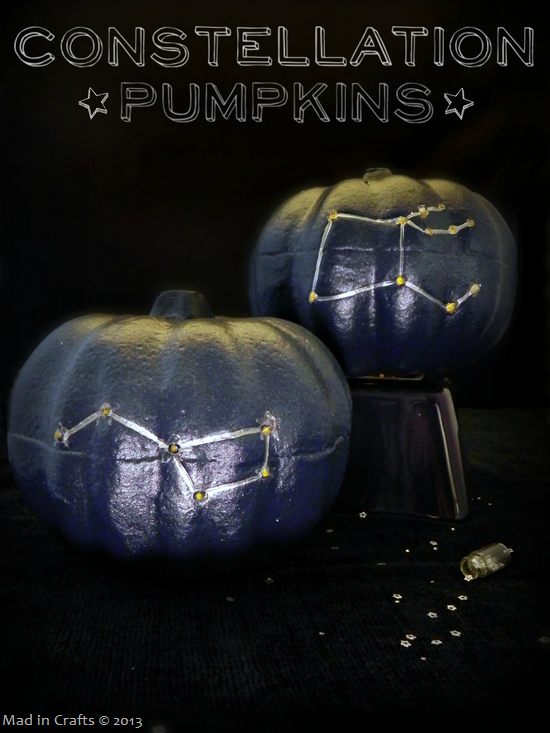
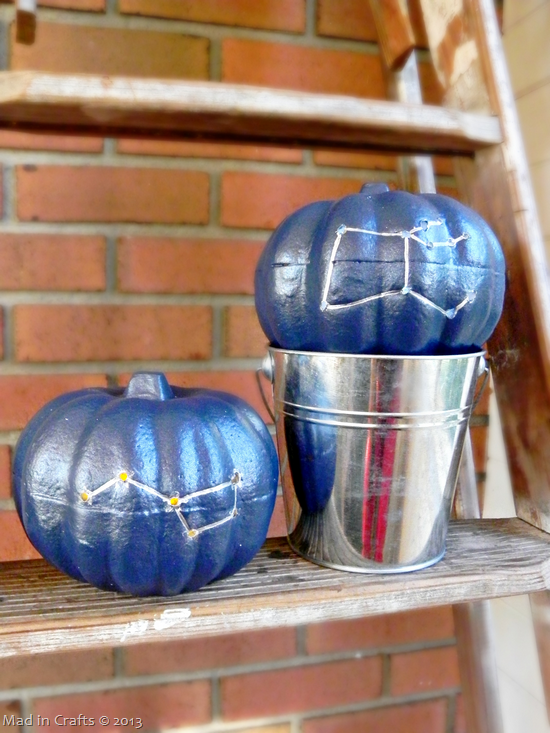
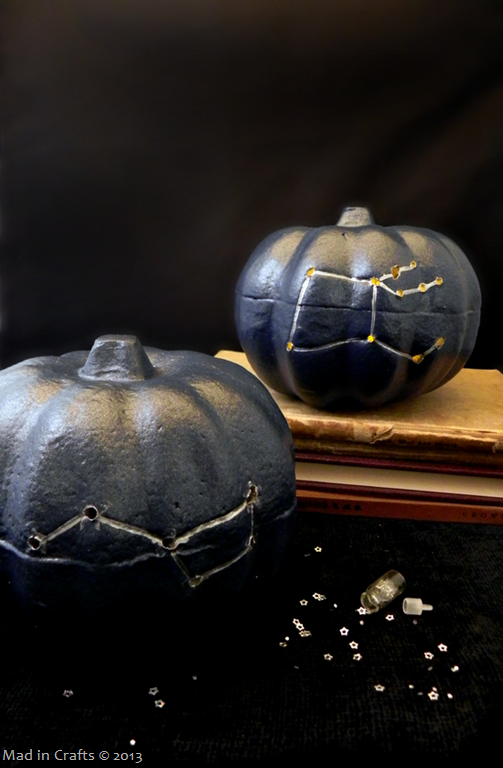
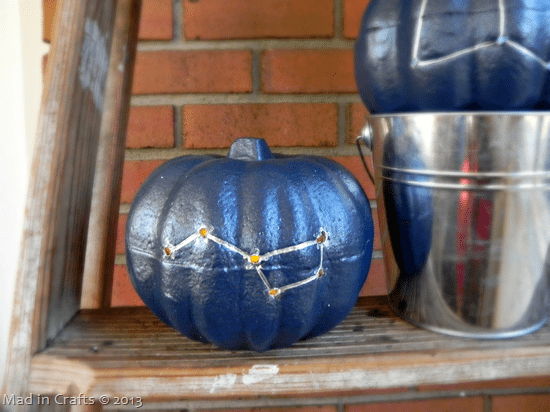
Along with the galaxy print trend that exploded this past summer, constellations have been sneaking into fashion and home décor. I wanted to tap into that trend for a pair of constellation pumpkins that would make for a more sophisticated take on Halloween decorations.
Each Fall, I make sure to grab a few of Dollar Tree’s faux pumpkins to add to my collection. A few years ago, I used some dollar store “gold leaf” to decorate one, but this year I had something more celestial in mind. You can absolutely do this same project with a real pumpkin too.
You can watch this short video to see me make the pumpkins or scroll down for the the step out tutorial. Be sure to subscribe to my YouTube channel so you don’t miss any creative videos like this one!
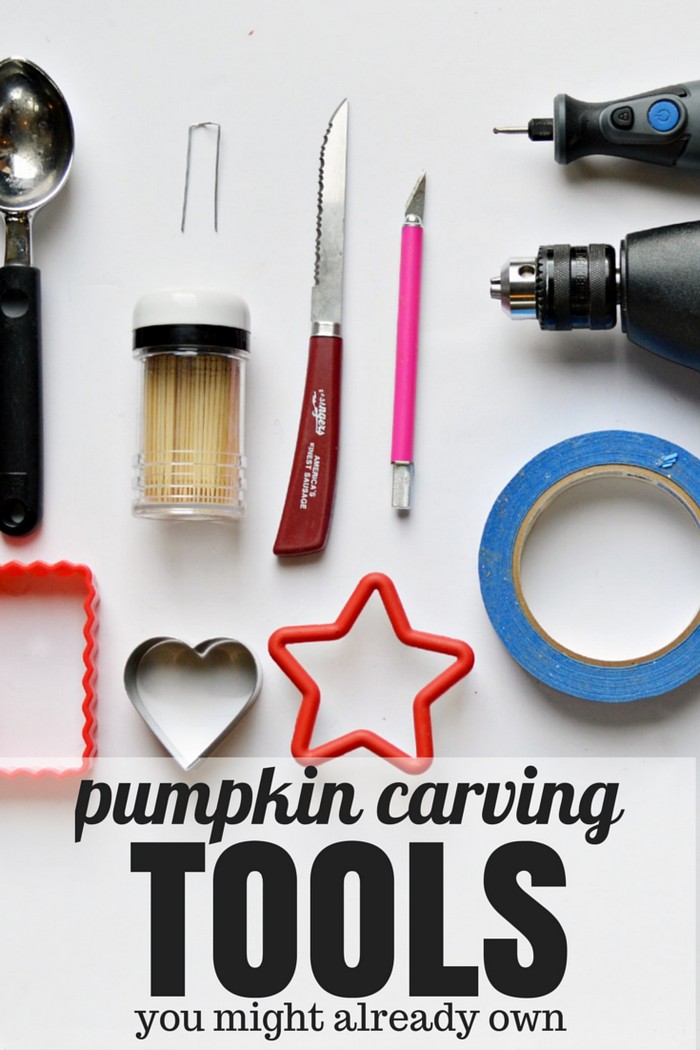
To make a Drilled Constellation Pumpkin, you will need:
The following links are affiliate links and I may receive compensation if you purchase after clicking the links.
pumpkins
drill or Dremel tool
paintbrush
knife
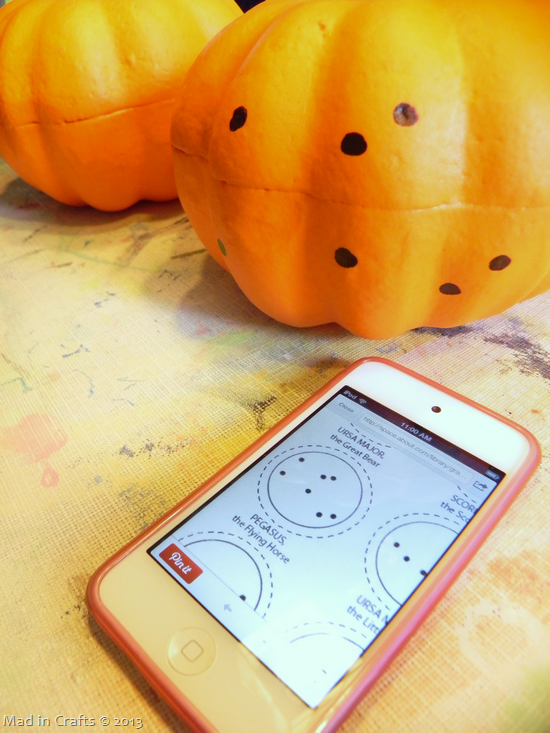
I looked up a few constellation patterns online and marked them out on my pumpkins with a permanent marker. I only put one constellation on each pumpkin, but it would be fun to put a couple different ones all the way around the pumpkin.
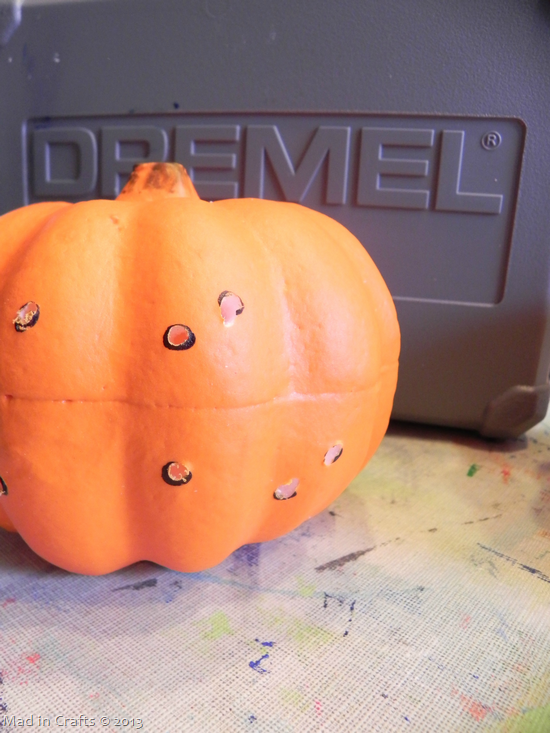
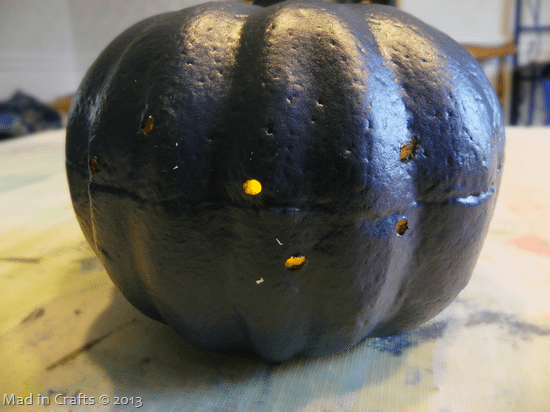
I used my Dremel to create holes to create each star of the constellation. If you want to be very fancy, you can make bigger holes for the brighter stars of the constellations, and use a smaller bit for the smaller stars.
I cleaned up up any loose foam around the holes and gave the pumpkins a few coats of navy blue spray paint. I cut a hole in the bottom of the faux pumpkin and set the pumpkin down on top of a battery-powered tea light to make sure all of my holes were drilled properly.
NOTE: You can’t use real candles in foam pumpkins without risking burning down the house!
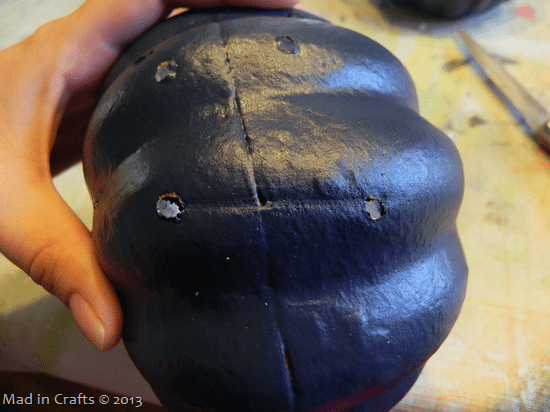
To make sure that my constellation lines were straight, I pressed the back (not sharp) side of a knife into the foam between two of the holes. It left a clear impression that I used to hand paint my lines.
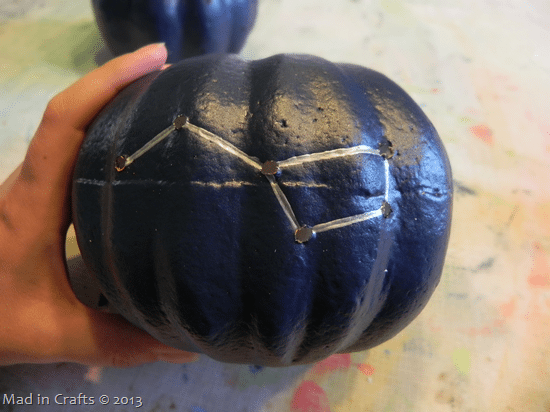
I followed the images I had found online to paint in the constellations using metallic silver paint and a small paintbrush.
Once the painted lines had dried, I gave the pumpkins a coat of Mod Podge pearlized spray sealer to give them a slight shimmer. This step is totally optional, I just like a little sparkle whenever I can get it.
I like that these constellation pumpkins have a Halloween feel, without being scary or morbid. I like Halloween as a holiday, but I am not sure I would want to have any severed limbs sitting on our living room mantel.
These drilled constellation pumpkins are equally pretty by day or night. If you want to make a complete midnight-themed Halloween vignette, The Graphics Fairy has some really cool images that you can print out and add to the display.
Check out these other helpful pumpkin carving posts:
