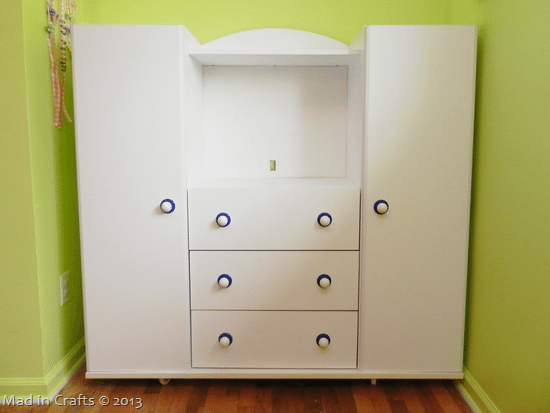
As we transitioned my daughter’s Fairy Garden Bedroom from a toddler room to a big girl room, we wanted to replace the changing table with an actual dresser. My mom and I kept an eye on local garage sale and Craigslist listings, giving the thumbs down to dresser after dresser until this popped up. It was a perfect size, priced right, and ready for a makeover!
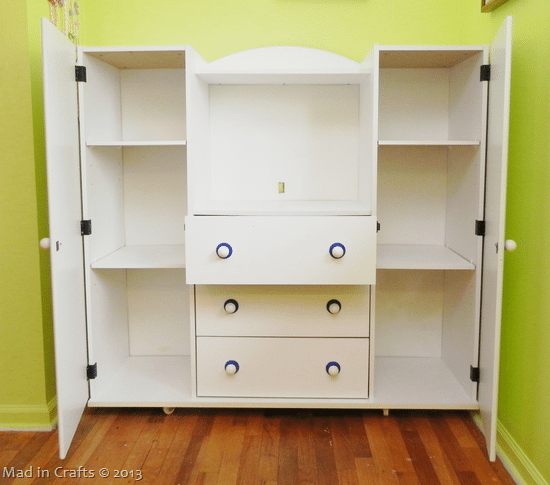
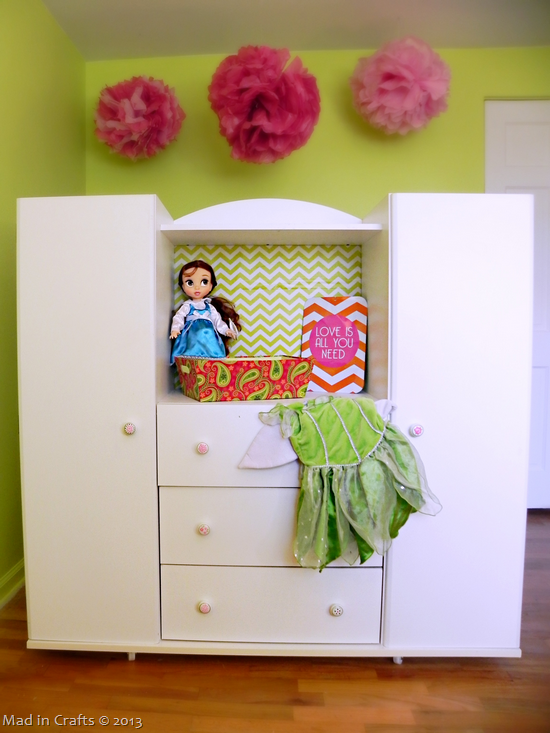
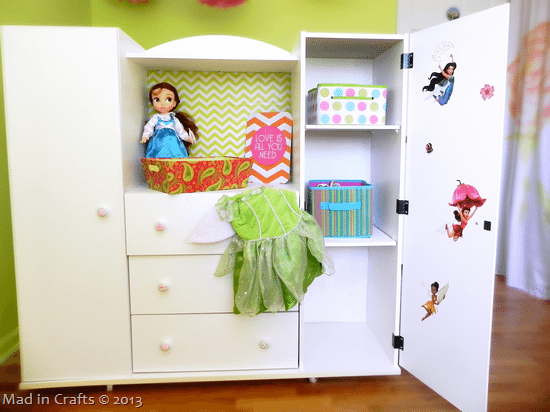
The dresser was an awesome Craigslist find at just $35. It’s laminate, which isn’t ideal. but the drawers slide in and out very easily and the whole thing is on casters, which is really nice for floor cleaning! Plus, it fit right into the strange alcove/outcropping/nook? in the room.
The side doors open up to reveal more shelves that are perfect for bins. Put together with her already sizable closet, she should have plenty of storage for the foreseeable future.
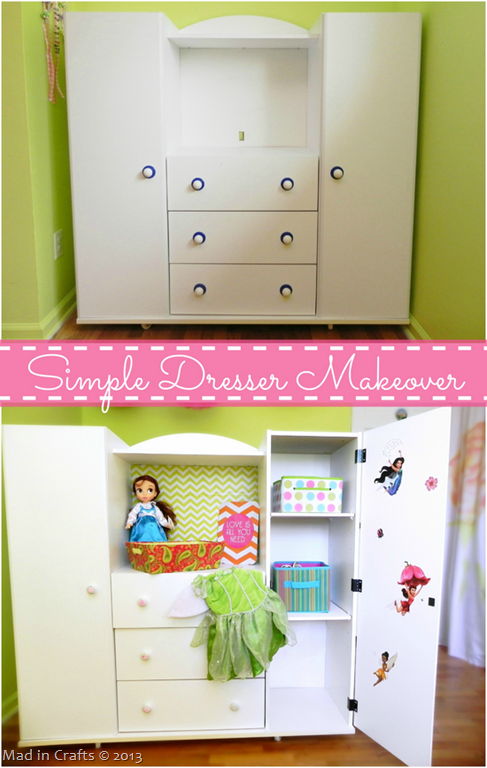
The downside of the dresser was that it is was just so generic. Generic white laminate, generic plastic pulls, *blarg*. With some inexpensive updates, I personalized the dresser to fit in with her lively Fairy Garden Room!
It took a fair amount of trial and error to get the back of the dresser patterned to my satisfaction. I had several frustrating fails along the way.
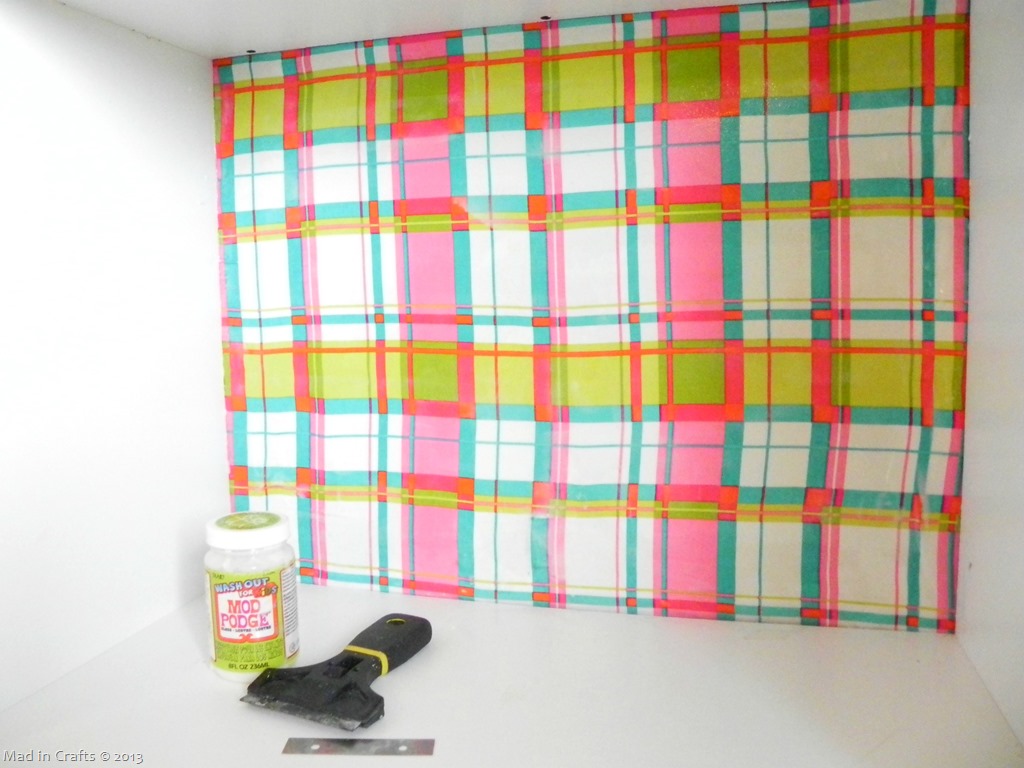
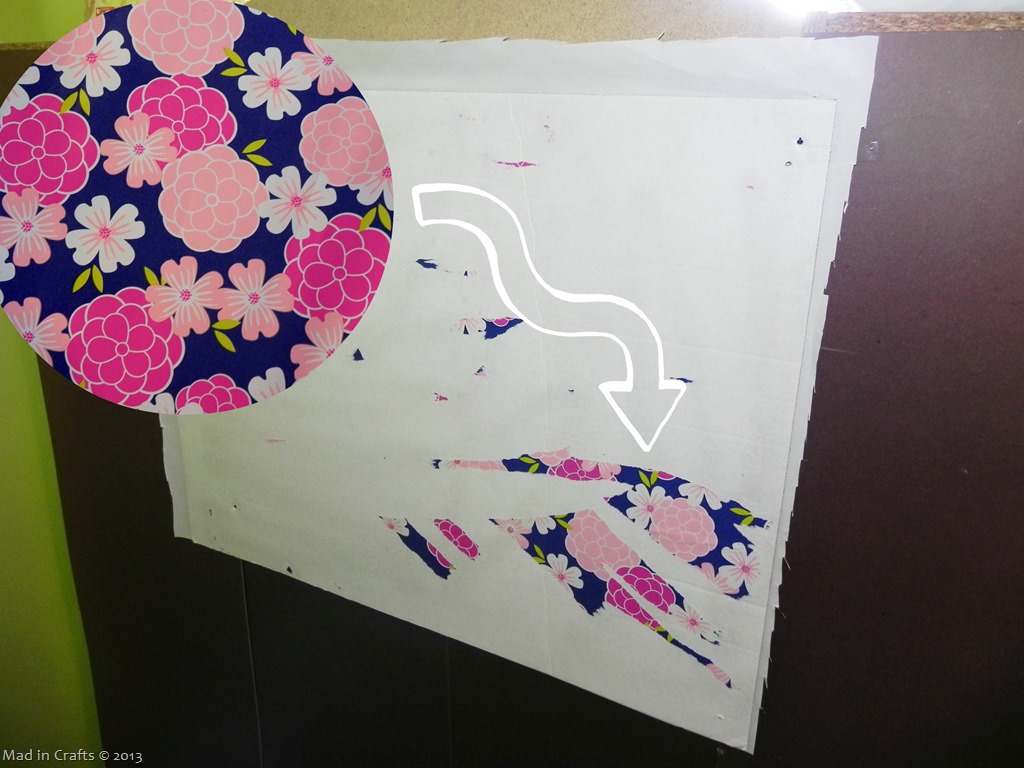
FAIL #1 aka the Fail Trifecta: Procedural Fail, Mod Podge Fail, AND Pattern Fail First, I was a moron and tried to glue the fabric to the back of the dresser without removing the back of the dresser. As a result I made a huge mess of the Mod Podge and could not for the life of me get the lines of the plaid straight. Finally, while I like this fabric, the teal and orange just didn’t go with the other elements of the room. So, off it came.
BONUS: If you want a fun optical illusion, stare at the plaid in the picture above while you scroll the page up and down. Trippy, man.
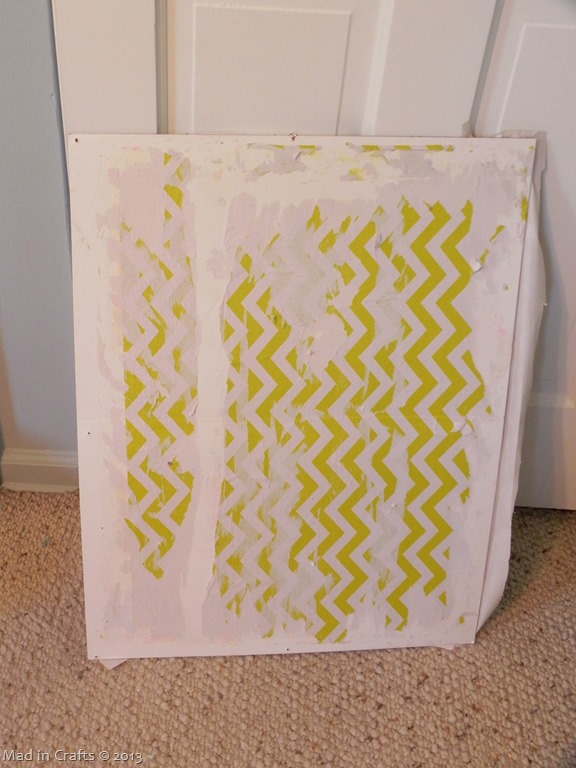
FAIL #2: MOD PODGE FAIL I found this super cute chevron paper in the Dollar Spot at Target. It was the exact same citron color as the walls of my daughter’s room, so I was so stoked to use it for this project. I was smart enough this time to remove the back of the dresser before trying to apply the paper. Unfortunately, the cheap paper is super thin, so the Mod Podge wrinkled like mad and when I tried to smooth it out, it tore and smudged and was a hot mess. Into the trash with it.
FAIL #3: PATTERN FAIL Here I learned from my first two fails. I used a piece of cardboard (to replace the dresser backing I had to throw away after my first two fails) and I used spray adhesive instead of Mod Podge to attach a new pattern of Target Dollar Spot paper. I nailed the cardboard onto the back of the dresser and admired my work. It looked really nice. I *love* the pattern of this paper and it looked really pretty against the white dresser. But again, when I looked at it in combination with her new bedding and the other elements of the room, it just didn’t work. So, I ripped yet another layer of paper away.
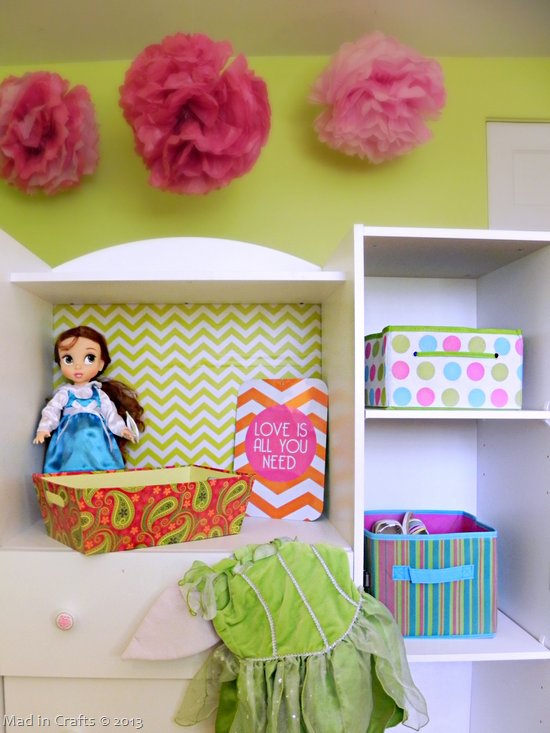
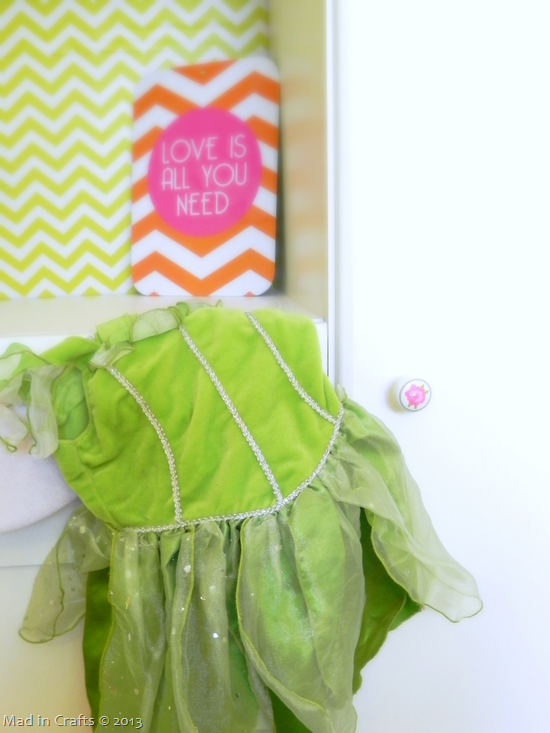
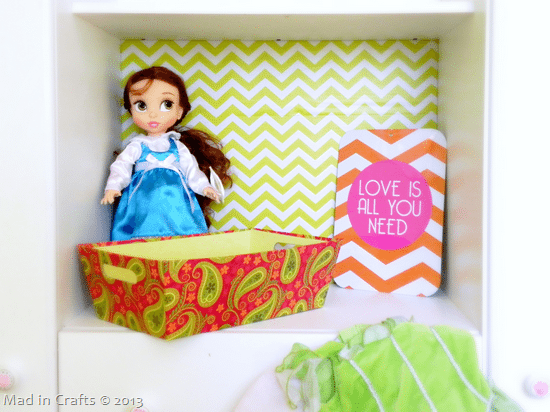
SWEET SUCCESS: I put together all the things that had gone right with the first three trials (the citron chevron pattered paper, removing the backing from the dresser, and using spray adhesive) and finally got a result that I liked!
The paper plays off the other patterns in the room and fits perfectly into the bright color scheme. I am a little concerned that, because I couldn’t get the Mod Podge to work for me, the paper isn’t sealed. I am not sure how long the paper will hold up because of it. I might end up removing the backing again and spraying it with clear sealant. Hopefully that doesn’t wreck it because I don’t think I can take any more failure.
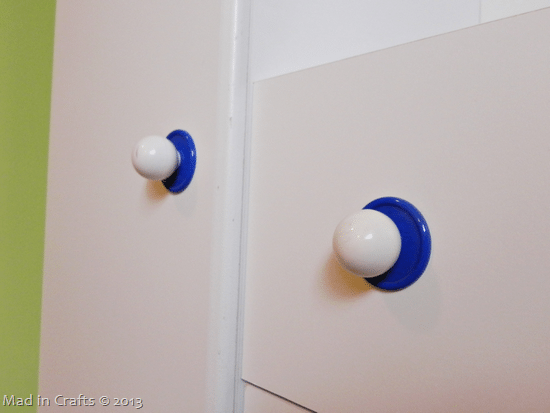
Since the dressing backing got a facelift, those boring pulls needed to go!
I had found a random Ziploc full of porcelain pulls at Goodwill for $2 and this was the perfect chance to put them to work. I will post more about how I painted them later in the week.
Each pull is a different style, and they are such a sweet way to incorporate the garden theme.
The storage bins I bought at Dollar Tree years ago fit nicely in the sides of the dresser to hold shoes and hair pretties.
Finally, I snuck a few fairies into the mix by adding some Dollar Tree wall clings to the inside of the dresser doors. My daughter loves them!
It’s not a dramatic change, but it was enough to update the look of the dresser and make it work with the rest of her bedroom. Even with all my fails and frustration, I only spent $5 to finish this project! While it wasn’t such a simple project for me, if you learn from my mistakes this is a project you could easily accomplish in a day or two!
Did you like this post? Think it’s worth sharing? Please share with your friends using the social media share buttons on the toolbar at the bottom of the page!
Thanks, Jessica




Leave a Reply