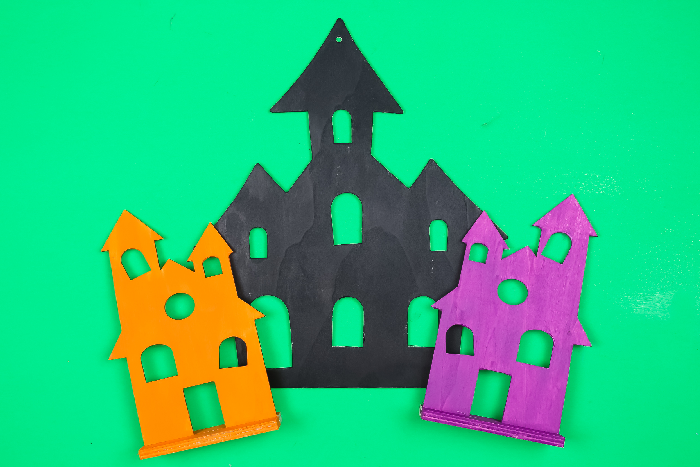
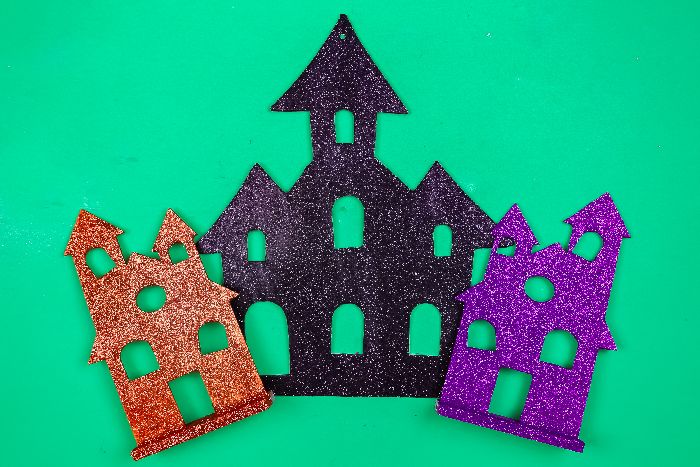
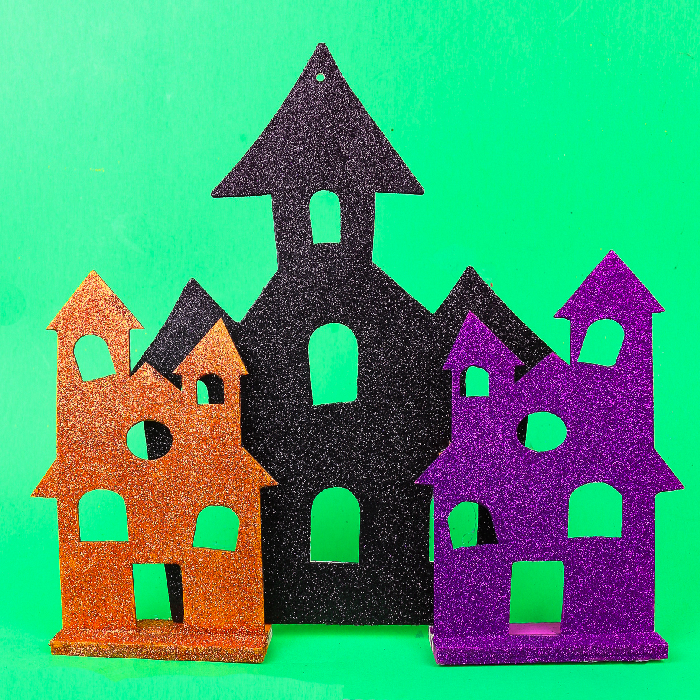
I have been loving all the wood craft shapes that Dollar Tree has been stocking. They are the perfect almost blank canvas for holiday crafts. I used a few of the spooky house shapes they are carrying to create a simple dollar store Halloween village. You can completely customize your version to suit your Halloween decor.
DOLLAR STORE HALLOWEEN VILLAGE TUTORIAL
WHAT YOU NEED TO MAKE A GLITTER HALLOWEEN VILLAGE
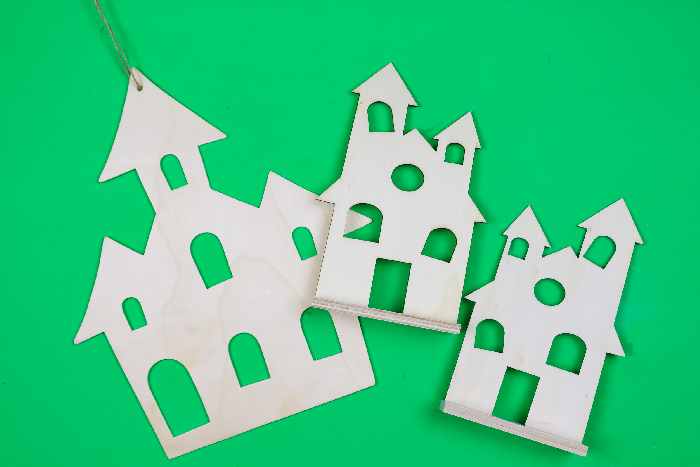
You can find wood shapes in the holiday section of the dollar store. They generally have a few options for whichever holiday is upcoming. You can use inexpensive craft paint and glitter to make this a very affordable project!
These are all affiliate links, if you make a purchase (of anything from these retailers, not just these items) after clicking through, I will earn a small commission. Ads and affiliate links are the way I am able to keep this website running and to offer you free tutorials all year long. Thank you so much for supporting me and Mad in Crafts!
- Hanging wood Halloween house shape
- Standing wood Halloween house shapes
- Craft paint
- Glitter
- Mod Podge
- Paintbrushes
- Hot glue gun
- Hot glue
- Optional: Mod Podge Ultra
Want to know which craft supplies I always keep in my craft room?
Visit the Mad in Crafts Amazon Storefront to learn more and to buy your own supplies!
HOW TO PAINT AND GLITTER A HALLOWEEN VILLAGE
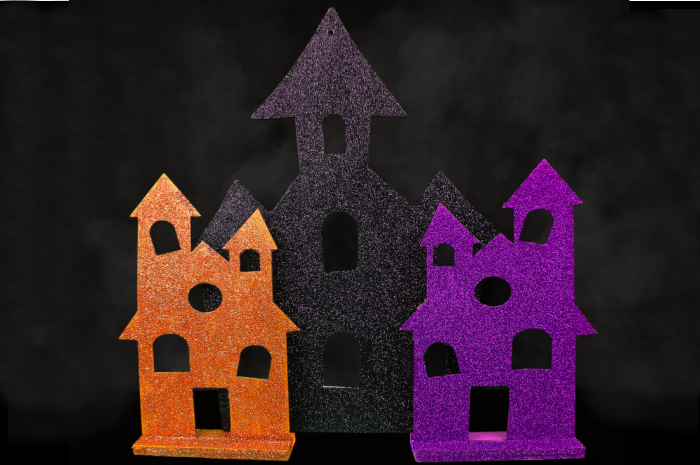
The following instructions are just for this very basic glittered village set. You could easily add more details by adding velum to the windows or painting other spooky details on the houses. Let your creativity free!
Dollar Store Halloween Village
- Begin by giving the wood shapes a base coat of color with craft paint.
This will make sure that no wood shows through if you have a spot that is a little thin on glitter. Let the paint dry completely.

- Give one house a thick coat of Mod Podge.
Try not to accumulate too much Mod Podge in the openings of the houses.
- Fold a piece of paper in half and crease it. Then open the paper again.
This paper will catch the excess glitter, and the fold will allow you to pour it back into the container.
- Give the house a good coat of glitter.
Don’t be afraid to use too much glitter! You can tap the excess off onto the paper and pour it back into the container, so you don’t waste any.

- OPTIONAL: Seal the glitter with a coat of Mod Podge Ultra.
If you are afraid of leaving a trail of glitter in your house, I recommend giving the shapes a coat of Mod Podge Ultra. I explain more about well it works to seal glitter in this post.
- Repeat steps 2 and 4 for the other houses.
Then let the Mod Podge dry completely.
- Use hot glue to glue the houses together.
I used a bit of craft foam to serve as a spacer between the larger houses and the smaller houses, but you could also just glue the front of the back house to the back of the front houses.

MORE DOLLAR STORE HALLOWEEN DIYS
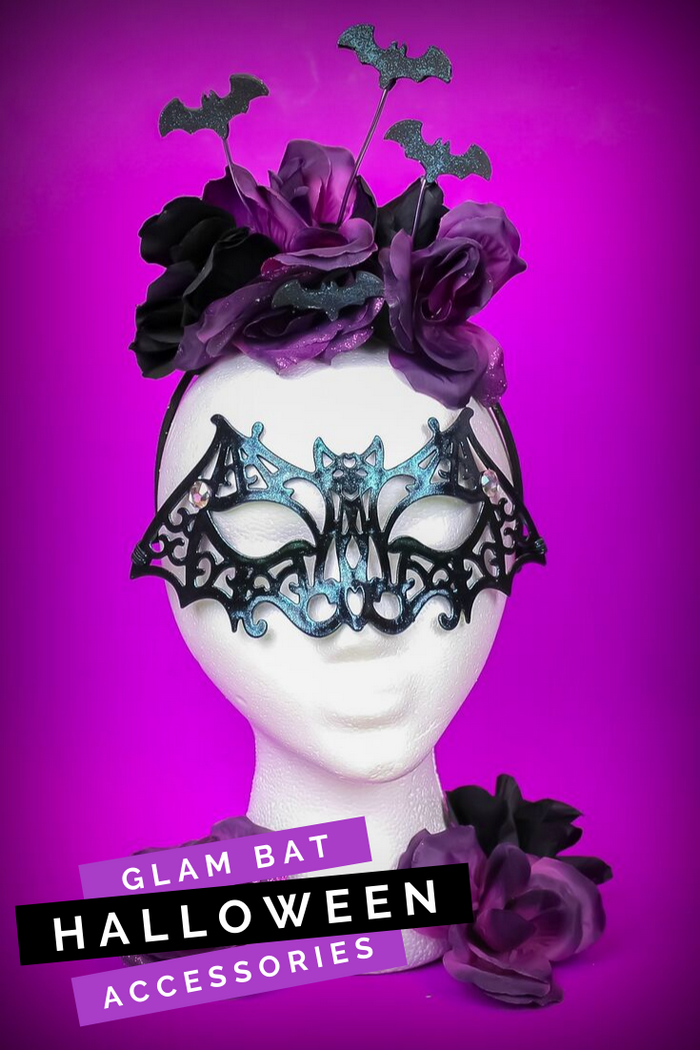
DOLLAR STORE BAT COSTUME ACCESSORIES
