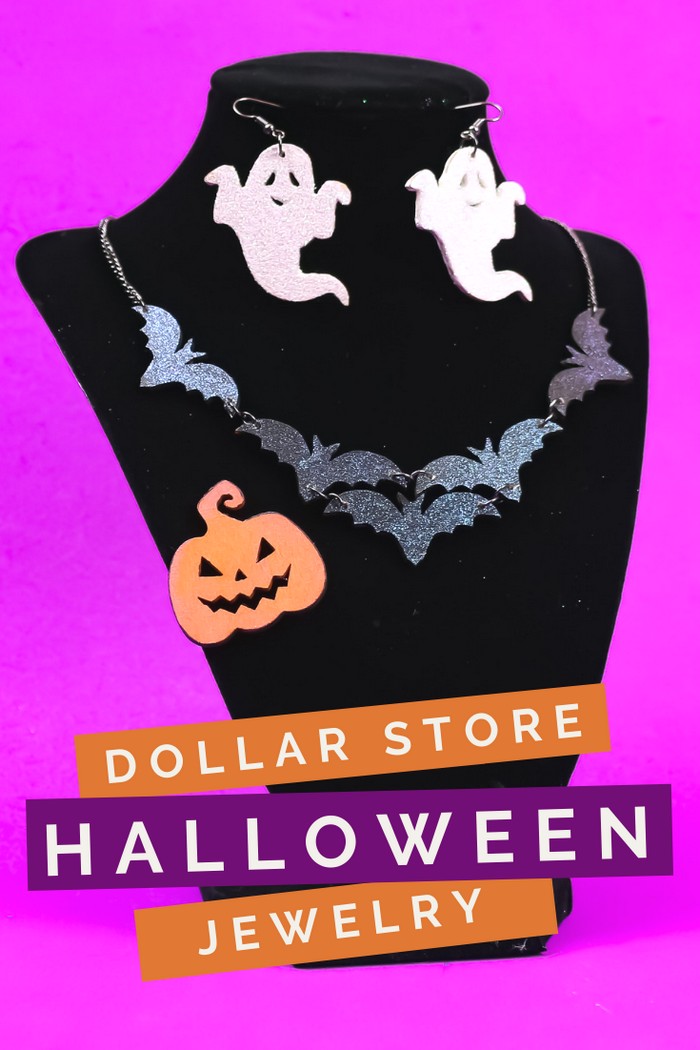
If you like fun seasonal jewelry, you will LOVE this tutorial! I used a single, $1 package of stickers from the dollar store to make three different pieces of jewelry… with supplies leftover! Make your own dollar store Halloween jewelry featuring bats, ghosts and jack ‘o’ lanterns. Keep reading to learn more!
DOLLAR STORE HALLOWEEN JEWELRY – 3 WAYS
WHAT YOU NEED TO MAKE HALLOWEEN JEWELRY FROM DOLLAR STORE STICKERS
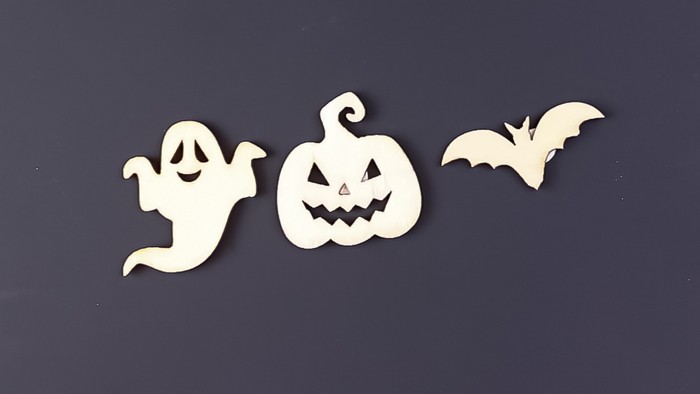
I found these specific wood stickers at the dollar store, but you could use any other very small wood shapes for similar jewelry pieces.
These are all affiliate links, if you make a purchase (of anything from these retailers, not just these items) after clicking through, I will earn a small commission. Ads and affiliate links are the way I am able to keep this website running and to offer you free tutorials all year long. Thank you so much for supporting me and Mad in Crafts!
- Halloween stickers
- Craft paint
- Dragonfly Glaze
- Color Shift paint
- White glitter
- Paintbrushes
- Permanent marker
- Black jewelry findings
- Jewelry pliers
- Pin backs
- Glue gun
- 1/16″ drill bit
- Drill or Dremel
HOW TO MAKE HALLOWEEN JEWELRY
Watch this video to see how to turn Halloween stickers into fun Halloween jewelry. If you like this video, check out the dozens of other videos I have shared on my YouTube channel!
DIY HALLOWEEN JEWELRY
GLITTERY GHOST EARRINGS
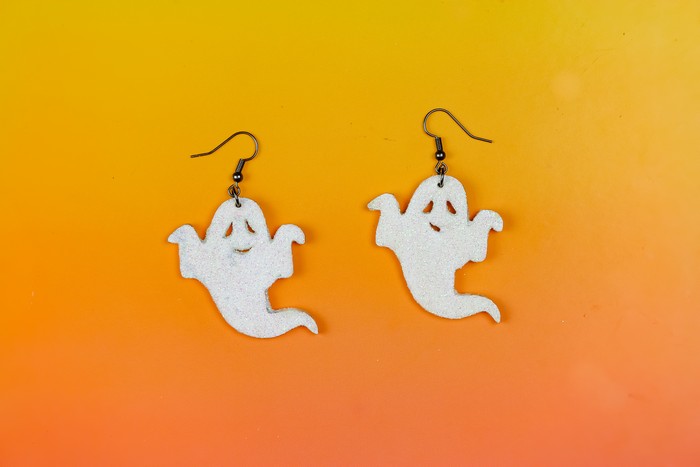
These sweet little ghost earrings are made from two wooden ghost stickers. I love how it looks like they are just giving you a friendly shrug. First, I gave them a quick coat of white craft paint and then a coat of white glitter. I drilled a small hole at the top of each ghost and then added some findings to turn them into earrings. Use different jewelry findings to turn these ghost shapes as pendants on a necklace or as a key chain! If you really want to make sure the glitter doesn’t shed, spray a coat of Mod Podge Ultra on the earrings and let them dry for 4 hours.
JACK ‘O’ LANTERN PIN
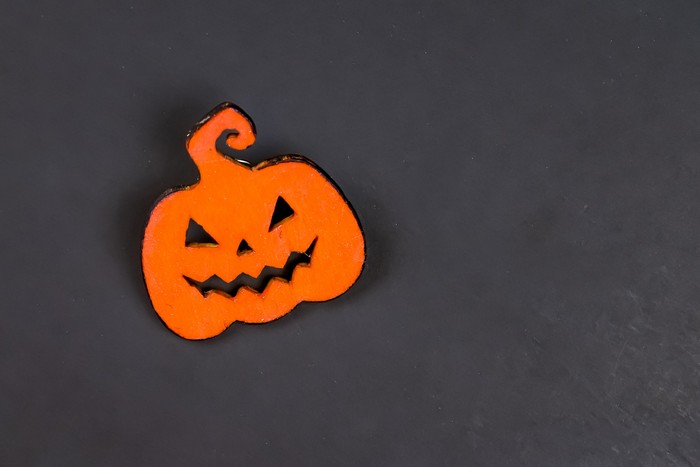
This jack ‘o’ lantern pin could not be easier to make. I painted it with orange craft paint and then a coat of Color Shift Orange Flash to give it some shine and dimension. Hot glue a pin back onto the back of the wood sticker and you have yourself a Halloween pin!
SHIMMERING BAT NECKLACE
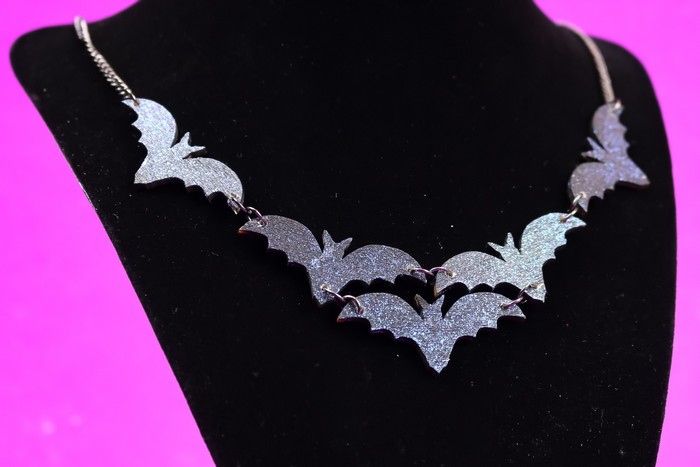
This is the most difficult of the three tutorials, but it is still definitely do-able! I painted the bat shapes with black paint and Red-Blue-Violet Dragonfly Glaze to add shimmer to the shapes. Then I used a 1/16″ drill bit to carefully drill holes at the tip of each wing, and the tail of two of the bats.
TIP: You have to be very careful as you drill these hole because it is easy to drill too close to the end of the wood sticker and crack the wing off. Thankfully, there are plenty of bat stickers in the pack, so you can mess up a few times and still have enough bats to make this necklace.
I then used black jumpings to connect the bats together and to attach the chain to the wood shapes. Wouldn’t this make an amazing necklace to wear this Halloween?
You might like these other Halloween DIYs:


I bought these stickers the other day and thought they would be great for all sorts of Halloween goodies.
Great ideas you have.
I’m going to paint them as you did, and use them in Altoid Tins and Matchboxes. Excited to get started.
Thanks for the great tutorial.
Sounds like you have some fabulous ideas! Thanks for the kind comment!