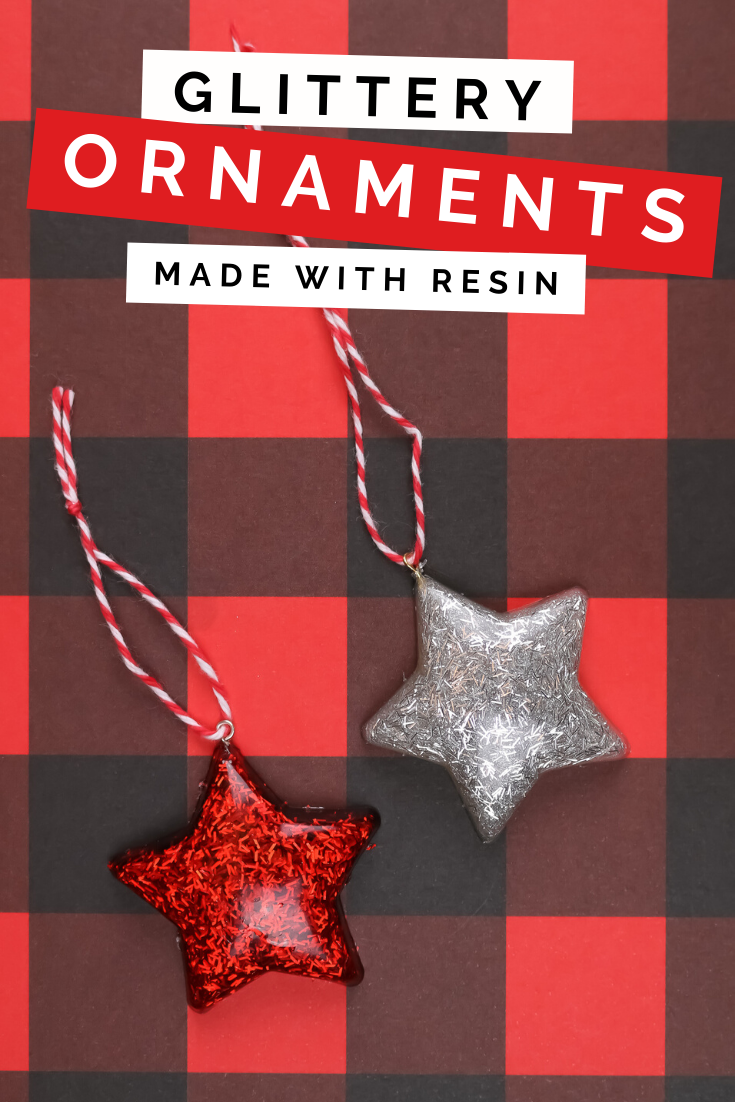
I’ve shared other great ways to keep Christmas decorations from shedding glitter all over your house, but if you are REALLY serious about locking in the glitter, resin is the way to go. These glitter star ornaments encase the glitter in casting resin, so it isn’t going anywhere! Even if you have never used resin before, this is a simple enough project to get you started with resin crafting. You can make glittering decorations for Christmas, New Years, Valentine’s Day and more!
DIY GLITTERY STAR ORNAMENTS
WHAT YOU NEED TO MAKE RESIN ORNAMENTS
You can use any size or shape of silicone mold that you would like for this project. If you are planning on hanging the decorations on a tree, just be mindful of how heavy the finished ornament will be.
These are all affiliate links, if you make a purchase (of anything from these retailers, not just these items) after clicking through, I will earn a small commission. Ads and affiliate links are the way I am able to keep this website running and to offer you free tutorials all year long. Thank you so much for supporting me and Mad in Crafts!
- EasyCast Resin
- Gloves
- Mixing cups and stir sticks
- Resin dye
- Glitter
- Silicone molds
- Long arm lighter
- Eye pins
- Baker’s twine
ADDING GLITTER TO RESIN

Begin by mixing a small amount of EasyCast resin according to the package directions. You can determine the amount of resin you need by filling your molds with water and dumping that water into a measuring cup. Then do the math to figure out the total amount of resin you will need for your silicone molds. Since my molds were quite small, I mixed just 1 ounce of resin. Be sure to protect your hands with gloves (I get mine at the dollar store) and your work surface with paper, cardboard, or plastic.

Once your resin is fully mixed, you can choose to color the resin with resin dye or alcohol ink. This step is totally optional! Then mix in a small amount of glitter. I love the look of this red tinsel glitter, but any kind of glitter will work. Mix the dye and the glitter until they are both thoroughly incorporated throughout the resin.
MAKING RESIN ORNAMENTS WITH A MOLD
![]()
Place your silicone mold on a flat, level surface, then carefully pour the resin into your silicone mold. Be careful not to overfill the mold or you will have a mess. Allow the resin to sit for 15 minutes, then pop any bubbles that rise to the surface with a long arm lighter.

Since the glitter is heavier than the resin, it will sink to the bottom of the mold (what will eventually be the front of the ornament). If you want to make sure both sides of the ornament are equally sparkly, add another sprinkling of glitter on top of the resin after you have popped the surface bubbles.

Cover the mold and allow it to fully cure. The amount of time the resin needs to cure will depend on the temperature and humidity of your workspace. I like to leave my resin to cure overnight to be sure it’s good and cured. Since you used a silicone mold it should be easy to pop the ornament out of the mold.
GLITTER RESIN CHRISTMAS ORNAMENTS

There are two ways to add hanging loops to your ornament. The first is to add the finding to the resin while it is in the silicone mold. This is the quickest method since you only have to wait for one round of resin to cure, but you have to rig the eye pin up so that it doesn’t totally fall into the resin in the mold!
The second method is to wait until the ornament has fully cured and been removed from the mold. Then mix a tiny amount of resin and use the resin as “glue” to adhere the finding to the back of the ornament. Let that second round of resin cure fully. Both methods work equally well.

Once you have a hanging loop added to the resin ornament, you can string the ornaments onto some baker’s twine. Then hang them on your tree!

I created glittering hearts and stars, but there are so many different kinds of silicone molds on the market that your options are almost limitless!
You might like these other resin projects:

GUMMY BEAR THUMBTACKS WITH RESIN
